

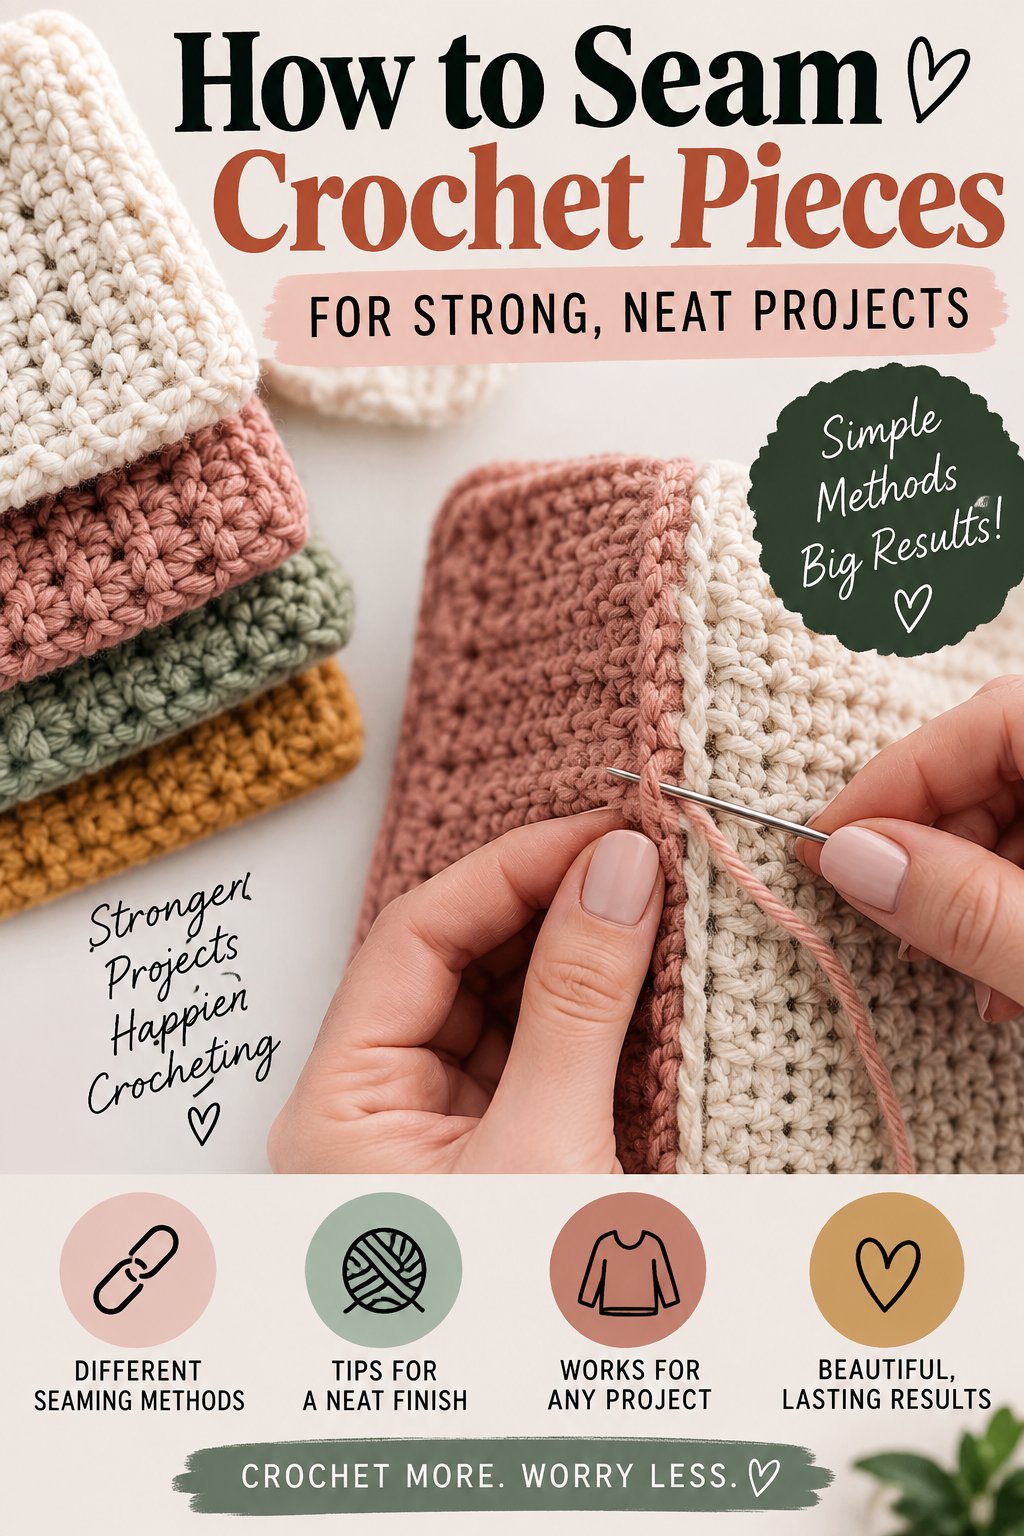
How to seam crochet pieces means joining separate crocheted panels, motifs, or garment parts with a yarn needle or crochet hook so the connection holds its shape, matches the fabric, and suits the project’s intended stretch and appearance. The best seam depends on stitch structure, edge counts, yarn weight, visibility, and washing conditions.
Key Facts / Quick Answer
Use mattress stitch for a low-visibility garment seam, whipstitch for a fast flexible assembly, and slip stitch or single crochet for structured or decorative joins.
Block pieces before joining so dimensions and row ends align accurately.
Cut approximately 3 times the seam length for most sewn joins and 4 times the seam length for mattress stitch.
Typical basic tool costs run from $2-$8 USD, excluding yarn.
Place locking stitch markers every 2 inches and match stitch counts before sewing.
A shoulder seam commonly takes 5-10 minutes; a large blanket assembly can take 2-5 hours.
What Does Seaming Crochet Pieces Do?
Seaming crochet pieces creates a controlled connection between separate fabric sections, stabilizing their edges while distributing pulling force across multiple stitches. A sound seam prevents gaps, twisting, edge stretching, and shape distortion during use or washing.
Crochet fabric has directional structure. A row edge presents horizontal bars or loops, while a stitch edge presents vertical columns and side loops. Seaming works when the joining method follows that structure rather than forcing identical-looking loops into an unsuitable path.
The joint can be soft, firm, flat, raised, visible, reversible, or nearly hidden. A sweater side seam usually needs low bulk and moderate flexibility, while a tote bag panel benefits from a firmer connection that resists load.
A seam also changes the finished dimensions. A 1/4-inch to 1/2-inch seam allowance on two garment panels can reduce the finished width by 1/2 inch to 1 inch. Measure after joining when fit matters.
How Does a Crochet Seam Work?
A crochet seam works by passing yarn through selected loops or edge spaces on two pieces, then tightening each connection until the edges touch without puckering. The yarn path determines the seam’s strength, visibility, flexibility, and thickness.
Before joining, identify the right side, wrong side, top edge, bottom edge, and direction of each piece. Lay both sections flat with corresponding edges aligned. If one piece has 40 stitches and the other has 36, do not begin sewing immediately because the mismatch will create gathers or a loose section.
Use a blunt tapestry needle for sewn joins. A crochet hook is more practical for slip stitch and single crochet joins, particularly when the working yarn remains attached to one panel.
Match the Correct Edge Structure
| Edge being joined | Typical feature | Pickup target | Common project |
|---|---|---|---|
| Stitch side to stitch side | Vertical stitch columns | One loop or both loops per stitch | Sweater side seam |
| Row end to row end | Horizontal turning-chain bars | One bar per row end | Blanket strip |
| Motif edge to motif edge | Chain spaces or stitch tops | Matching spaces or loops | Granny-square blanket |
| Shaped edge to shaped edge | Increases or decreases | Marked shaping points | Sleeve cap |
For stitch-to-stitch seams, count the stitches on both edges. For row-end seams, count rows rather than stitches. A single crochet row often produces a denser edge than a double crochet row, so a one-for-one pickup can distort the joint even when the visible lengths appear similar.
Should You Block Before Joining?
Blocking before seaming is the most reliable way to align crochet pieces because it establishes consistent dimensions and straightens curled edges. Wet-block animal fibers when the pattern and fiber permit it; steam-block acrylic cautiously because excessive heat can permanently flatten or melt the fabric.
Pin the pieces to the intended measurement, then allow them to dry fully. For a 10-inch square, confirm both pieces measure 10 inches after blocking, rather than assuming identical stitch counts guarantee identical dimensions.
A practical test is to place the edges together and insert a marker through both layers every 2 inches. If the markers drift by more than one stitch or 1/4 inch, correct the alignment before sewing.
Which Crochet Seaming Method Should You Use?
The four principal options are mattress stitch, whipstitch, slip stitch join, and single crochet join. Mattress stitch gives the least visible result, while single crochet creates the most obvious ridge and the greatest structural definition.
- Mattress stitch: low-visibility sewn seam for garments and matched stitch columns.
- Whipstitch: fast edge-wrapping seam for motifs, blankets, and simple assemblies.
- Slip stitch join: hook-worked connection with a flatter profile and useful flexibility.
- Single crochet join: raised, stable ridge for decorative contrast and firm panels.
| Method | Typical time per 10 inches | Visibility | Stretch and bulk | Best application |
|---|---|---|---|---|
| Mattress stitch | 5-8 minutes | Low on right side | Medium stretch, low bulk | Sweater sides and sleeves |
| Whipstitch | 3-5 minutes | Medium to high | Low stretch, low to medium bulk | Granny squares and blankets |
| Slip stitch join | 4-7 minutes | Medium | Medium to high stretch, low bulk | Garments and flexible motifs |
| Single crochet join | 5-9 minutes | High raised ridge | Low stretch, medium bulk | Bags and decorative panels |
When Should You Use Mattress Stitch?
Use mattress stitch when two fabric edges have matching stitch columns and the seam should recede visually. The method is especially effective on single crochet, half-double crochet, and double crochet panels with stable side edges.
Place the pieces right side up and side by side. Insert the needle under the corresponding horizontal bar on one side, then under the matching bar on the other side. Alternate sides for several passes, and tighten the yarn gradually after every 2-3 inches.
Mattress stitch is not ideal for highly uneven row ends or fabrics that need substantial expansion. Tightening too aggressively pulls the edge columns inward and produces a visible ridge or puckered center.
When Is Whipstitch the Better Choice?
Whipstitch is the quickest sewn method because the needle passes diagonally over the outer edges of both pieces. It works well when the seam will be visible as part of the design or when exact loop matching would consume unnecessary time.
Keep each pass the same distance from the edge, usually about 1/4 inch for medium-weight yarn. A consistent entry point creates a regular seam; random insertion points cause alternating tight and loose sections.
Whipstitch has limited elasticity. Avoid it across a neckline, waistband, or other opening that must expand over the body unless the fabric itself has enough give and the seam is tested first.
How Do You Make a Slip Stitch Join?
A slip stitch join connects two pieces with a crochet hook by drawing yarn through selected loops on both edges. Insert the hook into the corresponding loops, yarn over, and pull through both pieces and the loop on the hook.
Work from the wrong side when you want the ridge hidden, or from the right side when you want a deliberate chain-like line. Use a hook one size larger than the hook used for the fabric if the join feels rigid.
Slip stitch joins can become tight because every completed stitch locks the two edges together. Keep the working yarn relaxed and check the seam after every 5-6 stitches. This method is useful for stretchier garments, but it is less visually discreet than a well-executed mattress stitch.
How Does a Single Crochet Join Add Structure?
A single crochet join places a complete row of single crochet along the meeting edges, producing a raised ridge on one side. The ridge can separate color blocks, strengthen a bag, or provide a clear design line between blanket motifs.
Hold the pieces with the chosen sides facing outward. Insert the hook through the matching loops or edge spaces, yarn over, pull up a loop through both layers, yarn over again, and draw through both loops.
Single crochet consumes more yarn and adds width. A 20-inch join may use 25-40 yards of medium-weight yarn depending on stitch spacing and tension, so plan the joining color before beginning a large project.
How to Seam Crochet Pieces Step by Step
The following workflow produces the most consistent results because preparation solves alignment problems before the first joining stitch. Allow 15-25 minutes for blocking and setup, then add the method-specific sewing time.
- Wash or block the pieces. Use the care method appropriate for the fiber, and let every section dry completely.
- Confirm orientation. Mark the right side, top edge, center point, and any increases or decreases with removable markers.
- Count both edges. Record stitch count for stitch edges and row count for row edges.
- Choose the seam. Select low bulk for garments, flexibility for openings, and a raised join for decorative or load-bearing work.
- Cut the joining yarn. Use 3 times the seam length for most sewn joins and 4 times for mattress stitch.
- Secure alignment. Pin or clip every 2 inches, with extra markers at corners and shaping points.
- Join in short sections. Work 2-3 inches, then inspect the front and back before continuing.
- Set the tension. Tighten until the edges meet, not until the fabric compresses.
- Reinforce stress points. Add two or three extra passes at shoulders, bag handles, armholes, and corners.
- Weave the tail. Hide the end through several stitch paths, reverse direction, and trim only after the seam survives a gentle pull test.
What Yarn Length Should You Cut?
A typical 10-inch seam needs 30 inches of yarn for whipstitch or a similar sewn join and about 40 inches for mattress stitch. Longer tails reduce knots but become harder to control, especially in fuzzy or split yarn.
| Seam length | Standard tail at 3x | Mattress tail at 4x | Typical sewing time |
|---|---|---|---|
| 10 inches | 30 inches | 40 inches | 3-8 minutes |
| 20 inches | 60 inches | 80 inches | 6-16 minutes |
| 30 inches | 90 inches | 120 inches | 9-24 minutes |
| 40 inches | 120 inches | 160 inches | 12-32 minutes |
For seams longer than 40 inches, divide the work into sections rather than forcing one very long tail. A manageable 24-inch tail reduces tangling and limits abrasion through the yarn fibers.
How Many Stitches Should You Join?
Join corresponding stitches when both edges have equal counts. When counts differ slightly, distribute the difference across the full seam rather than placing all extra stitches in one area.
| Edge condition | Example counts | Adjustment method | Expected result |
|---|---|---|---|
| Exact match | 40 to 40 stitches | Join one to one | Flat alignment |
| Small mismatch | 40 to 38 stitches | Skip two pickups evenly | Mild ease |
| Row-to-stitch join | 24 rows to 30 stitches | Join 5 stitches across 4 rows | Balanced edge |
| Shaped mismatch | 40 to 32 stitches | Follow marked decreases | Controlled shaping |
Do not force a 40-stitch edge onto a 32-stitch edge by skipping eight stitches at one corner. That creates a visible wedge and concentrates stress where the project is least stable.
What Tools, Cost, and Time Do You Need?
Basic crochet seaming requires a blunt tapestry needle, scissors, stitch markers, measuring tools, and clips or pins. Typical basic tool costs total $2-$8 USD when purchased as low-cost individual tools or in a small kit.
| Tool | Typical USD cost | Useful specification | Replacement interval |
|---|---|---|---|
| Blunt tapestry needles | $1-$4 | Size 13-18 for medium yarn | 1-3 years |
| Small scissors | $2-$8 | 3-5-inch blades | 2-5 years |
| Locking stitch markers | $2-$6 | 10-20 markers per set | 1-3 years |
| Measuring tape | $1-$5 | 60-inch flexible tape | 3-10 years |
| Sewing clips or pins | $3-$10 | 10-20 clips or 30 pins | 2-5 years |
These are typical retail ranges in the United States, not fixed prices. A project using bulky yarn may need a larger tapestry needle, while lace yarn needs a finer needle with an eye that does not split the strand.
A standard sweater shoulder seam commonly takes 5-10 minutes after alignment. A full blanket layout can take 2-5 hours, depending on motif count, joining method, and the number of ends requiring weaving.
| Project | Typical seam count | Assembly time | Planning note |
|---|---|---|---|
| Two-panel scarf | 1-2 seams | 10-25 minutes | Low shaping |
| Sweater shoulders and sides | 4-8 seams | 30-90 minutes | Test stretch first |
| 25-motif blanket | 24-30 joins | 2-4 hours | Arrange colors before joining |
| 50-motif blanket | 49-60 joins | 4-8 hours | Work in strips |
| Two-panel tote bag | 3-5 seams | 30-75 minutes | Reinforce corners and handles |
Which Join Fits Each Project?
The best joining method is determined by the project’s load, movement, edge structure, and visual design. A seam that looks attractive on a blanket can fail on a shoulder because blanket assemblies rarely experience the same repeated directional stress.
| Project situation | Preferred join | Why it fits | Avoid when |
|---|---|---|---|
| Sweater side seam | Mattress stitch | Low bulk and moderate flexibility | Edges have unequal row counts |
| Shoulder seam | Mattress stitch with reinforcement | Clean line with added strength | Fabric is extremely loose |
| Granny-square blanket | Whipstitch or slip stitch | Efficient motif assembly | A completely invisible join is required |
| Tote bag panels | Single crochet join | Firm ridge and stable edge | Seam bulk affects lining |
| Stuffed toy limbs | Whipstitch with back passes | Strong enclosed connection | Yarn is fragile or loosely spun |
| Stretch neckline | Slip stitch join | Better movement than whipstitch | A flat invisible finish is essential |
Should You Sew or Crochet the Join?
Sewn joins offer greater control over tension and usually create less bulk, while hook-worked joins are faster to repeat and easier to undo one stitch at a time. Choose sewing for tailored garments and crochet joining for modular blankets or decorative panel systems.
A hook-based join also keeps the working yarn active, which reduces tail management. That advantage disappears when pieces must be turned repeatedly or when the joining yarn differs from the project yarn.
Avoid joining when the pattern calls for a continuous round or seamless construction. Adding a seam to a circular yoke, amigurumi sphere, or top-down sleeve can create a ridge that changes the intended fit and stitch direction.
How Do Fiber and Yarn Weight Change the Seam?
Fiber behavior changes how a seam responds to washing, friction, weight, and temperature. Wool can relax and blend after blocking, cotton can remain firm and show tension errors, and acrylic can retain a flattened shape after heat exposure.
Use the same yarn for the seam when possible. A thinner sewing thread can cut through crochet loops under tension, while a much thicker joining yarn can create a hard ridge that prevents the fabric from draping.
For slippery rayon or bamboo blends, use shorter sewing passes and secure tails through more stitch paths. For fuzzy mohair or brushed acrylic, pull gently because repeated unpicking can permanently disturb the halo.
What Happens When Edges Are Uneven?
Uneven edges usually result from different row heights, inconsistent turning chains, skipped edge stitches, or gauge changes. Trim only when the design allows it, because cutting crochet fabric removes the structural loop that prevents unraveling.
First, identify whether the mismatch is dimensional or count-based. If both pieces have 30 rows but one measures 11 inches and the other measures 10 inches, redistribute ease rather than skipping rows.
Pin the longer edge with a small amount of ease. Place the extra length across several sections, keeping corners and shaping points aligned. This approach prevents one large gather and produces a controlled, nearly invisible adjustment.
How Can You Fix a Puckered Seam?
A puckered seam is caused by excess joining tension, too many pickups, or a mismatch between the seam yarn and fabric weight. Unpick the last 4-6 inches, relax the yarn path, and resew while checking the fabric after every 2 inches.
Do not try to flatten severe puckering with steam alone. Heat may change the surrounding crochet while leaving the over-tight seam unchanged.
A useful practitioner rule is to lift the joined fabric by the seam after every section. If the fabric hangs naturally, tension is usually appropriate. If the seam forms a cord or the panels cup inward, loosen it immediately.
How Do You Reinforce High-Stress Areas?
Reinforce shoulders, bag handles, armholes, corners, and stuffed-toy attachments with a second pass or a short backstitch section. Reinforcement should spread force across nearby stitches rather than create one rigid anchor point.
For a bag handle, sew through at least 1-1/2 inches of attachment area and make two crossing passes. For a shoulder seam, reinforce the outer 1-2 inches near the armhole because that zone receives repeated pulling during dressing.
Test the finished seam before weaving in all ends. Apply a gentle pull comparable to the project’s use, then inspect for widening loops, broken fibers, or edge separation.
What Mistakes Reduce Seam Quality?
The most damaging mistakes are excessive tension, inaccurate alignment, unsuitable yarn, and hidden count mismatches. Each error produces a different symptom, so diagnosis should come before repair.
| Symptom | Likely cause | Immediate correction | Preventive rule |
|---|---|---|---|
| Fabric puckers | Yarn pulled too tightly | Unpick 4-6 inches | Tighten only until edges touch |
| Visible gaps | Loose or widely spaced passes | Add closer pickups | Keep spacing within 1/4 inch |
| Twisted panels | Wrong-side orientation changed | Lay pieces flat again | Mark right sides first |
| Uneven garment length | Rows joined out of sequence | Match markers and shaping | Align centers before edges |
| Hard ridge | Thick yarn or tight hook join | Change yarn or hook size | Test a 2-inch sample |
| Frayed seam yarn | Excessive needle passes | Replace damaged section | Use blunt needle and short tails |
Thin sewing thread is unsuitable for most crochet seams because its narrow profile concentrates force on individual yarn fibers. The seam may look neat initially, then cut through loops after wear or laundering.
The mistake most people make is tightening by sight alone. Crochet fabric often looks loose before the final shaping settles, so judge tension by how the joined fabric hangs and stretches, not by how compact the seam appears.
How Do You Finish and Wash a Joined Project?
Weave each tail through several nearby stitch paths, change direction once, and trim close without cutting the joining loops. Finishing should secure the end while preserving the fabric’s movement.
For washable projects, make a small seam sample and launder it using the intended water temperature, agitation, drying method, and detergent. The seam may shrink, relax, felt, or flatten differently from the main fabric.
| Test condition | Typical setting | Inspect for | Decision |
|---|---|---|---|
| Hand wash | Cool water, 10 minutes | Color bleed and relaxation | Use for delicate wool |
| Machine wash | Cold, gentle cycle | Stretch and seam opening | Use for stable cotton |
| Air dry | Flat, 12-24 hours | Dimensional change | Best for blocked garments |
| Low tumble dry | 20-40 minutes | Shrinkage and heat effects | Test acrylic and cotton first |
A washing test is especially valuable when the pieces use different dye lots, fibers, or brands. Matching color does not guarantee matching shrinkage.
Frequently Asked Questions About How to Seam Crochet Pieces
Can I Seam Crochet Pieces Without Blocking?
You can seam unblocked crochet pieces, but alignment and finished dimensions are less predictable. Blocking is most useful for garments, square motifs, and panels with curled edges. For a small toy or casual scarf, finger-shaping and clips may be sufficient if both edges already match.
Which Side Should Face Up During Seaming?
The correct side depends on the method and desired appearance. Mattress stitch is commonly worked with the right sides facing up so the seam disappears between stitch columns, while slip stitch and single crochet joins can be worked from either side to place the ridge deliberately.
Can I Join Crochet Pieces Made With Different Yarn Weights?
Different yarn weights can be joined, but the transition will usually show through thickness, stretch, or edge height. Match the stitch counts, use the thinner yarn for controlled pickup, and test a short section before committing to the full seam.
How Do I Seam Crochet Squares With Unequal Stitch Counts?
Mark the center and quarter points on both squares, then distribute extra stitches across the matching sections. Do not concentrate skipped stitches at one corner. A small difference can be eased gradually, while a large difference usually requires an added border round.
Is a Crochet Join Stronger Than a Sewn Seam?
A crochet join is not automatically stronger than a sewn seam. Strength depends on loop selection, yarn durability, stitch spacing, and reinforcement. A carefully tensioned mattress stitch can outperform a tight slip stitch join because it spreads force across longer edge paths.
How Do I Undo a Crochet Seam?
Undo the seam from the most recently finished section, pulling the joining yarn gently while holding the fabric loops in place. Work backward in 2-4-inch sections, and stop if the yarn begins to felt or snag. Photograph the stitch path before removal when the method is unfamiliar.
Conclusion
How to seam crochet pieces successfully requires more than attaching two edges. Block first, count stitches or rows, select a join that matches the project’s movement and load, leave a 3x or 4x yarn tail, and tighten only until the fabric meets naturally. Test stress points and washing behavior before final finishing.