

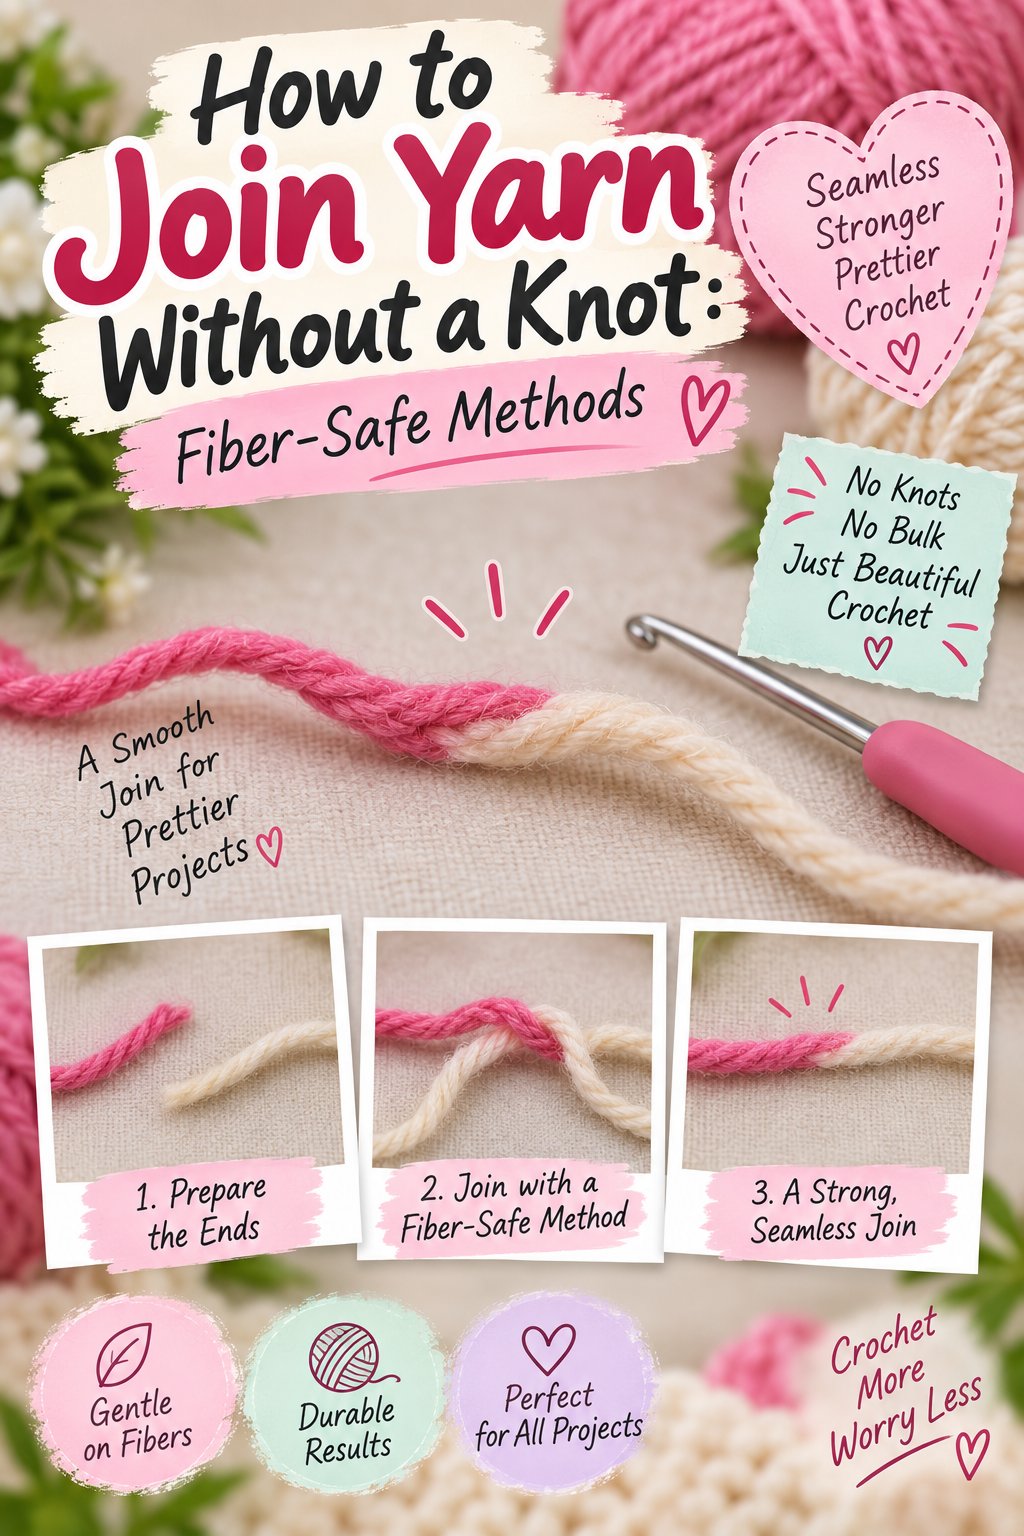
How to join yarn without a knot means connecting two yarn ends into one continuous working strand without leaving a hard lump or exposed knot. The best join depends on fiber, ply, yarn size, and project stress: use a Russian Join for many synthetics, a felted splice for non-superwash wool, and an overlap or braided join for slippery plant fibers.
Key Facts and Quick Answer
- A Russian Join usually takes 2-4 inches of tail and 2-4 minutes with a tapestry needle.
- A felted, or spit, splice works reliably only when wool or another animal fiber can felt.
- Superwash wool, cotton, linen, silk, and smooth acrylic generally need a structural join rather than felting.
- Weaving the old and new strands together for 4-6 stitches is the fastest reversible option.
- A finished connection should be pulled firmly and inspected before more fabric is made.
- Typical tool cost is $0 if you already own a tapestry needle; a new needle usually costs $2-$8.
What Does a Knotless Yarn Join Do?
A knotless yarn join replaces a tied obstruction with friction, interlocked plies, felted fibers, or a controlled overlap. The connection should preserve the fabric’s thickness, survive ordinary handling, and avoid loose tails that can work free during washing or wear.
A knot is simple, but its compact mass can create a bump in a sweater, sock, scarf, or blanket. Knots can also loosen when smooth fibers slide against one another. A knotless connection spreads the transition over a longer section, so the added thickness is less concentrated.
The term “knotless” does not mean every join is invisible or permanent. A Russian Join can show as a slightly firm section in laceweight yarn, while an overlap join may be removable but leave four to six doubled stitches. The correct goal is a secure transition appropriate to the fabric.
What a Knotless Join Is Not
A knotless join is not a substitute for weaving every remaining end into the fabric. Most methods secure the two working strands, but short fibers can still protrude. After the project is finished, weave any remaining tails through nearby stitches according to the fiber and stitch pattern.
A join is also not automatically stronger than the original yarn. Yarn strength varies with fiber length, twist, ply count, moisture, abrasion, and direction of force. The practical standard is adequate security in the finished fabric, not an unsupported universal strength percentage.
How Does Fiber Change the Best Joining Method?
Fiber determines whether the connection can rely on felting or must rely on mechanical structure. Wool fibers have microscopic scales that can interlock under moisture, heat, and friction, while cotton, linen, silk, and many acrylics require overlapping plies or stitches.
Choose by Fiber and Yarn Construction
| Yarn profile | Preferred join | Typical tail or overlap | Main limitation |
|---|---|---|---|
| 100% non-superwash wool | Felted splice | 1.5-2 inches | Fails if fibers do not felt |
| Superwash merino | Russian Join | 2-4 inches | Can slip if tails are too short |
| Acrylic, 4-ply worsted | Russian Join | 2-3 inches | Doubled section may stiffen |
| Cotton or linen | Braided or overlap join | 3-4 inches | Low elasticity increases bulk |
| Silk or smooth rayon | Overlap or woven join | 4-6 stitches | Smooth surface encourages sliding |
| Mohair or alpaca blend | Test felted splice first | 1.5-2 inches | Fiber blend may not lock evenly |
Fiber labels deserve attention. “Wool blend” does not guarantee a felted splice because a high percentage of nylon, acrylic, or superwash-treated wool can prevent dependable bonding. When the label is unclear, sacrifice a short sample and test the method before joining inside the project.
Which Method Fits Common Projects?
| Project situation | Preferred method | Typical time | Reason |
|---|---|---|---|
| Machine-washed acrylic blanket | Russian Join | 2-4 minutes | Interlocks plies without depending on felting |
| Heirloom wool sweater | Felted splice | 45-90 seconds | Produces a soft, low-bulk transition |
| Cotton dishcloth | Braided join | 1-3 minutes | Adds structure to a nonfelting fiber |
| Lace shawl | Short overlap or careful Russian Join | 2-4 minutes | Limits a thick spot in fine stitches |
| Colorwork mitten | Weave as you go | 30-60 seconds | Places the transition inside a dense fabric area |
| Smooth silk scarf | Long woven overlap | 2-4 minutes | Reduces the chance of withdrawal under tension |
How to Make a Russian Join
A Russian Join interlocks each yarn tail inside its own plies and passes the other strand through the resulting loop. The method suits many plied yarns, including acrylic and superwash wool, but it adds a short doubled section and needs enough tail for secure insertion.
Use a blunt tapestry needle for most yarns. A sharp needle can split fibers unpredictably, although a fine sharp needle may help with tightly twisted fingering yarn. Keep 2-4 inches of tail on both strands.
- Thread one tail through the needle.
- Insert the needle between the plies of the same strand, beginning about 1 inch from its end.
- Run the needle inside the yarn for roughly 1.5-2 inches, leaving a loop near the entry point.
- Pull the needle through, then pass the second yarn strand through that loop.
- Thread the second tail and insert the needle into its own plies for a matching distance.
- Pull both strands gently until the internal loops close and the join lies straight.
- Smooth the plies in their original twist direction.
- Tug the working yarn several times, then trim protruding fibers only after the join holds.
The needle should travel inside the yarn rather than emerge repeatedly through the surface. Multiple punctures can weaken a fine strand and create visible fuzz. If the yarn has only two large plies, insert between them and avoid splitting individual fibers.
Russian Join Measurements
| Yarn size | Internal insertion | Tail needed | Visual risk |
|---|---|---|---|
| Laceweight | 1-1.5 inches | 2 inches | Enlarged stitches |
| Fingering | 1.5-2 inches | 2.5 inches | Slight stiffness |
| Worsted | 2 inches | 3 inches | Low in textured fabric |
| Bulky | 2-3 inches | 4 inches | Noticeable thick zone |
A Russian Join is poorly suited to single-ply, chainette, tape, and loosely spun yarn unless a sample proves it secure. The needle can pull the core apart instead of creating a stable internal passage. For those constructions, use a longer woven overlap or join at a dense stitch transition.
When Should You Use a Felted or Spit Splice?
A felted splice works when animal-fiber scales catch and lock together through controlled moisture and friction. Use it for suitable non-superwash wool, alpaca, or other feltable fibers, but never assume that every wool label will bond reliably.
The traditional name refers to saliva, but clean water is sufficient and preferable for many makers. Saliva adds no special mechanical requirement, and water avoids transferring food residue or microorganisms into a project that may contact skin.
- Overlap the two yarn ends by about 1.5-2 inches.
- Untwist and separate the final inch or two of each end.
- Taper both ends by removing a small amount of fiber, not by cutting a blunt edge.
- Dampen the fibers lightly with water.
- Place the tapered ends across each other in your palm.
- Rub the palms together for 20-60 seconds, using firm pressure.
- Pull gently to test the bond before returning to the project.
- Allow the area to dry if the yarn is visibly damp.
Do not soak the yarn. Excess water lubricates the fibers and reduces friction, while moderate moisture helps the scales move and catch. Heat from hand friction matters, but high external heat can shrink wool unevenly or damage blends.
Felted Splice Compatibility
| Fiber treatment | Felting likelihood | Water amount | Recommended action |
|---|---|---|---|
| Non-superwash wool | High | Few drops | Use a felted splice |
| Superwash wool | Low or inconsistent | Few drops | Use a Russian Join |
| Alpaca blend | Variable | Few drops | Test a sample first |
| Mohair blend | Variable | Few drops | Test before joining |
| Acrylic | None | Not applicable | Use structural joining |
| Cotton | None | Not applicable | Use braid or overlap |
A felted splice can fail after repeated tension if too little fiber was overlapped. It can also become a hard nub if the ends were not tapered. The practitioner’s rule is simple: remove fibers gradually, then add friction gradually. A blunt, full-thickness overlap creates a thick patch instead of a flexible bond.
How Do Braided and Overlap Joins Work?
Braided and overlap joins secure yarn through lengthwise structure rather than felting. They work well with cotton, linen, silk, rayon, and slippery synthetics, although the doubled area must be placed where extra thickness will not distort the fabric.
For a braided join, separate 2-3 inches of plies from both yarn ends. Arrange the plies into a compact braid or plait, then smooth the connection and continue working. Three or more distinct groups make a more stable braid than simply twisting two loose tails together.
A simpler option is to overlap the old and new strands and work them together for 4-6 stitches. This “weave as you go” approach is fast and reversible, but the doubled section can enlarge stitches, especially in stockinette, single crochet, and lace.
| Join style | Working overlap | Reversibility | Best placement |
|---|---|---|---|
| Three-section braid | 2-3 inches | Moderate | Dense fabric |
| Two-strand overlap | 4-6 stitches | High | Textured stitch pattern |
| Long woven overlap | 6-10 stitches | Moderate | Smooth, slippery yarn |
| Russian Join | 1.5-2 inch internal paths | Low | General plied yarn |
For crochet, work the old and new yarn together through the tops of several stitches, then stop using the old strand. For knitting, carry both strands through the selected stitches while maintaining the same tension as neighboring stitches. The connection should not be tightened separately, because a tight join creates a puckered section.
What Is the Fastest Safe Way to Join Yarn?
The fastest broadly compatible method is weaving the old and new strands together for 4-6 stitches. The fastest permanent method is a felted splice on suitable wool, which typically takes 45-90 seconds when the ends are already separated.
| Method | Typical execution time | Extra tool | Typical material cost |
|---|---|---|---|
| Felted splice | 45-90 seconds | Water | $0 |
| Weave as you go | 30-60 seconds | None | $0 |
| Russian Join | 2-4 minutes | Tapestry needle | $0-$8 |
| Braided join | 1-3 minutes | None | $0 |
| Long woven overlap | 2-4 minutes | Tapestry needle | $0-$8 |
Speed should not determine the choice by itself. A 30-second overlap may need later reinforcement, while a three-minute Russian Join can eliminate separate tail weaving. The total finishing time includes inspection, trimming, washing, and repair if the connection slips.
How Strong, Bulky, and Reversible Are the Main Joins?
No single published strength percentage applies to every yarn join. Yarn manufacturers and textile laboratories test specific yarn constructions under defined conditions, while home joins vary with tail length, tension, fiber treatment, and stitch placement.
| Method | Typical security | Added thickness | Can it be undone? |
|---|---|---|---|
| Felted splice | High on feltable wool | Very low | No, usually |
| Russian Join | High when tails exceed 2 inches | Low to medium | Rarely |
| Braided join | Medium to high | Low to medium | Sometimes |
| Weave as you go | Medium | Medium for 4-6 stitches | Yes |
| Long woven overlap | Medium | Medium | Sometimes |
Test security using the actual yarn. Pull the two working strands in opposite directions with moderate hand force for 10-15 seconds, then bend the joint repeatedly. If the join thins, slides, or exposes a tail, undo it before continuing.
How Much Yarn Does a Join Consume?
Most knotless joins consume 2-4 inches from each yarn end. Fine yarn may need less, while bulky, smooth, or loosely spun yarn benefits from 4-6 inches because a longer transition spreads stress and reduces withdrawal.
A join made inside a blanket can tolerate more bulk than one placed at the shoulder of a fitted sweater. Plan extra yarn when calculating yardage because repeated failed tests can consume several inches per attempt.
Where Should You Place a Yarn Join?
Place a connection in a low-stress, visually interrupted area whenever the method adds thickness or stiffness. In knitting, a textured column, purl valley, side seam, or underarm often hides a transition better than the center of smooth stockinette.
In crochet, place joins near a side edge, stitch transition, or dense textured section. Avoid putting a doubled overlap at the point of a fitted garment’s greatest stretch, such as an elbow, cuff opening, sock heel, or neckline.
| Project area | Preferred placement | Method to avoid |
|---|---|---|
| Sweater shoulder | Side seam or textured section | Bulky overlap in smooth stockinette |
| Sock heel | Dense heel flap edge | Short slippery overlap |
| Lace shawl center | Row edge or hidden decrease area | Full-thickness braid |
| Blanket field | Any textured or low-visibility area | None, after sample testing |
| Ribbed cuff | Purl valley or side seam | Stiff Russian Join across stretch |
What About Colorwork and Color Changes?
A yarn join should not create a thickness change directly at a color boundary. Begin the new color where the stitch pattern can hide the transition, then weave each tail into its matching color field after the fabric is complete.
For stranded colorwork, a short overlap can interfere with floats and make one stitch pull tight. A Russian Join may also create a visible nub against a contrasting background. Leave longer tails, carry the new color normally for several stitches, and secure the ends where the surrounding color disguises them.
What Problems Happen After Joining?
Most failures come from unsuitable fiber, insufficient overlap, premature trimming, or uneven tension. The visible symptom usually identifies the cause before the project needs to be unraveled.
| Symptom | Likely cause | Immediate fix | Better method |
|---|---|---|---|
| Join pulls apart | Tail under 2 inches | Rejoin with longer tails | Russian or braided join |
| Hard lump appears | Ends were not tapered | Remove and remake | Felted splice or overlap |
| Wool splice slides | Superwash treatment | Stop rubbing and test | Russian Join |
| Stitch becomes oversized | Doubled yarn in fine fabric | Undo nearby stitches | Shorter overlap |
| Tail pokes out | Internal path too shallow | Reinsert deeper | Russian Join |
| Join twists the fabric | Strands held at different tension | Relax and smooth | Weave as you go |
The most common Russian Join mistake is trimming before tensioning. Once a short tail disappears inside the plies, it cannot be pulled back to length. Close the internal loops, tug the working yarn, smooth the twist, and trim last.
The most common felted-splice mistake is treating superwash wool like untreated wool. Superwash processing reduces the surface-scale behavior that felting depends on, so moisture and hand friction may produce a damp sliding overlap rather than a bond.
How Should You Test a Join Before Continuing?
A ten-second test can prevent several inches of wasted yarn and a difficult repair. Make the proposed join on a scrap or with the project strands, then pull, bend, and inspect it under the same conditions the finished fabric will experience.
Use this test sequence:
- Pull the strands in opposite directions for 10-15 seconds.
- Bend the connection sharply in both directions five times.
- Rub the join between your fingers to check for a hard nub.
- Work four nearby stitches and compare their size with the previous stitches.
- Wet and dry a spare sample if the item will be washed.
- Reject the join if it slips, sheds loose fiber, or changes gauge visibly.
A washing test is especially important for baby blankets, socks, dishcloths, and machine-washable garments. Wash a sample using the intended water temperature, detergent, agitation, and dryer treatment. A connection that survives only gentle hand handling is unsuitable for a high-stress washable item.
Frequently Asked Questions About How to Join Yarn Without a Knot
Can I join yarn in the middle of a row?
Yes, but place the connection where nearby texture or a seam can conceal any change in thickness. For smooth fabric, join near an edge when possible, and work several stitches with even tension before checking the transition.
Is a Russian Join suitable for crochet?
Yes. A Russian Join works particularly well for plied crochet yarn because the connection is made before the next stitch. Keep the internal paths smooth, then crochet normally without tightening the joined area separately.
Can I wash a garment with a knotless join?
Most properly tested joins can be washed, but the fiber and method must match the care label. Test acrylic, superwash, and plant-fiber joins in a swatch because agitation can expose a short tail or loosen a smooth overlap.
How do I join very bulky yarn?
Use a longer, tapered overlap or a carefully separated braid over approximately 4-6 inches. A standard Russian Join can create excessive thickness in bulky yarn, while a full-thickness overlap may produce a visible lump.
Can I undo a felted splice?
Usually no. Moisture and friction interlock the fibers permanently enough that separating them damages the yarn. If reversibility matters, use a 4-6 stitch overlap or a loosely woven join instead.
Why does my yarn join keep slipping?
Slipping usually indicates a smooth fiber, a short tail, insufficient internal insertion, or inadequate felting. Rejoin with longer tails, choose a structural method, and perform the pull-and-bend test before adding more stitches.
Conclusion
How to join yarn without a knot is a fiber-selection problem before it is a technique problem. Choose a felted splice for tested non-superwash wool, a Russian Join for many plied synthetic and treated-wool yarns, and a braided or woven overlap for smooth plant fibers. Use 2-4 inch tails, protect the fabric’s gauge, and test the connection before continuing.