

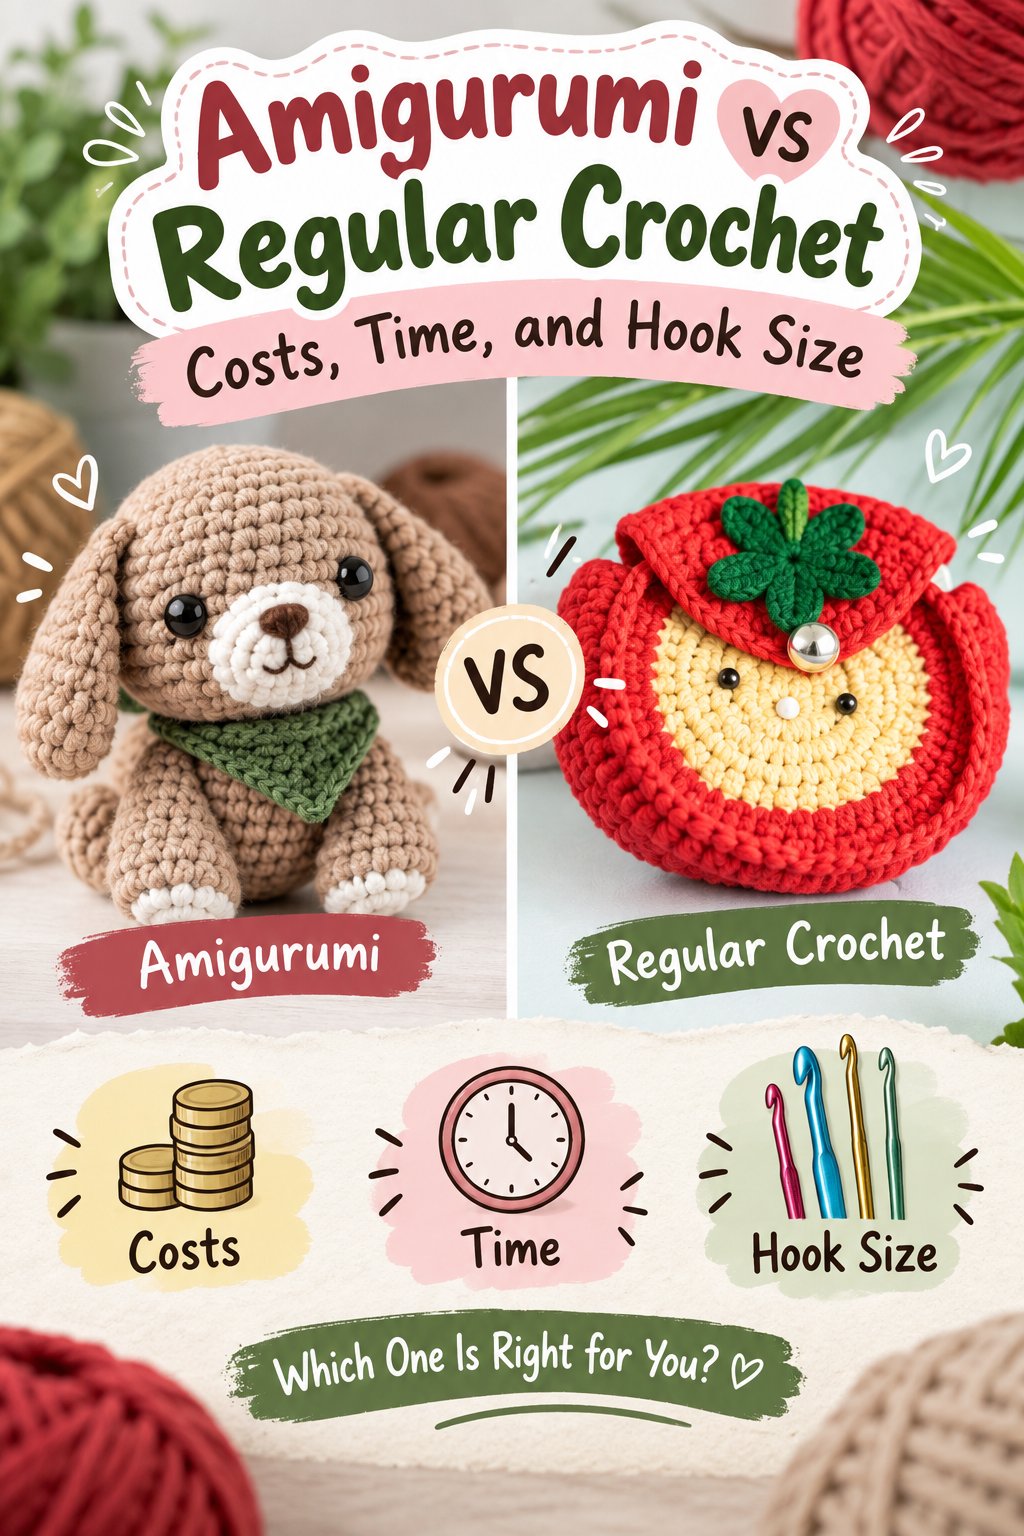
Amigurumi is a crochet project category that creates stuffed, three-dimensional figures with tight stitches, while regular crochet usually creates flexible fabric in flat rows or open rounds. Amigurumi relies on single crochet, continuous spirals, and carefully placed increases and decreases; regular crochet uses many stitch patterns to control drape, texture, stretch, and coverage.
Key Facts and Quick Answer
- Amigurumi uses crochet, but its construction goal is a firm stuffed form rather than a draping fabric.
- Most amigurumi uses single crochet in continuous rounds, while blankets and garments commonly use rows, joined rounds, or decorative stitch patterns.
- Typical amigurumi hooks are 2.0-3.5 mm, usually smaller than the hook printed on a yarn label.
- A small toy often takes 2-10 hours and costs approximately $5-$15 in consumable materials.
- A basic crochet setup commonly costs $15-$30 before specialty yarn, while a toy setup with stuffing and eyes often costs $20-$35.
- The best first choice depends on the object: choose fabric crochet for blankets and garments, and choose amigurumi for compact sculptural projects.
What Each Craft Actually Means
Regular crochet is the general method of interlocking yarn loops with one hook to create fabric. The resulting fabric can be dense, lacy, elastic, textured, reversible, flat, tubular, or shaped, depending on stitch selection, hook size, yarn, and construction direction.
Amigurumi is a specialized application of crochet that turns yarn into stuffed animals, dolls, food replicas, keychains, and decorative figures. The Japanese term combines ami, referring to knitted or crocheted work, with nuigurumi, meaning a stuffed doll or toy.
The distinction is therefore about purpose and structure. A crocheted cardigan and a crocheted bear use the same basic tool, but the cardigan needs comfortable drape and body measurements, while the bear needs compact fabric that contains fiberfill.
| Attribute | Regular crochet | Amigurumi |
|---|---|---|
| Primary result | Blanket, scarf, garment, basket, shawl | Stuffed animal, doll, food, figure |
| Fabric behavior | Flexible, draped, textured, or lacy | Firm, compact, shape-retaining |
| Main construction | Rows, joined rounds, panels, motifs | Continuous spiral rounds and 3D shaping |
| Typical priority | Drape, coverage, stitch design, fit | Tension, stitch count, stuffing containment |
| Common finishing | Blocking, seaming, edging | Assembly, embroidery, stuffing, safety features |
Regular crochet is better when the finished object must bend around a body or spread across a surface. Amigurumi is better when the object must maintain a recognizable volume after handling.
Is amigurumi a different craft?
Amigurumi is not a separate hook-based craft in the way knitting or needle felting is. It is a recognizable crochet discipline with its own conventions, including dense gauge, small hooks, spiral construction, sculptural increases, decreases, and stuffed assembly.
That distinction matters when buying supplies. An amigurumi pattern may use single crochet, half double crochet, or specialty techniques, but it still belongs to crochet. A person who understands chain, slip stitch, single crochet, and basic counting already has the mechanical foundation for many beginner toys.
How the Construction Mechanics Differ
Amigurumi creates volume by changing stitch counts across rounds. Adding stitches widens a sphere or body section, maintaining the count preserves a cylinder, and removing stitches narrows the form. Regular crochet more often repeats a row or round to build length and width.
The construction method changes the way mistakes appear. A missed stitch in a scarf may produce a slightly uneven edge; a missed stitch in a toy can shift the eye placement, distort the head, or prevent two limbs from matching.
Flat rows and joined rounds
Regular crochet commonly begins with a foundation chain and works back and forth. The crocheter turns after each row, uses a turning chain when required by the pattern, and controls width through a stable stitch count.
Open projects such as hats, coasters, and granny-square motifs may use rounds. A slip stitch closes each round, which creates a visible starting point but makes color changes and round counting easier.
Continuous spirals and shaping rounds
Amigurumi commonly begins with a magic ring, followed by a set number of single crochet stitches. The work continues in a spiral without joining each round, so the starting point rises gradually instead of creating a stacked seam.
A stitch marker identifies the first stitch of each round. Without one, the final stitch can blend into the next round, especially with dark cotton yarn or tight tension.
A typical shaping sequence might look like this:
- Make a magic ring with 6 single crochet stitches.
- Increase around the next round to reach 12 stitches.
- Alternate one single crochet and one increase to reach 18 stitches.
- Work several rounds at 18 stitches to create the widest section.
- Use invisible decreases to reduce the opening.
- Add stuffing gradually before the opening becomes too narrow.
- Close the remaining stitches and weave in the tail securely.
The exact sequence varies by pattern. The geometry remains consistent: increases expand the surface, plain rounds establish height, and decreases contract the surface.
| Construction feature | Typical regular crochet choice | Typical amigurumi choice | Practical consequence |
|---|---|---|---|
| Starting method | Foundation chain or adjustable ring | Magic ring with 6-8 stitches | Controls a flat edge or closed center |
| Round handling | Slip-stitch joins in many projects | Continuous spiral | Fewer seams, harder round tracking |
| Dominant stitch | Single, half double, double, treble, clusters | Single crochet | Dense fabric and predictable shaping |
| Shape control | Pattern repeats, panels, increases | Frequent increases and decreases | Three-dimensional forms |
| Counting method | Row count and edge stitches | Stitch marker and round count | Small errors affect symmetry |
Why the hook is usually smaller
Amigurumi uses a smaller hook than the yarn label often recommends because a larger hook creates larger gaps between stitches. Those gaps can expose polyester fiberfill and allow stuffing to migrate through the surface.
For example, a worsted-weight cotton yarn may list a 5.0 mm hook for a flexible fabric swatch, while an amigurumi pattern may specify 3.0-3.5 mm. The smaller hook increases resistance, so hand comfort and consistent tension become more important.
A very small hook is not automatically better. If the stitches become difficult to pull through, the yarn can split, the fabric can warp, and hand fatigue can reduce accuracy. The correct size is the smallest hook that produces closed stitches without damaging the yarn.
What Projects Suit Each Method?
Regular crochet suits objects that need area, movement, or wearability. Amigurumi suits objects that need volume, firmness, and visual character at a small scale.
Regular crochet project categories
- Blankets and afghans, often using 800-3,000 grams of yarn depending on size and fiber.
- Scarves, shawls, and cowls, commonly requiring 150-500 grams.
- Sweaters and cardigans, frequently requiring 800-1,500 grams.
- Baskets, storage bins, coasters, and table runners.
- Lace motifs, granny squares, market bags, and decorative home textiles.
Large fabric projects can be easier to pause because the construction remains repetitive. They can also require substantially more yarn and many more total hours than a small toy.
Amigurumi project categories
Amigurumi includes more than animals. Common forms include dolls, fruit, pastries, plants, insects, fantasy creatures, ornaments, and miniature household objects.
| Amigurumi type | Typical finished size | Typical time | Common materials |
|---|---|---|---|
| Keychain figure | 4-8 cm | 1-3 hours | Embroidery cotton, 1.5-2.5 mm hook, clasp |
| Small animal | 10-18 cm | 2-6 hours | Cotton or smooth acrylic, 2.5-3.5 mm hook, fiberfill |
| Jointed doll | 20-35 cm | 8-20 hours | Yarn, wire or discs, stuffing, embroidered details |
| Micro-amigurumi | 1-5 cm | 1-4 hours | Crochet thread, hook below 1.5 mm, fine needle |
| Large plush figure | 25-50 cm | 12-35 hours | Bulky yarn, large fiberfill quantity, reinforced seams |
These figures are typical planning ranges, not universal measurements. A color-changing dragon with embroidered scales can take longer than a single-color bear of the same size.
Cost, Time, and Tool Comparison
Regular crochet and amigurumi have similar entry costs, but amigurumi adds stuffing, eyes, embroidery materials, and assembly time. A person can begin fabric crochet with one hook, one yarn skein, and a pattern; a toy usually needs several small components even when the yarn quantity is modest.
| Expense category | Regular crochet starter | Amigurumi starter | Typical USD range |
|---|---|---|---|
| Aluminum or ergonomic hook | 1-3 hooks | 1-3 small hooks | $3-$18 |
| Initial yarn | 1-3 skeins | 2-5 colors or partial skeins | $5-$20 |
| Stitch marker | Optional at first | Strongly recommended | $1-$5 |
| Fiberfill stuffing | Not usually needed | 100-500 grams | $4-$12 |
| Safety eyes or alternatives | Not needed | Eyes, felt, or embroidery thread | $2-$8 |
| Digital or printed pattern | $0-$10 | $0-$10 | $0-$10 |
| Practical starting total | Basic fabric project | Basic stuffed project | $15-$35 |
Material cost does not measure labor fairly. One skein may produce several small figures, but each figure requires counting, shaping, stuffing, sewing, and finishing. A blanket consumes more yarn, yet its repetitive construction may require less finishing per gram.
| Project | Typical yarn quantity | Typical labor time | Typical material cost |
|---|---|---|---|
| Dishcloth | 40-80 g | 1-3 hours | $2-$6 |
| Adult scarf | 150-300 g | 5-15 hours | $8-$25 |
| Baby blanket | 600-1,200 g | 20-60 hours | $30-$100 |
| Small amigurumi bear | 50-120 g | 2-6 hours | $5-$15 |
| Detailed amigurumi doll | 150-350 g | 8-20 hours | $15-$40 |
What costs more for a small business?
Amigurumi often has low material consumption but high labor intensity. A maker selling a $25 toy may use only $6 of yarn, stuffing, eyes, and packaging, while spending four or more hours on production, assembly, photography, listing, and quality control.
Regular crochet has the opposite problem for large goods. A handmade blanket can require $50-$150 of yarn and dozens of hours, making retail pricing difficult unless the buyer understands handmade labor.
The bottleneck differs by product. Toy production is limited by shaping and assembly; blanket production is limited by yarn cost, repetitive hours, and physical storage.
Which Should a Beginner Choose?
A beginner should start with regular crochet if the goal is to build tension and stitch fluency with low shaping pressure. A beginner who is strongly motivated by toys can start with a simple amigurumi pattern after learning chain, slip stitch, single crochet, increases, decreases, and pattern counting.
A small dishcloth teaches turning, edge control, and consistent rows. A basic sphere teaches continuous rounds, stitch markers, stuffing pressure, and count accuracy. Neither route is universally superior.
| Beginner goal | Better first project | Reason | Next skill |
|---|---|---|---|
| Learn even tension | Dishcloth | Short rows expose uneven stitches | Consistent gauge |
| Make a wearable | Scarf | Repetition builds rhythm | Turning chains |
| Make a toy quickly | Simple ball | Few parts and clear shaping | Spiral counting |
| Practice color | Granny square | Small, repeatable motif | Joining and weaving |
| Build a character | One-piece animal | Immediate 3D result | Assembly and details |
Expert insight: The mistake most new amigurumi makers make is choosing a pattern by appearance rather than construction difficulty. A cute one-piece whale with six color changes may be easier than a realistic bear with separate ears, safety joints, embroidered facial features, and invisible seams.
Choosing Yarn, Hooks, and Stuffing
Smooth cotton and structured acrylic are common amigurumi choices because their stitches remain visible during counting. Cotton produces firm surfaces and crisp color, while acrylic usually offers more elasticity and lower cost.
Loose singles, eyelash yarn, mohair, and fuzzy chenille create different problems. Fuzz can hide the top loops needed for increases and decreases, while chenille can shed, stretch, or break at a tight stitch.
| Material choice | Strength | Limitation | Best use |
|---|---|---|---|
| 100% cotton | Crisp stitches, low fuzz | Limited stretch, can split | Detailed small toys |
| Smooth acrylic | Affordable, washable, forgiving | Softer stitch definition | Beginner plush figures |
| Chenille yarn | Soft, plush surface | Hidden stitches, seam visibility | Large simple plush |
| Crochet thread | Fine detail, miniature scale | Slow and demanding | Micro-amigurumi |
| Wool blend | Warm, resilient, elastic | Felting and care concerns | Decorative figures |
Polyester fiberfill should be added in small portions rather than one large handful. Firmly fill the center first, then distribute material toward the perimeter, checking that the fabric remains closed.
Understuffing creates collapse and wrinkles. Overstuffing stretches the stitch holes and can make the finished form feel hard. For a child-facing toy, embroidered eyes are safer than detachable safety eyes for children under three years, because safety eyes can become choking hazards if the attachment fails.
Washing instructions also affect material choice. Cotton may shrink or become less soft after washing, acrylic generally retains size better, and wool may felt with heat and agitation. A finished toy should carry care instructions when it is sold or gifted.
Common Failure Points and Their Fixes
Amigurumi errors usually come from stitch-count drift, unsuitable gauge, or uneven stuffing. Regular crochet errors more often affect edges, row height, turning chains, and fabric tension.
| Problem | Likely cause | Visible symptom | Practical fix |
|---|---|---|---|
| Stuffing shows | Hook too large or tension too loose | White fiberfill through holes | Drop hook size 0.5-1.0 mm |
| Sphere looks angular | Increases grouped in one area | Six or more visible corners | Offset increases or follow pattern |
| Head tilts | Unequal increases or assembly point | Face does not center | Mark facial axis before sewing |
| Toy feels lumpy | Stuffing added in large clumps | Hard and soft zones | Add small tufts gradually |
| Spiral seam rises | Continuous-round start shifts | Diagonal line at back | Move marker or use a joining method |
| Blanket edge widens | Extra stitch at row ends | Slanted or ruffled border | Count each row and mark first stitch |
Crocheting “inside out” is not always a technical error. The side facing outward changes the appearance of the V-shaped stitches, the curve of the rounds, and the way decreases sit. Most amigurumi patterns assume the right side faces outward, but some makers intentionally reverse it for a smoother or more textured surface.
Expert insight: Invisible decreases reduce holes and produce a cleaner contour when worked through the front loops of two stitches. They also concentrate tension, so forcing the hook through tight loops can split cotton; a slightly larger hook for the decrease alone may protect the yarn without opening the fabric noticeably.
Regular crochet has its own predictable traps. A skipped turning chain can remove a stitch from every row, and a missed final stitch can narrow a scarf gradually. Counting the first and last stitch of each row is more reliable than judging the edge by eye.
How It Compares With Knitting and Needle Felting
Amigurumi, fabric crochet, knitting, and needle felting solve different structural problems. Crochet builds with one hook, knitting creates connected columns with two needles, and needle felting compacts loose wool fibers with barbed needles.
| Method | Main tool | Typical surface | Best strength | Common limitation |
|---|---|---|---|---|
| Regular crochet | Single hook | Textured, flexible fabric | Fast shaping and repair | More bulk than knitting |
| Amigurumi | Small crochet hook | Dense stuffed shell | Compact 3D forms | High counting and sewing demand |
| Knitting | Two needles | Thin, flexible columns | Soft garments and socks | Dropped stitches can unravel |
| Needle felting | Barbed needle | Sculpted wool surface | Fine organic detail | Less washable and slower for repetition |
Knitting often produces thinner fabric with more natural stretch, which benefits socks, fitted sweaters, and fine hats. Crochet can build shape quickly and makes it easier to unravel back to a known point, although the resulting fabric may feel thicker.
Needle felting can create realistic noses, fur transitions, and irregular anatomy without visible crochet stitches. It requires sharp tools, loose wool, and controlled compression, and the finished object may not tolerate rough handling or repeated washing as well as a tightly crocheted shell.
Choose needle felting for a wool sculpture with blended contours. Choose amigurumi for repeatable characters, recognizable stitch structure, and forms that can be reconstructed from written rounds.
When Does Each Method Work Best?
Regular crochet works best when surface area, drape, or repeated motifs matter more than rigid shape. Amigurumi works best when a project must stand, sit, hold stuffing, or represent an object through volume.
Use regular crochet for:
- Blankets that need broad coverage.
- Garments that require measured ease and movement.
- Shawls and scarves where drape affects comfort.
- Baskets and mats where a broad, stable surface matters.
- Lace and decorative motifs where openings are part of the design.
Use amigurumi for:
- Small gifts that can be customized through color and facial details.
- Character design with separate limbs, ears, tails, or accessories.
- Educational models of animals, food, planets, or body parts.
- Collectible miniatures and keychains.
- Plush objects that need a firm, rounded silhouette.
Amigurumi is a poor choice for a lightweight, breathable sweater. Dense single crochet traps more air, uses more yarn per square inch, and creates a stiffer fabric than most garment constructions.
Regular crochet is a poor choice when an object must hold stuffing without a lining. Open lace stitches allow fiberfill to escape, while loose double crochet can distort under pressure.
Pattern Reading and Skill Transfer
Skills transfer between the two methods, but not evenly. Regular crochet teaches hook handling, yarn tension, stitch anatomy, and pattern abbreviations; amigurumi adds spatial reasoning, round tracking, assembly, and three-dimensional adjustment.
A useful learning order is:
- Make a foundation chain without twisting it.
- Practice single crochet in rows and count both edges.
- Add double crochet and understand turning-chain height.
- Work increases and decreases in flat fabric.
- Make a magic ring or use a chain-2 adjustable start.
- Crochet a sphere in continuous rounds.
- Stuff progressively and close the opening.
- Assemble a multi-part figure using pins before sewing.
A magic ring is efficient, but it is not mandatory. A chain-2 start with several single crochet stitches in the second chain can provide a workable closed center for beginners who cannot tighten a magic ring reliably.
Pattern abbreviations vary by region. In US terminology, “single crochet” is sc and “double crochet” is dc; UK patterns use different names for equivalent stitches. Confirm the pattern’s terminology before substituting a stitch.
Expert insight: Gauge measurements are interpreted differently in these crafts. A garment maker may prioritize stitches and rows per 10 cm, while an amigurumi maker prioritizes closed holes, finished proportions, and stitch count. A toy can be technically off-gauge yet successful if the parts match and the stuffing remains contained.
Frequently Asked Questions About Amigurumi vs Regular Crochet
Can regular crochet skills make amigurumi easier?
Yes. Chain, single crochet, increases, decreases, tension control, and pattern counting transfer directly into many amigurumi patterns. The new skills are spiral-round tracking, stuffing, part assembly, and spatial shaping. A crocheter who can maintain an even single crochet fabric can usually begin with a simple sphere or one-piece animal.
Why does stuffing come out of my crochet toy?
Stuffing usually escapes because the hook is too large, tension is too loose, the yarn is unusually thin, or the fabric has been overfilled. Try a hook 0.5-1.0 mm smaller, use smooth yarn, and add fiberfill gradually. If holes remain after adjustment, the pattern may require a denser yarn or lining.
Are safety eyes suitable for every amigurumi toy?
Safety eyes are not suitable for every recipient. They are convenient for older children and decorative figures, but embroidered eyes or securely sewn felt are safer for children under three years because detachable components can present a choking risk. Test each attachment by pulling firmly before gifting or selling the toy.
How do I wash a crocheted stuffed animal?
Check the yarn label, remove batteries or electronic parts, and protect loose embroidered details before washing. Hand washing in cool water is the safest general method, followed by towel pressing and air drying. Do not use high heat unless the fiber manufacturer specifically permits it, because stuffing can clump and fibers can shrink.
Can amigurumi be made with bulky or chenille yarn?
Yes, but bulky and chenille yarn make stitch counting harder because the loops are less visible. Use a simple pattern with fewer parts, mark every round, and choose a hook that closes the fabric without crushing the yarn. Large plush designs are more forgiving than miniature figures made from fuzzy yarn.
Which option is better for selling handmade items?
Amigurumi usually has lower material cost per item but higher labor per item, while blankets and garments consume more yarn and require substantial production time. Price either product by materials, labor hours, packaging, platform fees, and overhead. A small toy is easier to ship, but its assembly and finishing can determine profitability.
Final Decision
Amigurumi vs Regular Crochet is a choice between a sculptural project category and the broader practice of making crochet fabric. Choose regular crochet for blankets, garments, shawls, lace, and flexible home textiles; choose amigurumi for compact stuffed figures that depend on dense stitches, controlled shaping, and careful assembly.
The strongest starting point is the project you will finish. If you want to practice tension with minimal assembly, make a dishcloth or scarf. If a toy will keep you engaged, learn the basic stitches, use a stitch marker, select a smaller hook, and begin with a simple sphere before attempting a detailed character.