
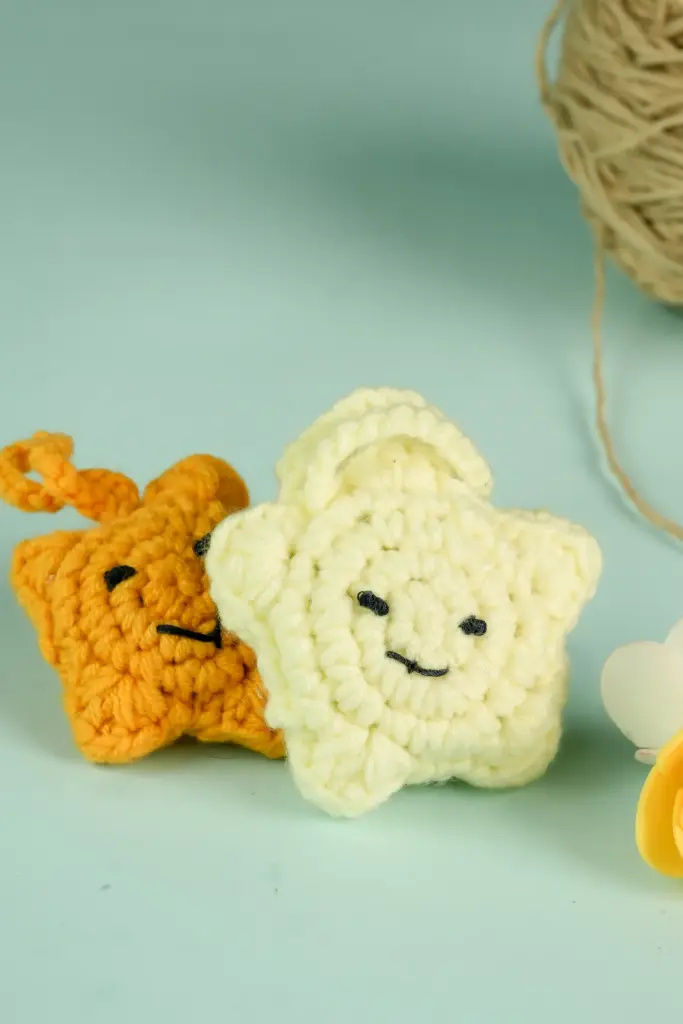
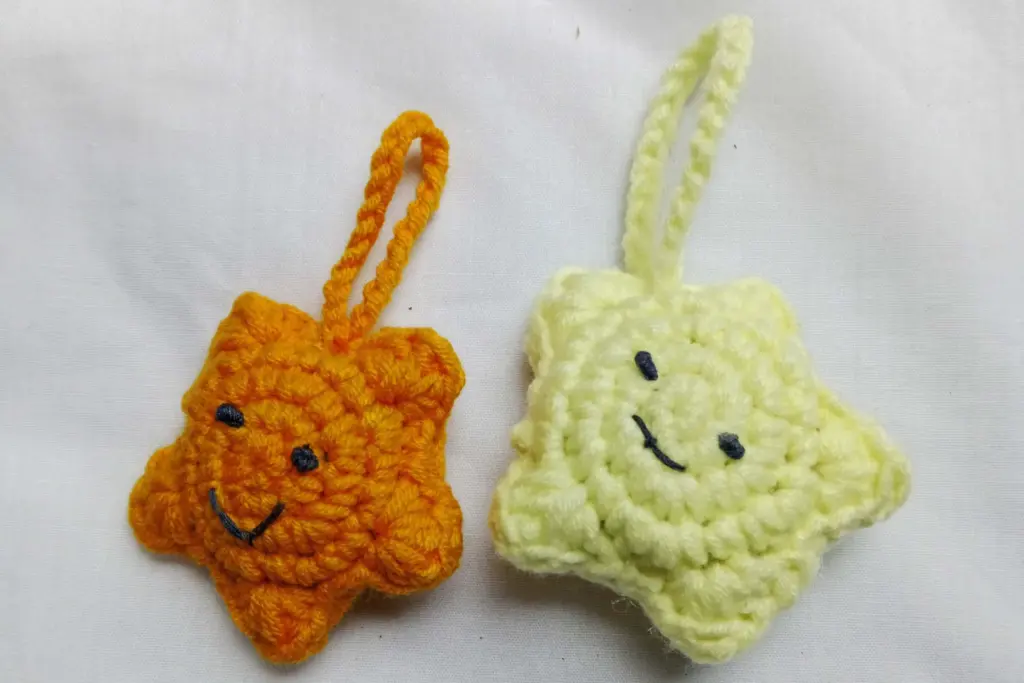
Creating a Crochet Star Keychain is a simple and rewarding project. Using just a bit of yarn and basic tools, you can make a soft, puffy star perfect for keys, bags, or gifts. This beginner-friendly pattern introduces working in the round, shaping, and finishing techniques, giving your star both structure and charm. Fun, quick, and functional, it’s the ideal project to start your crochet journey!
Materials Needed
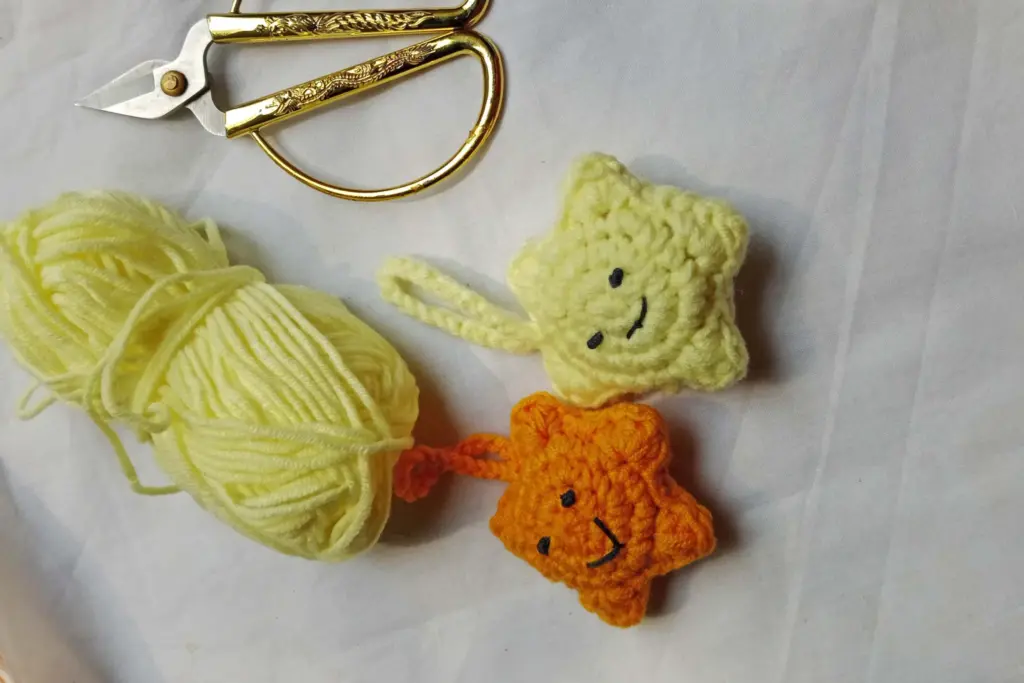
To complete this star keychain, gather the following tools and materials as shown in the tutorial:
- Medium-weight yarn (acrylic or cotton blend)
- Crochet hook (compatible with your yarn, often around 3mm to 4mm)
- Fiberfill or poly-stuffing for shape
- Two stitch markers
- Darning or tapestry needle for joining
- Scissors
- Optional keychain ring
- Optional ribbon or bow for decoration
These materials are easy to find and ideal for small-scale crochet projects. You can complete this project with leftover yarn scraps, making it both eco-friendly and cost-effective.
Abbreviations
All terms follow US crochet terminology:
- mr – magic ring
- sc – single crochet
- inc – increase
- slst – slip stitch
- ch – chain
- BLO – back loop only
- st – stitch
- rep – repeat
- FO – fasten off
These abbreviations help simplify the pattern instructions while keeping the steps concise and beginner-friendly.
Forming the Star’s Base
The base of the star begins as a soft, flat circle created through basic increases. This foundational shape provides the structure needed for the five points to attach evenly. A magic ring technique helps start the shape neatly from the center without any gaps, and increases are used to grow the size smoothly. Stitch markers are placed strategically to track progress and maintain consistency throughout.
Shaping the Center Panel
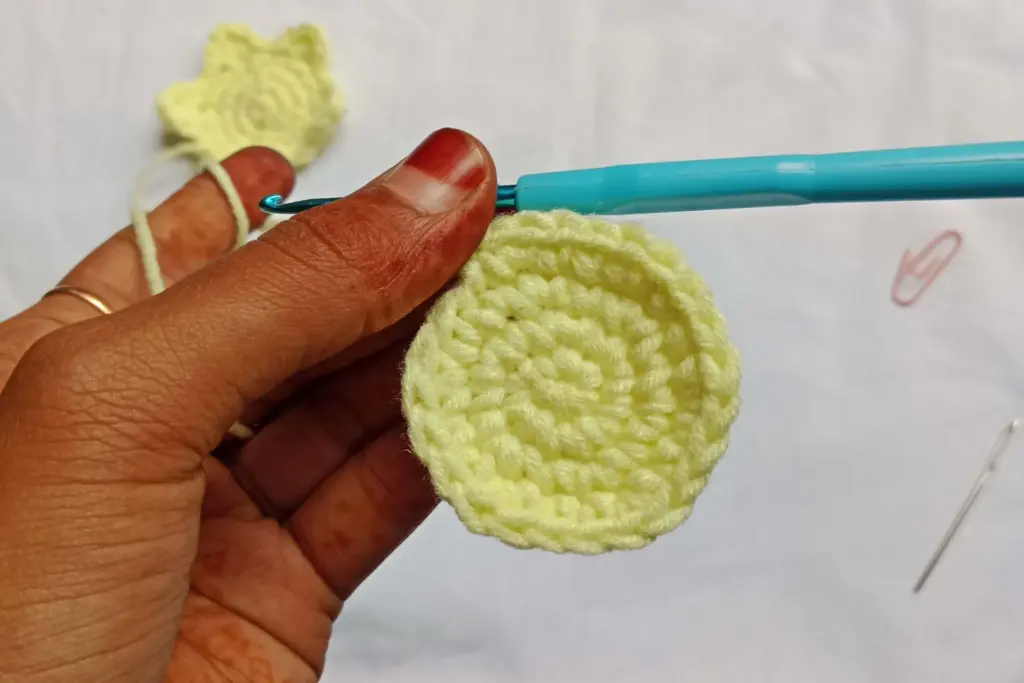
Once the flat base is formed, additional rounds build up the height while shaping the curves needed for a 3D look. The increases are spaced out with regular stitches, which help the circle maintain its form without curling. This section is particularly helpful for beginners who want to practice spacing and stitch count accuracy. It’s important to be consistent here, as this part supports the later dimensional shaping.
Creating Each Star Point
Each of the five star points is constructed separately from the outer edge of the center base. These segments are worked back and forth in rows, gradually decreasing in size to form a neat taper. Stitch markers are again used to indicate where each point begins and ends, preventing overlap or confusion. As each point is completed, yarn ends are either woven in or left for hiding between the layers during assembly. The repetition allows beginners to improve their control over shaping without learning new techniques.
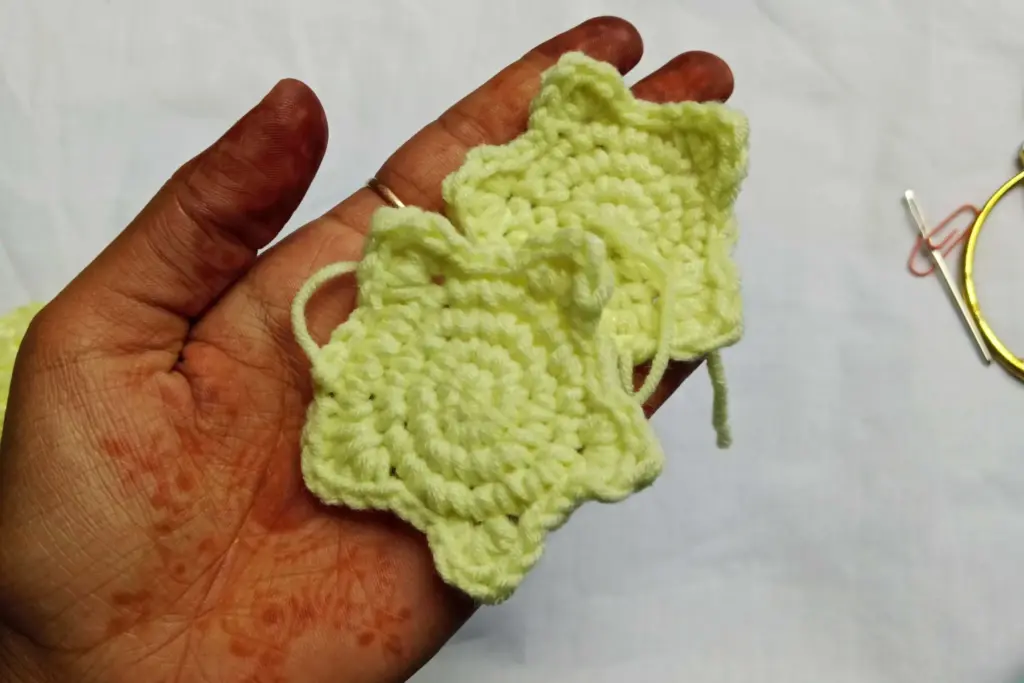
Making a Matching Second Side
To give the star its plush, reversible appearance, a second identical panel is created following the same steps. This part ensures the star has a back side that matches the front, giving it a more professional and finished look. Both pieces will later be joined and lightly stuffed, creating a puffy, durable charm. Consistency in stitch tension and alignment makes this part easier to join evenly in the final step.
Joining the Two Star Halves
With two identical star panels ready, the next step is joining them to create a single three-dimensional star. The joining is done using a darning needle and matching yarn. Stitches are aligned carefully so the points and curves of each half match. The joining technique uses only the back loops of each panel, giving a clean edge and a professional-looking seam. This method also helps hide imperfections and keeps the shape well-defined.
During this step, leave a small opening before completing the seam to allow for stuffing. It’s important to keep the tension even so the edges don’t buckle or stretch.
Stuffing and Closing the Star
Once the panels are mostly joined, the star is filled with soft stuffing. Begin by adding small amounts to each of the five points, making sure they’re plump but not overfilled. After shaping the tips, the center is gently filled to create a uniform appearance. The final stitches close the gap, and any excess yarn is hidden inside. This process gives the star its signature puffy look without losing its clean shape.
A little patience here goes a long way. Even stuffing and precise closing will result in a star that looks polished from all sides.
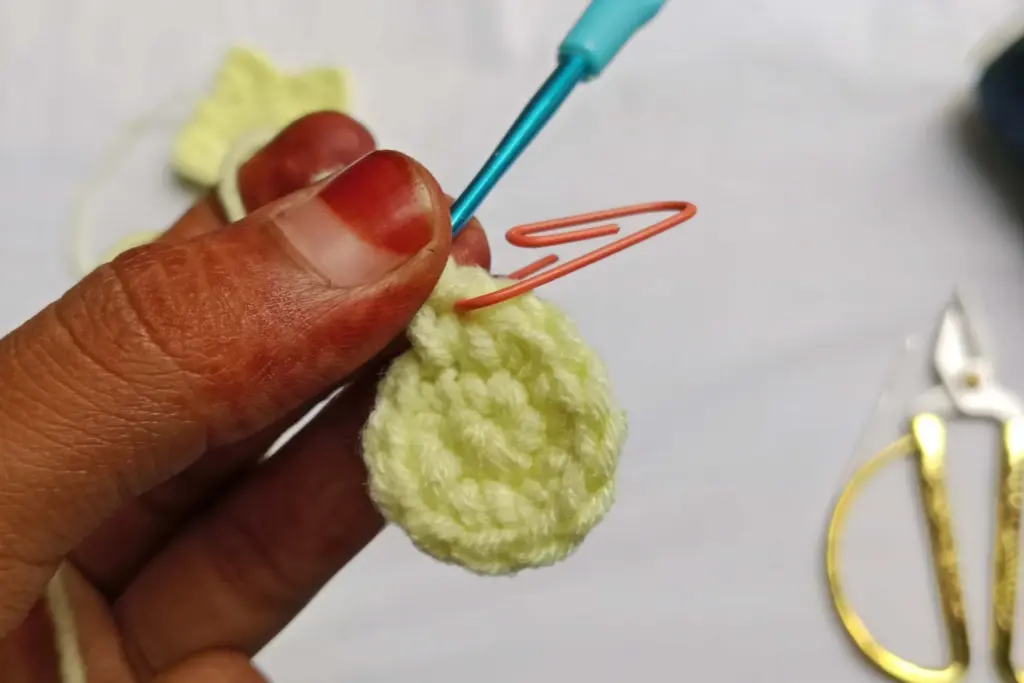
Edging and Smoothing the Shape
To enhance the overall finish, a round of surface crochet or single crochets may be added around the edge. This optional step smooths out uneven lines and reinforces the shape. By following the edge lines and carefully inserting the hook through natural gaps, the outline becomes more defined. This part also gives extra durability to the project, which is useful if the keychain will be used daily or gifted.
Even though it’s a small detail, this edge work is what gives the star that final handcrafted touch.
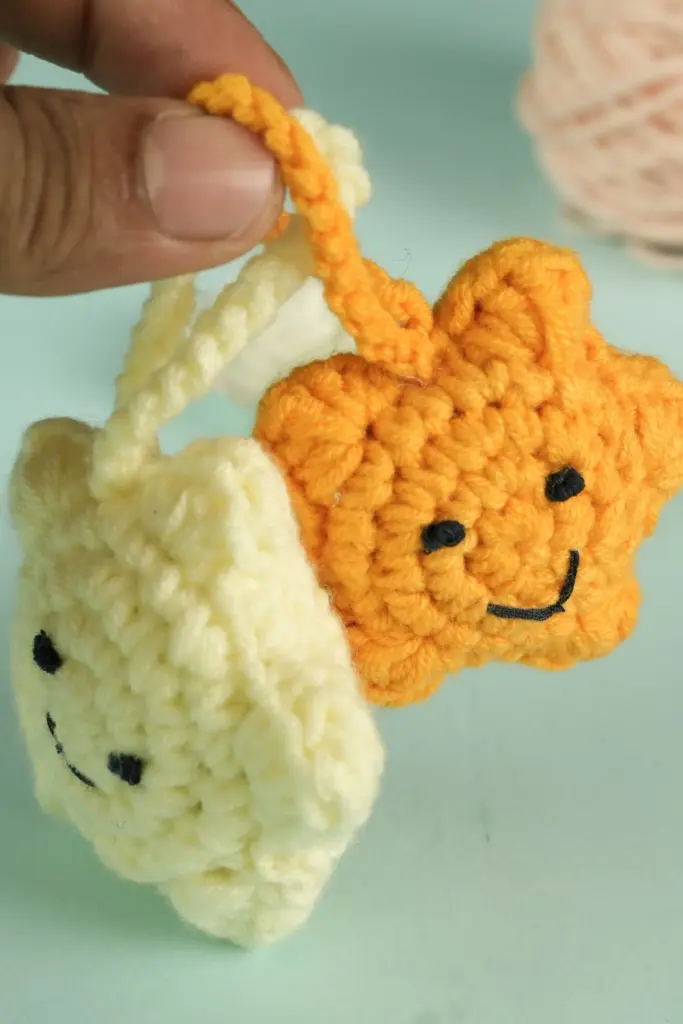
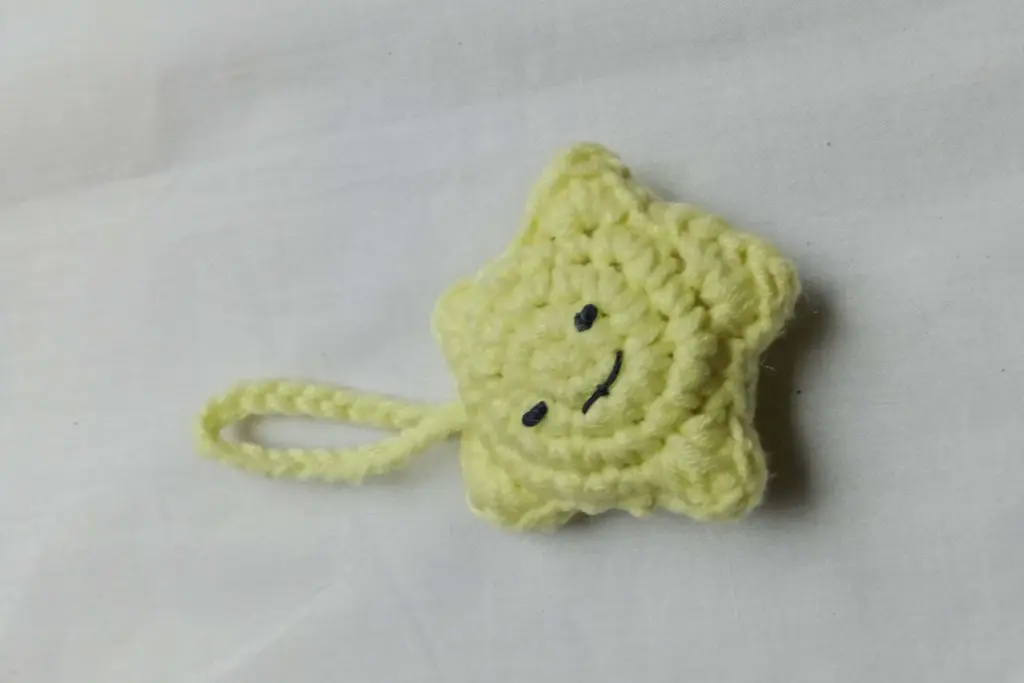
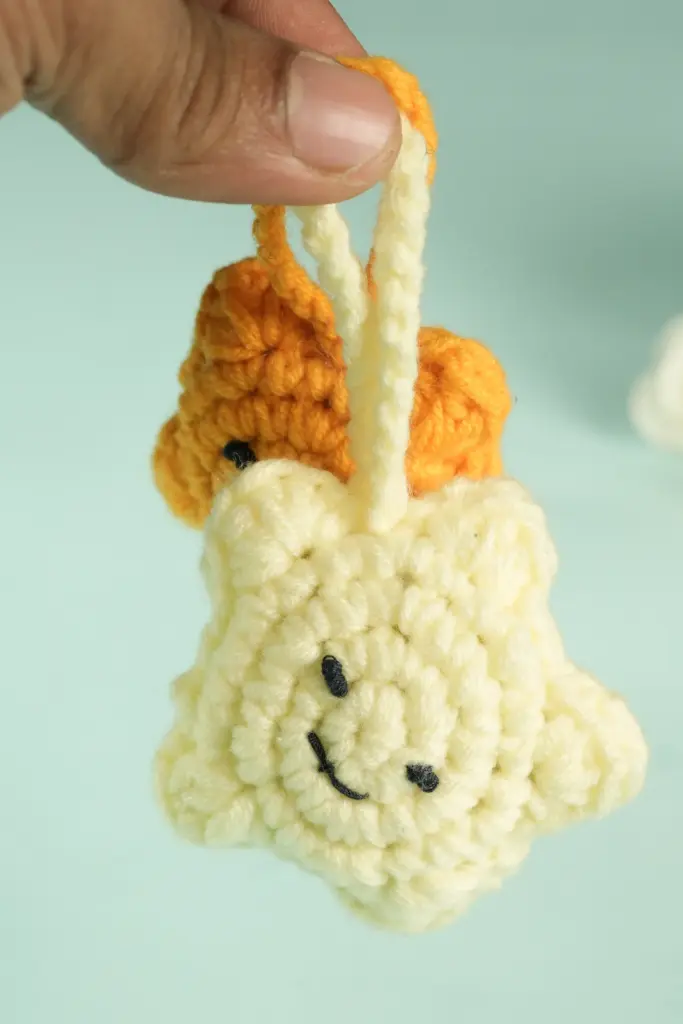
Adding the Keychain Strap
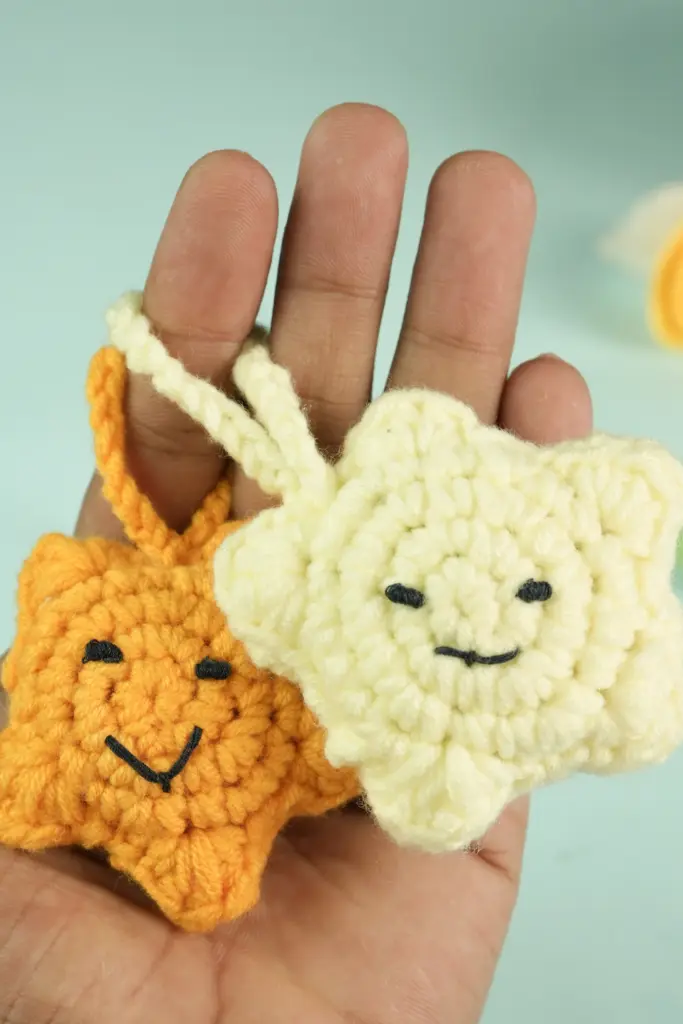
There are two ways to add a strap, giving you flexibility based on what you have on hand. One method uses a simple chain of yarn, attached at the top point of the star. After forming the chain to your preferred length, the ends are tied securely and hidden inside the body. This makes a soft, uniform strap using the same yarn as the body.
Alternatively, a metal keyring can be attached by threading it through the top or sewing it on with sturdy yarn. This method is great for creating a more durable or store-bought feel. Either option keeps the design lightweight and functional.
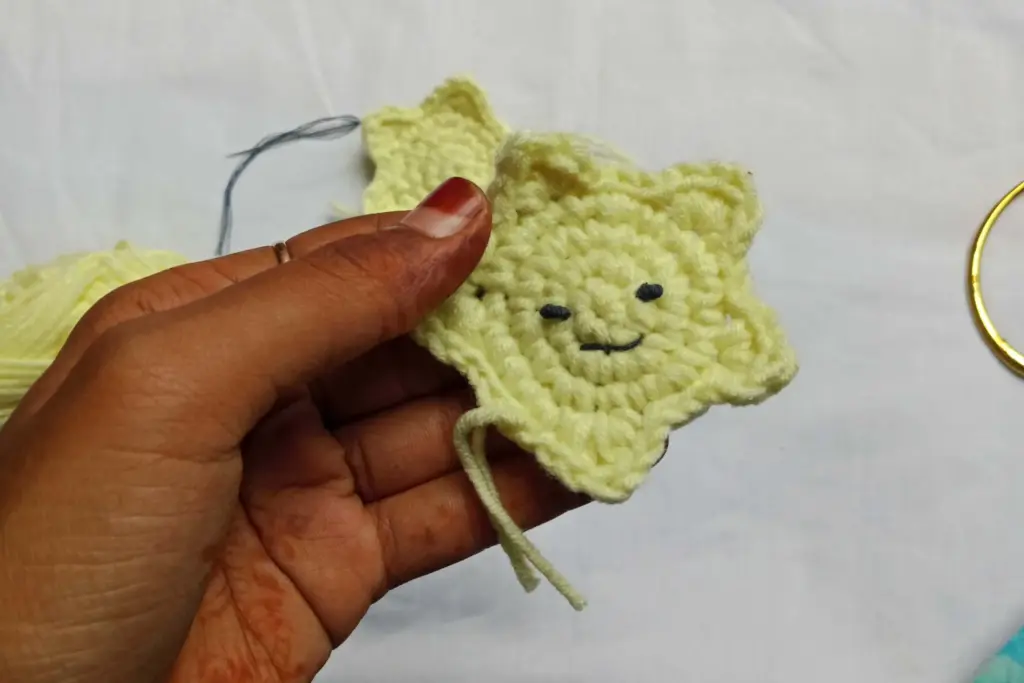
Decorating and Finishing Touches
To personalize your star, optional embellishments like bows or buttons can be added. In the original video tutorial, a small bow is placed in the center of the star, adding a decorative flair. You can also use safety eyes, fabric paint, or embroidery to give each star its own unique personality. While optional, these additions turn your handmade piece into a thoughtful, one-of-a-kind gift or keepsake.
Simple decorations make each star more memorable, especially when given as gifts during holidays or special events.
Star Keychain Size Guide
To help you plan your project, here’s a reference chart of approximate measurements for the finished star. These sizes may vary slightly depending on your yarn type and tension.
| Component | Approximate Size (cm) |
|---|---|
| Full star width | 8 – 9 cm |
| Individual point | 2.5 – 3 cm |
| Strap length (yarn) | 6 – 8 cm (adjustable) |
| Stuffed thickness | 2 – 3 cm |
This guide ensures a consistent look when making multiple stars or adjusting for different uses.
Final Thoughts and Beginner Tips
Crocheting a star keychain is a perfect entry point for beginners looking to build skills in shaping, joining, and working in rounds. The project is small enough to finish in one sitting but offers enough variety to stay engaging. From learning how to create a magic ring to shaping each point and adding details, it’s a complete experience wrapped into a playful star.
Tips for a smoother experience:
- Use stitch markers to stay on track, especially during the points
- Keep your tension even to ensure both panels match
- Don’t overstuff — a little filling goes a long way
- Try different yarn textures for unique finishes
- Make several stars to practice consistency
Whether you keep it for yourself or give it away, this tiny star is a reminder of what your hands can create with a little yarn and time. Once you’ve mastered one, making more becomes fast and fun—and you might just find yourself with a collection of colorful stars ready to brighten up any bag, backpack, or key set.