

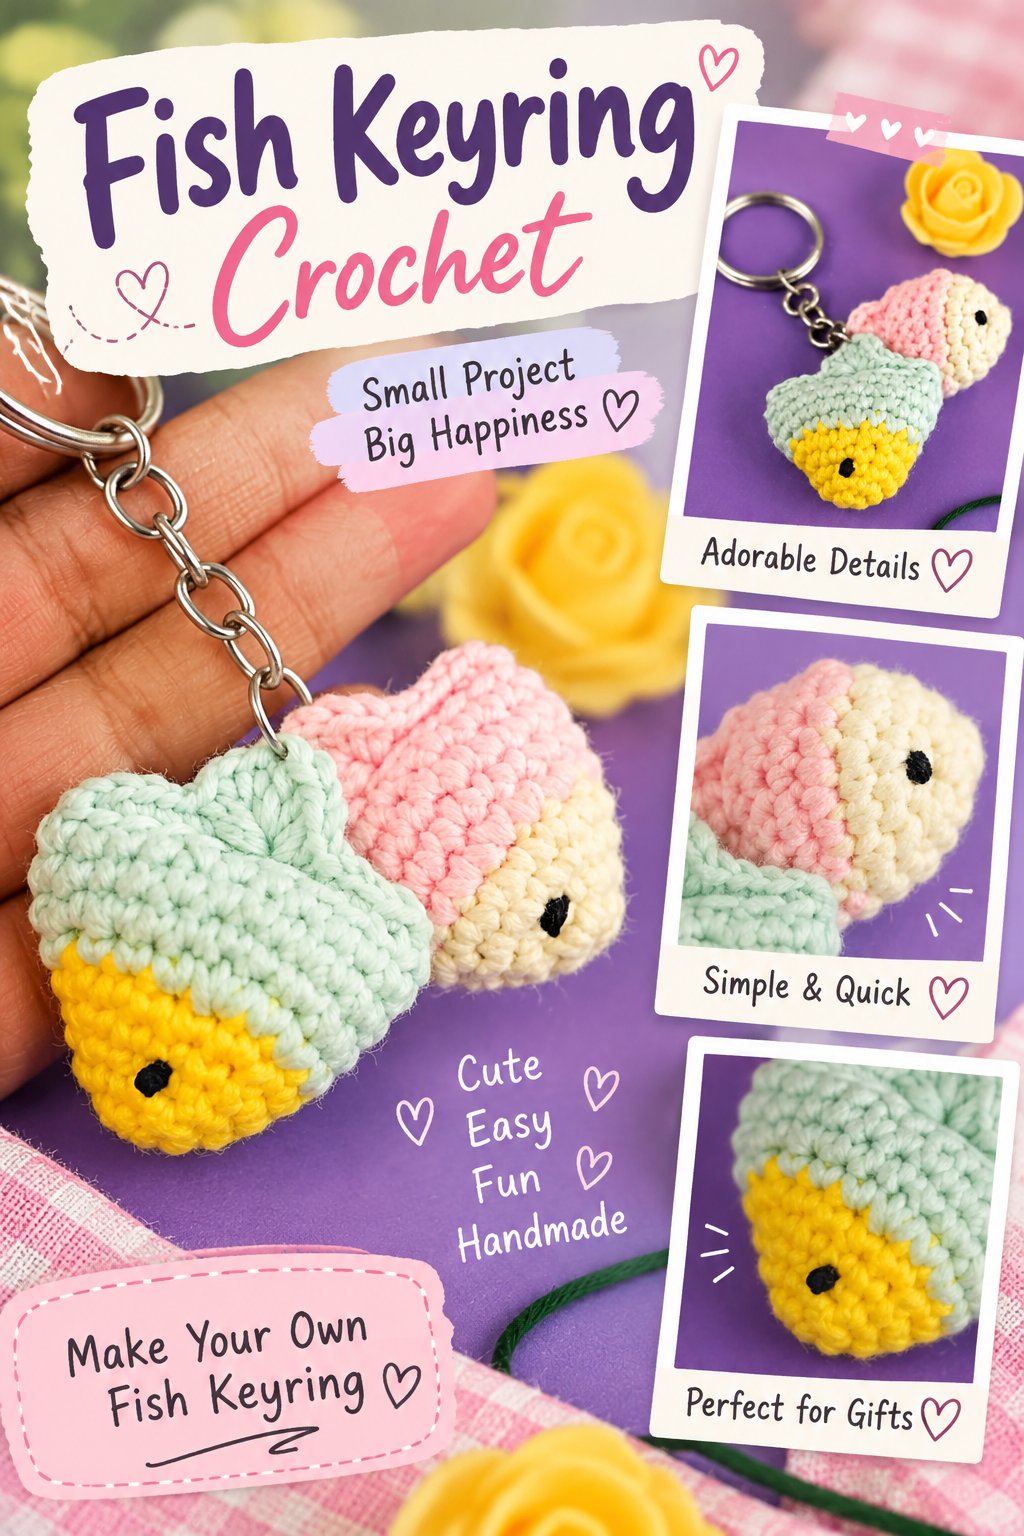
If you want a quick, charming project, a Fish Keyring Crochet is perfect! Ideal for brightening your keys or gifting to a friend, this soft, little fish is simple to make and fun to personalize with different colors. Using scrap yarn, you can explore basic shaping techniques while creating a cute, functional accessory.
Designed for beginners, this guide walks you step by step — from crocheting the fish shape to stuffing and adding finishing touches — resulting in a delightful keyring that’s both decorative and practical.
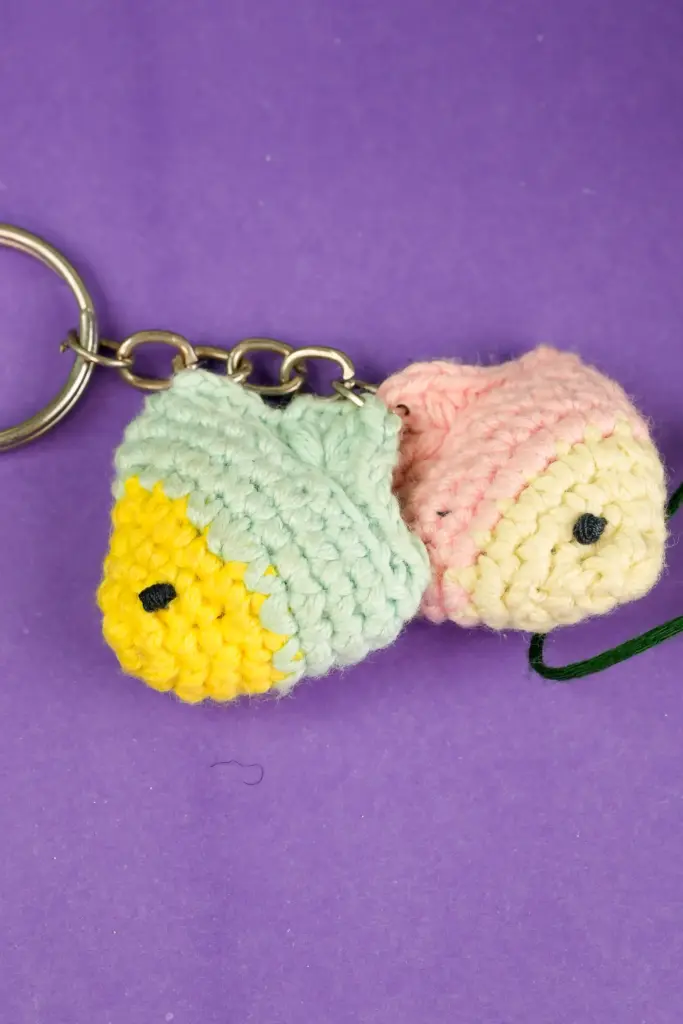
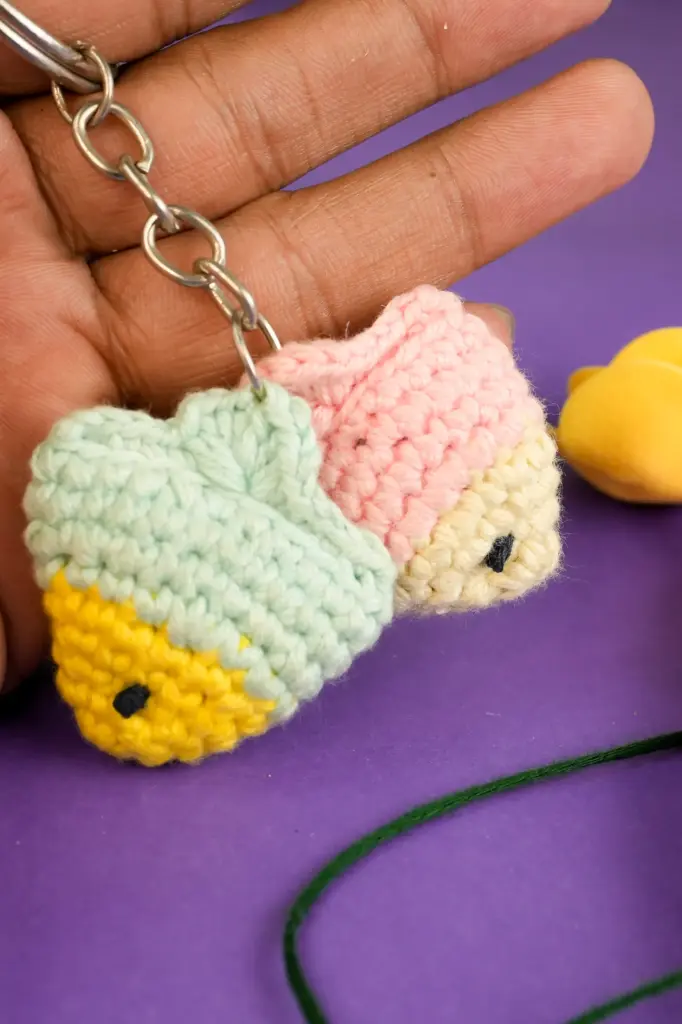
Materials Needed
Here’s a list of what you’ll need to complete your fish keyring project:
- Soft yarn in two contrasting shades (e.g., light and dark)
- Crochet hook appropriate for the yarn weight (around 3mm)
- Fiberfill or soft stuffing
- Plastic safety eyes (optional but recommended)
- Darning or tapestry needle
- Scissors
- Optional keyring hardware
These materials are easy to find and minimal in quantity, making the project budget-friendly and ideal for quick crafting sessions.
Abbreviations
These abbreviations follow US crochet terms commonly used in beginner-friendly patterns:
- MR – Magic Ring
- SC – Single Crochet
- INC – Increase
- HDC – Half Double Crochet
- CH – Chain
- BLO – Back Loop Only
- SLST – Slip Stitch
- [] – Stitch count at the end of a section
Starting With a Circular Base
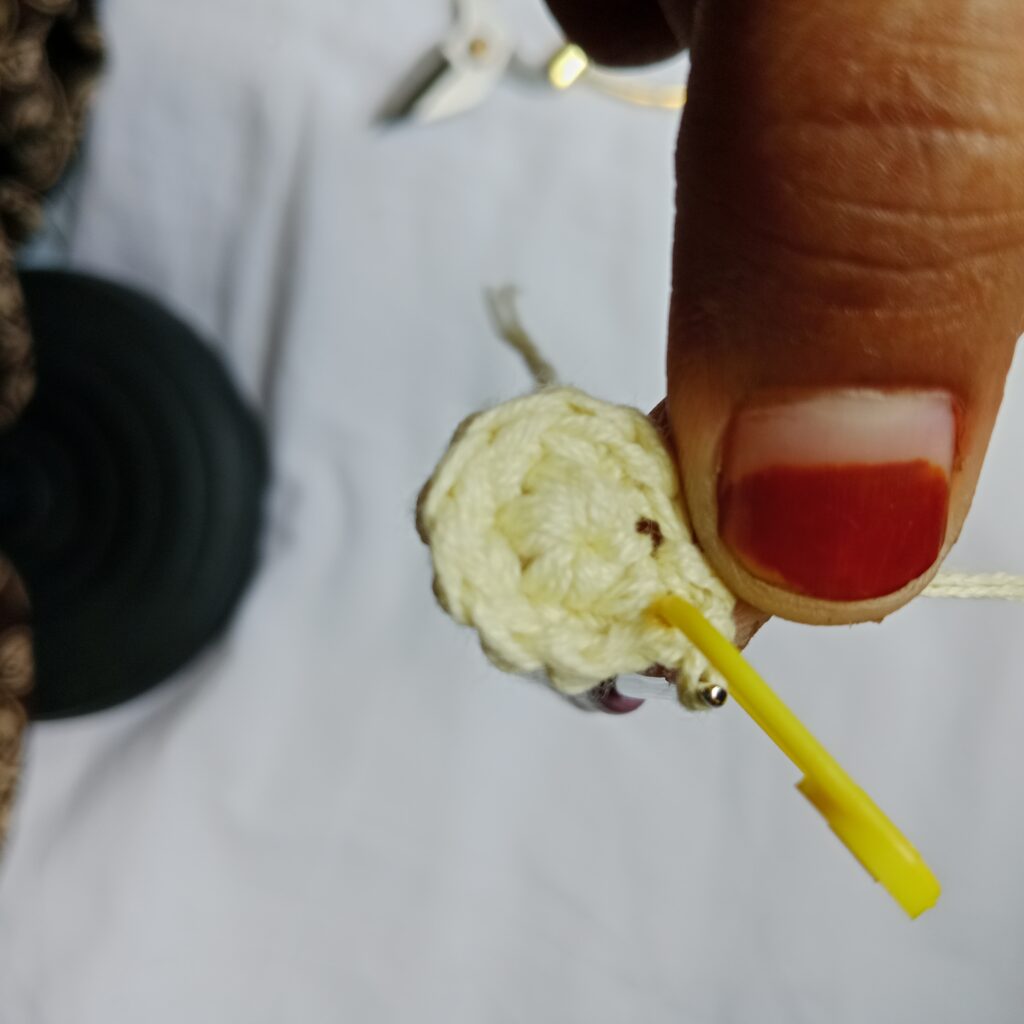
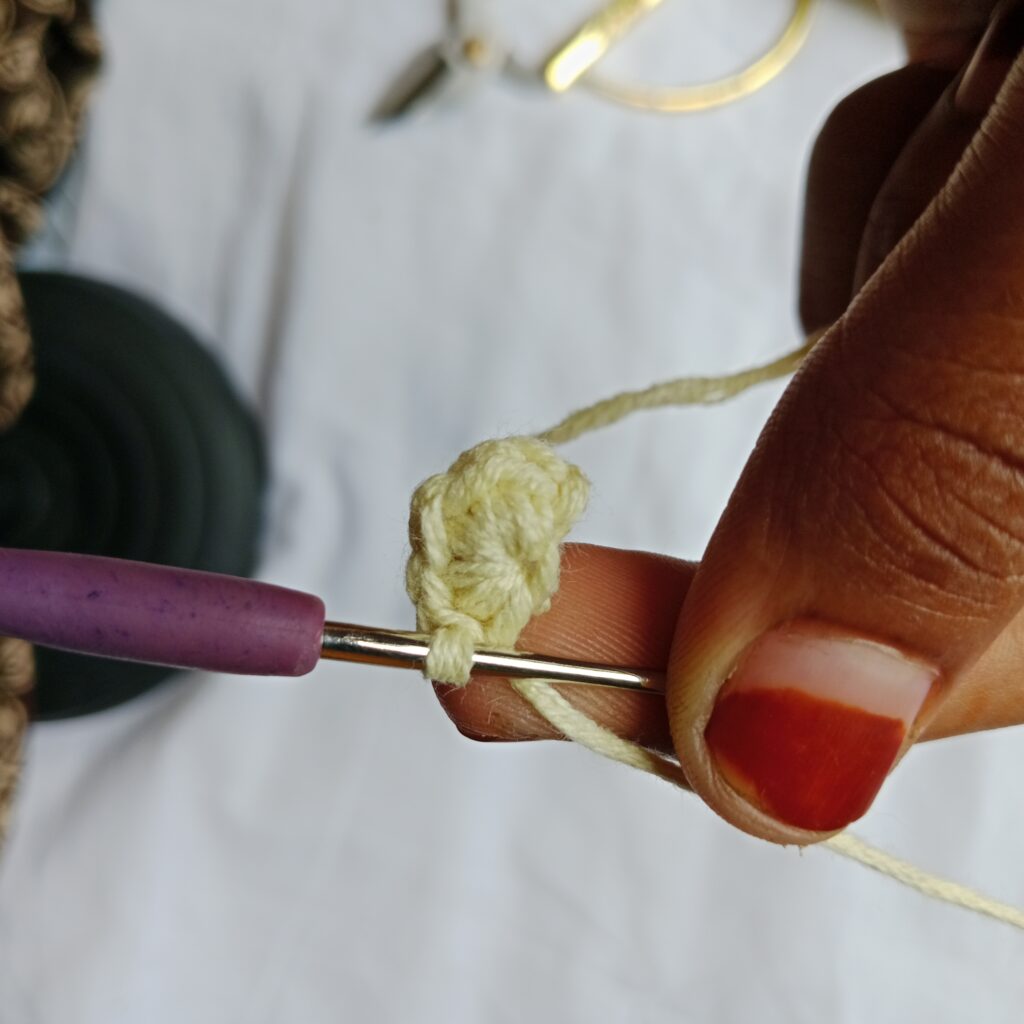
The fish begins with a circular base, created using the magic ring method. This foundational step ensures a clean, closed center that helps shape the fish’s face. Single crochet stitches are worked evenly around the ring, expanding outward to create a solid foundation.
Early rounds involve gradual increases to build volume. This part of the project focuses on forming a rounded face, which will later be folded to create a soft, compact fish body. The increase technique is repeated in a consistent pattern to maintain symmetry and structure.
Expanding the Body Shape
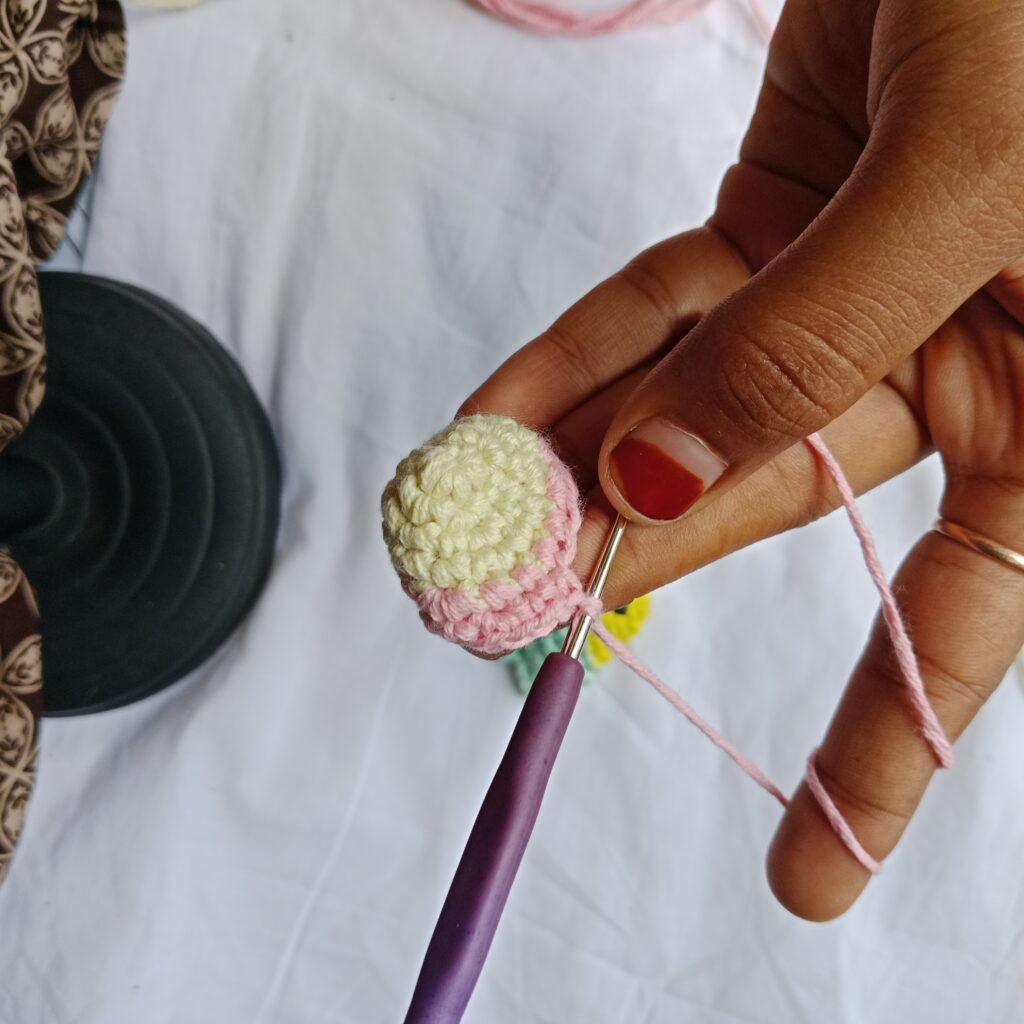
Once the base is formed, additional rounds are added to widen the fish body. A new yarn color can be introduced during this stage to define the midsection, allowing for visual contrast and a layered look. Changing yarn colors at the right moment enhances the final aesthetic without adding complexity.
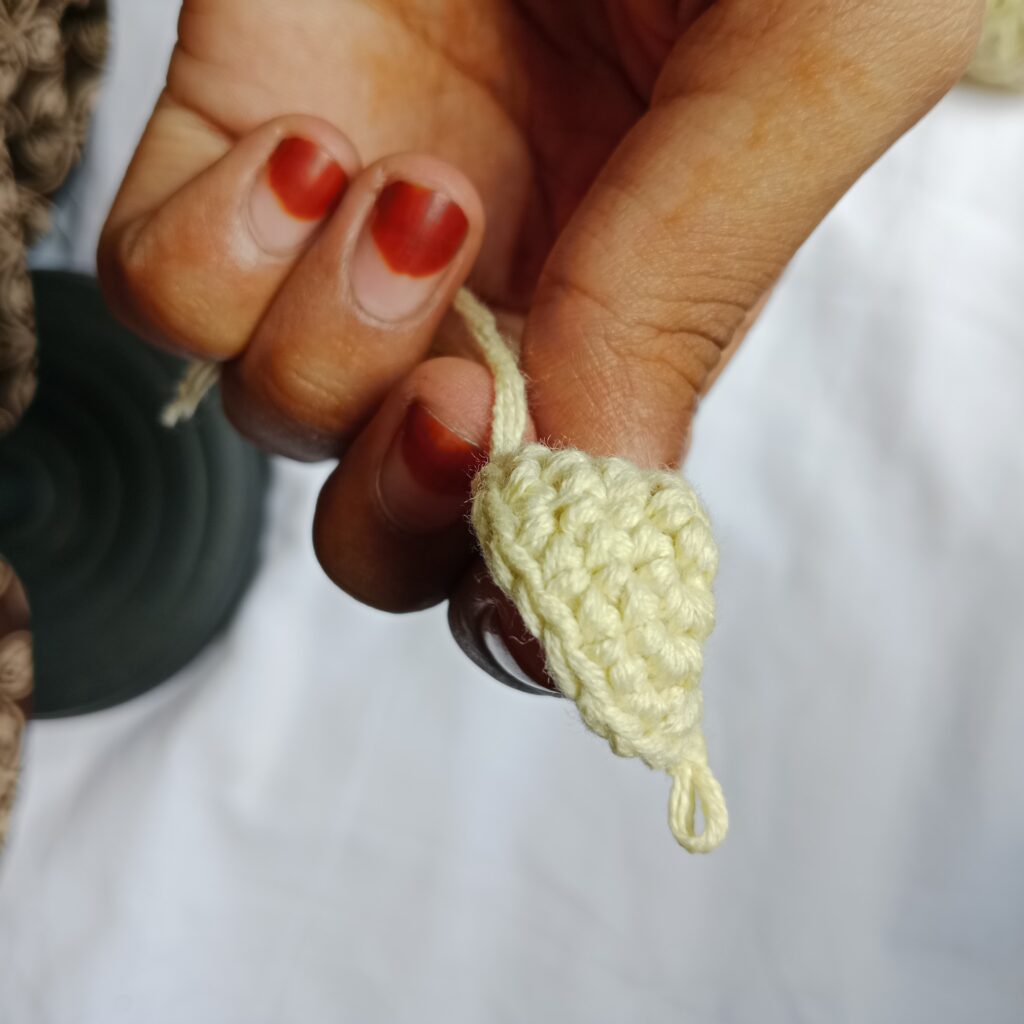
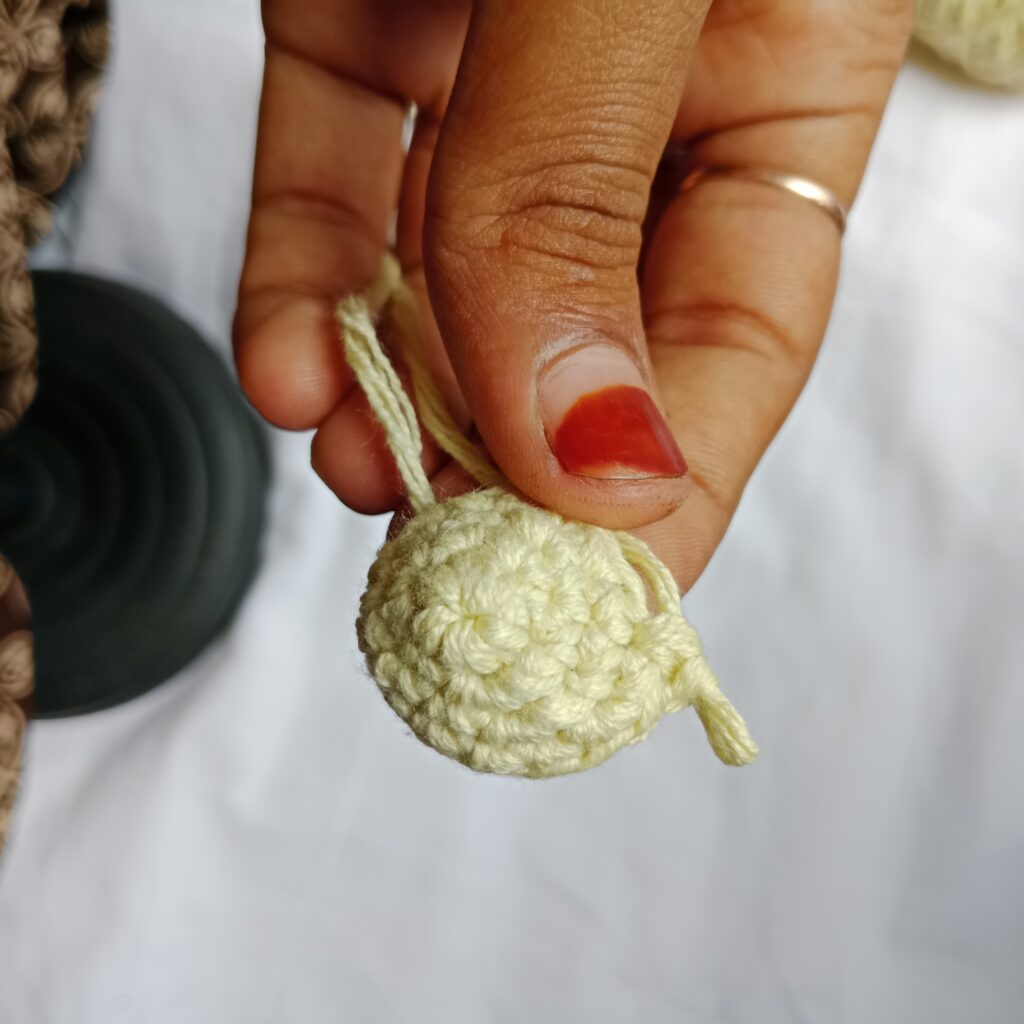
The shaping pattern alternates between even stitches and increases, expanding the body in a gradual, smooth manner. By keeping tension even and working methodically, the piece grows into a firm oval — the perfect base for the final stuffed form.
Adding Facial Features
After reaching the desired size, safety eyes can be inserted into the front part of the body. This is done before the final rounds to ensure they’re secured between stitches. If safety eyes aren’t available, small pieces of yarn or embroidery thread can be used to sew simple eyes in place.
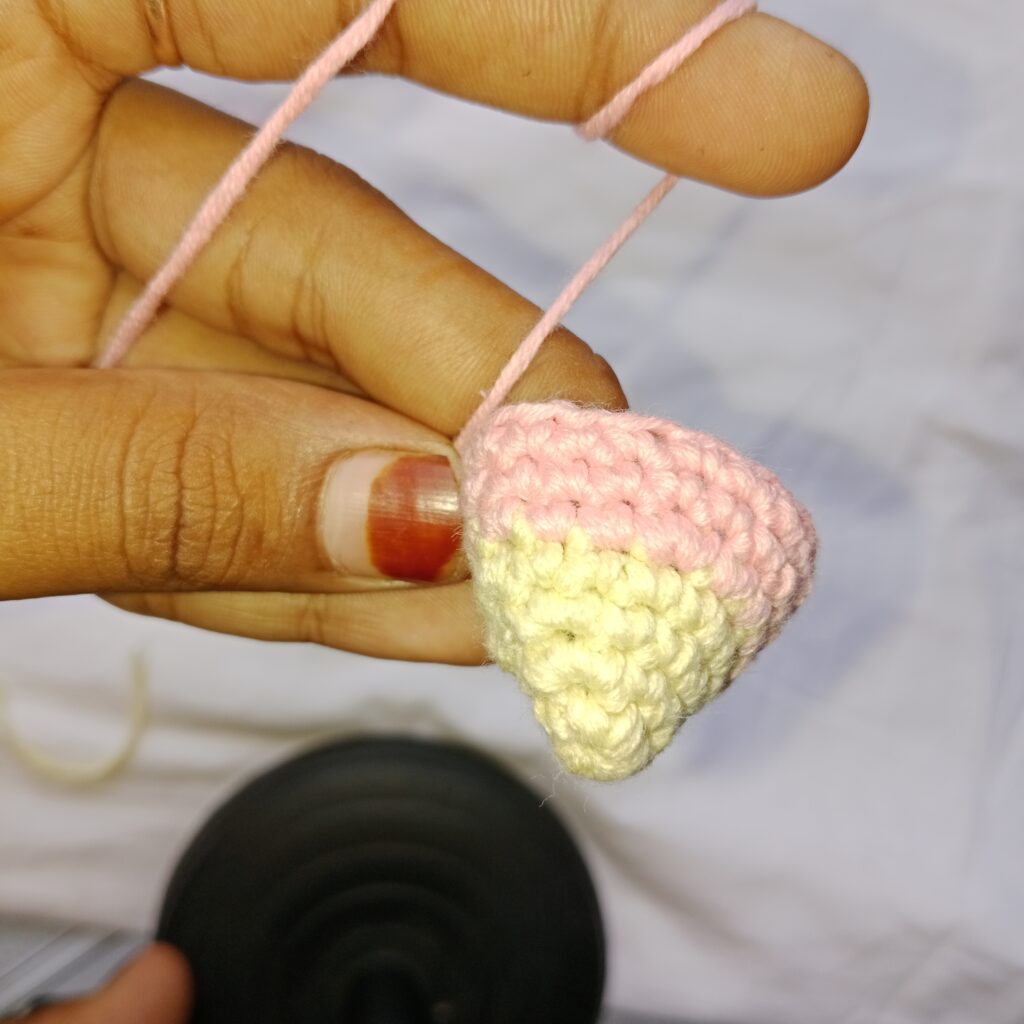
These details, though tiny, add personality to the piece. They give the fish a friendly expression and help bring it to life. Placement should be symmetrical for the best result, with both eyes resting comfortably on the curved surface.
Preparing to Close the Shape
With the front complete, the body is gently stuffed with a small amount of fiberfill. The goal is to maintain a soft feel without over-packing, which can stretch the stitches and distort the shape. The fish is then folded in half, aligning the stitches evenly on both sides.
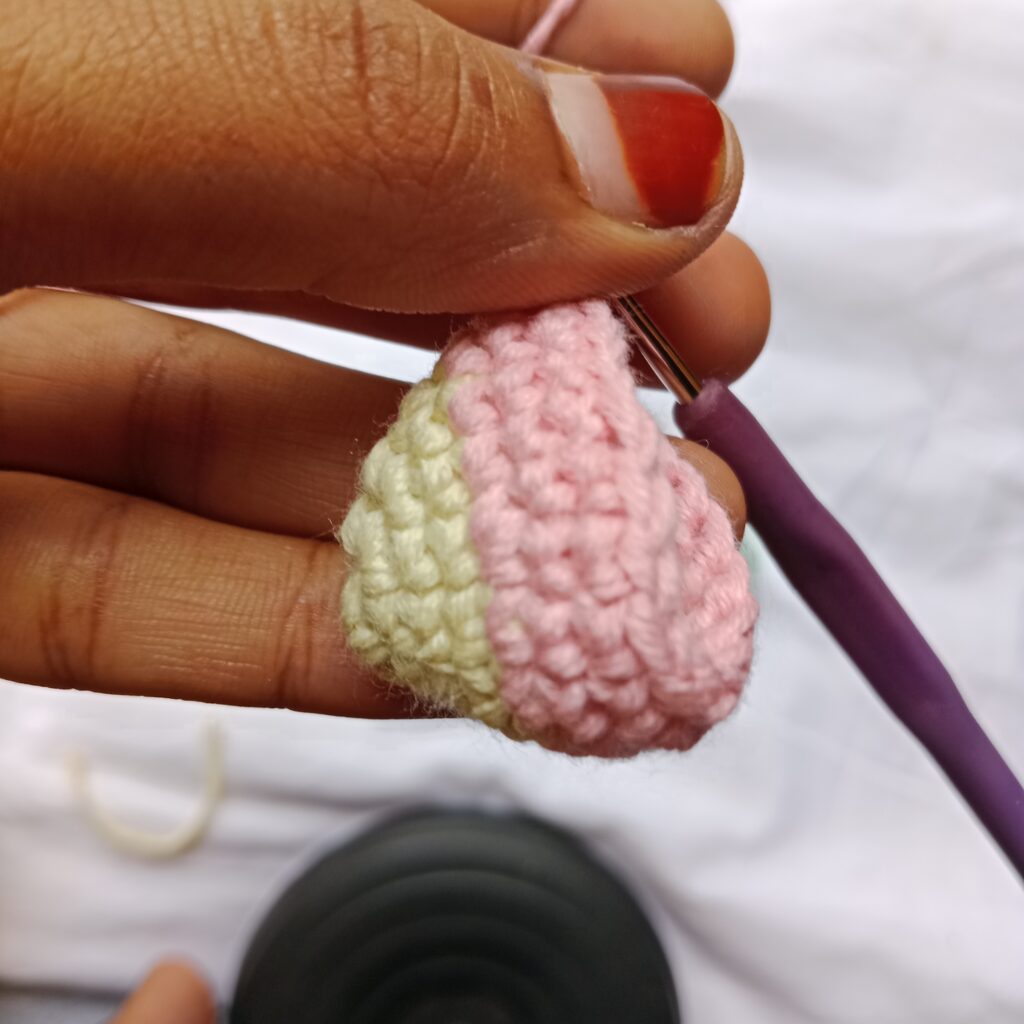
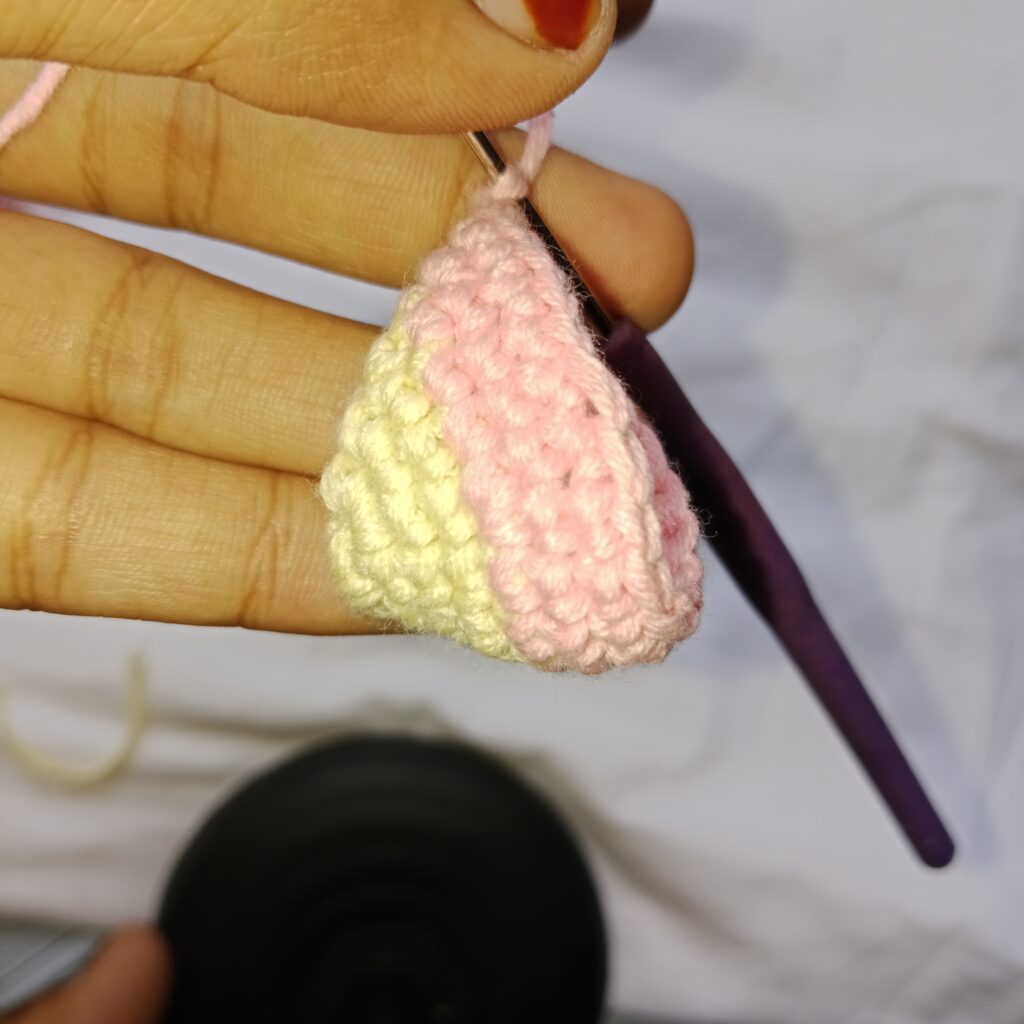
To close the shape, single crochet stitches are used across the top, joining only the back loops of each side. This method creates a flat seam that maintains the round profile and feels smooth to the touch. Careful alignment ensures that the closing line looks clean and professional.
Great! Here’s the second chunk of your article on Fish Keyring Crochet, continuing in Markdown format for WordPress, and structured with flow, clarity, and SEO in mind.
Adding a Hanging Loop
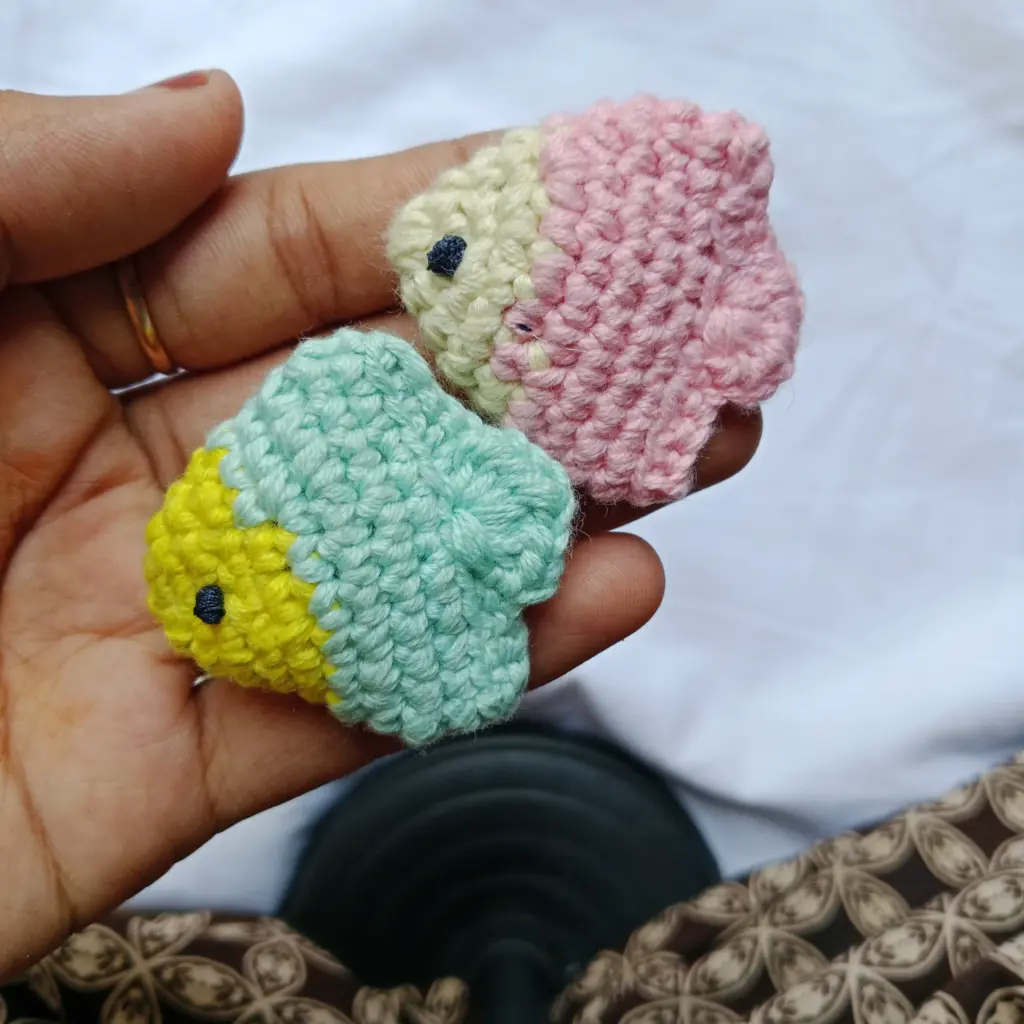
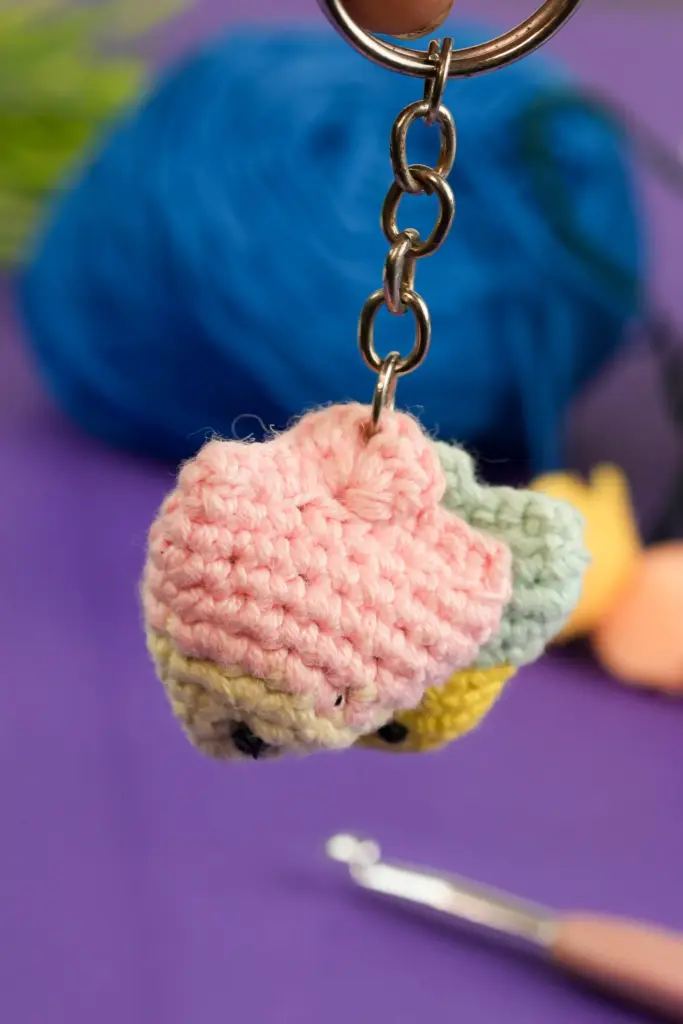
To turn your finished fish into a functional keyring, a hanging loop is added. This can be done using a short chain of yarn or by attaching a premade metal ring. If you prefer a yarn loop, simply chain a few stitches and sew the ends securely into the top of the fish.
If using a keyring, attach it through the same spot where you began or ended your final round of stitches. You may want to secure the area with extra thread or even a drop of glue for extra durability. Once the ring is in place, your fish becomes a portable, personalized accessory you can take anywhere.
Customizing Your Keyring
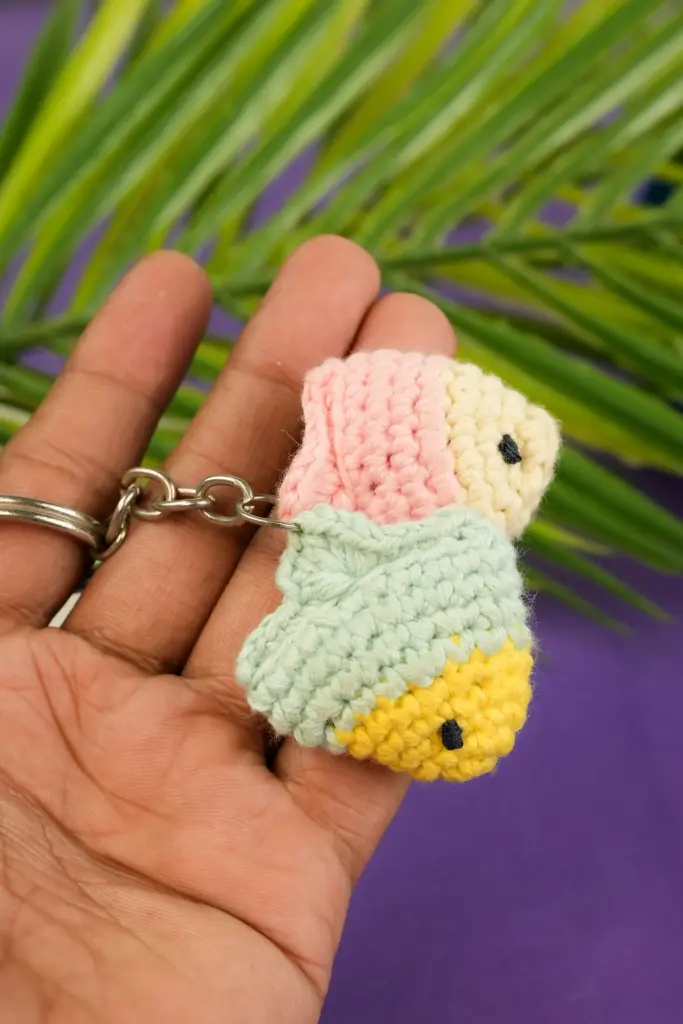
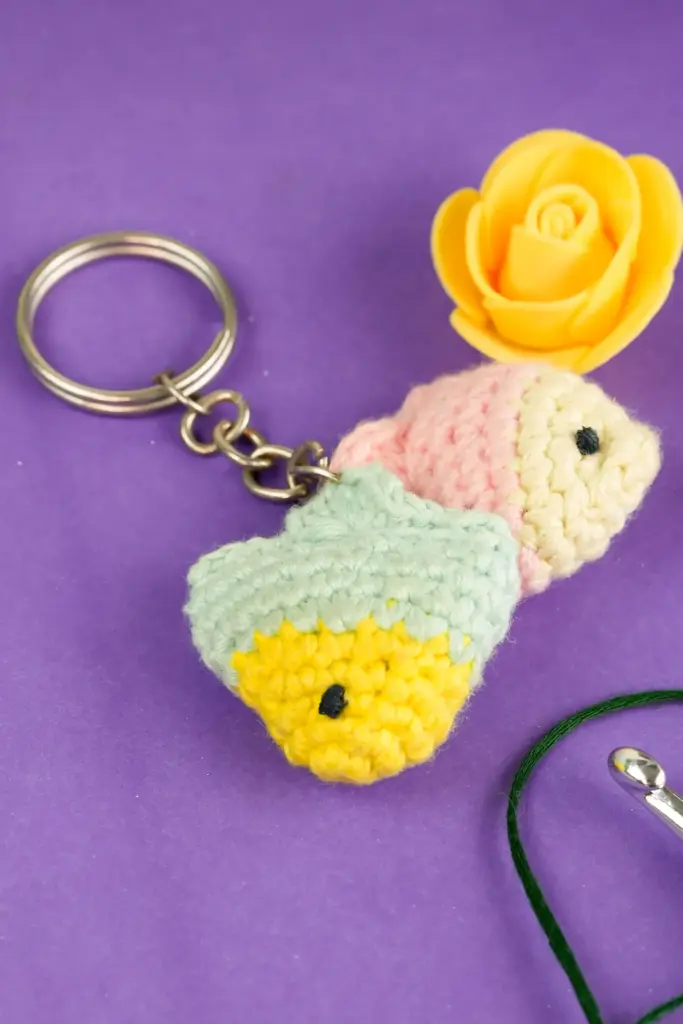
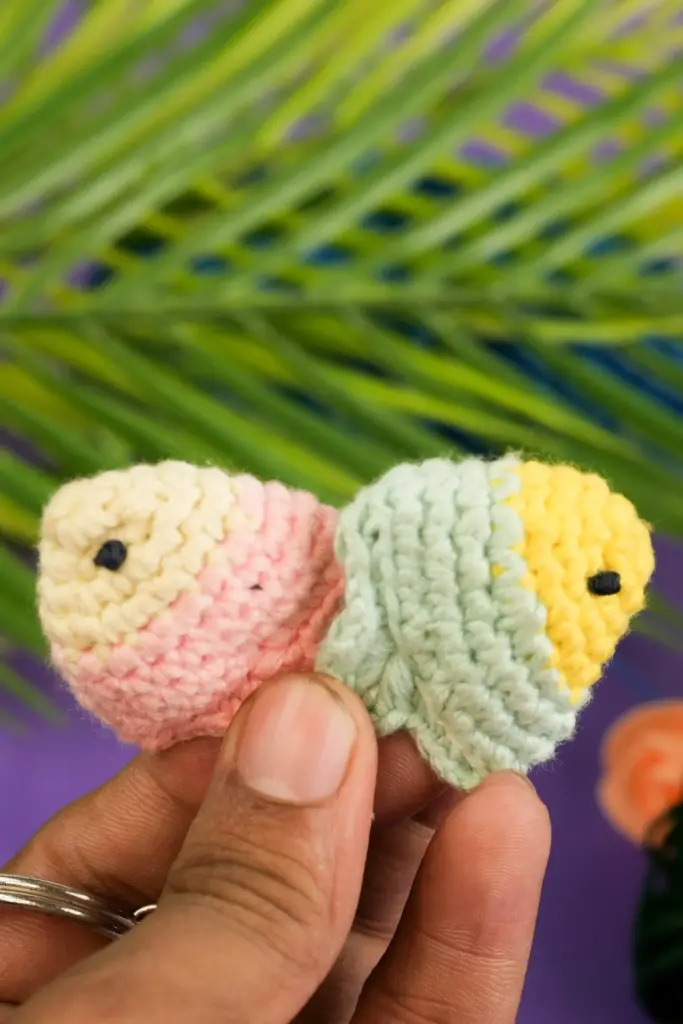
The best part of this pattern is how easily it adapts to your creativity. You can:
- Use variegated or ombré yarn to create colorful fish
- Add tiny fins on the sides with extra stitches
- Use embroidery to create gills, stripes, or facial expressions
- Mix and match colors for stripes or gradients
Each variation makes your fish keyring more unique and fun. Whether you’re making just one or a full school of fish, the customization options are endless.
Maintenance Tips
To help your crochet fish last longer and stay vibrant:
- Avoid washing in hot water — gentle handwashing is best
- Keep it away from sharp objects that could snag the yarn
- If stuffing shifts, gently reshape with your fingers
- Store in a dry place when not in use
These care tips help preserve your hard work and keep the colors fresh and fibers intact.
Project Summary Table
Here’s a quick breakdown of the fish keyring project for easy reference:
| Feature | Details |
|---|---|
| Skill Level | Beginner |
| Time Estimate | 1 hour or less |
| Yarn Type | Acrylic or cotton (two colors) |
| Hook Size | 3mm or suitable for yarn weight |
| Stitch Types Used | Magic ring, single crochet, increase, half double crochet |
| Extras | Safety eyes, stuffing, keyring loop or hardware |
| Personalization Tips | Color changes, tail shapes, embroidery |
Final thoughts
This fish keyring crochet project is proof that even the simplest patterns can create something joyful and functional. From the round body to the expressive tail, every part adds a touch of character. It’s soft, durable, and makes a fantastic gift or personal keepsake.
With just a few stitches, a couple of color changes, and some imagination, you can build a whole ocean of tiny fish. Try different shades, change fin styles, or add extra details — each creation will carry your unique signature. So grab your yarn and hook, and let this cheerful fish brighten your day, one stitch at a time.