
There’s a special joy in crafting your own accessories, especially when they reflect your personality. A Simple Crochet Hat For Beginners offers just that — comfort, flair, and individuality in one project. Whether you’re off to a concert, spending a casual day with friends, or experimenting with fun colors, this handmade bucket hat is the perfect choice. Even if you’re new to crochet, it’s easy to personalize and adapt. This article shares a beginner’s journey of making a vibrant hat, with creative choices to inspire your own handmade accessory.
Materials Needed
The following materials were used during the process:
- Acrylic yarn (multiple colors; pink, white, green, yellow)
- Medium weight skeins (Impeccable brand)
- 5mm crochet hook (Prim brand)
- Tapestry needle (for weaving ends)
- Scissors
- Pattern notes (optional, for repeating the design)
Abbreviations
All terms follow US crochet terminology:
- ch – chain
- sc – single crochet
- hdc – half double crochet
- slst – slip stitch
- rep – repeat
- st – stitch
- rnd – round
- BLO – back loop only
Choosing Colors and Yarn
The design process began with a fun trip to the craft store. The original plan was to use bright yellow yarn, but limited stock meant switching to pink and white instead. Although the change was unexpected, it led to a creative shift. Using high-quality medium-weight acrylic yarn ensured a structured and cozy feel while still allowing for playful color transitions.
If you’re making your own, feel free to swap in any shades that resonate with your style. Vibrant colors work especially well for festivals or concerts, while muted tones make for chic, everyday accessories.
Planning the Pattern
Before diving into the stitches, the maker spent a few moments deciding the color sequence. It can be surprisingly important — different color orders completely change the hat’s look. The chosen combination alternated two shades in a repeating rhythm, creating a clean yet playful striping effect.
For added design interest, one version was done in a white-pink-white format, while another used pink-white-pink. Each variation created a distinct mood. The flexibility of crochet allows you to swap or layer colors however you like, so don’t hesitate to mix things up.
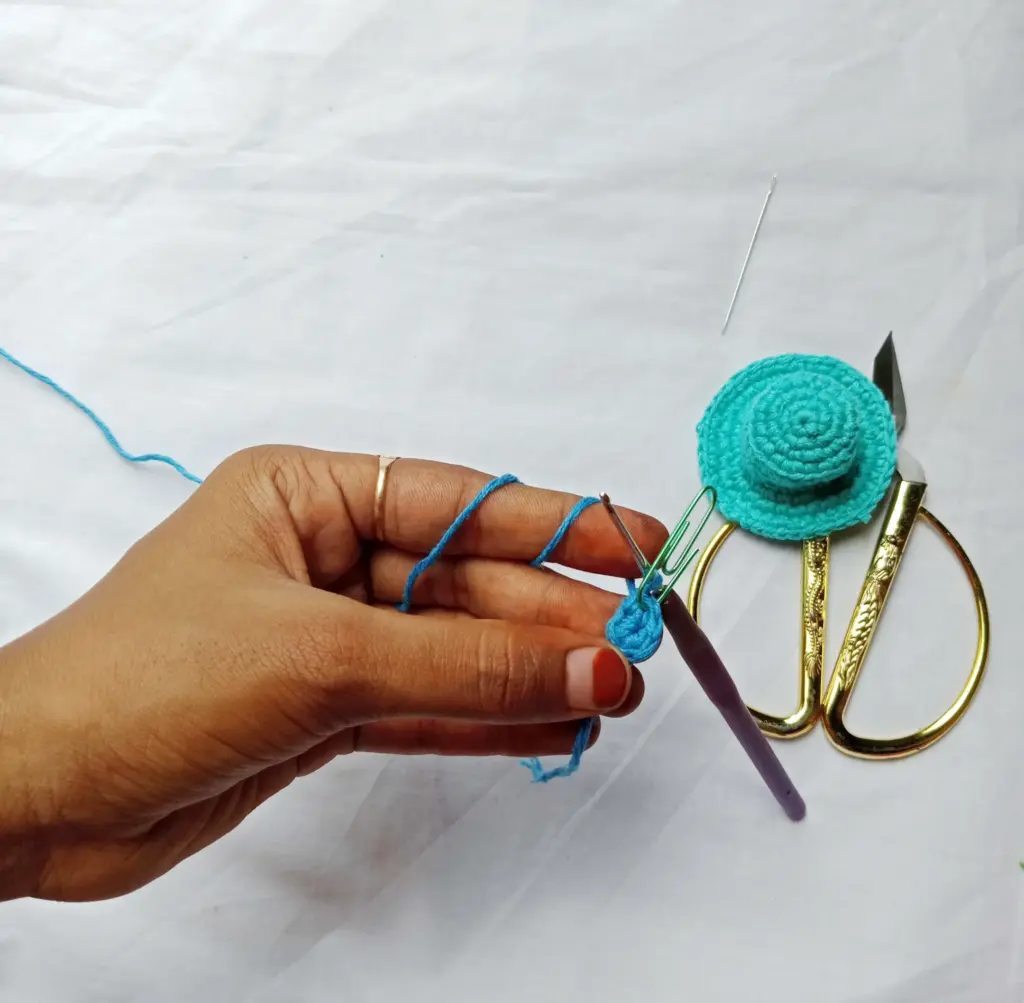
Starting with the Crown
The hat begins at the top, where the crown is built outward in a circular shape. This section grows gradually, expanding from a tight center into a flatter, wider disc. This foundational stage is important, as it shapes how the hat will sit on your head.
Using consistent tension and checking the smoothness of each round helps ensure a balanced base. This part also allows beginners to get used to the rhythm of crocheting without too many complexities. If you’re unsure whether the shape looks right, compare it to a store-bought hat or place it against your head for a quick test.
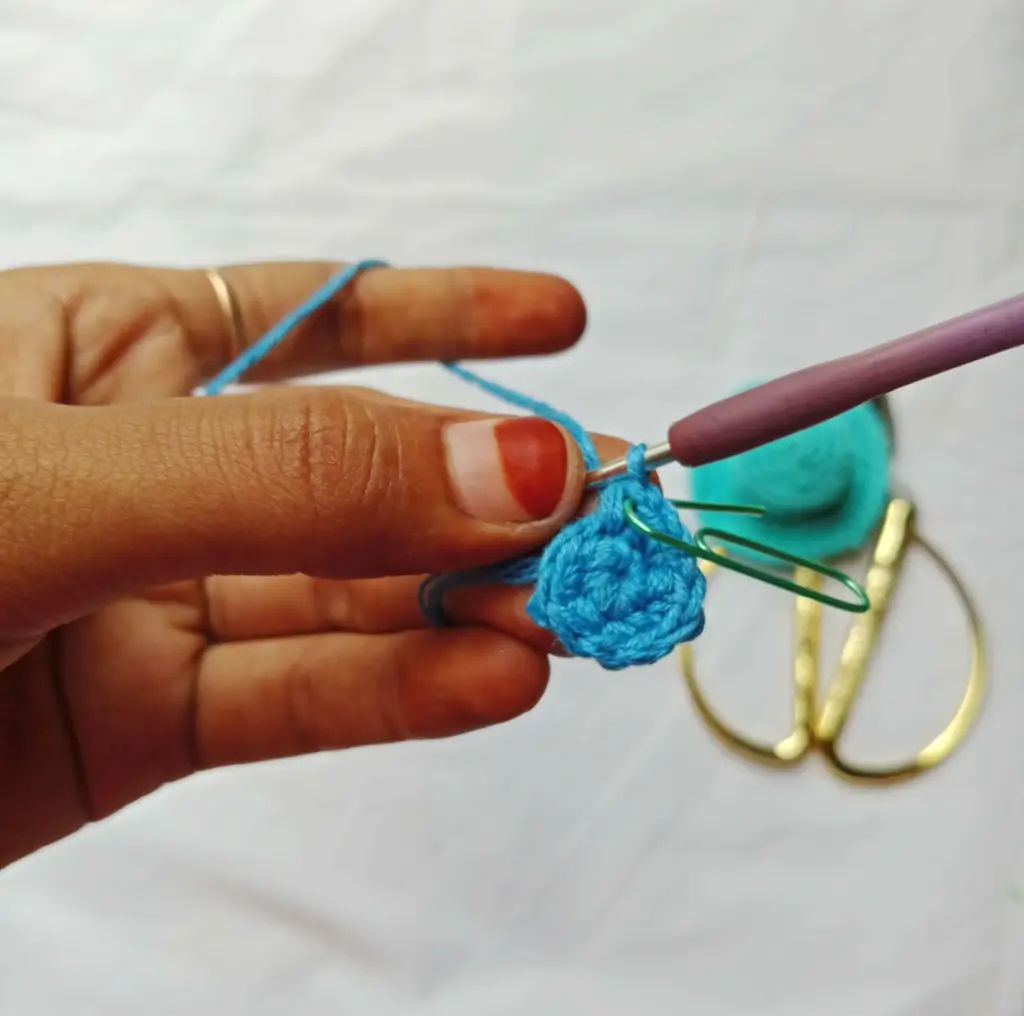
Building the Body
Once the crown is complete, the body of the hat begins. This part is worked straight down from the top, allowing the sides to form a cylindrical shape. As you go, you can alternate between colors at regular intervals to create stripes or simply use a single tone for a more minimal aesthetic.
This area gives the hat its snug fit and holds its structure. You can make it tighter or looser depending on how you want it to sit. During the process, the maker experimented with color spacing and even considered stopping early — but ended up continuing because the shape came out better than expected.
Here is Chunk 2 of your article on Crochet Hat, continuing from the first half:
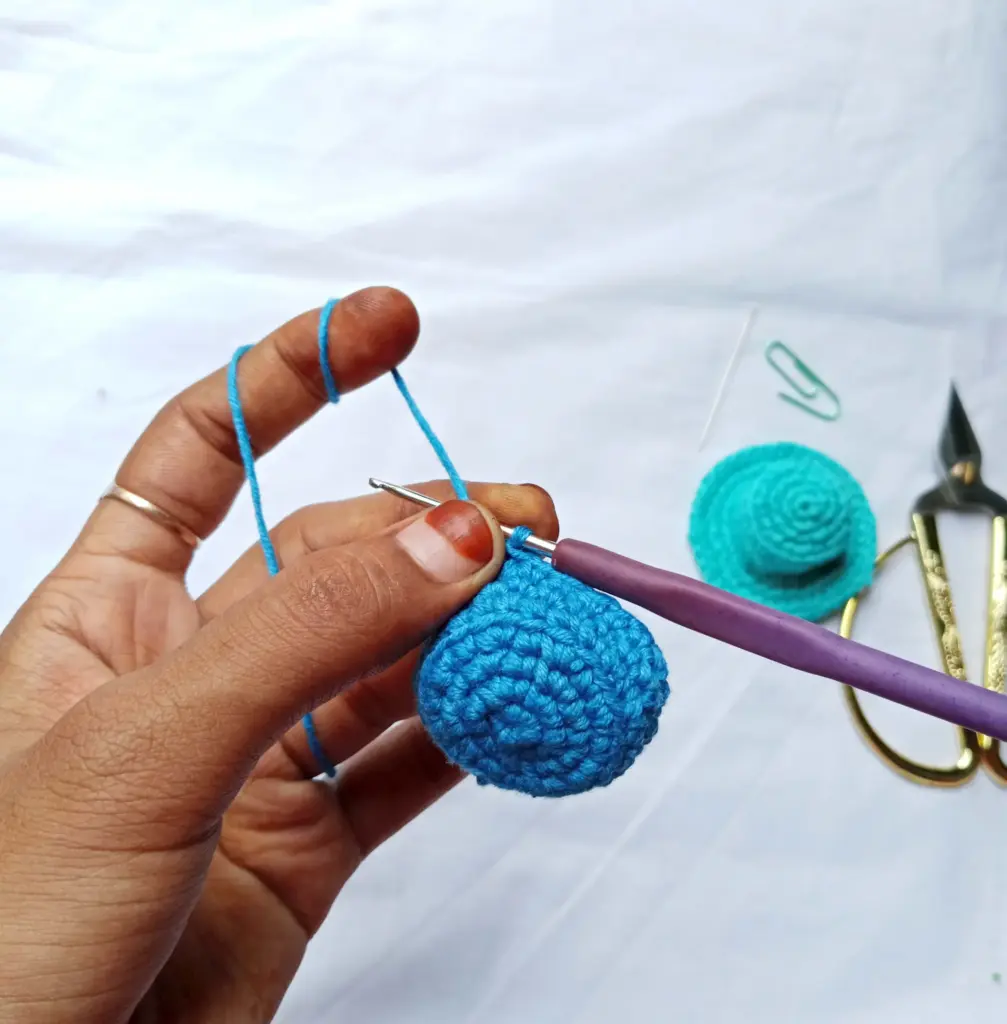
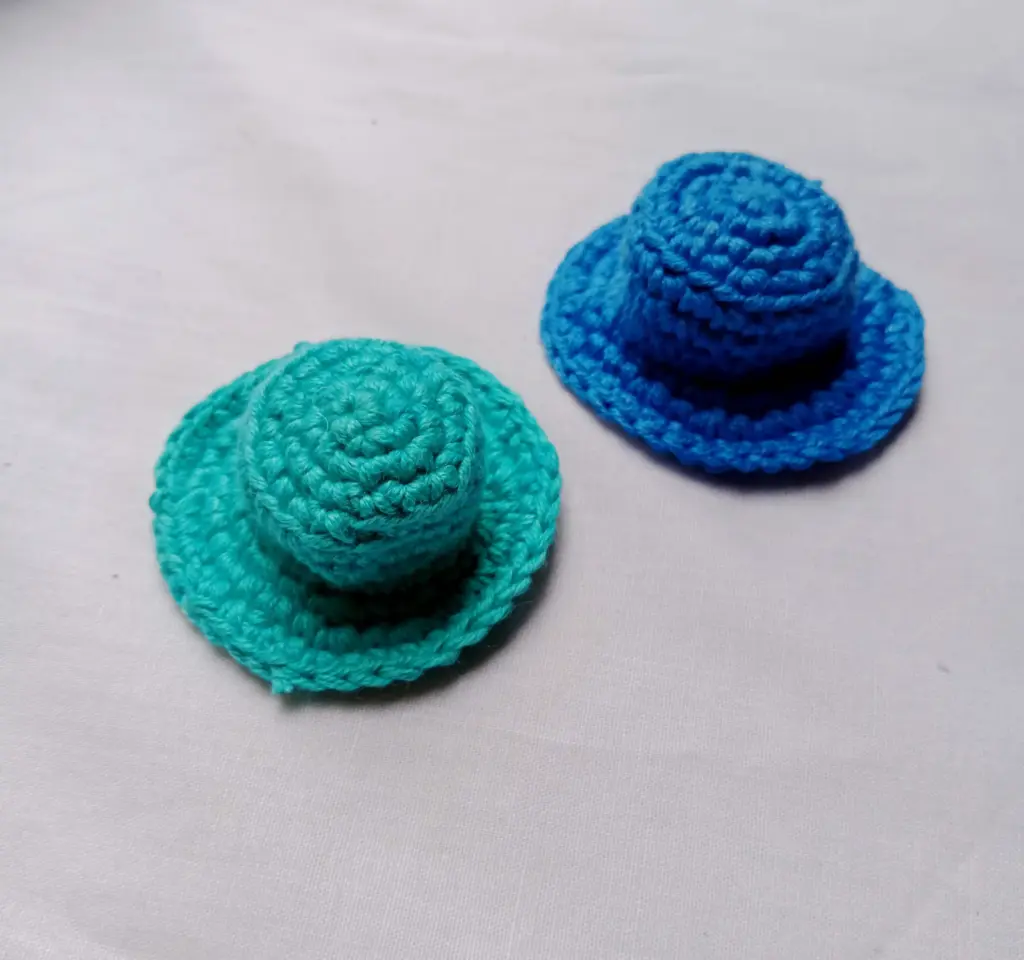
Shaping the Brim
After the body of the hat is finished, the brim adds the final structure and flair. It flares out slightly, creating that classic bucket hat silhouette. The brim can be made as wide or as subtle as you prefer — the key is to ensure smooth transitions so it sits flat and doesn’t curl.
In this project, the brim was kept simple and functional, balancing the vibrant colors with a clean, straightforward edge. It’s a great section to add contrast yarn or texture if you’d like to highlight the rim or match it with other pieces in your outfit.
Finishing Touches
Weaving in the ends might seem like a small step, but it really polishes the whole project. In this case, the maker forgot to bring a tapestry needle to the crafting space — a relatable moment — and had to leave the yarn tails for later. However, it’s best to tuck in those ends neatly as you go, to avoid tangles or snags.
If you’re gifting the hat or planning to wear it often, secure each end tightly and trim close without cutting the stitches. For beginners, it’s also helpful to label each yarn end with a stitch marker temporarily so nothing comes loose while you’re still working.
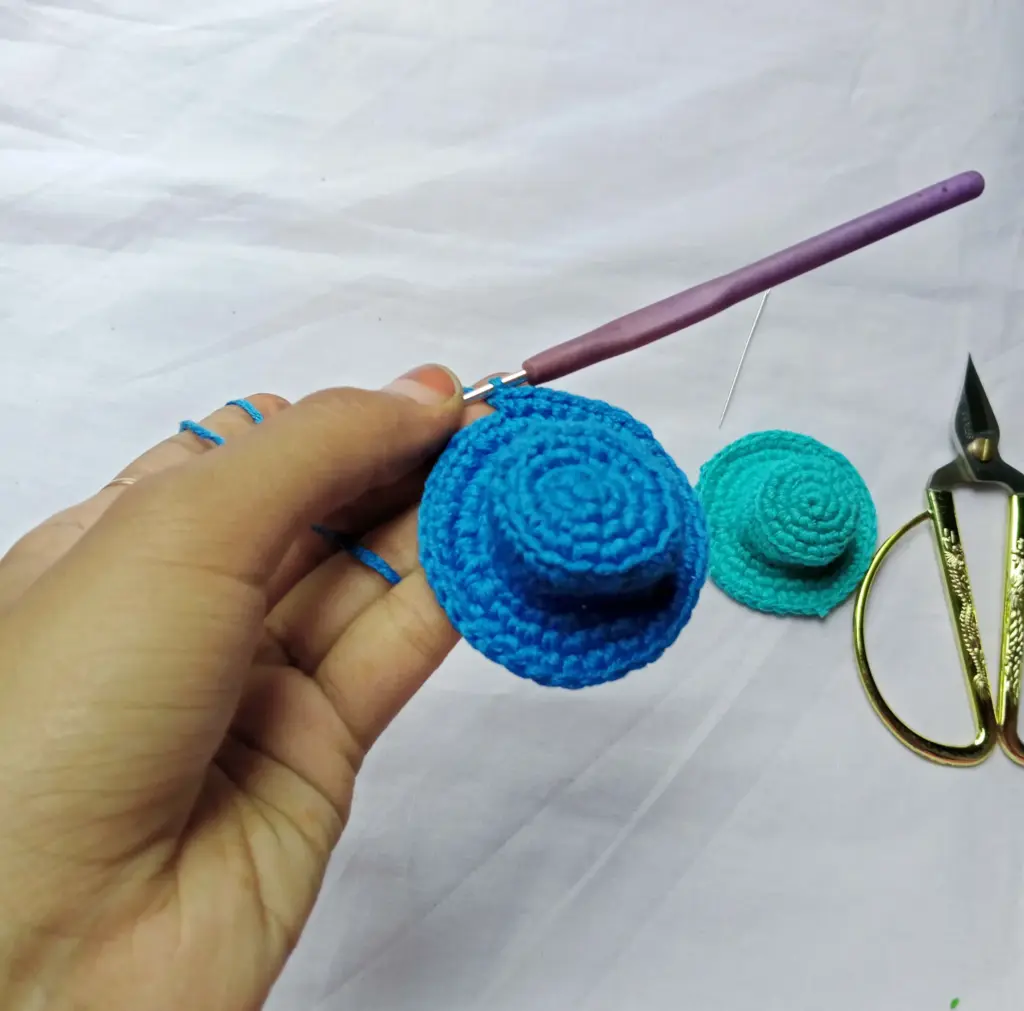
Revisiting Creative Decisions
Interestingly, two versions of the hat were created due to a color mix-up. While the first hat used pink as the dominant shade, the second version reversed the scheme. In the end, the original one with more pink and floral contrast ended up being the favorite — it better resembled the look they were going for.
This trial-and-error approach is part of the charm of crochet. You may not always stick to your first plan, but often the happy accidents turn out to be the best outcomes. Creating multiple versions gives you the freedom to experiment without pressure.
Matching with Outfits
The goal was to create a cohesive, handmade outfit for a concert. By designing the hat alongside other items like a cardigan and crop top, the entire look felt intentional and personalized. The final hat didn’t just function as sun protection — it was a visual centerpiece that tied the entire outfit together.
Whether you’re dressing for a theme, a season, or just trying something new, building pieces with a shared design language — color, yarn type, texture — adds harmony and personality to your wardrobe.
Embracing the Process
This crochet project wasn’t just about making a hat — it was about rediscovering the joy of creating. The maker mentioned how much fun the process was, especially after having paused crochet for a while. This kind of project is ideal for re-igniting your passion, learning new skills, and building confidence as a beginner.
Sometimes the journey of crafting is as fulfilling as the finished piece. Let yourself enjoy each step, even if it doesn’t go perfectly. That’s what gives your creations heart and character.
Crochet Hat Overview Table
| Feature | Description |
|---|---|
| Skill Level | Beginner-friendly |
| Project Type | Accessory (bucket hat) |
| Yarn Type | Acrylic, medium weight (Impeccable brand) |
| Hook Size | 5mm (Prim or equivalent) |
| Time Required | A few hours |
| Techniques Used | Circular base, color changes, brim shaping |
| Best Use | Concert wear, casual outfit, seasonal flair |
| Style Tip | Try floral tones or bright accents |
Final Thoughts
If you’ve never crocheted a hat before, this project is a great starting point. It’s simple enough to finish quickly, yet flexible enough to let your creativity shine. Mistakes won’t ruin it — in fact, they might even lead to better results. And in the end, you’ll have something personal and wearable that reflects your style.
So grab your favorite yarn, sit back in your comfy spot, and enjoy making something fun. Whether it’s for a concert, a gift, or just because, your handmade hat will always be one of a kind.