

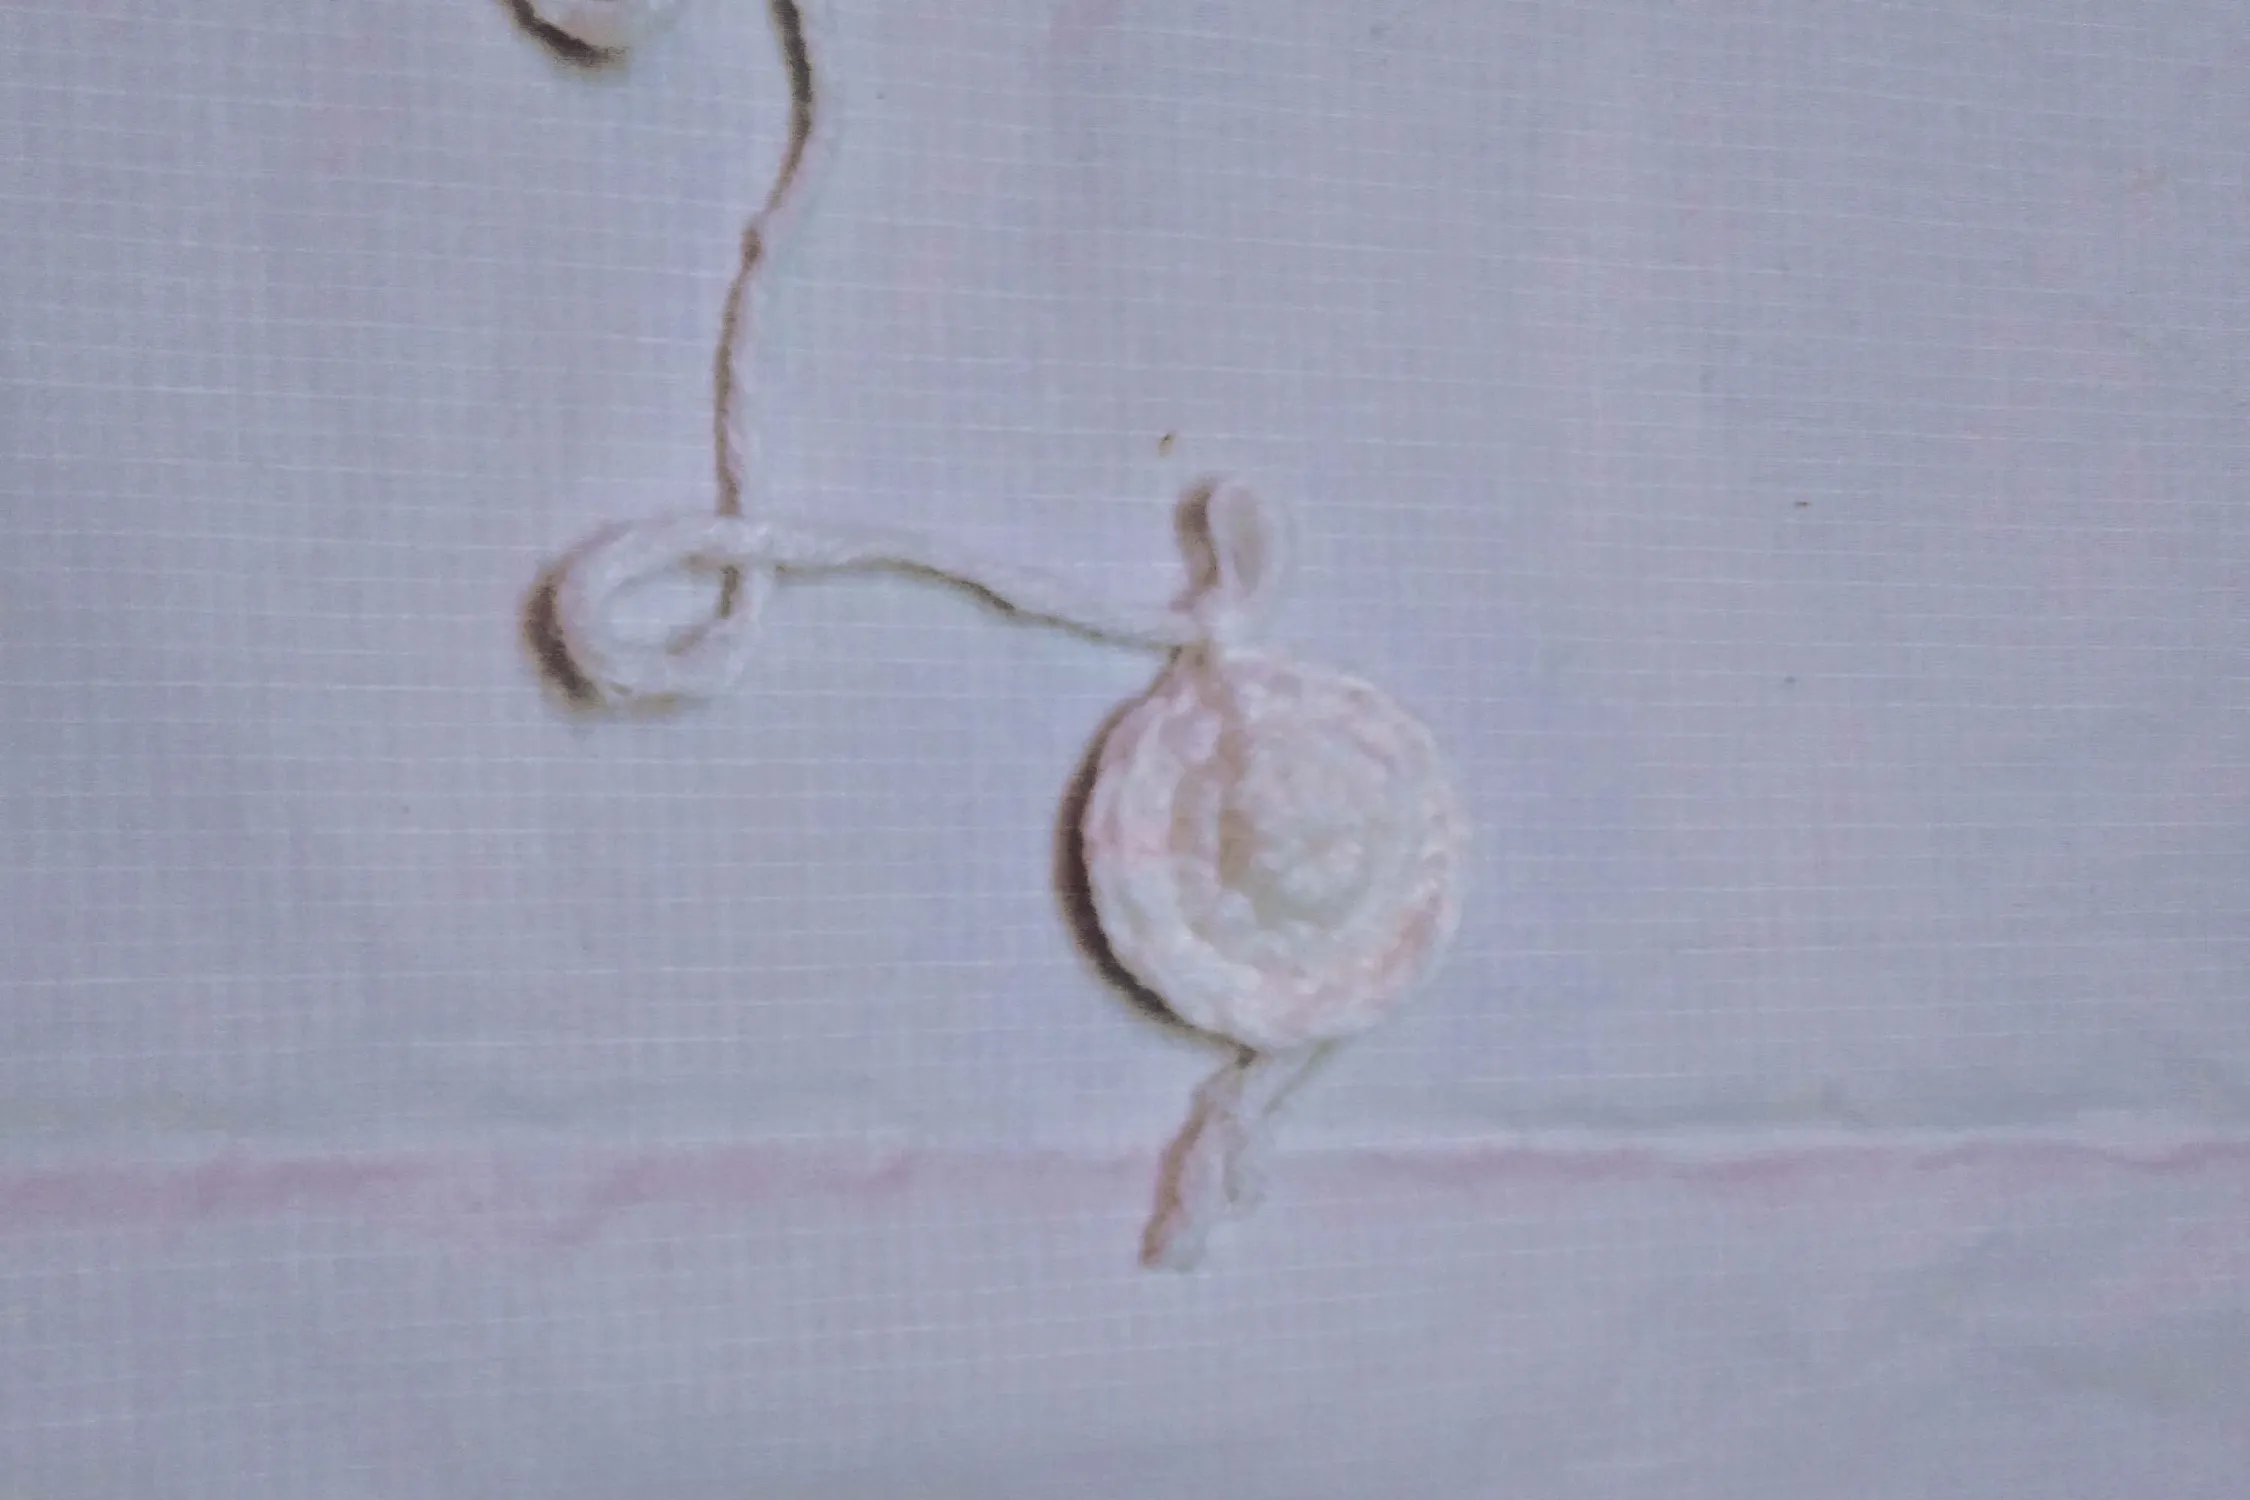
A tiny crochet banana is a fun way to practice small amigurumi shapes without committing to a big project. It works beautifully as part of a mini fruit bowl set, a bag charm, a toy accessory, or even as a playful desk decoration. The tutorial this article is based on focuses on using thin yarn and a small hook to create a curved, three-dimensional piece with a darker outer skin and a lighter inner “fruit” section.
The shape is worked from one end to the other as a slim tube that gradually widens, then tapers again. Later, narrow textured strips suggest peeled sections of skin, and a lighter color is added underneath. Finally, gentle stuffing and shaping give that natural banana curve the designer mentions at the end of the video no two bananas look exactly the same, and that is part of the charm.
This article does not give row-by-row instructions. Instead, it explains the structure, flow, and logic behind each phase so beginners can understand why each section is done, not just how.
Materials Needed
Based directly on the video tutorial, you will need:
- Baby or sport weight yarn (labeled as a light category) in two shades
- One deeper yellowish tone for the outer skin
- One paler, creamy shade for the inner fruit
- Small crochet hook suitable for light yarn (the original uses a 3 mm hook)
- Yarn or tapestry needle for sewing and finishing
- Scissors
- A small amount of leftover yarn scraps (or fiberfill) for stuffing
You can adapt this project with any yarn weight you like; just match the hook size to the yarn. Thicker yarn will give you a larger banana, thinner yarn will give you an ultra-mini version.
Abbreviations
The pattern in the video is worked in US terminology. Here is a quick reference list you can use alongside the explanation:
SC : Single crochet – the main dense stitch used to build the banana
INC : Increase – two basic stitches worked into the same space to widen the shape
DEC : Decrease – two spaces drawn together to narrow the shape (the designer often uses an “invisible” version)
MR : Magic ring or adjustable starting circle
BLO : Back strand only – inserting the hook into the rear part of a top edge so the front strand remains free
SLST : Slip stitch – a joining and finishing action that does not add height
These motions are repeated throughout and combined to shape the tiny curved fruit.
Understanding the Shape of a Mini Crochet Banana
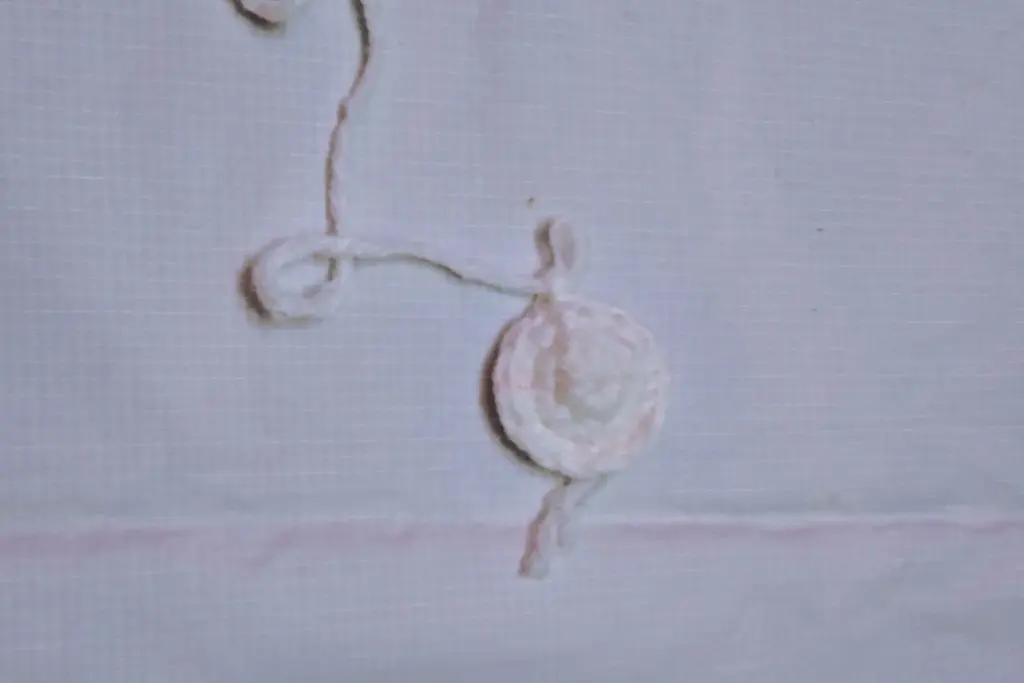
Before diving into the details, it helps to picture the finished form as three connected zones:
- A narrow tip at one end
- A slightly thicker center section
- A second tapered end, slightly slimmer than the middle
The banana is not worked as separate parts; it grows from one side to the other in a continuous spiral of stitches. The narrow beginning is created with only a few stitches in a small circle. The middle grows gradually wider through spaced increases. The final sections use decreases to pull the fabric in again.
Because of this structure, the banana naturally curves as you stuff and shape it. The designer mentions that one sample ended up pointier than another, which perfectly illustrates that every finished piece has its own personality. The goal is not mathematical perfection but a recognizably banana-like curve and silhouette.
Forming the First Banana Tip
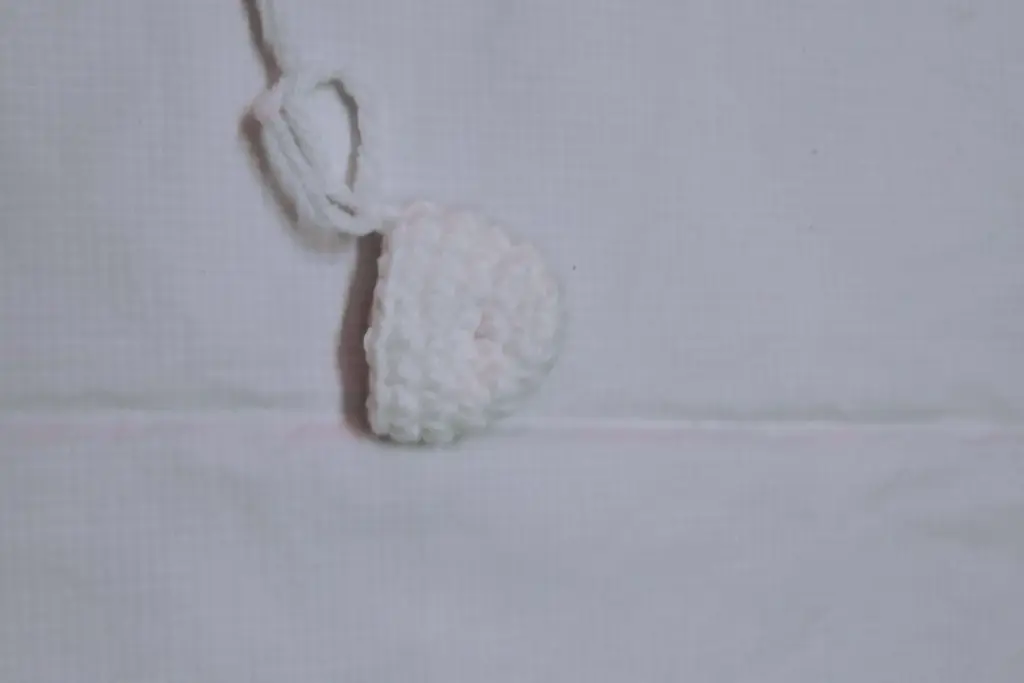
The tutorial starts with the deeper outer shade and creates a tiny closed circle using just a handful of stitches. This small ring becomes the very tip of the banana. Instead of leaving any gap in the center, the starting tail is snugly pulled so the top looks like a solid little nub.
From there, the fabric grows slightly upward while maintaining the same number of stitches for a short section. This keeps the lower part of the banana slim and prevents it from flaring too quickly. The teacher emphasizes counting carefully, especially near the join where a “fake” extra space can appear. Skipping that false space ensures the stitch count stays consistent and the tube remains neat.
At this point, the banana looks like a tiny thimble or short cylinder—this will turn into the lower third of the fruit.
Expanding Into the Banana Body
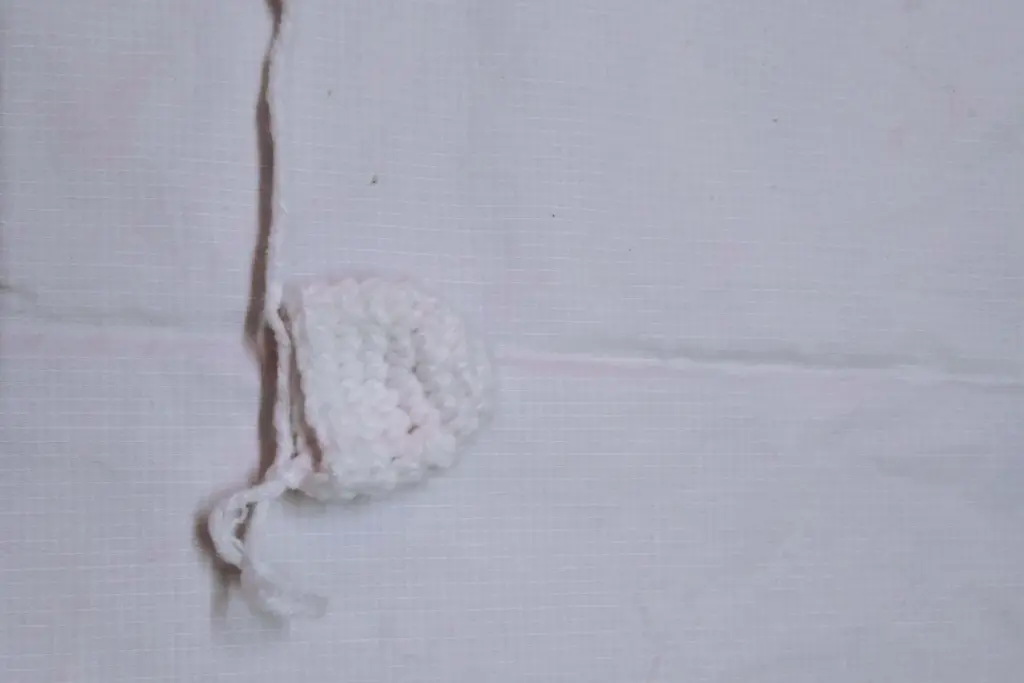
Next, the pattern begins to introduce controlled increases. Rather than widening all at once, the designer alternates single and doubled placements in specific spaces. This approach:
- Adds a little more fabric to the tube
- Gently expands the circumference
- Preserves the overall compact, mini scale
After one such expansion pass, a straight section follows where each space receives only one basic stitch. Working even like this stabilizes the shape and prevents it from ballooning outward. The tutorial repeats this rhythm of widening and then going straight to reach a final stitch count that is slightly larger than at the beginning.
By now, the banana body is clearly forming—a small tubular segment that is thicker through the middle but still small enough to sit nicely in a miniature fruit bowl with the matching apple and pear from the earlier videos.
Keeping Track of Tiny Shaping
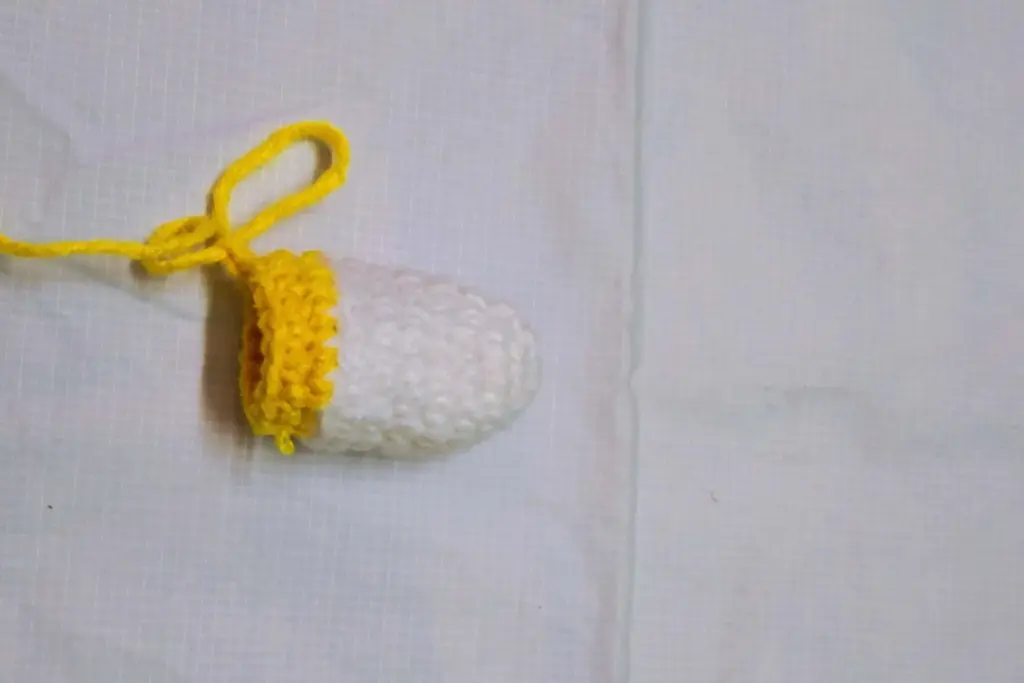
Because the project is so small, losing or adding just one stitch can noticeably change the shape. The instructor offers several practical hints that are worth repeating:
- Regularly count your stitches after each increase or straight section
- Watch out for that “fake” extra space at the join; it can trick beginners into adding more than they should
- Push the piece gently right side out so you can see the structure as you go
- Do not worry if your first attempt looks slightly different—bananas vary in nature, too
By treating the banana as a tiny practice study in shaping, you can build confidence for larger amigurumi projects later.
Adding the Peel Strips
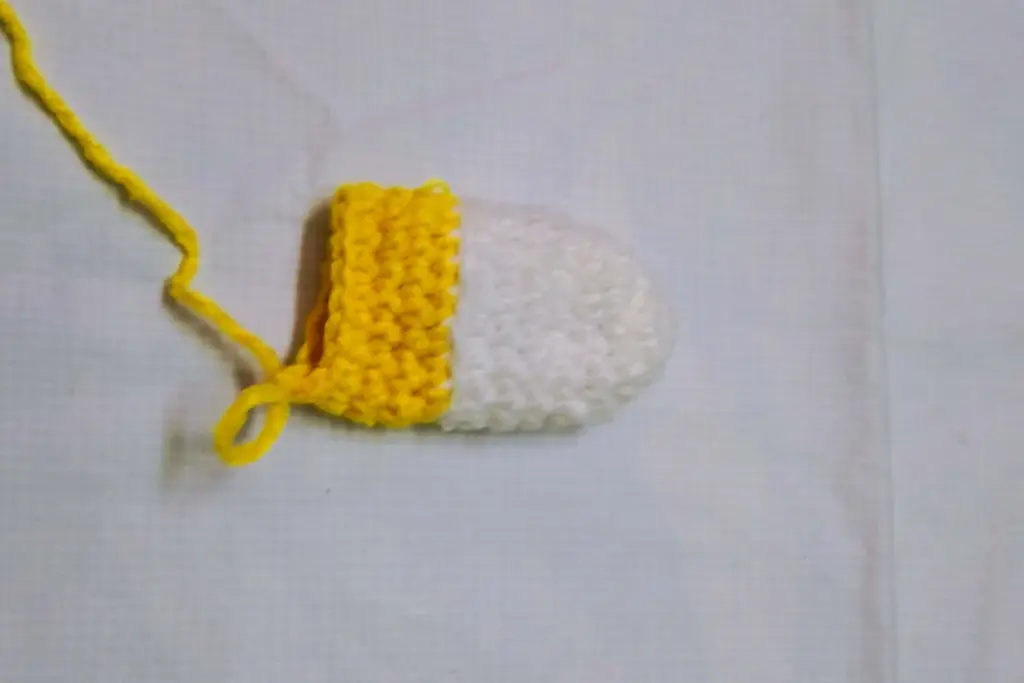
Once the rounded body section is complete, the outer skin is shaped with narrow decorative strips. These strips imitate the appearance of a banana being peeled open and are made by extending short textured bands from the edge of the main tube.
To create them, the designer works outward with a short length of fabric, then reverses direction to travel back toward the banana. Because the strips are attached to only one strand of the top edge, the unused strands remain exposed underneath this becomes important in the next phase when the lighter shade is added.
Each peel strip includes:
- A slim extension section worked outward
- A gradual narrowing toward a pointed end
- A return path that reattaches it neatly to the main tube
Repeating this process creates multiple peel segments evenly spaced around the body. These strips are flexible and can fold outward gently, giving the banana an expressive, partially peeled look. If you prefer a closed banana, you can keep the strips close against the fruit or reshape them after stuffing.
Building the Inner Fruit Layer
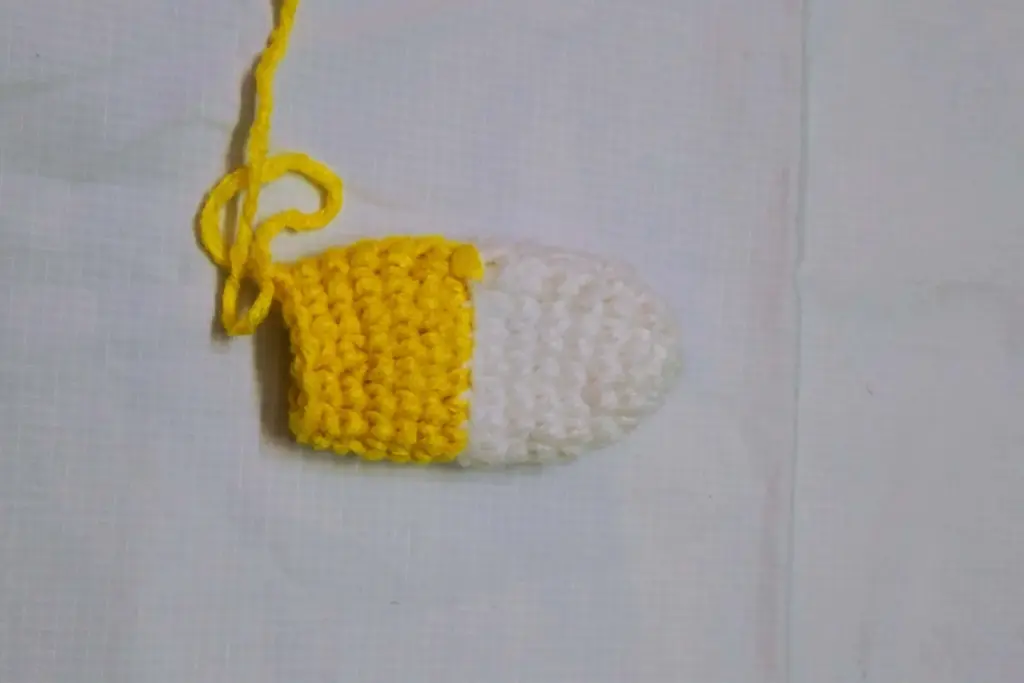
With the peel strips complete, the lighter shade is added underneath. The designer locates the unused strands left earlier and works stitches into them to form the inner layer of fruit. This technique allows the inner section and peel to appear visually separate while still being structurally connected.
The inner fruit portion:
- Uses the paler shade for contrast
- Is worked as a continuous small tube beneath the peel
- Has the same general circumference as the expanded banana body
- Forms a neat base for stuffing
The instructor mentions that if one of the unused strands is hard to locate, simply placing an extra stitch at the beginning is acceptable. The goal is to reach the correct total stitch count, not to match the strands perfectly—especially in a tiny piece where minor imperfections disappear once stuffed.
Filling and Shaping the Banana
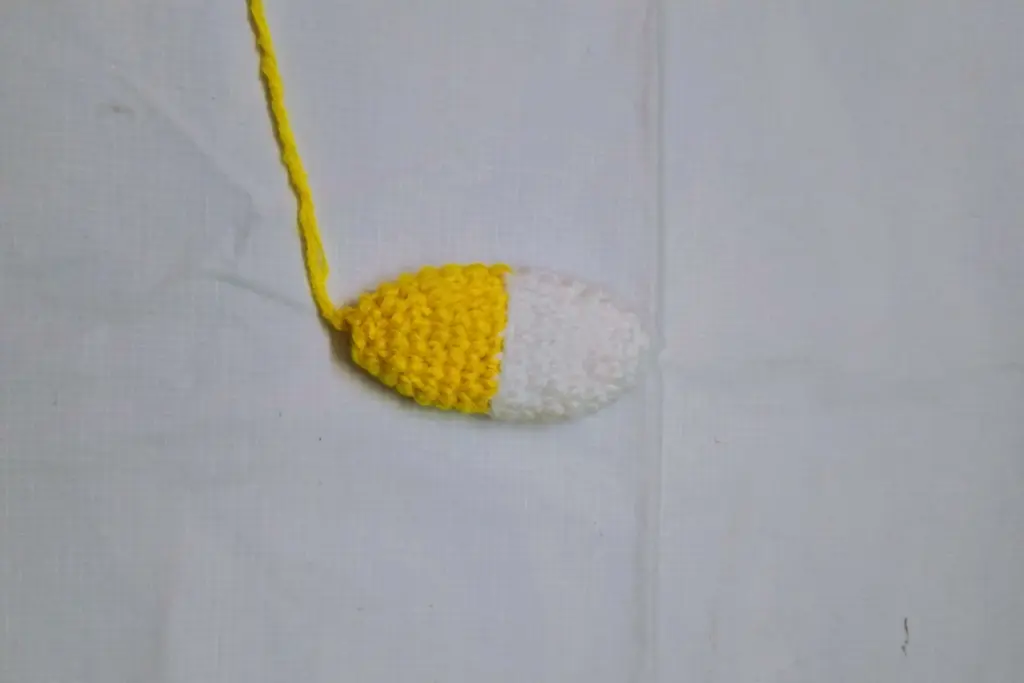
Before closing the top, stuffing is added gradually. The video uses spare yarn scraps, which work just as well as commercial fiberfill for a project this small. The important things are:
- Add small pieces at a time
- Keep the stuffing distributed evenly
- Avoid pushing too aggressively, which can distort the tube
- Maintain a gentle curve by shifting the stuffing as you go
A lightly stuffed banana bends more naturally than one that is packed tightly. Adjust the shaping after the top is closed to make the curve more organic.
Tapering the Top End
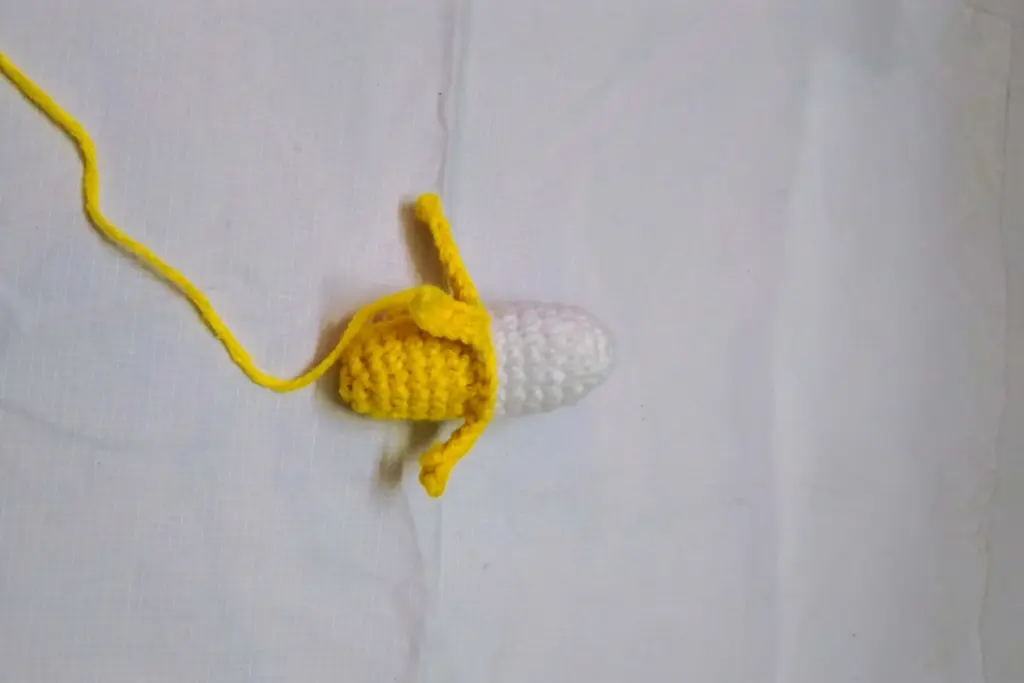
To close the banana, the upper portion is narrowed again through a series of decreases. The designer uses a method that draws together only the forward strands, creating a cleaner finish without leaving gaps.
This closing sequence:
- Reduces the circumference to match the narrowness of the opposite end
- Creates a rounded cap that mirrors the tip created at the beginning
- Encases the stuffing securely
- Provides a stable endpoint for the final tail to pass through
Once the top is sealed, the remaining yarn tail is stitched down the inside so it disappears into the stuffing. This produces a neat finish without visible knots.
Final Sculpting and Curve Adjustment
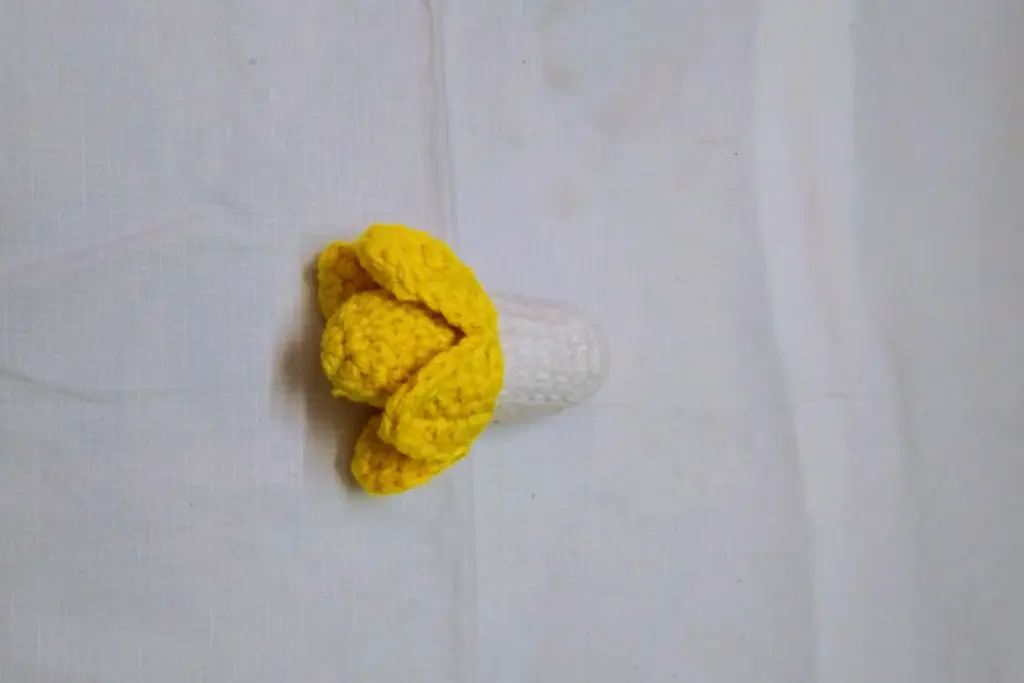
With the body, peel strips, and inner fruit complete, the last step is shaping. The instructor bends the banana gently to create a natural curve. If the stuffing is soft and evenly placed, the banana will hold its shape without any internal wire.
You can refine the curvature by:
- Slightly shifting the stuffing toward one side
- Pinching the fabric gently to exaggerate the bend
- Keeping the peel strips angled outward or inward depending on your preferred look
Because crochet fabric is flexible, each piece becomes uniquely shaped—one banana may be rounder, one may be straighter, and one may be pointier. The designer even jokes about this in the video, noting that this variation mirrors real fruit.
Table of Banana Components and Their Role
| Component | Yarn Color Used | Purpose / Effect | Structural Notes |
|---|---|---|---|
| Tip (start) | Darker shade | Creates a compact, pointed beginning | Small starting ring forms the foundation |
| Lower body | Darker shade | Maintains narrow early shape | Even stitching prevents premature widening |
| Midsection | Darker shade | Thickest part of fruit | Alternating widening and leveling creates subtle expansion |
| Peel strips | Darker shade | Represents open skin | Built in short rows, attached by only one strand for flexibility |
| Inner fruit base | Lighter shade | Provides contrast and realism | Worked into unused strands to create layered look |
| Stuffing | Any matching scraps | Gives fullness and stability | Controls the curve depending on distribution |
| Top closure | Lighter shade | Finishes the tapered end | Invisible-style decreases reduce circumference neatly |
Tips for Best Results
- Choose a hook size slightly smaller than typical for your yarn. This keeps the stitches tight and prevents stuffing from showing.
- Use smooth yarn for clear stitch definition; fluffy yarn can obscure the details on such a tiny project.
- Keep peel strips loose enough to flip open naturally but firm enough to hold shape.
- When stuffing, add less than you think you need at first—you can always add more later.
- If you struggle to see tiny stitches, switch to thicker yarn while practicing the shape. The method works the same regardless of size.
Summary
A tiny crochet banana is a rewarding beginner-friendly amigurumi project that teaches essential shaping techniques on a miniature scale. It combines narrow tube construction, controlled widening, decorative peel strips, a contrasting inner layer, and careful closing. The result is a small, charming fruit that pairs perfectly with other mini produce like apples and pears from the same series.
Whether you want to build a set of miniature foods, practice sculpting, or simply enjoy a quick creative project, this tiny banana offers a delightful balance of simplicity and visual appeal.