
Creating your own Crochet Coin Purse is a fun way to combine creativity with functionality. Perfect for beginners or those exploring small projects, this step-by-step guide shows you how to stitch a fruity purse that’s both adorable and practical. Inspired by a watermelon design, it teaches simple construction, seamless color changes, and finishing details—all while strengthening your crochet skills.
With just a few tools and some patience, you can make a soft, sturdy crochet coin purse to store coins, tiny keepsakes, or gift to someone special. Read on to gather supplies, learn the pattern basics, and see how each section comes together.

Materials Needed
To complete this crochet coin purse project, you’ll need the following items:
- Lightweight sport or baby yarn in three contrasting shades
- Small amount of black yarn for embroidery
- 3 mm crochet hook
- Yarn needle (for sewing and weaving in ends)
- A sharp pair of scissors
Optional additions:
- Stitch markers (helpful for tracking rounds)
- Measuring tape (for checking size consistency)
Abbreviations
The crochet terms used in this guide follow standard US terminology. Here are the key abbreviations used:
- Ch – Chain
- Sc – Single Crochet
- Slst – Slip Stitch
- Inc – Increase (2 stitches in one)
- Rep – Repeat
- St – Stitch
- FO – Fasten Off
These are kept to a minimum to make the project easy to follow, even for complete beginners.
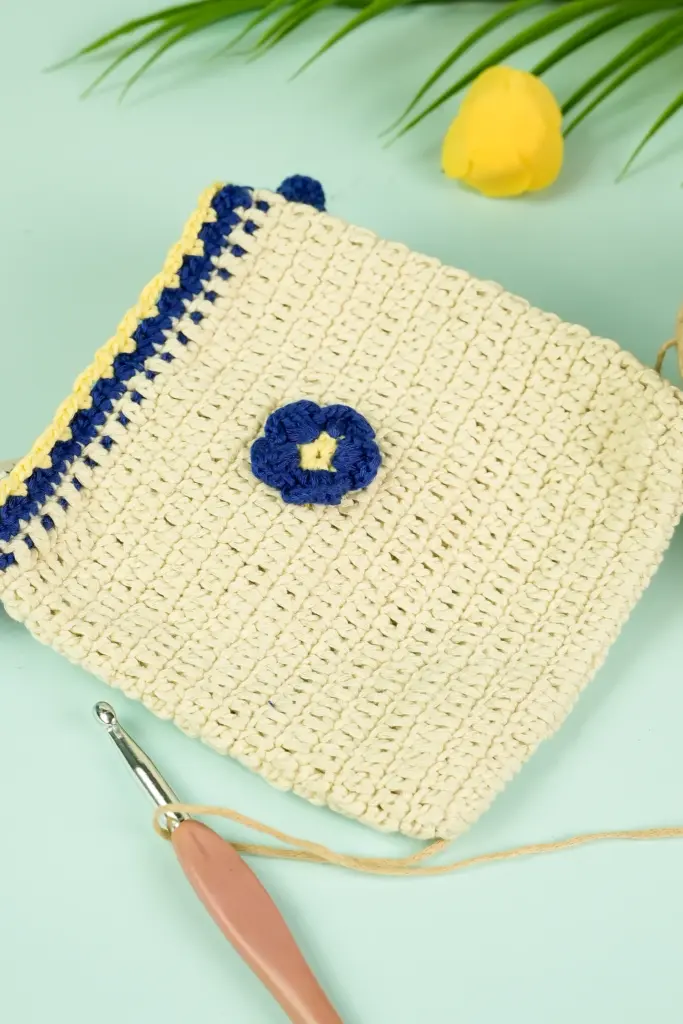
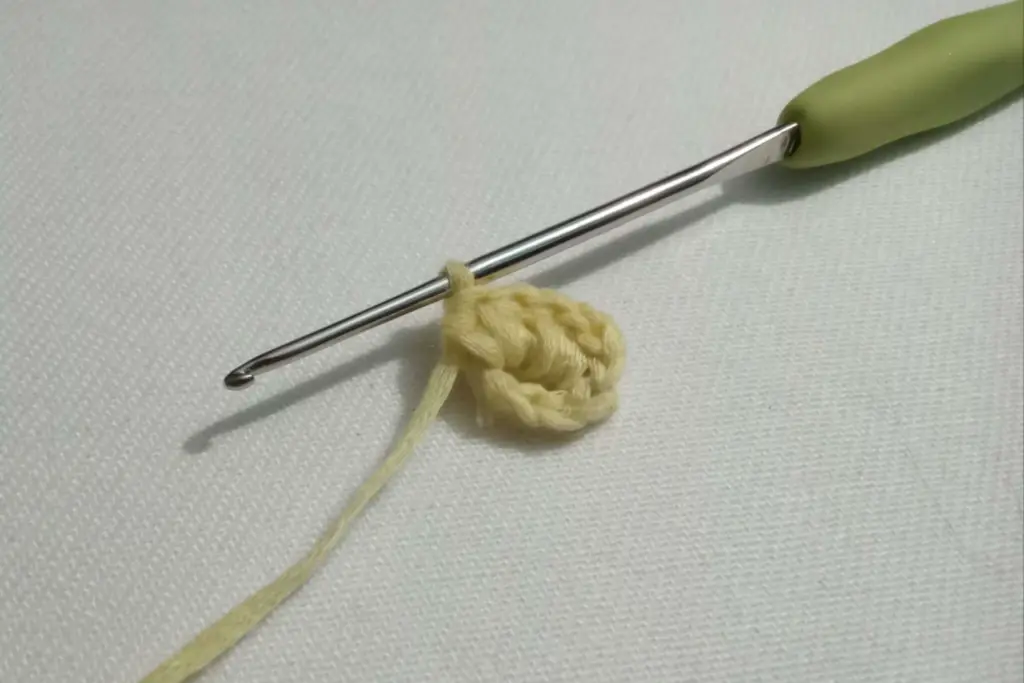
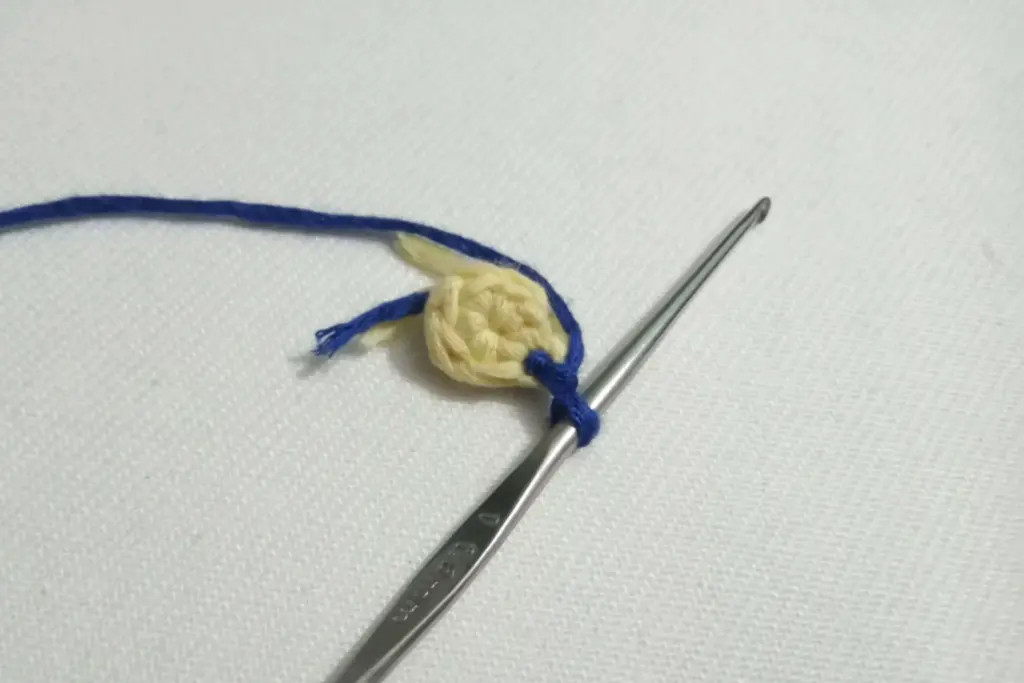
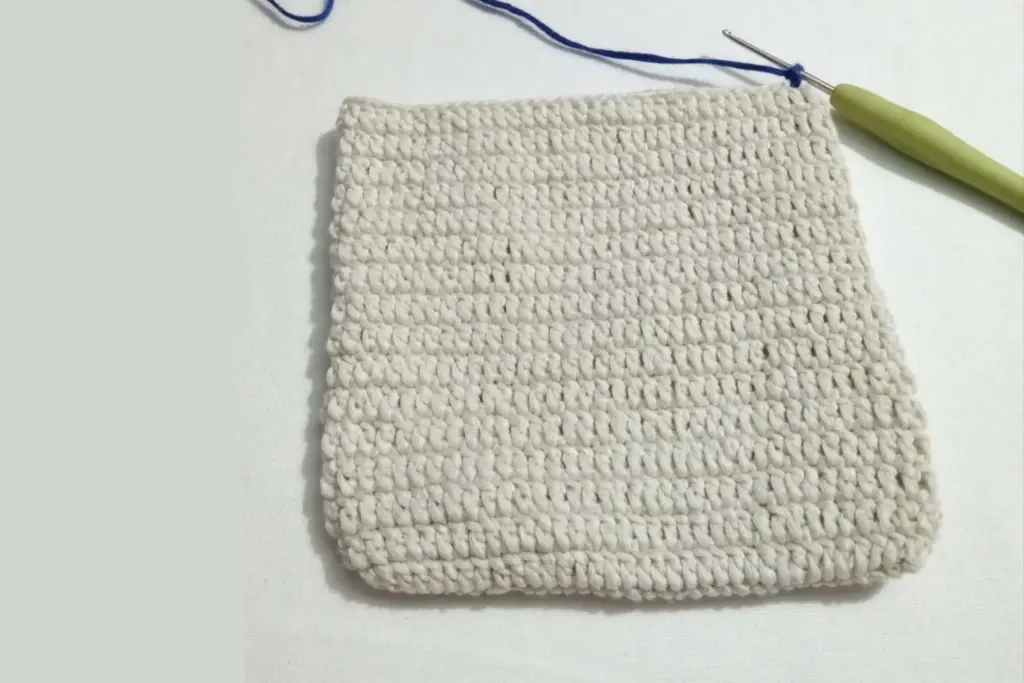
Starting the Circular Base
The foundation of the purse begins with a small circular shape. This gradually expands outward, forming a flat base that will eventually grow into the pouch’s body. You’ll begin in the center, using tight and evenly spaced stitches to form a solid circle. By gradually increasing the stitch count in a repeating pattern, you’ll create a flat disc that sets the stage for building up the purse’s walls.
The beginning portion involves a simple repetitive motion and rhythm, which is perfect for developing confidence and tension control. You’ll start noticing the shape forming quickly, and that instant visual feedback helps keep the momentum going.
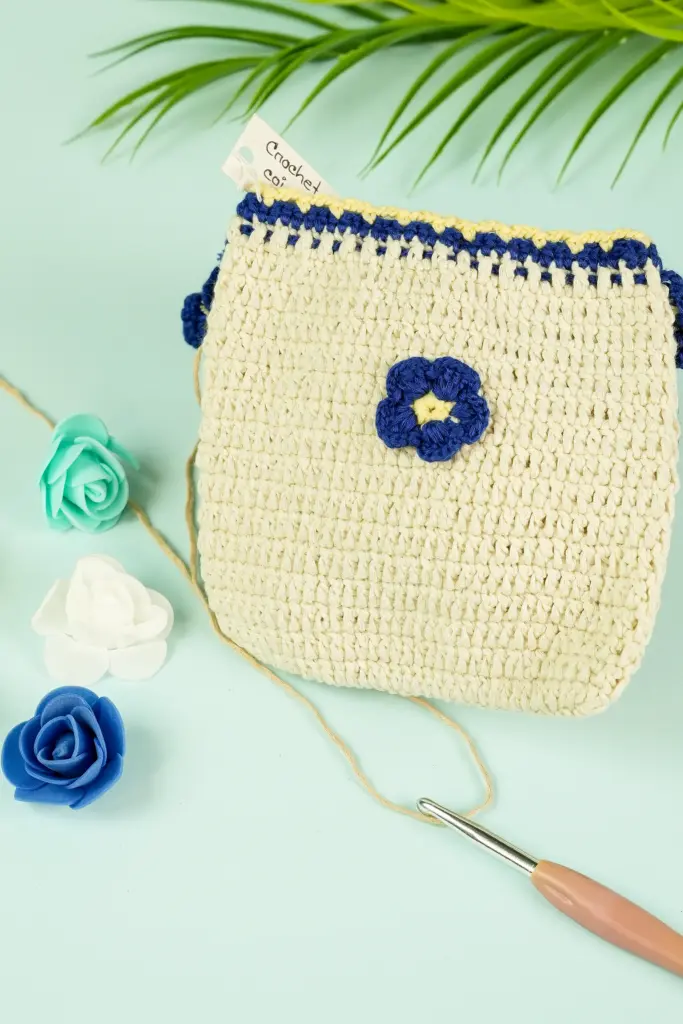
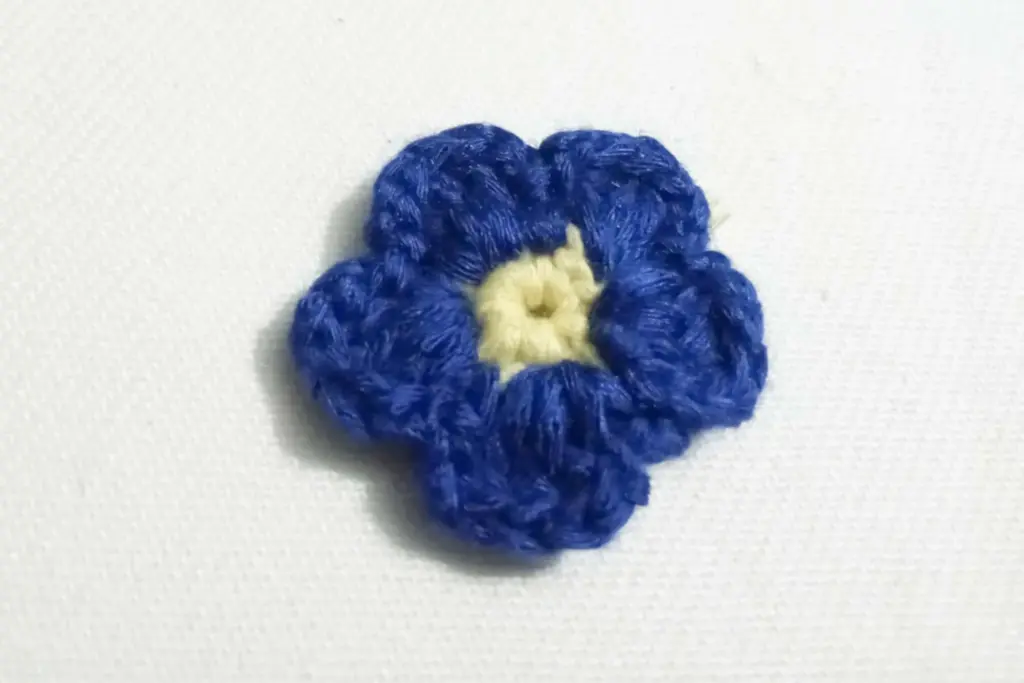
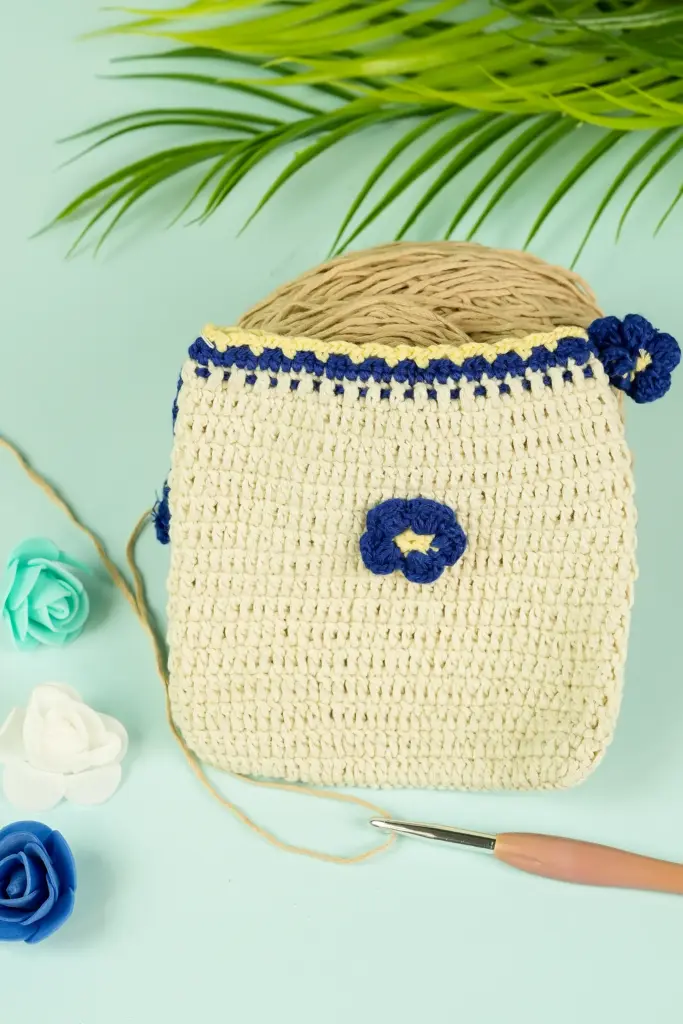
Building Height and Shape
Once the base is wide enough, the pattern stops increasing. This shift in the structure causes the work to naturally begin curving upward, shaping the walls of the purse. From here, the pattern becomes repetitive—each round continues with the same number of stitches, creating the cylinder-like body of the purse.
This section is also where you’ll get to play with color. Switching yarns helps define the playful aesthetic of the purse. The consistent stitch count allows you to focus more on color control and less on counting, giving your hands room to relax and enjoy the flow.
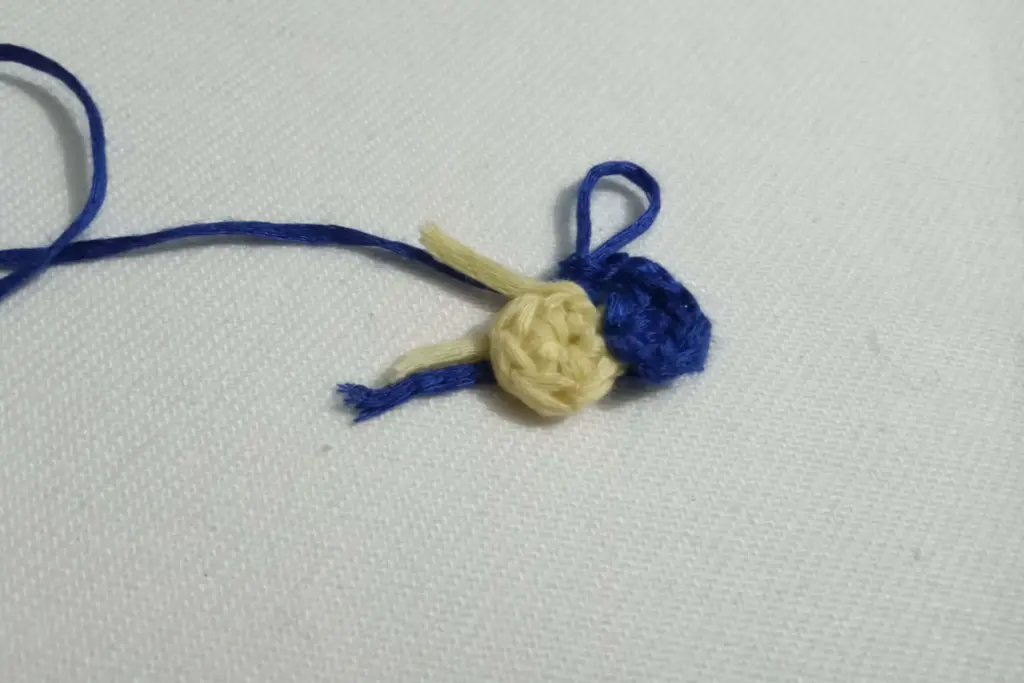
Smooth Color Transitions
The use of multiple yarn colors brings the fruity theme to life. Color changes are introduced smoothly by integrating the new yarn during the turning point of a round. Instead of cutting and tying between colors frequently, the transitions are done in a continuous flow, reducing unnecessary bulk inside the purse.
It’s important to keep your tension even while switching yarns, and pull the previous yarn tight enough so it doesn’t peek through. The white section acts as a border or “rind” between the outer and inner parts of the design, creating a balanced, clean look.
Forming the Drawstring Holes
As the purse nears its top, small spaces are added to allow for the drawstring to pass through. These tiny openings are evenly distributed to create symmetry and function. They’re formed by leaving small gaps, then returning to solid stitches shortly after.
This step is both functional and decorative—it allows the finished purse to open and close neatly while giving the top edge a bit of structure. The alternating solid and open areas help form a rounded opening that holds its shape when drawn closed.
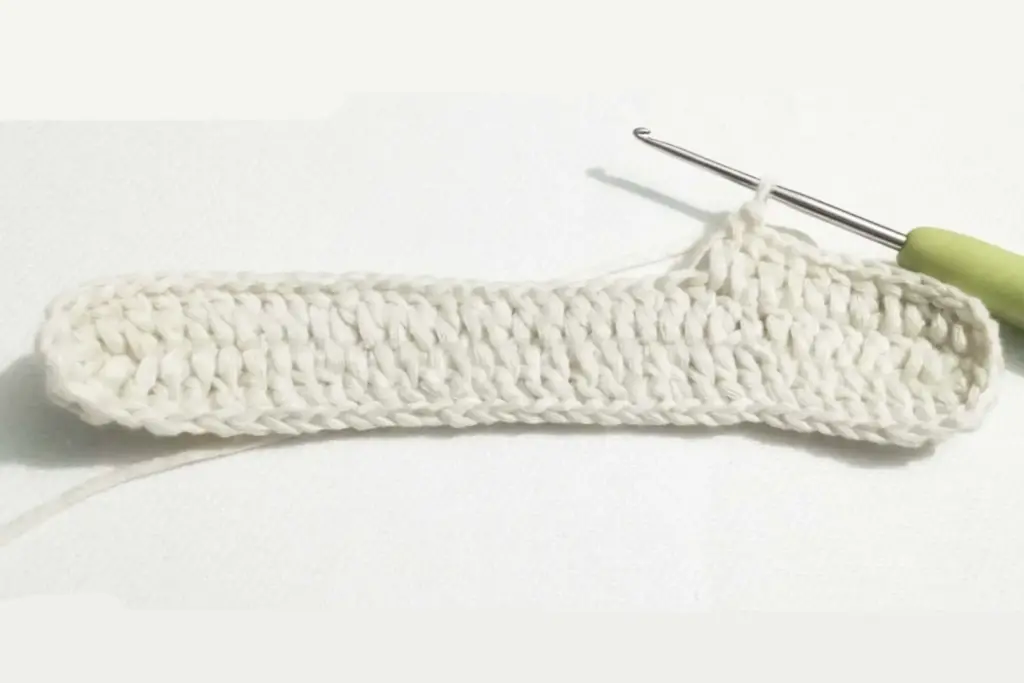
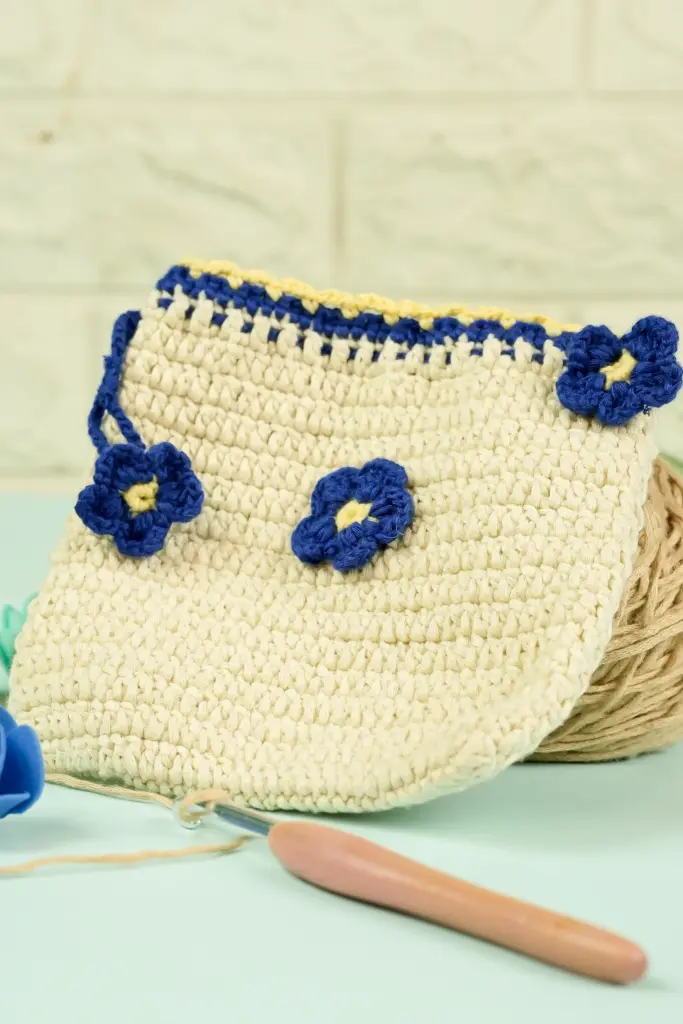
Shaping the Final Rim
Once the drawstring holes are made, a few more solid rounds help form the final rim of the purse. These rounds strengthen the top edge and add enough height so that the purse can hold items securely. This final edge also serves as a visual anchor, tying together the overall shape and pattern of the purse.
It’s helpful to keep your stitch count consistent here, as the look and balance of the final product depend heavily on that neatness. The result is a structured top that complements the round base and colorful body, completing the pouch’s form.
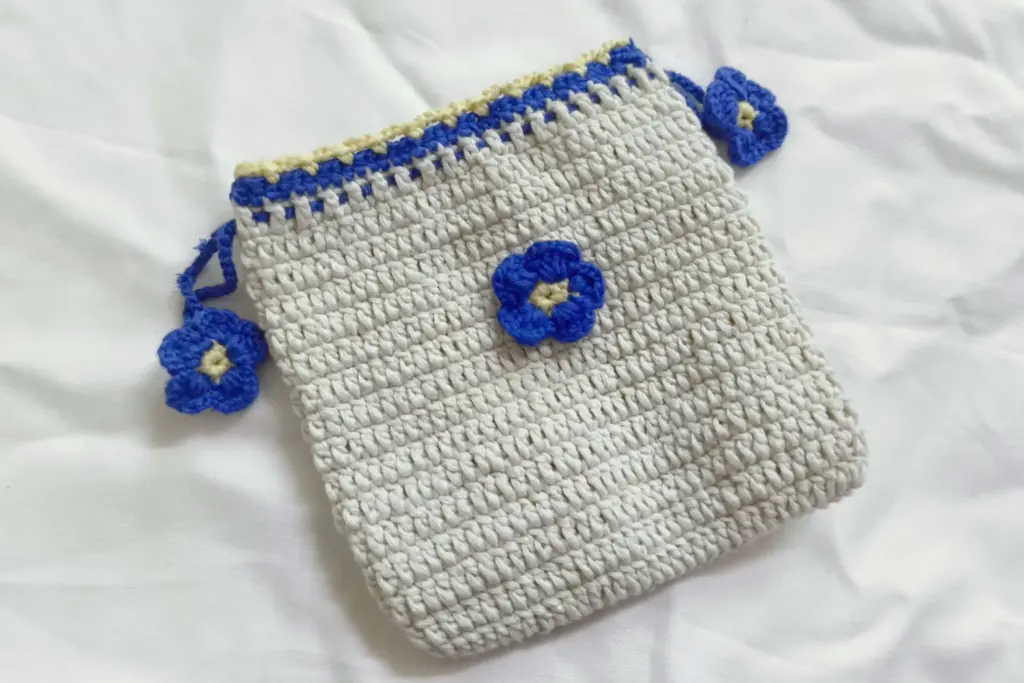
Creating the Drawstring
The drawstring is what brings the whole piece together—literally and visually. It allows you to cinch the top of the purse and adds a playful, functional element to the design. You can choose between different methods for creating it, such as using a foundation crochet chain or a simple i-cord, depending on your comfort level.
For a cleaner finish and extra durability, the drawstring is often made as a separate piece and then threaded through the prepared holes at the top of the purse. The key is to make it long enough to move freely but not so long that it dangles excessively. Once inserted, both ends can be sewn together to form a complete loop or left loose with knots—offering flexibility in the final look.
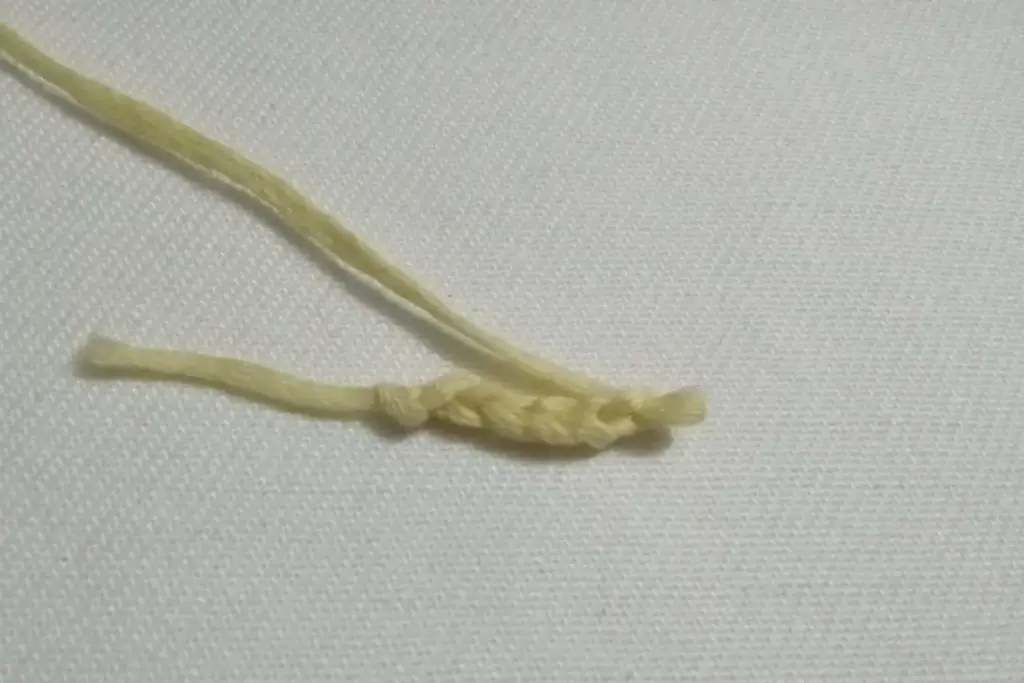
Embellishing with Decorative Seeds
To complete the fruity illusion, the purse is decorated with small seed-like embellishments. Rather than sewing, this version uses a clever technique of knotted yarn pieces, which are attached to the body of the purse. The idea is to keep the knots prominent on the outside while securing the tails firmly on the inside.
This approach makes the decoration more durable and gives a cleaner look on both sides of the fabric. Since each seed is made individually, you have full control over how many to include and where to place them. Uneven placement often mimics the randomness of real seeds, enhancing the handmade charm of the item.
Tidying Up and Finishing Touches
Once all parts are assembled, it’s time to neaten up your work. This includes weaving in the yarn tails, trimming excess fibers, and securing any knots. The inside of the purse should look just as clean as the outside, especially since it will be opened and closed frequently.
A little attention to detail here—like adjusting the seed placement or reinforcing the drawstring knot—can make your final piece look polished and professional. These small finishing steps are what elevate a simple project into something gift-worthy or sellable.
Customization Ideas
This basic fruity coin purse offers plenty of room for personalization. You can experiment with:
- Different color combinations – Think lemon, kiwi, or orange themes
- Adding facial features – Create a cute character purse
- Using different yarn textures – Try velvet or chenille for a soft look
- Varying the size – Use thicker yarn and larger hooks for a pouch-style bag
By playing with the core pattern and introducing minor tweaks, you can create a whole collection of fun, themed coin purses that show off your creativity and growing skills.
At a Glance: Pattern Overview
Here’s a quick overview of the project structure:
| Section | Purpose | Key Focus |
|---|---|---|
| Circular Base | Foundation of the purse | Even stitch spacing, smooth increase |
| Purse Body | Builds height and holds items | Consistent stitch count |
| Color Transition | Enhances theme, separates sections | Neat joining, tension control |
| Drawstring Openings | Functional feature for closure | Even spacing, symmetry |
| Final Rim | Adds structure and aesthetic finish | Clean edges, firm shape |
| Drawstring Cord | Closing mechanism | Length, flexibility, security |
| Decorative Seeds | Thematic embellishment | Secure knots, scattered placement |
Final Thoughts
Crocheting a coin purse is a rewarding project for any beginner looking to grow their skills. With simple stitches, fun colorwork, and just enough construction to challenge you, it’s the perfect balance between ease and creativity. The small size makes it a quick project, and the result is something you’ll be proud to use or gift.
As you practice, you’ll find your tension improves, your stitch work evens out, and your finishing becomes neater. And with each purse you make, you’ll likely start imagining new fruits, themes, or seasonal designs to try next.
So gather your yarn, cozy up with your hook, and enjoy crafting a little pouch that’s bursting with personality and handmade charm.