
There’s something wonderfully calming about creating tiny crochet animals, and this Crochet Shrimp Pair is no exception. Perfect for gifting, collecting, or simply enjoying the joy of handmade projects, this design captures the playful and heartwarming side of crochet. Inspired by the idea of an emotional support shrimp, this guide walks you through simple, beginner-friendly techniques to shape curves, add textured body details, and finish with a soft, plush look.
The beauty of making a Crochet Shrimp Pair lies not only in the finished creation but in the process itself — each stitch builds character, and small details transform yarn into delightful, personality-filled companions.
Materials Needed
To get started, gather the following materials based on the video instructions:
- Acrylic yarn in a bright or shrimp-like tone
- Crochet hook (approximately 6mm in size)
- Safety eyes or decorative alternatives
- Tapestry needle for sewing
- Scissors
- Poly-fibre or any soft stuffing
- Fabric stiffener or bamboo stick (optional for shaping)
Each item plays a key role in creating a clean and firm structure. Make sure the yarn isn’t too fuzzy, or you might need to clean up flyaways at the end.
Abbreviations
These terms follow US crochet conventions:
- sc – single crochet
- hdc – half double crochet
- slst – slip stitch
- tr – treble crochet
- ch – chain
- BLO – back loop only
Understanding these will make the instructions clearer and help you follow your flow without confusion.
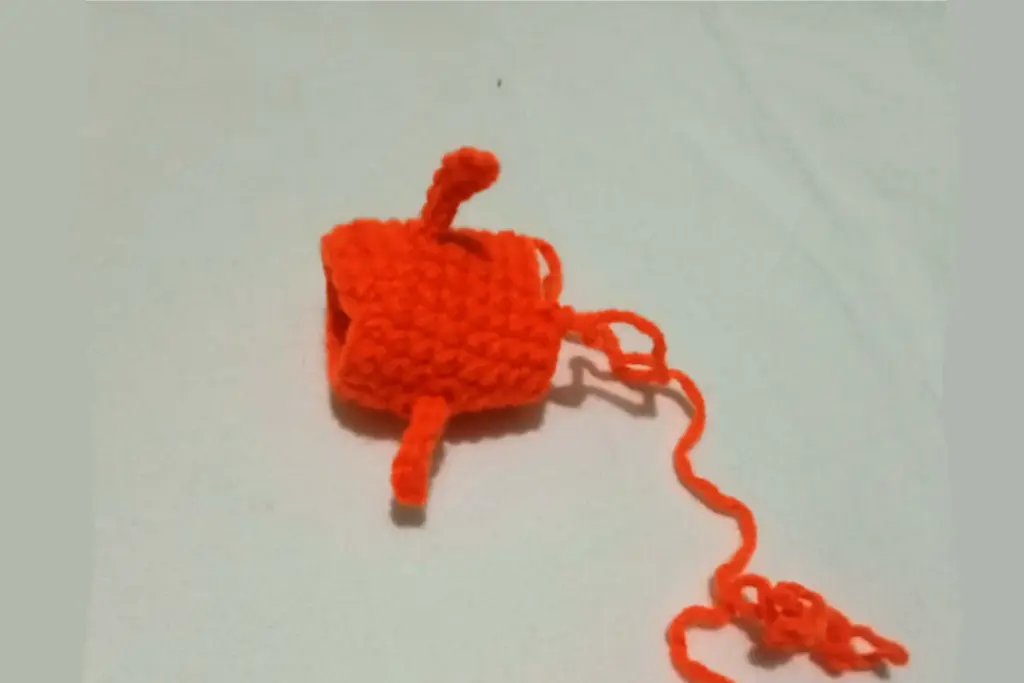
Creating the Core Shape
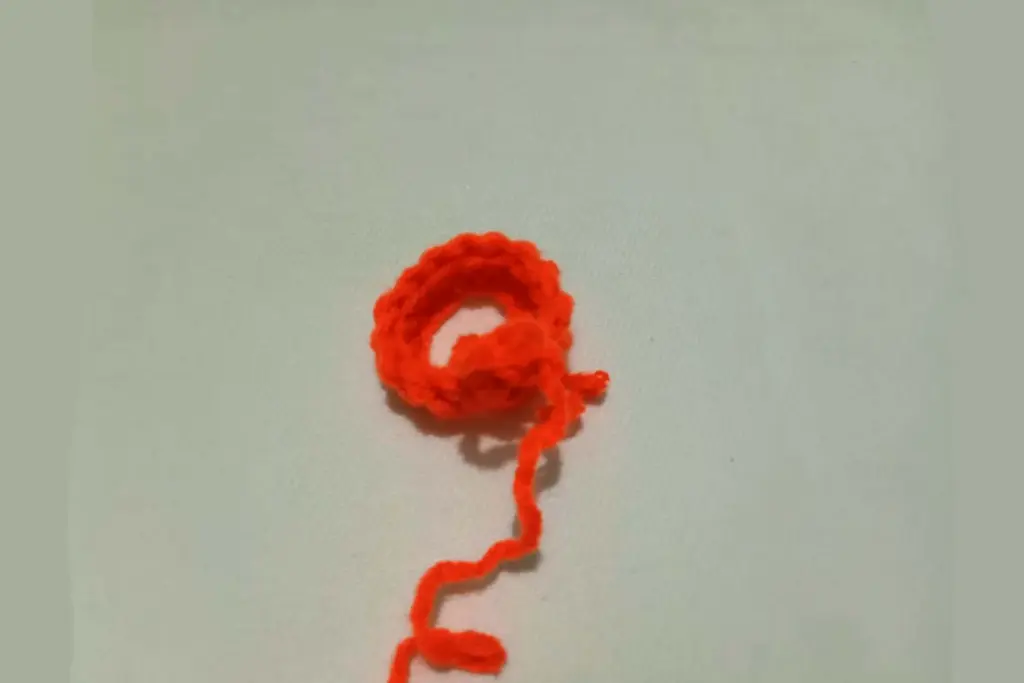
The shrimp’s body begins with a flat foundation, developed from a narrow base that gradually widens. You’ll use simple movements, folding and stacking the rows to mimic the curved shell. The pattern focuses on uniform slip stitches and chain building, creating a clean spine for the project.
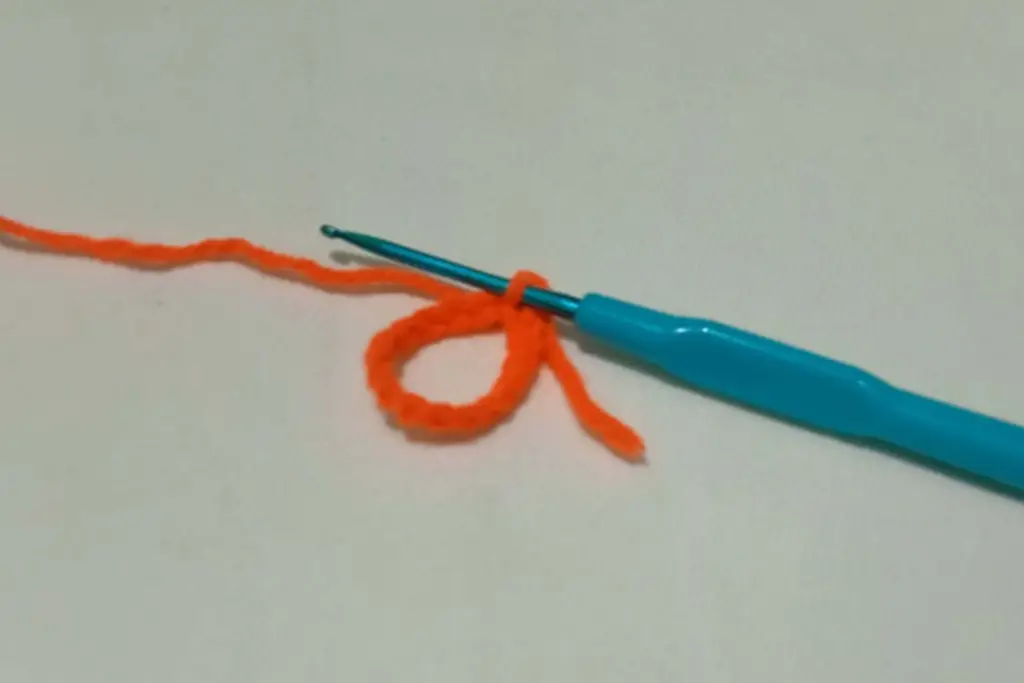
Repetition is your friend here. The early sections give structure to the shrimp’s body while preparing space for the segment details that follow.
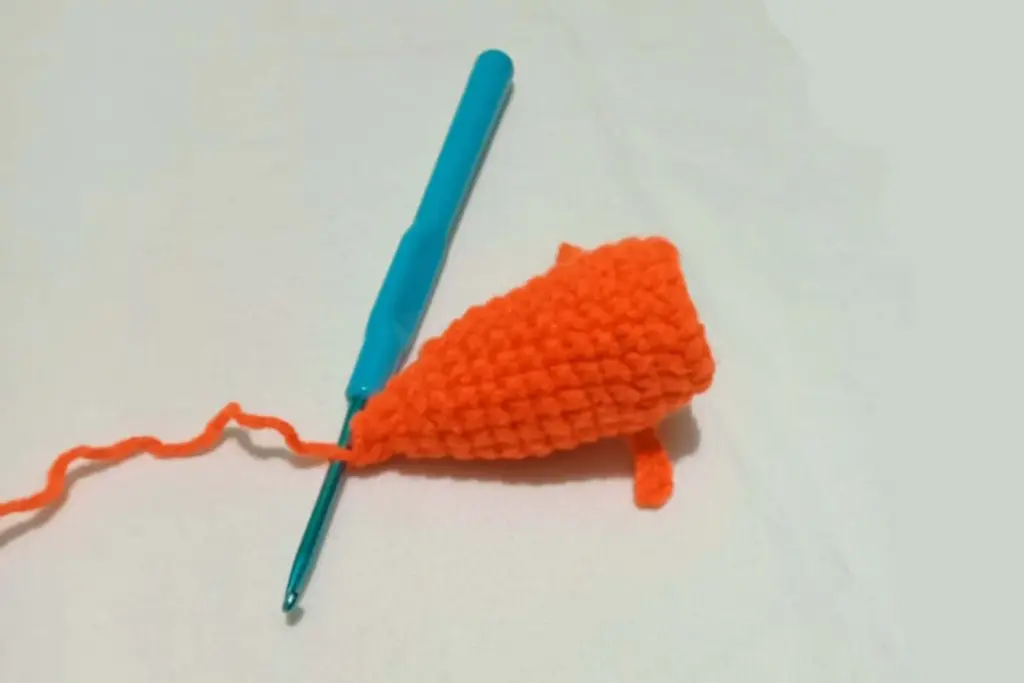
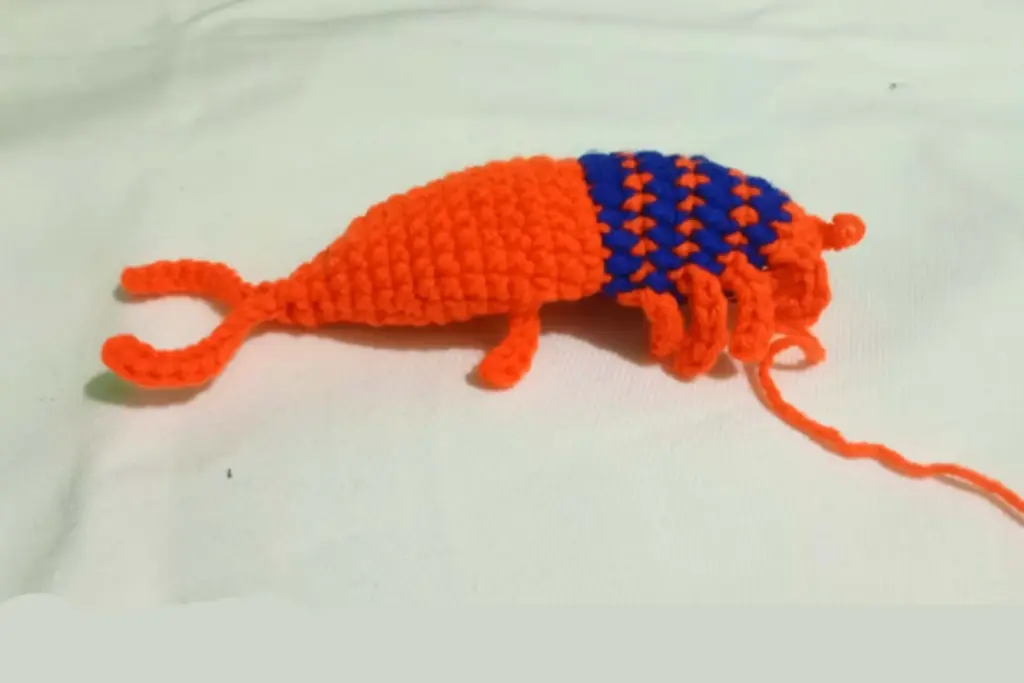
Shaping the Segment Curves
As you build upward, adding texture and height, the segments begin to arch. Subtle stitch variation adds body definition. The approach involves alternating short and tall stitches, using only the back loops. This subtle trick helps shape the natural bend while maintaining flexibility for assembly.
You’re not just stacking stitches—you’re giving life to a curved shell. Keeping consistent tension helps create a clean, unified look throughout.
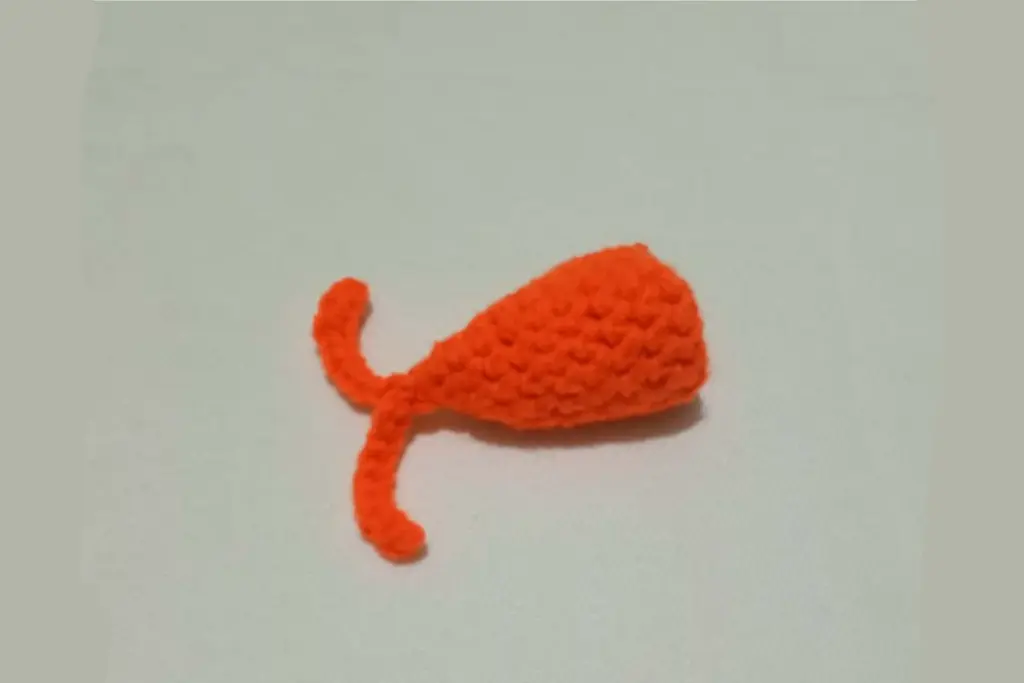
Adding the Tail Details
Once the body is in place, the tail finishes the form with gentle shaping. Slip stitches and tapered rows bring the rear to a satisfying point. Special care is needed to maintain a soft curve, so the shape sits neatly when the shrimp is stuffed.
Flattening the tail before finishing the ends ensures the final stitch work gives the impression of a natural taper, just like a real shrimp’s tail fan.
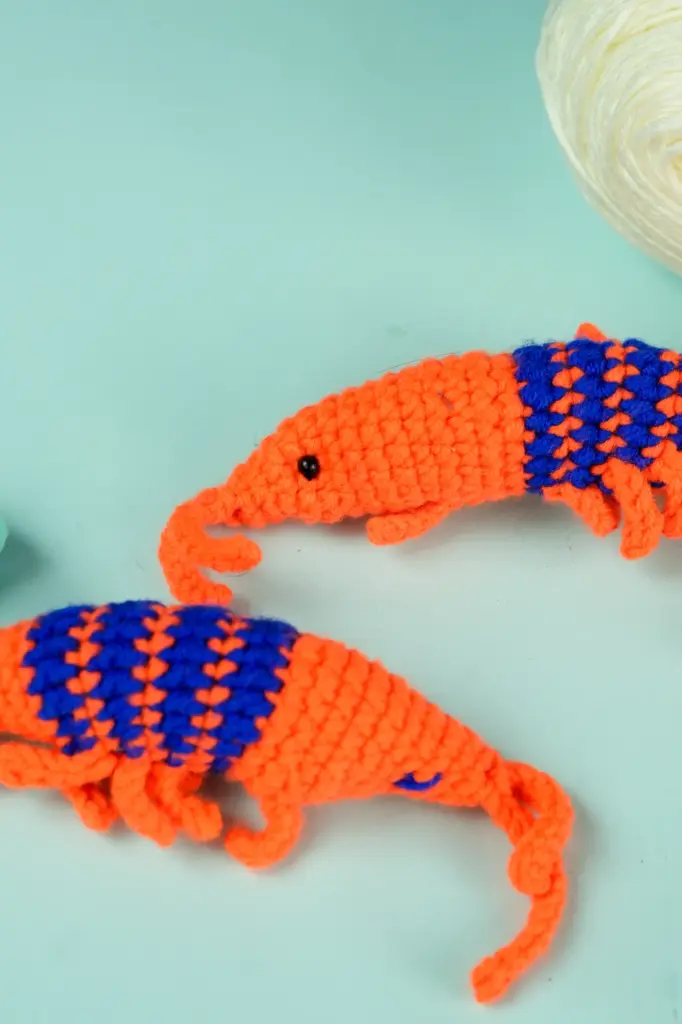
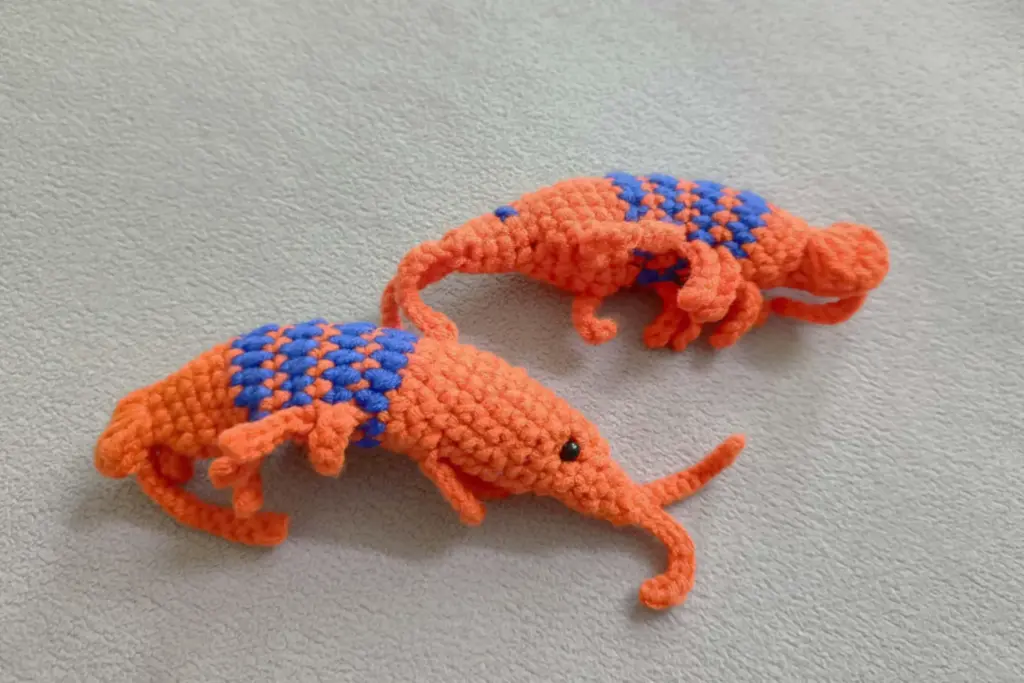
Prepping for the Second Piece
You’ll need two mirrored pieces for this project. Once the first half is done, use it as a visual guide to shape the second half. Both sides should match in size and curve before you sew them together. Don’t rush the second one—it’s key to a balanced result.
Careful mirroring creates a seamless final plush, so your shrimp doesn’t lean or twist after assembly.
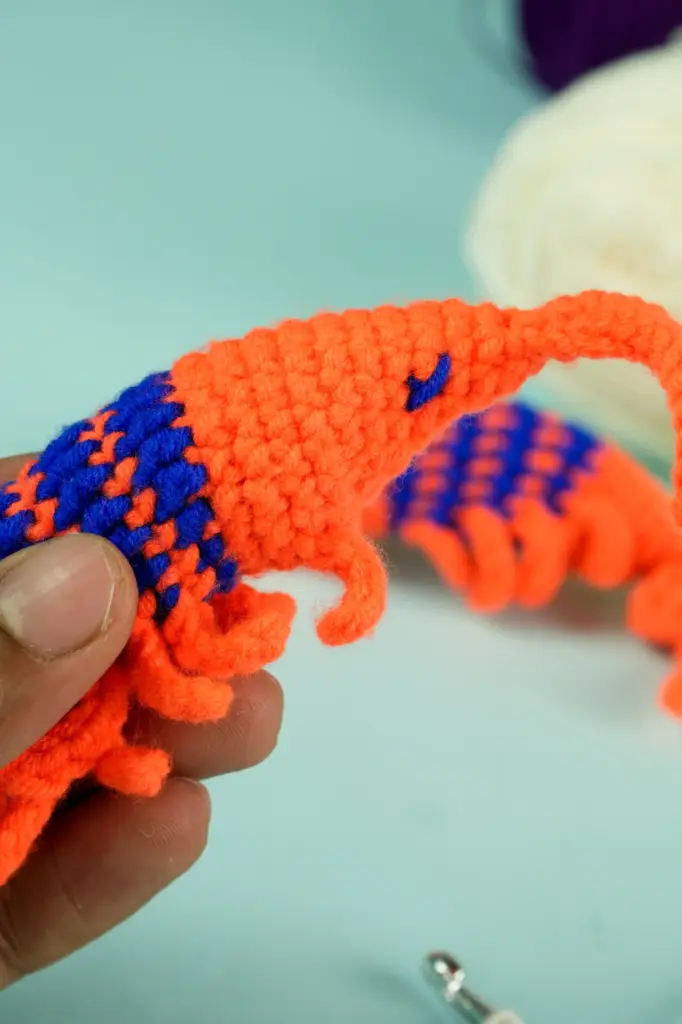
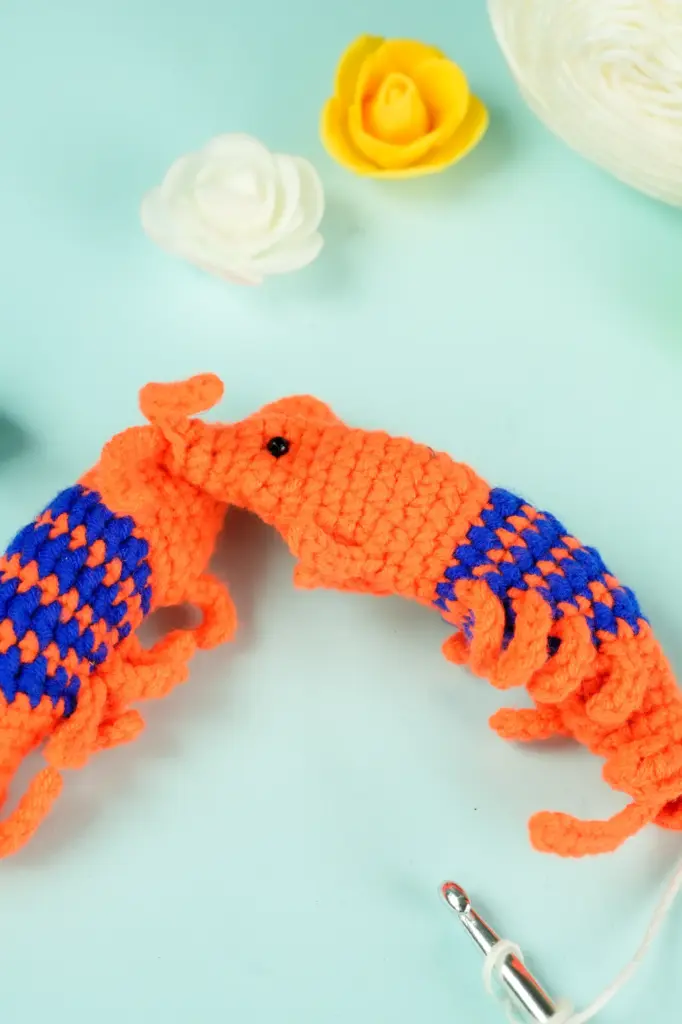
Attaching Safety Eyes
Before joining the two shrimp halves, it’s best to place the safety eyes. These should go toward the head area, roughly aligned to add a playful expression. If you want a softer or stitched look, you can embroider eyes using a single ply of contrasting yarn and a tapestry needle.
For extra security, the backs of safety eyes can be gently melted with heat to keep them in place—but this should only be done with caution. Make sure not to damage the surrounding fabric or distort the shape.
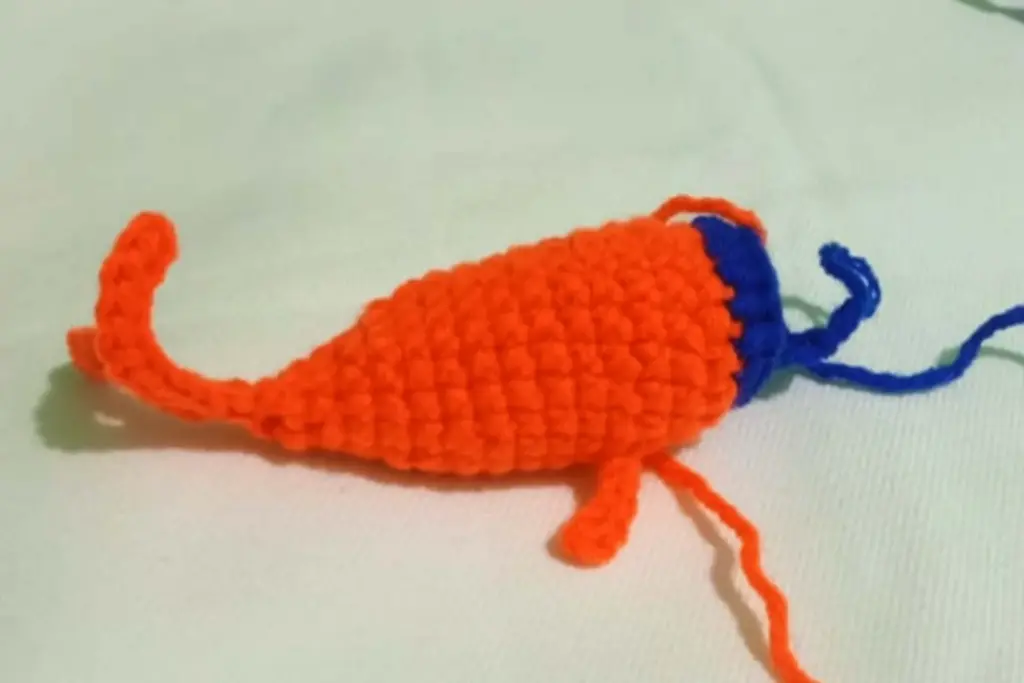
Joining Both Halves
Now that both sides are ready, it’s time to sew them together. Starting at the head, use a tapestry needle and matching yarn to whip stitch around the edge. Keep the stitches small and consistent to avoid gaping. This step is where your shrimp starts to take its 3D form.
Stop halfway through to insert your stuffing. Firm but not over-packed stuffing will give the shrimp volume without making it stiff or misshapen.
Stuffing the Body
Poly-fibre or a similar filling is gently inserted through the open seam. It’s important not to overdo it—too much stuffing can distort the shrimp’s shape or make it difficult to close the tail. Using a slim tool like a bamboo skewer helps push the filling into tight spaces without stretching the yarn.
As you stuff, check the curve to ensure it’s holding its shape. A light hand will go a long way here.
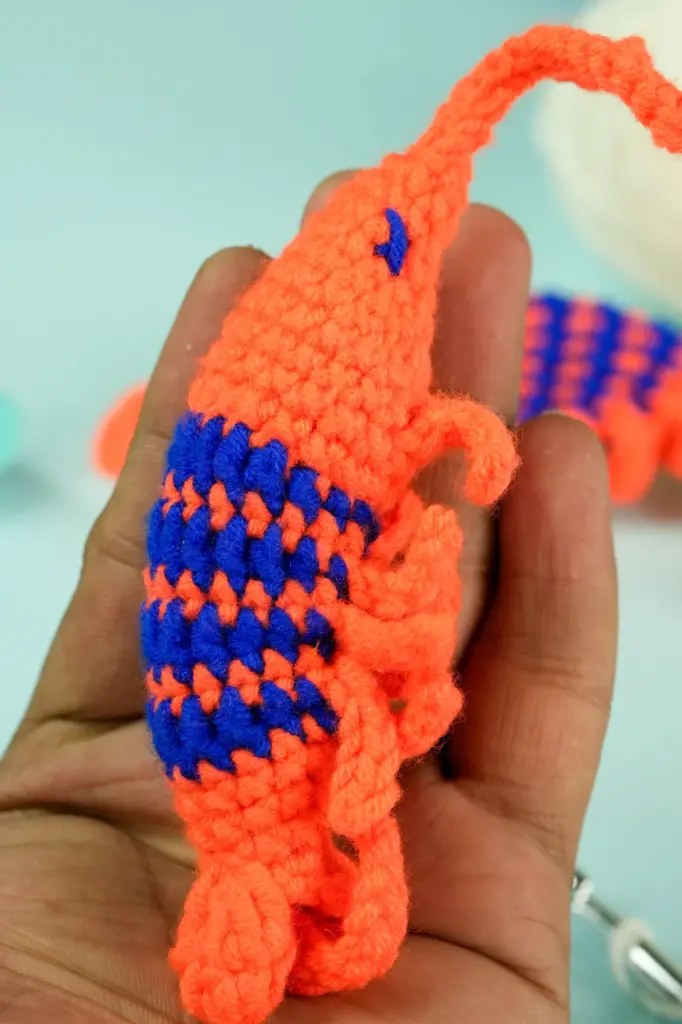
Closing the Tail and Finishing
Once stuffed, finish sewing the edges around the tail. Flattening the tail section creates a soft fan-like look. The two corners are brought together and stitched through the middle, securing the shape with a neat closure.
This pressed finish gives your shrimp a clean tail design that holds its curl and adds character from every angle.
Adding Decorative Features
If desired, add small decorative touches like feelers or antennae. These can be made from stiffened yarn ends or thread coated with fabric stiffener. Shape them with your fingers and attach carefully at the top of the head.
Burning stray fibres is also an option if your yarn tends to fray. Use a lighter at a safe distance to singe the ends—but do so carefully to avoid damaging your work.
Care and Customization Tips
- Try making multiple shrimp in different colors for a fun collection
- Add a loop at the top to turn it into a bag charm or keychain
- Use smaller hooks for tighter, miniature versions
- Embroider blush, expressions, or even small accessories to personalize each shrimp
Final Thoughts
Crocheting this shrimp pair is more than just a craft project—it’s a calming, rewarding experience. From the first chain to the final stitch, every detail teaches you something new about form and fiber. It’s ideal for beginners looking to stretch their skills, and satisfying enough to revisit again and again.
Data Table: Crochet Shrimp Pair Summary
| Feature | Description |
|---|---|
| Project Type | Amigurumi plush – Shrimp pair |
| Skill Level | Beginner-friendly |
| Time Required | 1–2 hours (approx.) |
| Hook Size | ~6mm (or size appropriate for your yarn) |
| Recommended Yarn | Medium-weight acrylic |
| Techniques Used | Slip stitch, single crochet, hdc, treble |
| Assembly Required | Yes – sewing, stuffing, shaping |
| Add-ons | Safety eyes, feelers, stiffener optional |
This shrimp design adds personality to your handmade collection and makes for a heartfelt, pocket-sized gift. Make one or make a school—they’re that addictive.
Attaching Safety Eyes
Before joining the two shrimp halves, it’s best to place the safety eyes. These should go toward the head area, roughly aligned to add a playful expression. If you want a softer or stitched look, you can embroider eyes using a single ply of contrasting yarn and a tapestry needle.
For extra security, the backs of safety eyes can be gently melted with heat to keep them in place—but this should only be done with caution. Make sure not to damage the surrounding fabric or distort the shape.
Joining Both Halves
Now that both sides are ready, it’s time to sew them together. Starting at the head, use a tapestry needle and matching yarn to whip stitch around the edge. Keep the stitches small and consistent to avoid gaping. This step is where your shrimp starts to take its 3D form.
Stop halfway through to insert your stuffing. Firm but not over-packed stuffing will give the shrimp volume without making it stiff or misshapen.
Stuffing the Body
Poly-fibre or a similar filling is gently inserted through the open seam. It’s important not to overdo it—too much stuffing can distort the shrimp’s shape or make it difficult to close the tail. Using a slim tool like a bamboo skewer helps push the filling into tight spaces without stretching the yarn.
As you stuff, check the curve to ensure it’s holding its shape. A light hand will go a long way here.
Closing the Tail and Finishing
Once stuffed, finish sewing the edges around the tail. Flattening the tail section creates a soft fan-like look. The two corners are brought together and stitched through the middle, securing the shape with a neat closure.
This pressed finish gives your shrimp a clean tail design that holds its curl and adds character from every angle.
Adding Decorative Features
If desired, add small decorative touches like feelers or antennae. These can be made from stiffened yarn ends or thread coated with fabric stiffener. Shape them with your fingers and attach carefully at the top of the head.
Burning stray fibres is also an option if your yarn tends to fray. Use a lighter at a safe distance to singe the ends—but do so carefully to avoid damaging your work.
Care and Customization Tips
- Try making multiple shrimp in different colors for a fun collection
- Add a loop at the top to turn it into a bag charm or keychain
- Use smaller hooks for tighter, miniature versions
- Embroider blush, expressions, or even small accessories to personalize each shrimp
Data Table: Crochet Shrimp Pair Summary
| Feature | Description |
|---|---|
| Project Type | Amigurumi plush – Shrimp pair |
| Skill Level | Beginner-friendly |
| Time Required | 1–2 hours (approx.) |
| Hook Size | ~6mm (or size appropriate for your yarn) |
| Recommended Yarn | Medium-weight acrylic |
| Techniques Used | Slip stitch, single crochet, hdc, treble |
| Assembly Required | Yes – sewing, stuffing, shaping |
| Add-ons | Safety eyes, feelers, stiffener optional |
This shrimp design adds personality to your handmade collection and makes for a heartfelt, pocket-sized gift. Make one or make a school—they’re that addictive.
Final Thoughts
Crocheting this shrimp pair is more than just a craft project—it’s a calming, rewarding experience. From the first chain to the final stitch, every detail teaches you something new about form and fiber. It’s ideal for beginners looking to stretch their skills, and satisfying enough to revisit again and again.