
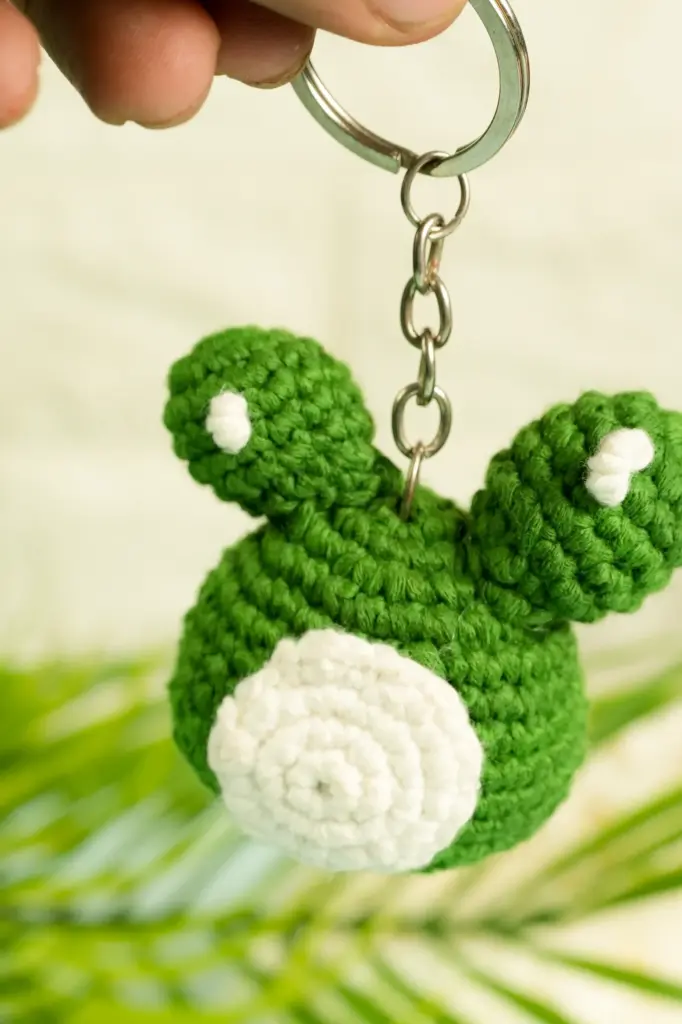
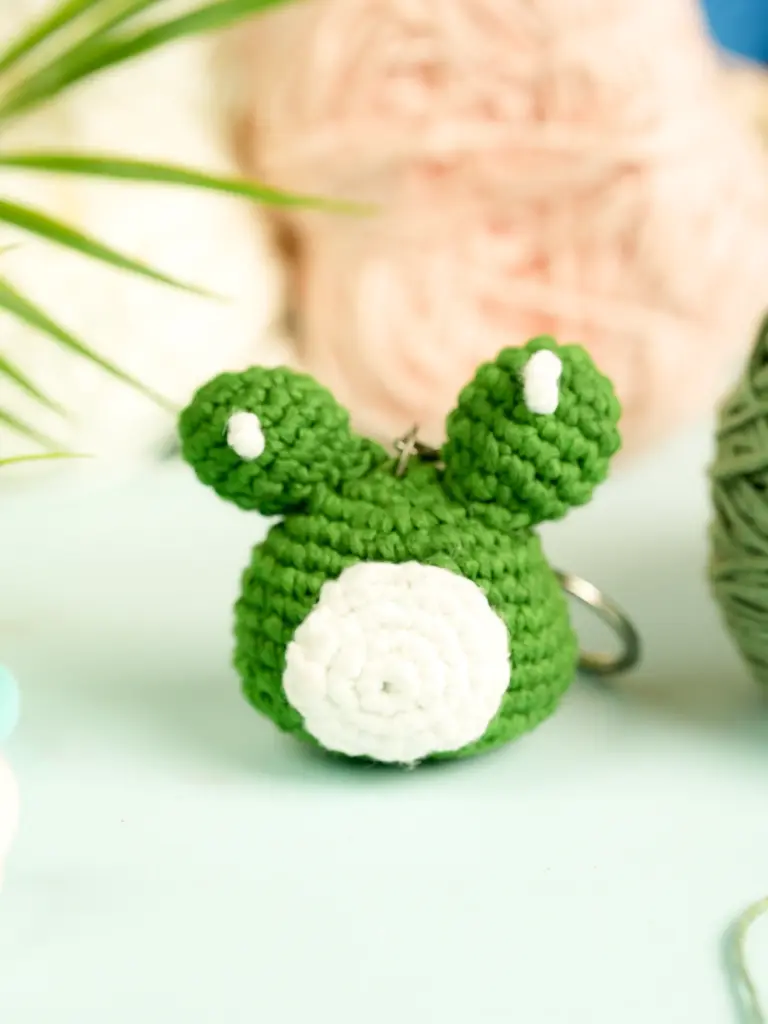
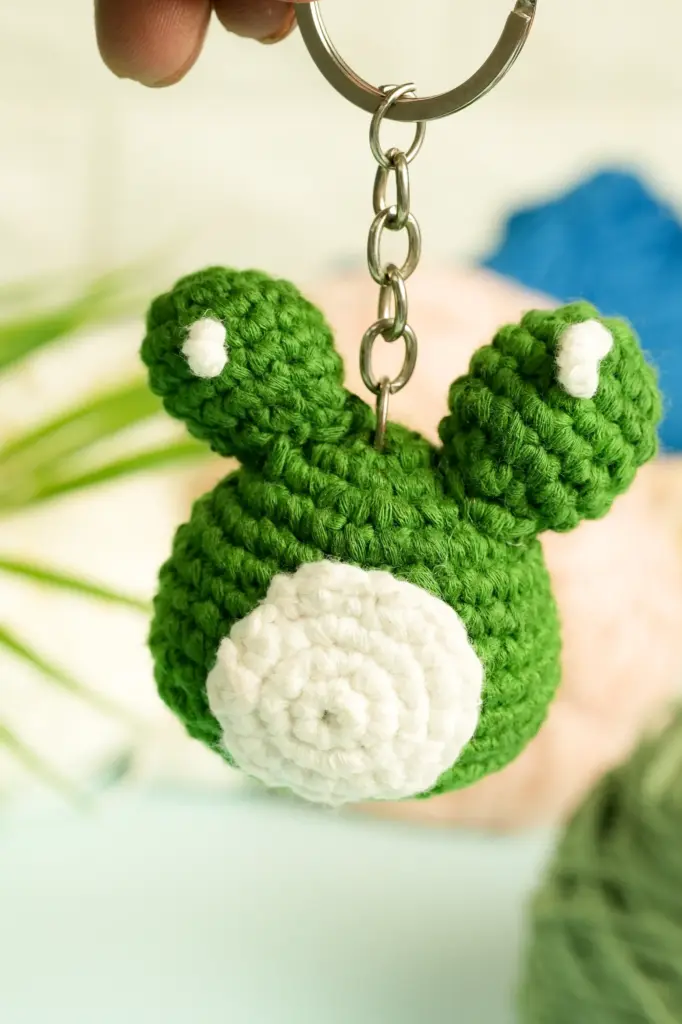
If you want a fun, charming, and easy project, a Frog Keyring Crochet is perfect! Small yet full of personality, this tiny frog makes a delightful companion for your bag, keys, or desk. Ideal for beginners, it’s a great introduction to amigurumi, teaching soft shaping, expressive features, and simple assembly.
This guide takes you step by step — from creating the soft, round body to stitching on the eyes and embroidered smile. Using basic stitches and minimal materials, you’ll craft an adorable, huggable frog that’s both cute and practical.
Materials Needed
Before diving into your yarn stash, gather these items to ensure your project goes smoothly:
- Sport or DK weight yarn in green and cream tones
- Crochet hook suitable for fine yarn (typically around 2.5mm–3mm)
- Small amount of stuffing material (like polyester fiberfill)
- Black yarn for embroidery
- Safety eyes (around 10mm) or black thread for sewn eyes
- Stitch marker
- Darning needle
- Scissors
- Optional keychain ring
With just a few scraps of yarn and a little time, you can bring your frog to life and personalize it with tiny features that make it uniquely yours.
Abbreviations
Below are the crochet terms used throughout this pattern, based on US standard notation:
- CH – Chain
- SC – Single Crochet
- INC – Increase (2 single crochet in one stitch)
- DEC – Decrease (crochet two stitches together)
- SLST – Slip Stitch
- BLO – Back Loop Only
- MR – Magic Ring
- [] – Indicates the total stitch count at the end of a section
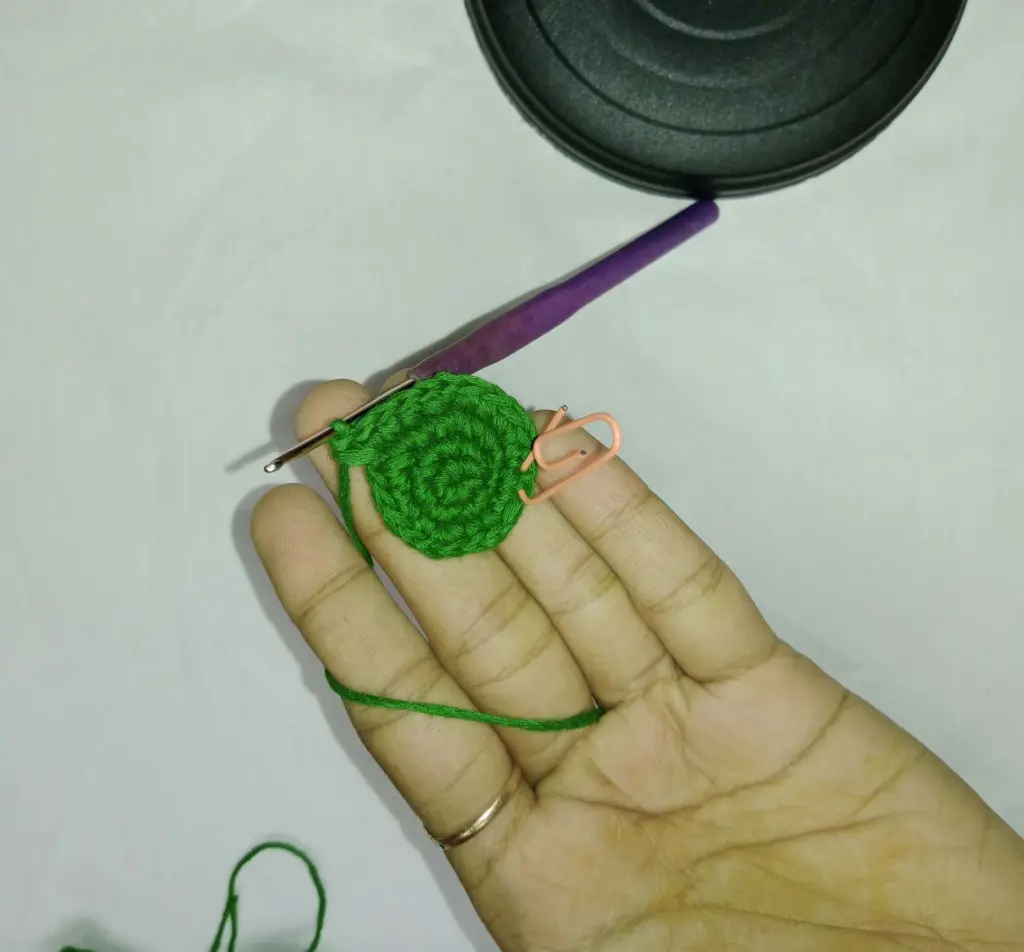
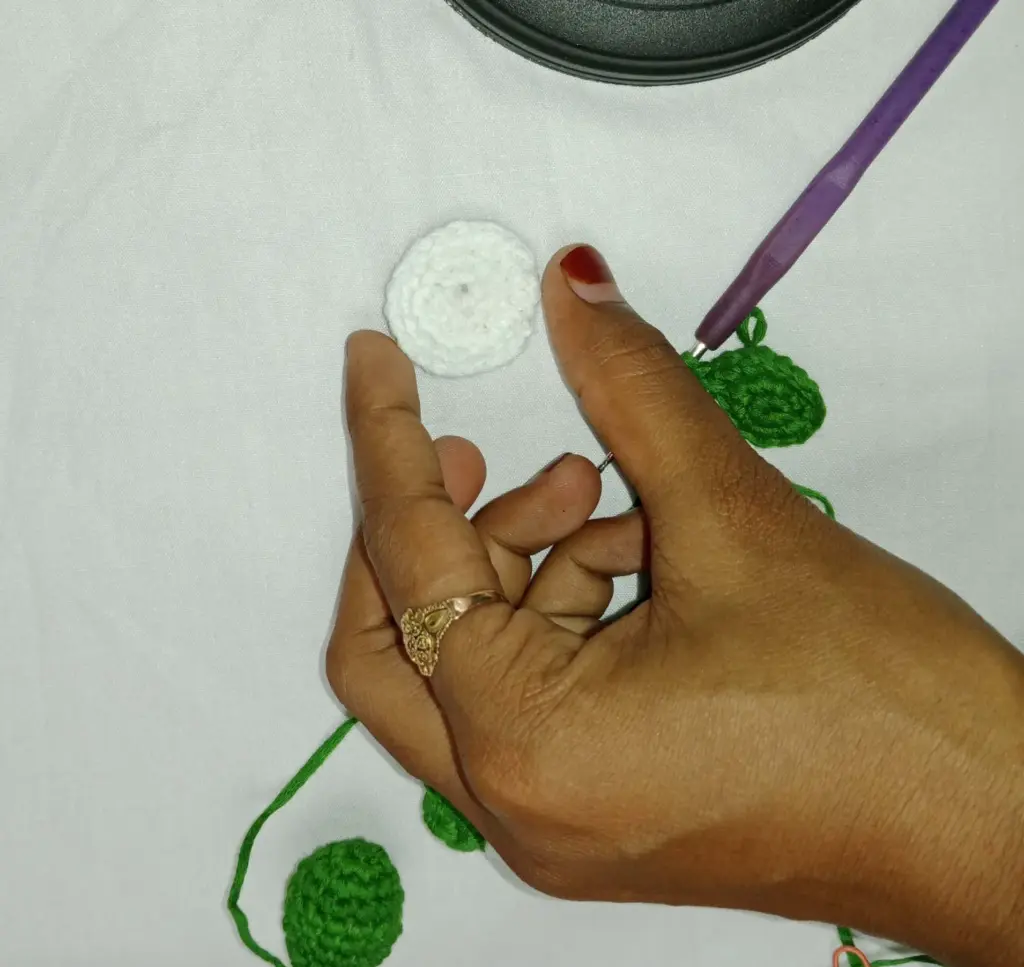
Forming the Round Body
The core of the frog is built using a continuous spiral to shape a soft, rounded form. The process starts small and expands outward using increases that gradually add volume. Once the desired width is reached, even rows of consistent stitches maintain the shape, giving the body its plump, balanced look.
The secret to this stage is patience and stitch count accuracy. Because the structure builds gradually, keeping track with a stitch marker is essential for alignment. You’ll notice the curve begin to form after just a few rounds, and by the time it’s done, the body resembles a small plush toy — smooth, soft, and satisfying to squeeze.
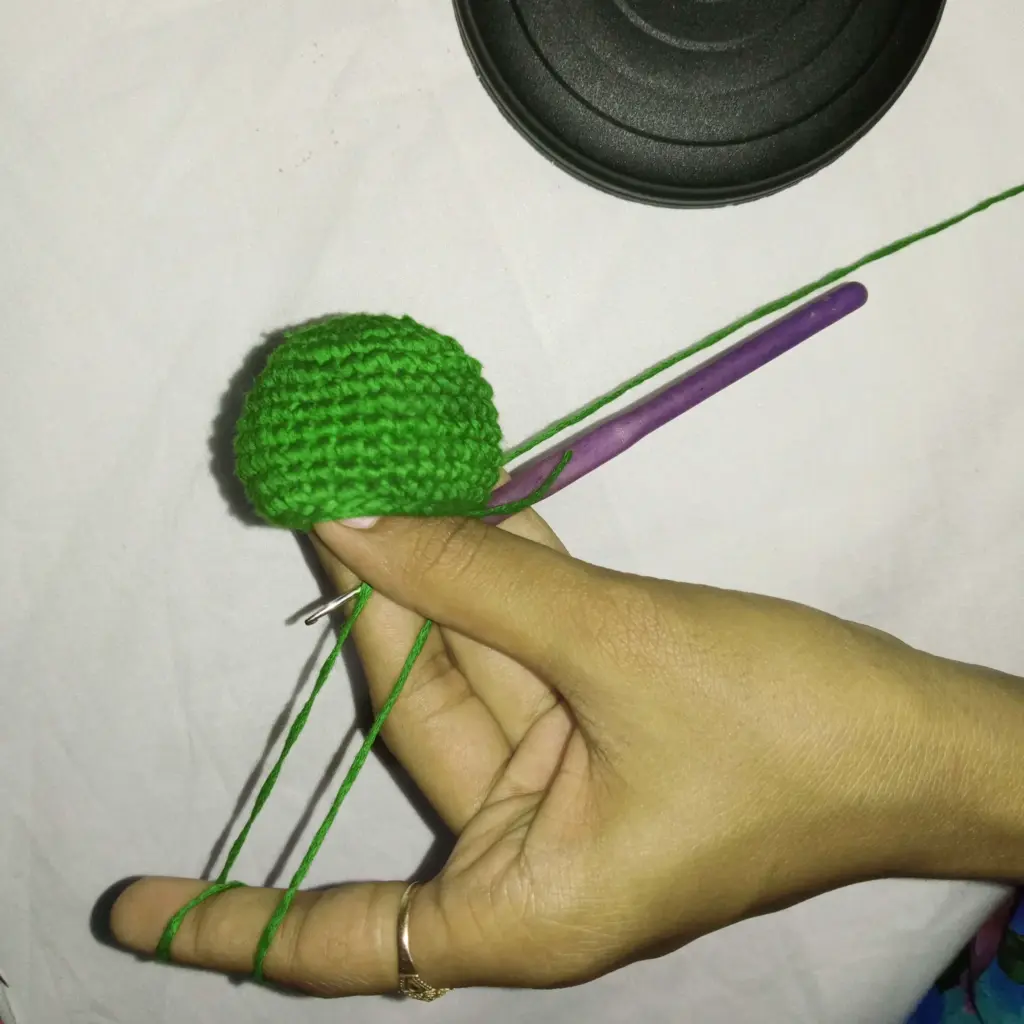
Shaping With Gentle Decreases
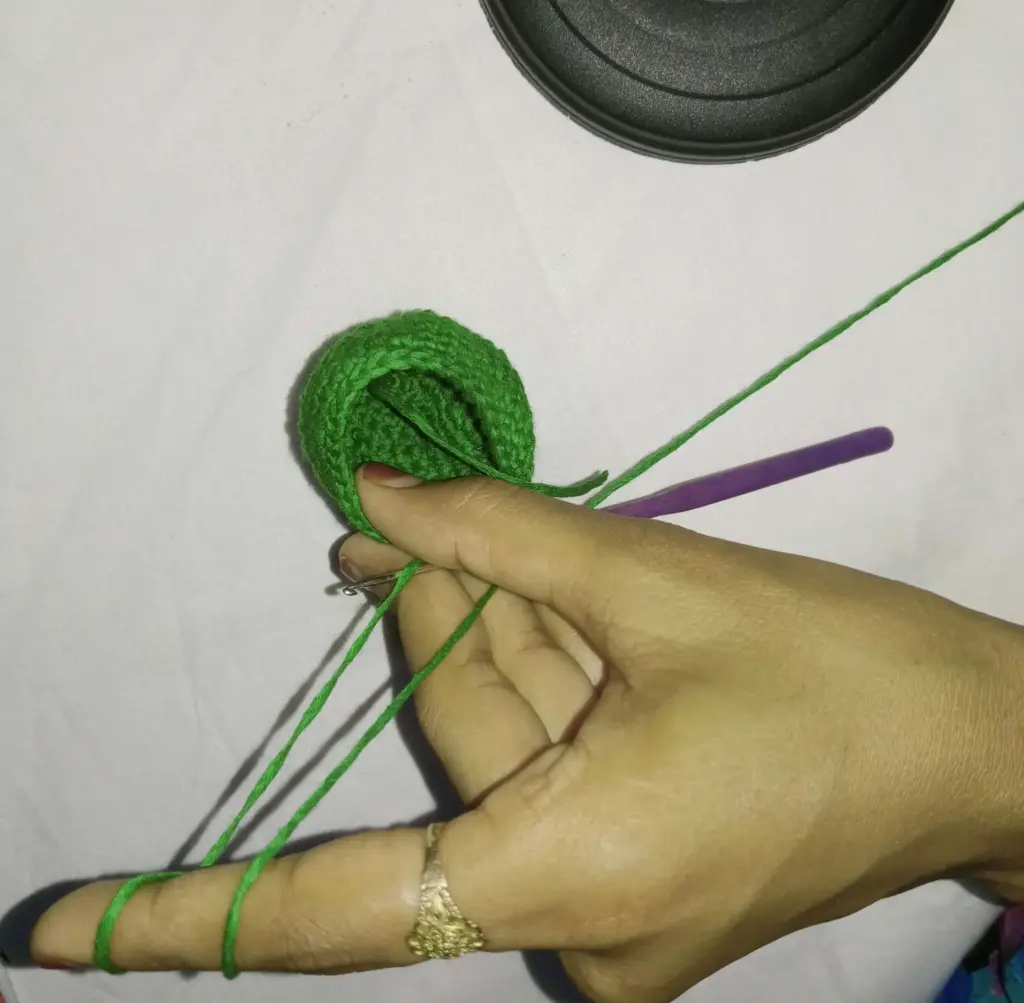
After building up the body, it’s time to begin shaping the top by decreasing stitch count in measured intervals. This process subtly pulls the form inward to prepare it for closure. At this point, the piece is lightly stuffed to ensure it remains firm but not overfilled. It should feel springy and hold its shape.
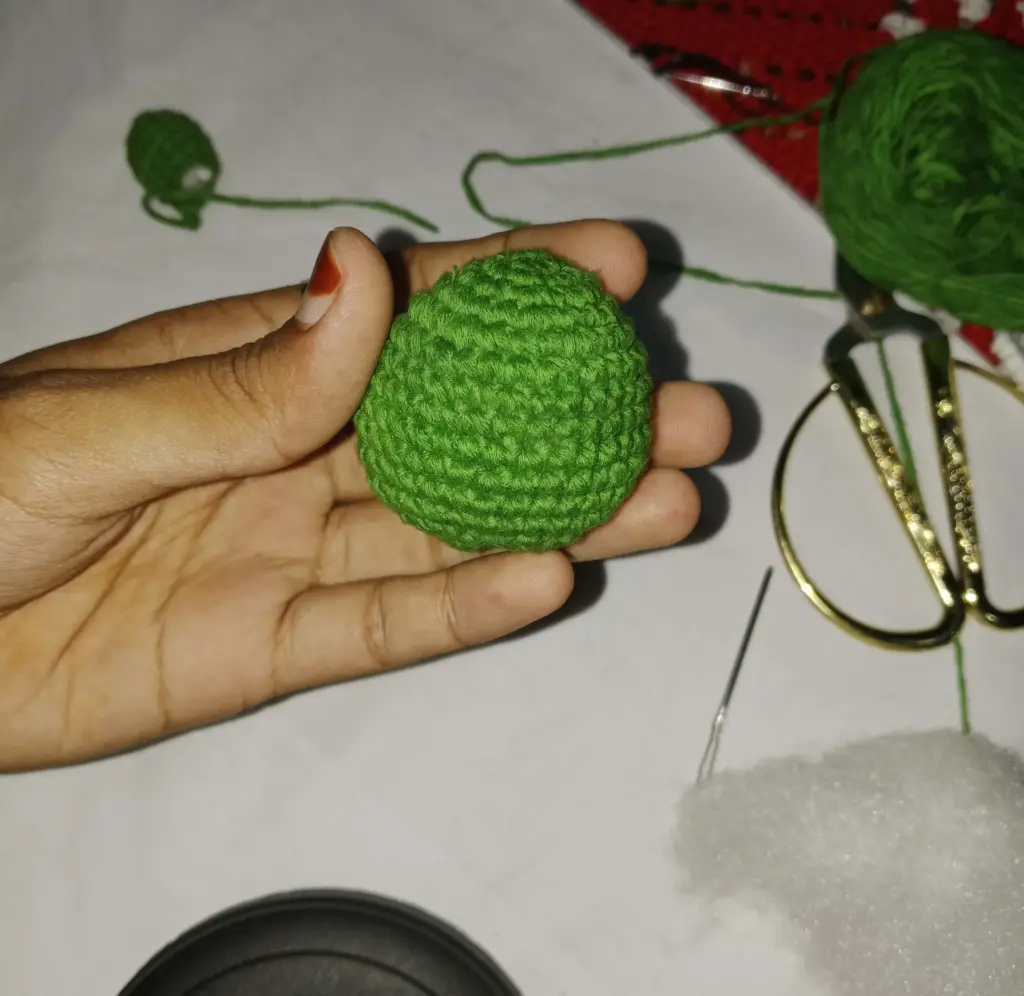
The top is sealed by reducing stitch count further until the opening is small enough to close entirely. A final invisible join or slip stitch finishes the shape cleanly. The result is a neatly closed orb that forms the frog’s base.
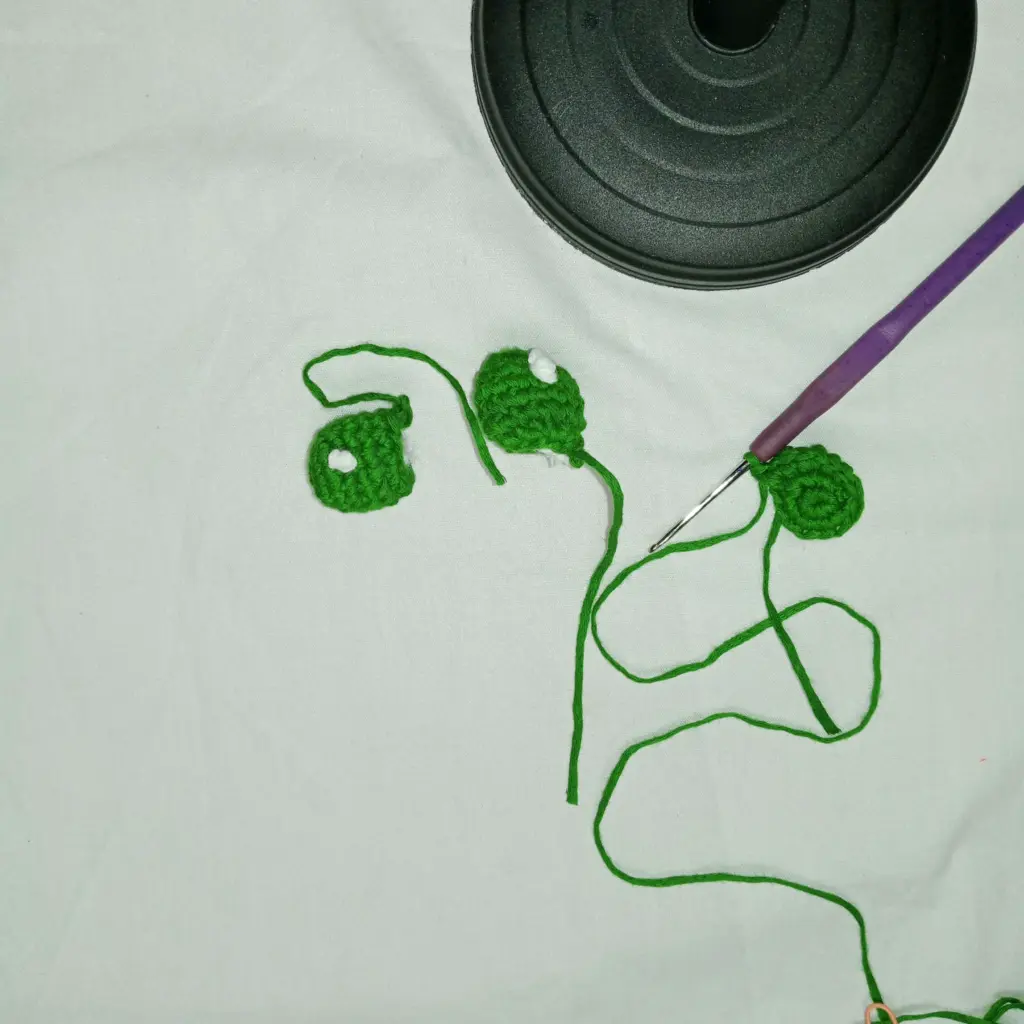
Crocheting the Eye Caps
To give your frog its signature look, the eyes are created as separate round pieces. These are worked similarly to the body, starting from a central ring and expanded just enough to create a dome. A small amount of stuffing is optional but adds a nice lift.
Once shaped, these eye caps are secured with a final round of simple stitches and closed off neatly. This step gives your frog its wide-eyed, curious expression. The key is symmetry — making sure both eye pieces match in size and are evenly spaced when attached later.
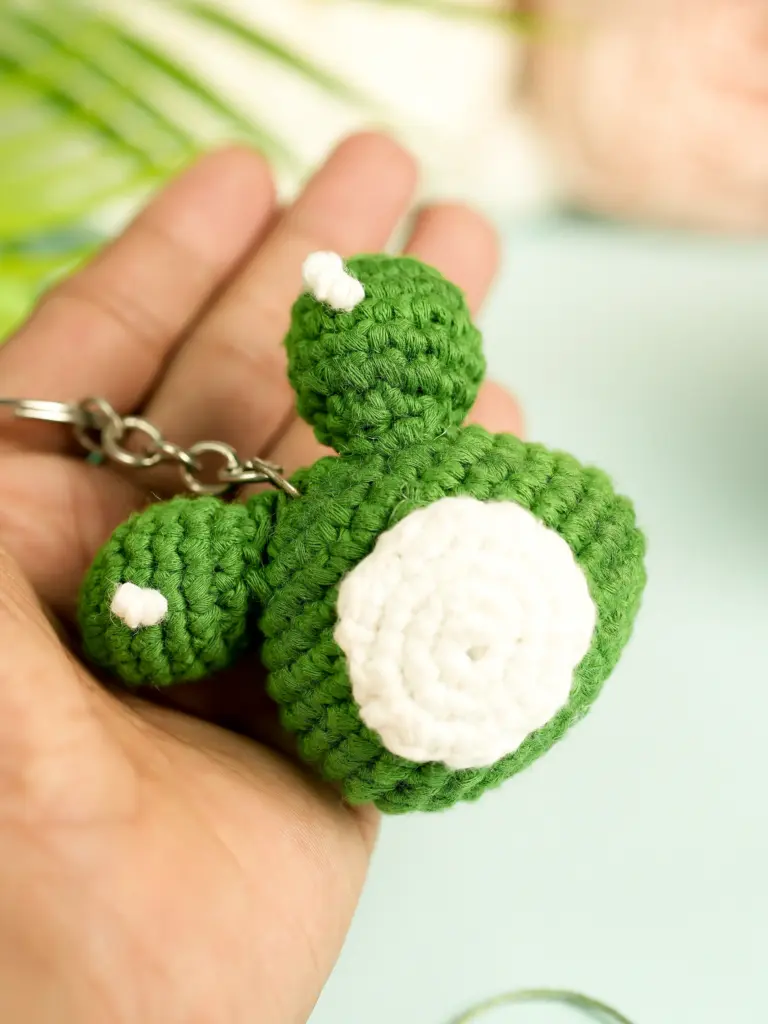
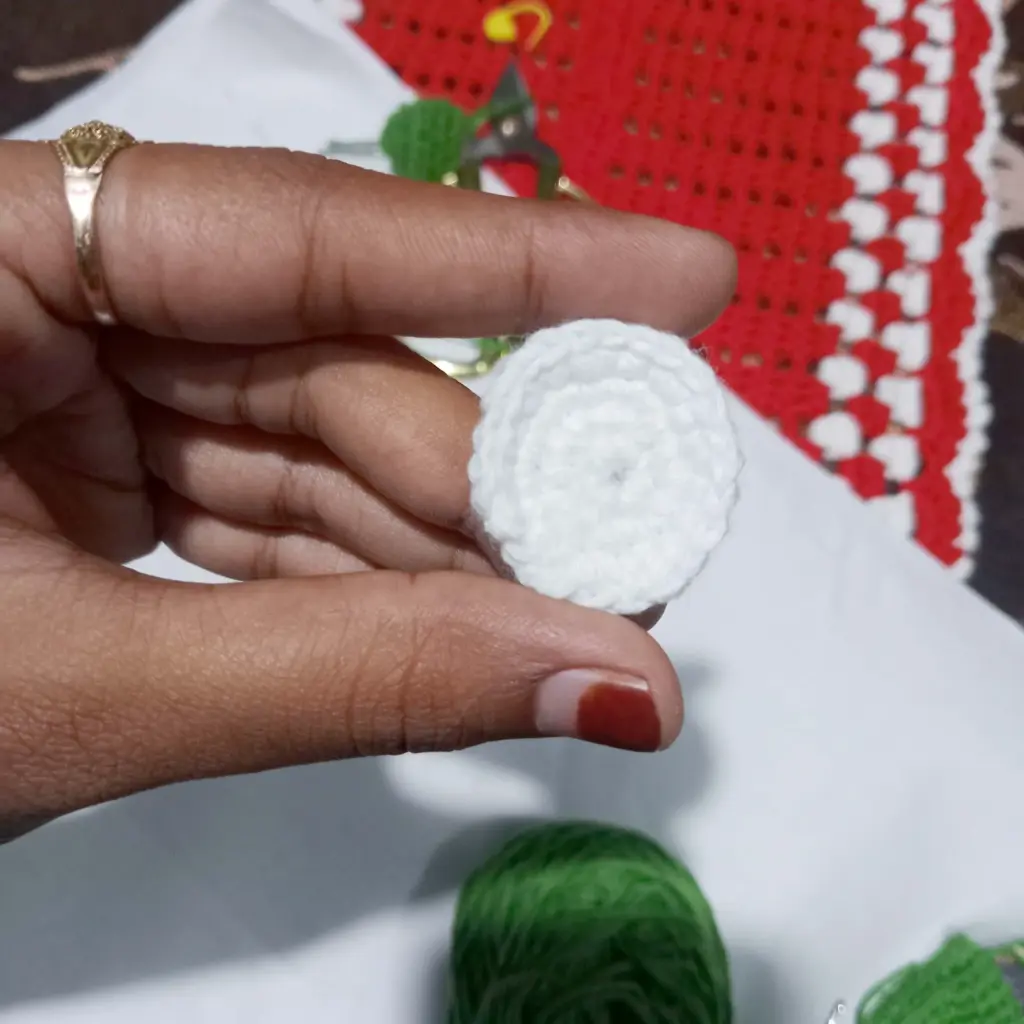
Creating and Placing the Belly Patch
To add a soft contrast and extra personality, a small circular belly patch is made separately and stitched onto the lower body. The process mirrors the earlier circular forms — beginning small, then expanding evenly to form a flat round piece.
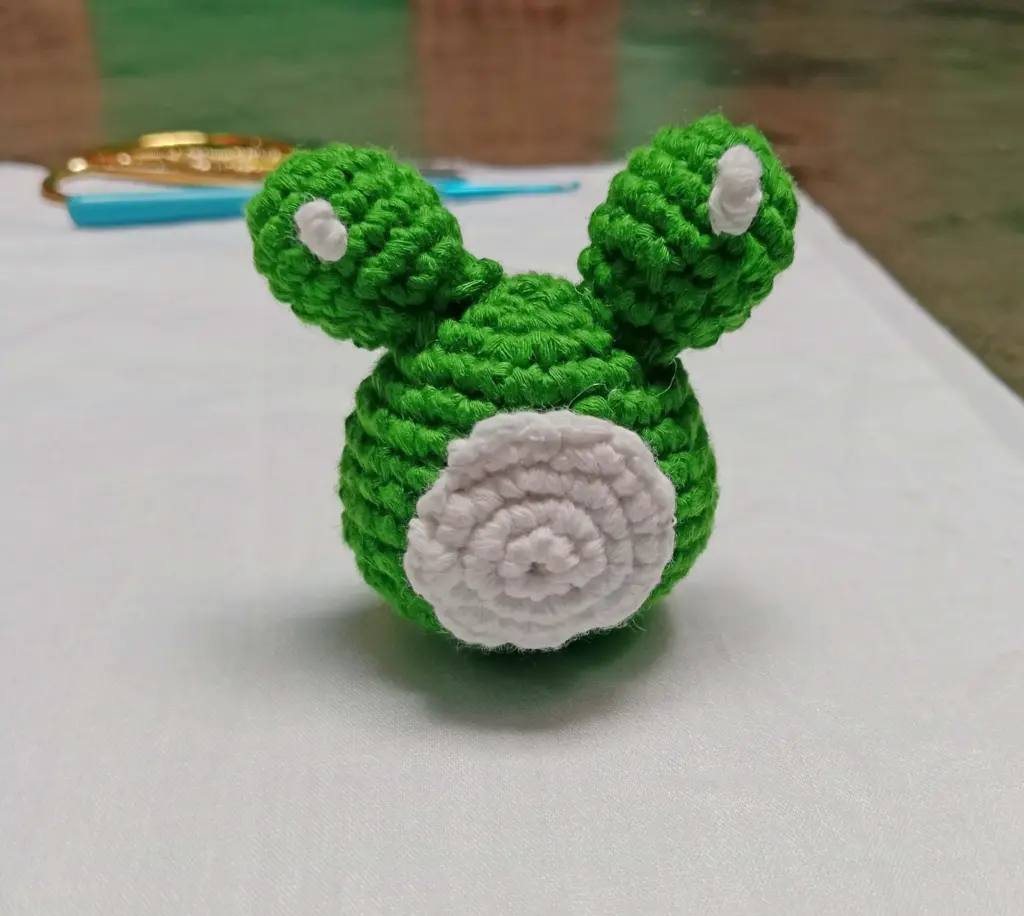
Once shaped and fastened off, the patch is positioned near the base of the frog’s body, aligned to match the final rounds of the body. Attaching is done with clean, discreet stitches — grabbing one stitch from the body and one from the patch in turns to ensure a flush, even finish. This detail not only adds charm but enhances the frog’s cuddly design.
Embroidering a Smile
No frog is complete without a little smile. Using black yarn and a darning needle, a simple curve is embroidered across the lower face. This is done after the eyes are attached to help with placement and spacing.
To begin, the yarn is pulled through from the back or side of the body and brought out to the desired mouth position. After shaping a small curve, the yarn is secured by guiding the needle back through the body at the original insertion point. A soft pull ensures the yarn sits snug against the surface without indenting the fabric.
This subtle smile brings your frog to life and can be customized — from a straight line to a small curve or even dimples — depending on how expressive you want your frog to look.
Finishing Touches and Tips
Once all the pieces are attached and embroidered, give your frog a gentle squeeze to reshape the body and ensure the stuffing is even. Tug lightly on the belly patch and eyes to check for secure stitches. If anything feels loose, add a few reinforcing stitches using matching yarn.
To help your frog last longer:
- Keep it away from water and humidity
- Spot clean gently with a damp cloth
- Avoid tugging on the keychain attachment
- Store in a soft pouch when not in use
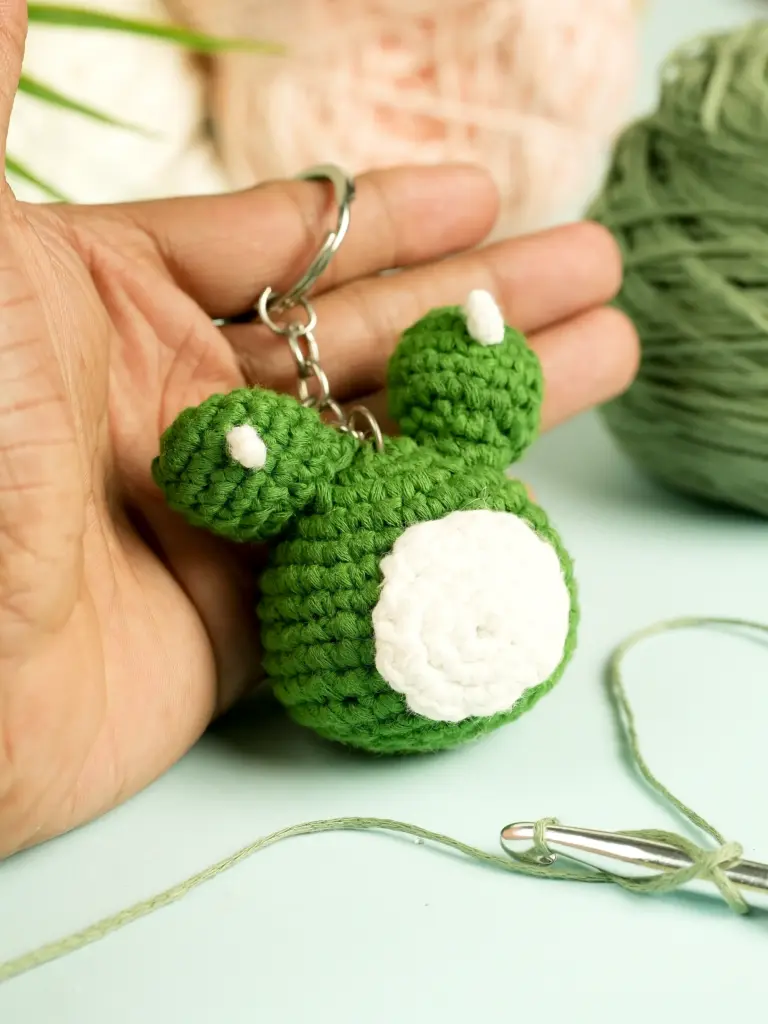
Because of its size and flexibility, this frog is ideal for everyday use or gifting. It also makes a great practice project for those new to amigurumi or shaping techniques.
Project Summary Table
Below is a quick-reference guide for your frog keyring project:
| Feature | Details |
|---|---|
| Skill Level | Beginner |
| Time Estimate | 1–2 hours |
| Yarn Used | Green and cream sport weight yarn |
| Hook Size | 2.5mm–3mm |
| Techniques | Single crochet, increase, decrease, slip stitch, embroidery |
| Assembly Needed | Yes — eyes, belly, smile, keyring |
| Personalization Ideas | Add blush, a bowtie, or embroidered freckles |
Final Thoughts
The frog keyring crochet project is an excellent way to explore 3D crochet and beginner-friendly sculpting without being overwhelmed by complex patterns. With just a few basic stitches and thoughtful detailing, you create a finished piece that feels polished, playful, and completely unique.
Whether you’re making it for yourself, gifting it to a friend, or stocking up for a handmade market, this little frog is guaranteed to bring smiles. Don’t be surprised if you find yourself making more than one — they’re just that fun to crochet.