Learning how to Crochet a Bandana with a Simple Flower Pattern is a wonderful way to add handmade charm to your style. This beginner-friendly guide shows you how to create a soft, textured flower that can be attached to a bandana, giving it a fresh and casual look. Though the design may seem detailed at first, the step-by-step process makes it easy to follow and enjoy.
With simple shaping, layering, and a touch of light stuffing, the flower transforms into a cozy, wearable accent piece. Whether you’re crafting it as a personal accessory or as a thoughtful handmade gift, this project is the perfect opportunity to practice basic crochet techniques while making something unique and delightful.
Materials Needed
To get started, gather the following items. They’re easy to find at most craft stores or online.
- Medium-weight (Size 4) yarn in two contrasting colors
- 3.5 mm crochet hook
- Yarn needle or darning needle
- Polyfill or light stuffing
- Stitch markers (recommended for beginners)
- Scissors
These materials are ideal for beginners because they’re easy to handle and help highlight stitch definition, especially when using contrasting yarns for the center and outer layer.
Abbreviations
The following abbreviations follow US crochet terminology:
- sc – single crochet
- slst – slip stitch
- mr – magic ring
- inc – increase
- rep – repeat
- yo – yarn over
- BLO – back loop only
- ch – chain
- st – stitch
These terms will help you follow most beginner crochet patterns and are frequently used in similar flower-based projects.
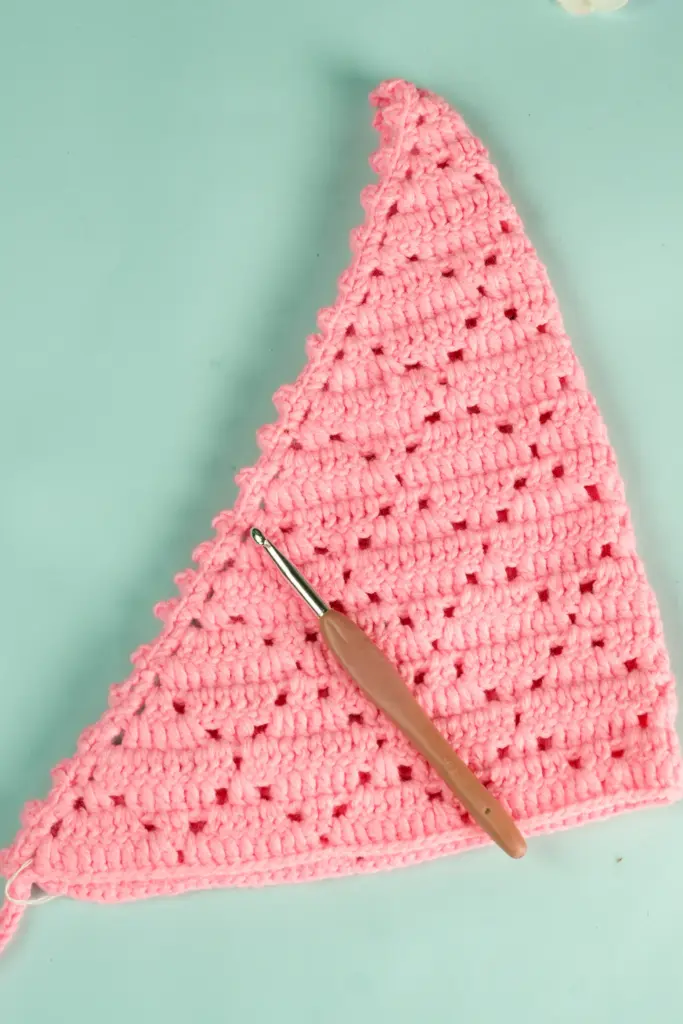
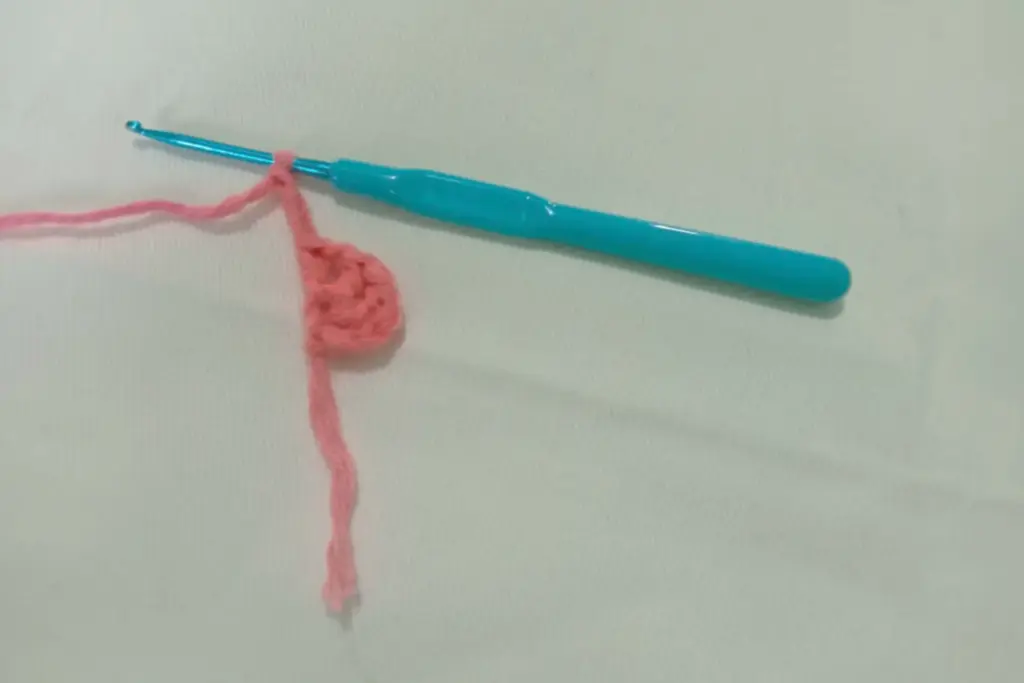
Building the Flower Center
The project begins with forming a neat, compact center. This central piece serves as the anchor and provides structure for the floral shape. Using a simple loop technique, the stitches are added in a spiral motion to slowly build a circular base. As you work through this stage, the structure starts to take shape, becoming a soft, puckered round center that’s ideal for attaching the rest of the design.
This initial process is both meditative and satisfying, especially as you see the base slowly expanding beneath your fingers.
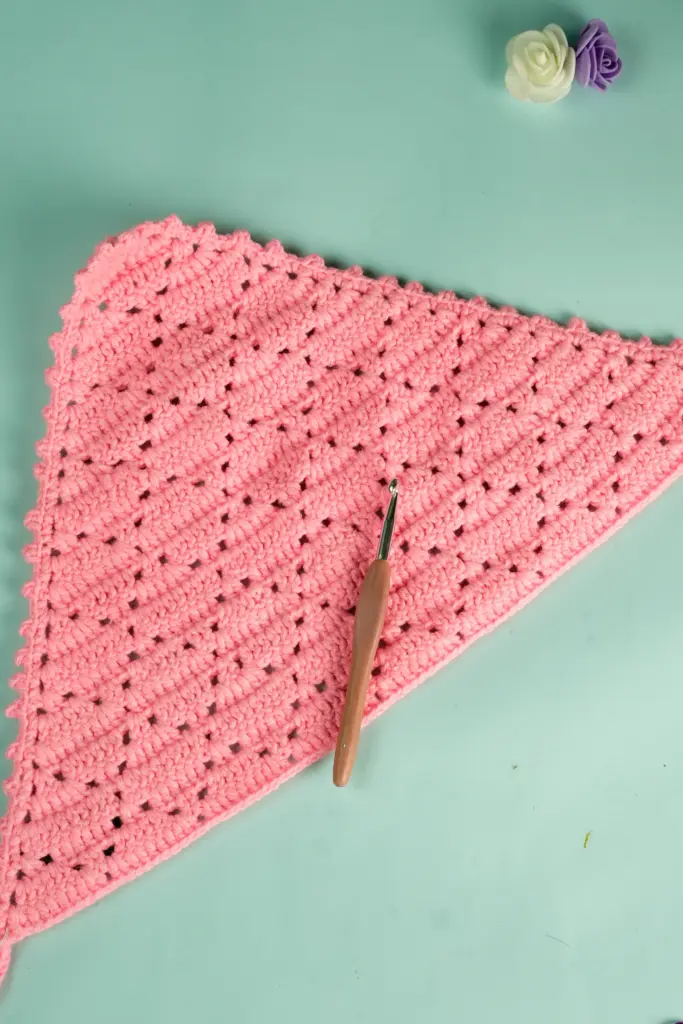
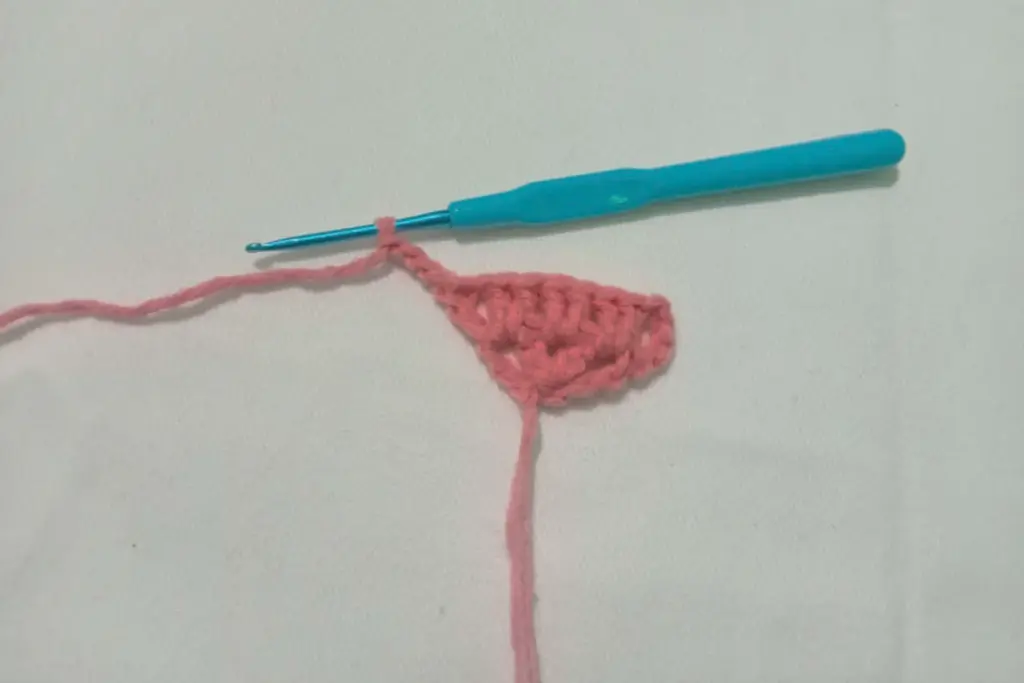
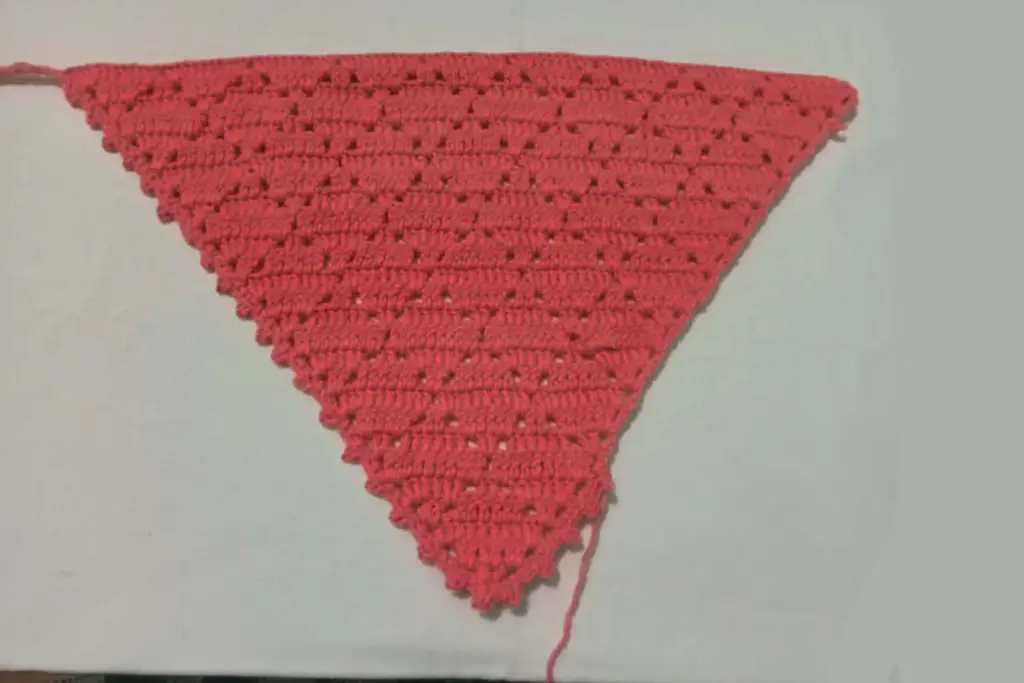
Shaping the Petals
Once the center is complete, the fun begins with shaping the petals. This part brings the flower to life by creating soft ridges that curl outward. Each section is formed by gradually building up stitches and then tapering them back down in a sequence that mimics the gentle arc of real petals.
What makes this version special is the way the stitches are worked from the back bump of the yarn, creating a subtle texture. These details give the finished petals a soft lift and definition, perfect for a bandana accessory that stands out without being bulky.
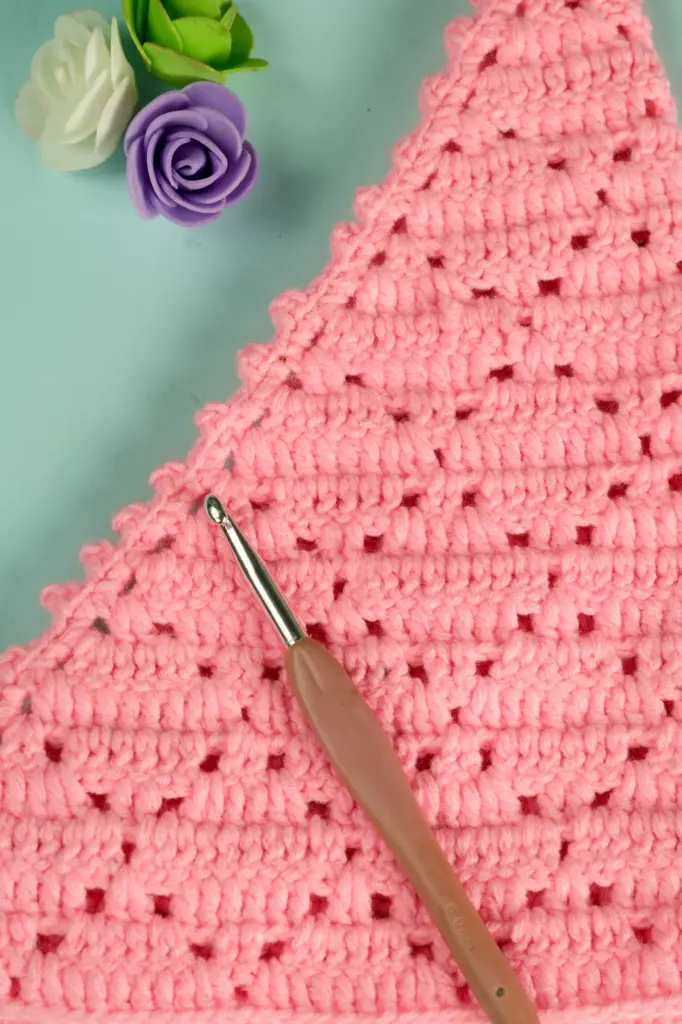
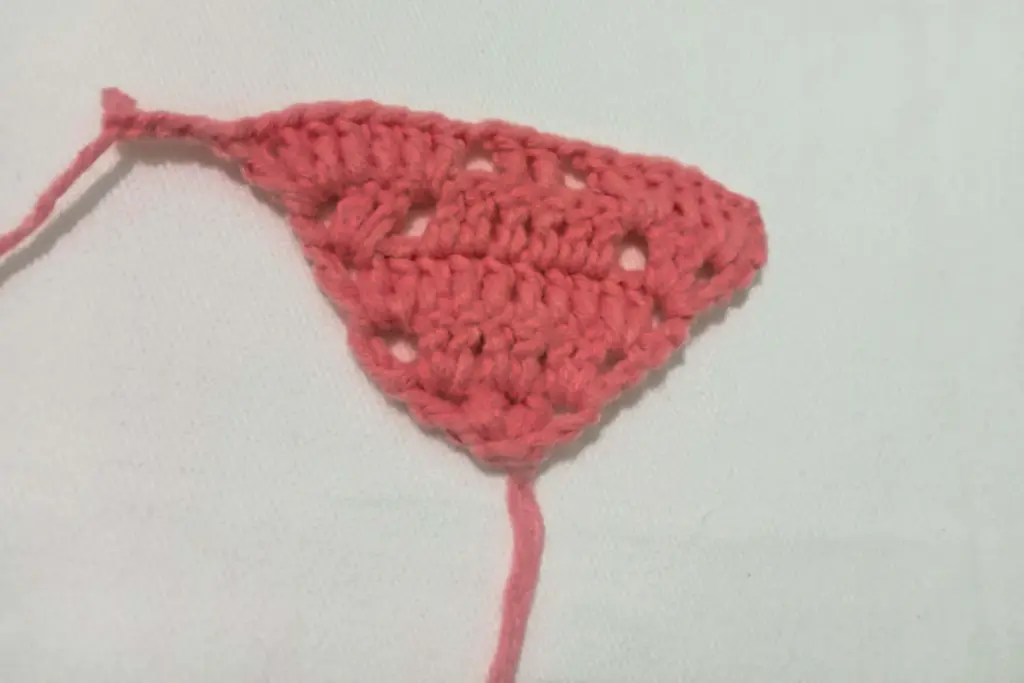
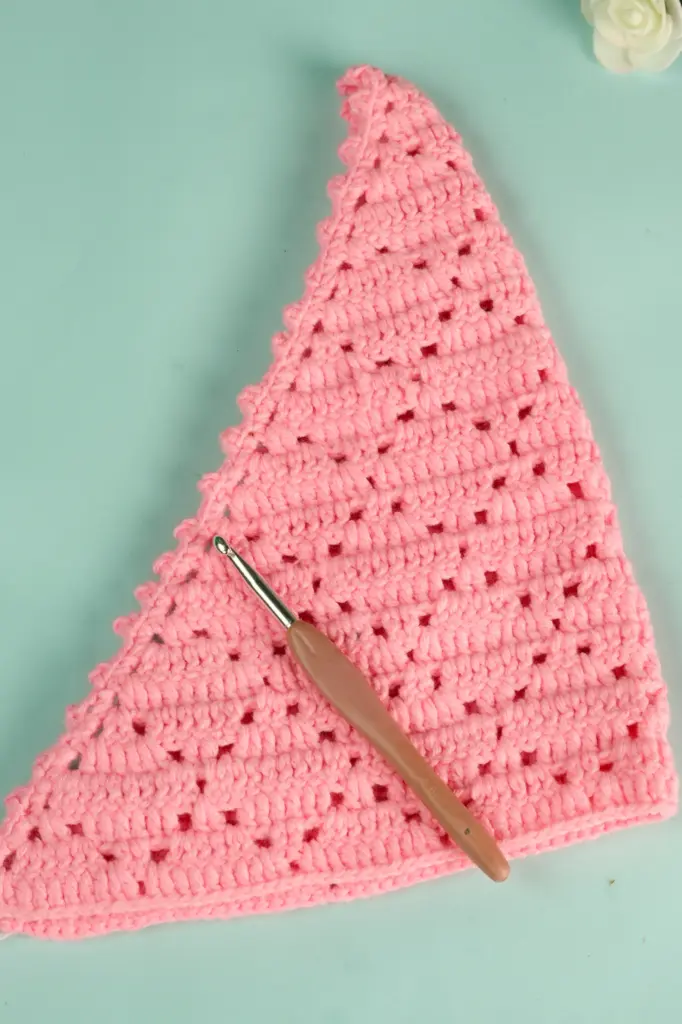
Layering and Sculpting
To give the flower some dimension, the shaping continues with additional rows that layer on top of one another. Instead of lying flat, the petals are lightly folded and structured by inserting the hook into specific parts of the stitch, creating vertical tension.
This technique makes each petal puff out slightly, creating a full bloom effect. While it may take a few tries to get consistent shaping, once mastered, it adds tremendous depth to the final look. The layering also ensures that the flower stays firm and keeps its shape even when worn or handled frequently.
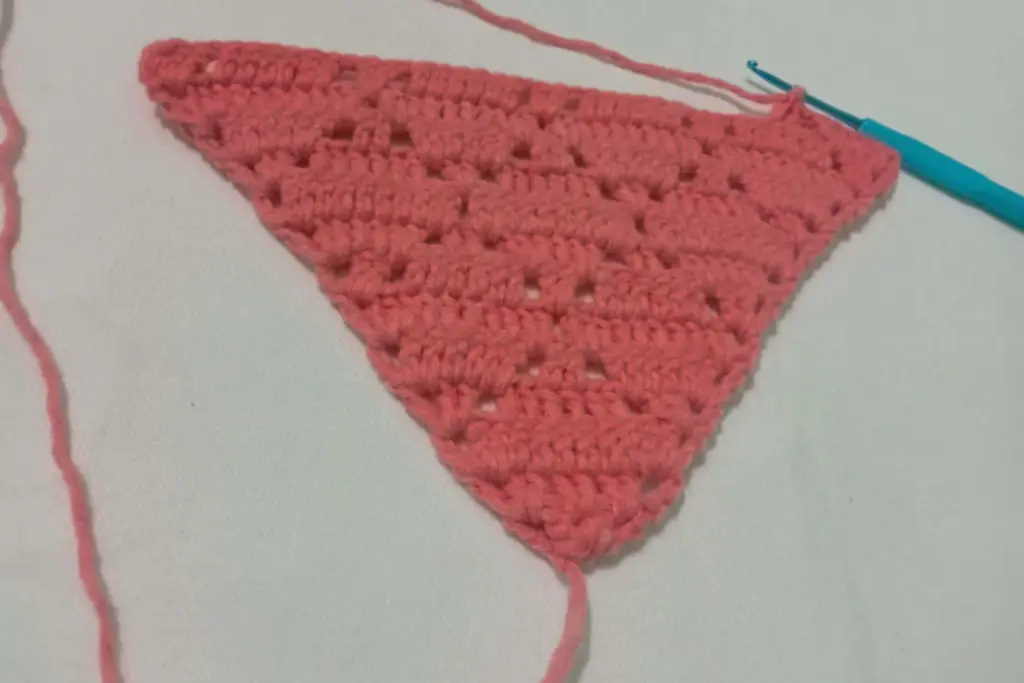
Seamless Petal Flow
Rather than fastening off between petal sections, the petals are worked in a continuous flow. This technique avoids the need for cutting yarn after each petal, which not only reduces waste but also keeps the finished flower cleaner and more uniform.
As the petals are formed in sequence, the edges begin to curl naturally, producing a realistic petal arc. This also gives a snug fit when attaching the flower onto fabric, such as the bandana body or headwear base.
Creating a 3D Look
To further enhance the texture, the back layer of the flower is created separately and then joined. This is a useful trick for projects that benefit from dimension, such as appliqués or accessories. The two matching panels are stitched together with their backs facing inward, leaving the outer surface smooth and decorative.
As you join the panels, light stuffing is gradually added. This gives the flower its puffed, cushion-like quality while maintaining flexibility. Be careful not to overstuff, as the goal is to keep the flower light and wearable.
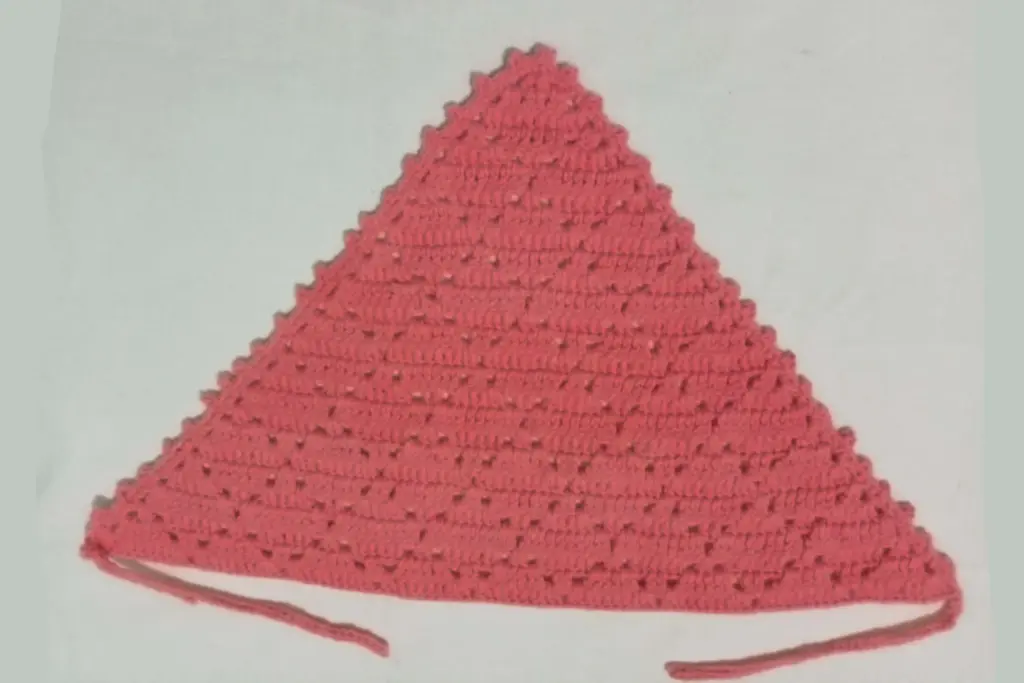
Attaching the Flower to the Bandana
Once your flower is assembled and lightly stuffed, it’s time to attach it to your bandana. Positioning is key—whether you’re placing it on the front center, the side, or even as a tie-end embellishment. The flower should sit securely without pulling the fabric.
To attach, use the long tail of yarn you left from the final petal or create a new secure stitch with a yarn needle. Sew through the back loops of the flower and the corner or edge of the bandana. Keep your stitches tight and neat so they blend into the background and ensure that the flower doesn’t flop or sag.
This attachment method ensures your bandana remains wearable and flexible while showcasing the flower as a soft centerpiece.
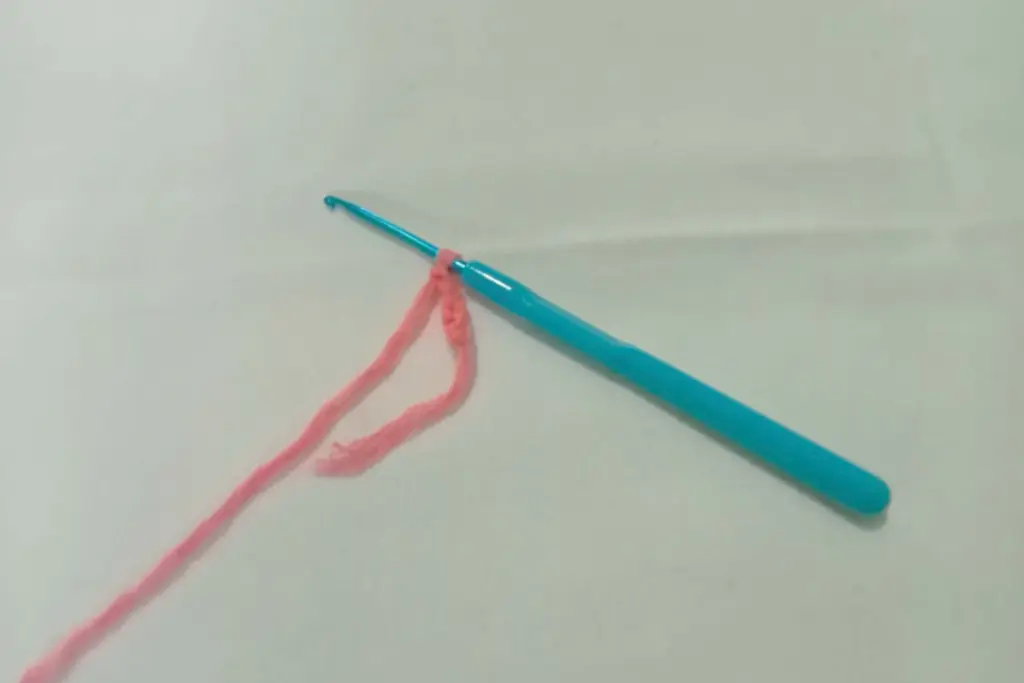
Making the Hanging Loop
For those who want to turn the flower into a dual-purpose piece—a charm or even a detachable accessory—you can add a hanging loop. This is also useful if you’d prefer to crochet a series of flowers and rotate them across different accessories.
A simple chain loop works perfectly. After sewing the flower onto the bandana or its detachable base, make a long yarn chain, then bring the end back to the start and secure it with a slip stitch. Adjust the loop length based on how far you want it to dangle. For more durability, stitch over the loop with a second row or secure it using extra knots.
This loop can then be used to attach the flower to a keyring, button, or snap-on band for flexible styling options.
Styling the Finished Bandana
With your crochet flower in place, the bandana takes on a unique flair. This handcrafted accessory can be styled in many ways:
- Wear it knotted around the neck with the flower at the side
- Tie it like a headband with the flower centered or off to one side
- Wrap it around a bag handle or tote strap for a soft boho accent
- Pin it onto a denim jacket for a coordinated look
What makes this piece versatile is how the floral design balances softness with structure, making it a great finishing touch for casual or crafty outfits.
Suggested Variations
If you’re feeling confident and want to get creative, there are several ways to modify this project:
- Use different yarn textures like cotton or chenille for seasonal variation
- Combine multiple flowers in a chain for a crown or garland effect
- Add small beads or buttons to the flower center for extra detail
- Vary the petal count to create asymmetrical or multi-layered designs
These options let you personalize your bandana to fit your aesthetic, whether it’s minimalist, romantic, or folk-inspired.
Care and Maintenance
Since this project includes soft yarn and some stuffing, it’s best handled gently. Handwashing in cold water with a mild detergent is recommended. Squeeze out moisture without wringing, and lay flat to dry to help maintain shape.
Avoid machine drying or soaking the flower portion too heavily, especially if you used fiberfill stuffing, as it may shift or bunch.
Helpful Table: Materials & Adjustments
| Item | Description | Optional Alternatives |
|---|---|---|
| Yarn (2 colors) | Medium-weight, size 4 | Cotton, variegated yarn, or pastel sets |
| Crochet Hook | 3.5 mm | 4 mm for looser stitches |
| Stuffing Material | Polyfill | Cotton scraps, wool roving |
| Darning Needle | For joining flower layers | Tapestry needle |
| Stitch Marker | Helps track rounds | Safety pins, scrap yarn |
| Scissors | For cutting yarn ends cleanly | Thread snips |
This guide allows you to make quick substitutions depending on what’s already in your crafting basket.
Final Thoughts
Crocheting a bandana with a soft flower accent is a rewarding way to explore texture, shaping, and layering—all with beginner-friendly techniques. The result is both functional and decorative, blending charm and creativity into one wearable piece.
What starts as a simple spiral and petal stitch evolves into a three-dimensional flower full of personality. Whether gifted or kept for personal use, this handmade touch instantly elevates even the simplest fabric accessory.
Take your time with each petal, enjoy the flow of yarn between your fingers, and don’t worry about perfection. Handmade means heart-made, and every slight variation only adds to the beauty.