Crochet projects inspired by celestial shapes are always a delight, and the moon is one of the most magical designs you can make. A crochet moon can be turned into a keychain, a backpack charm, or even a small desk companion. Its soft, crescent shape makes it charming and whimsical, and with the addition of simple embroidery, it can have a playful expression too. This project is especially great for beginners because it doesn’t take much time, yet the result looks polished and creative.
Materials Needed
The supplies for this project are simple, making it beginner-friendly:
- Worsted or sport-weight yarn for the body of the moon
- Crochet hook (around 4 mm, adjusted to yarn thickness)
- Yarn needle for sewing and finishing
- Stuffing material such as fiberfill
- Embroidery floss for facial details
- Small piece of pink yarn for cheek accents
- Scissors
- Stitch markers to help with placement
These tools are easy to gather and ensure that your moon takes shape quickly and neatly.
Abbreviations
The stitches and techniques use US crochet terms. Here are the ones you’ll encounter:
- Ch – Chain
- Mr – Magic Ring
- Sc – Single Crochet
- Inc – Increase (two stitches in one space)
- Sl st – Slip Stitch
- Rep – Repeat
Since the pattern relies mainly on single crochet and increases, it’s straightforward for beginners.
Beginning with the Foundation
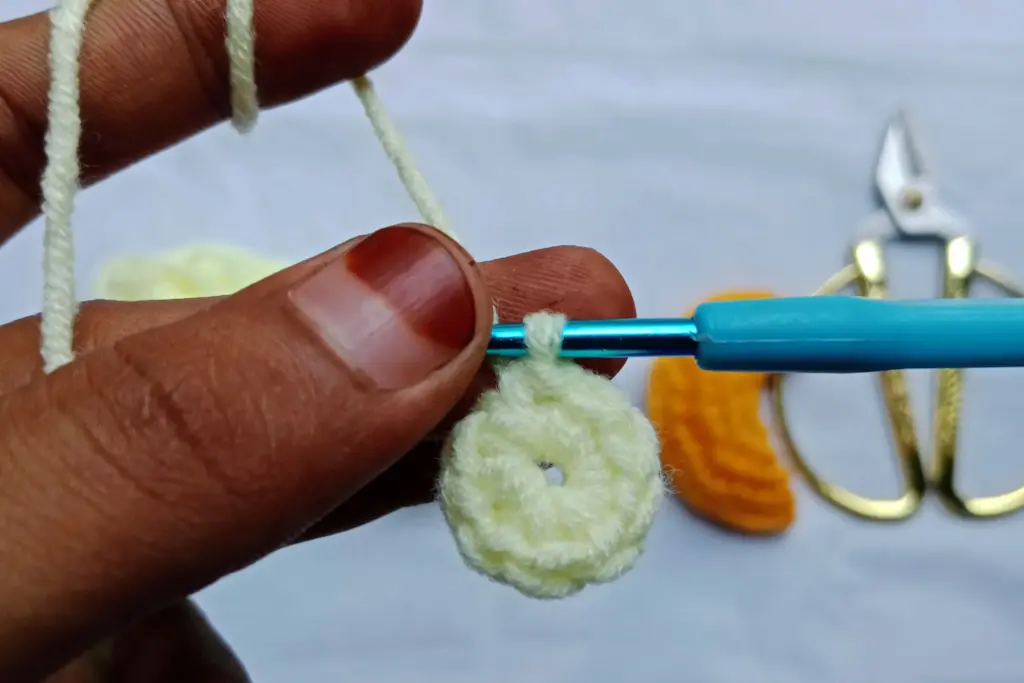
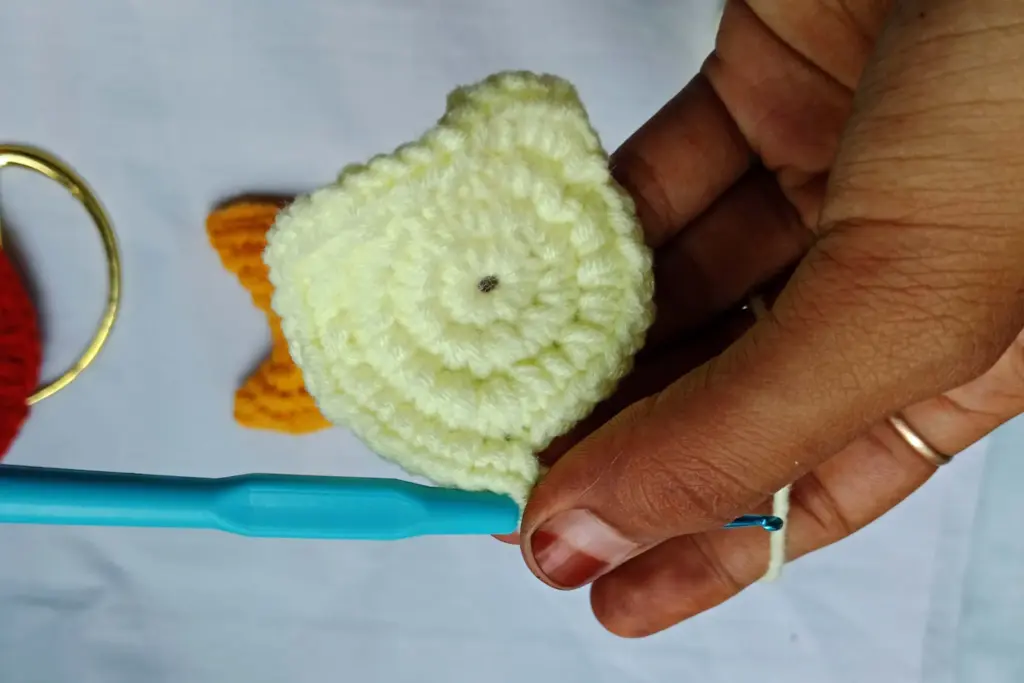
The moon starts as a simple circle. The foundation uses a magic ring, which allows you to begin tightly without leaving a hole in the center. This creates the base that is later expanded evenly with increases. Working carefully at this stage ensures that your moon’s body has a clean, even shape as you build it up.
Shaping the Circle
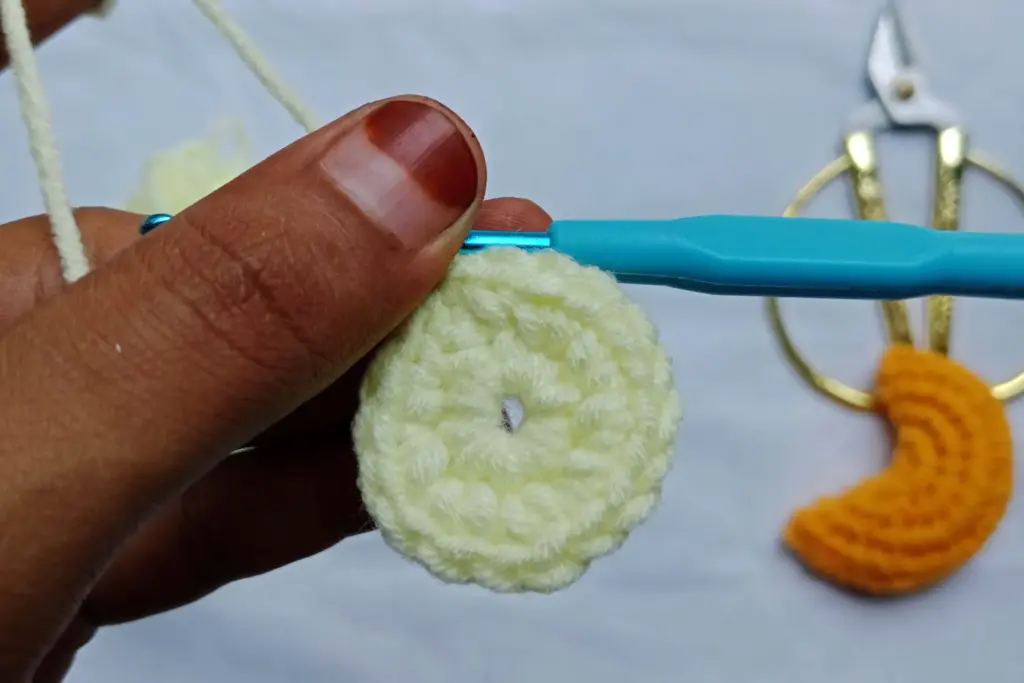
After the foundation, the circle grows steadily. Increases are spread evenly across each round to expand the shape smoothly. This stage is about patience and even stitching, as it sets up the structure needed to fold the moon later. As the circle becomes larger, you’ll notice a gentle ruffling effect, which is exactly what will help transform the flat piece into a crescent.
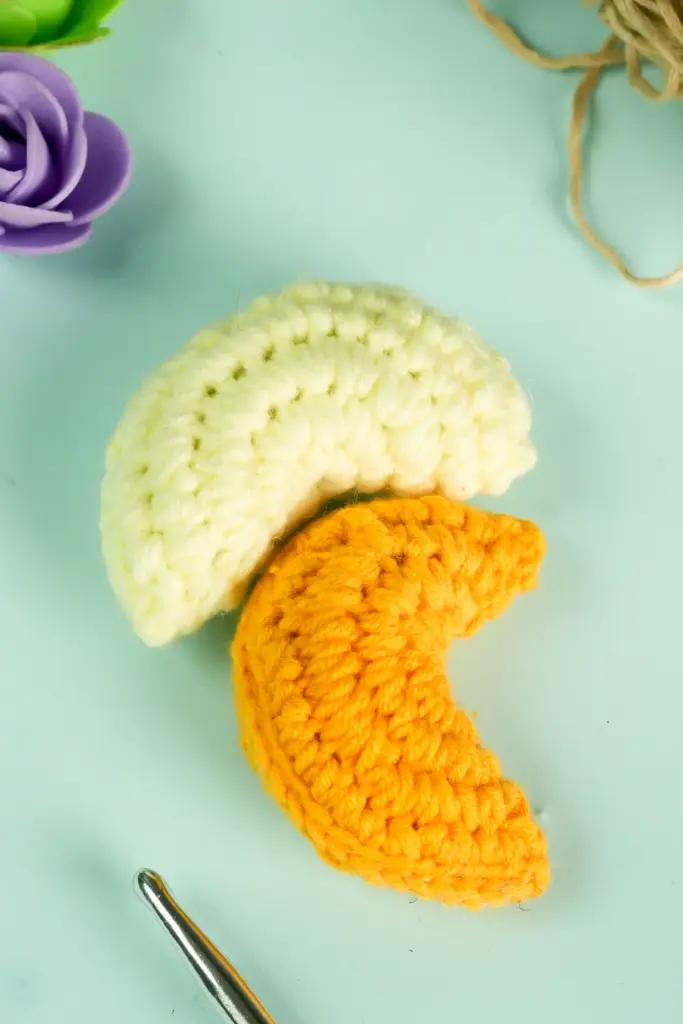
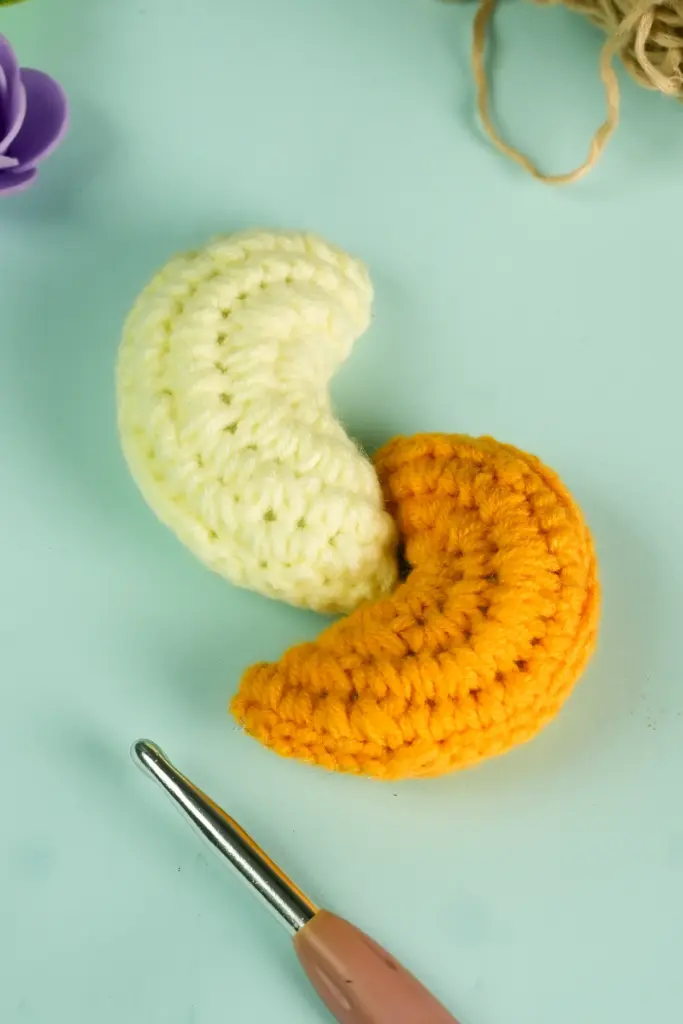
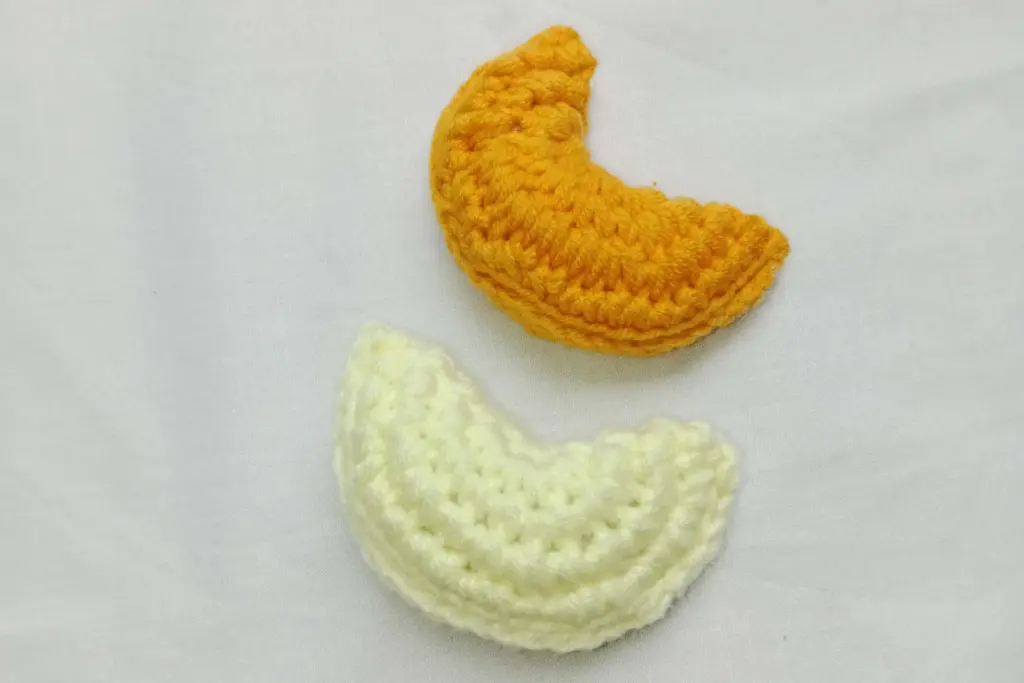
Folding into a Crescent

The key to creating a moon shape lies in folding the finished circle. Once the base is large enough, it is folded in half so that the edges align. At this point, the flat circle takes on the appearance of a crescent. Stitch markers can help hold the fold in place as you prepare to sew the edges closed.
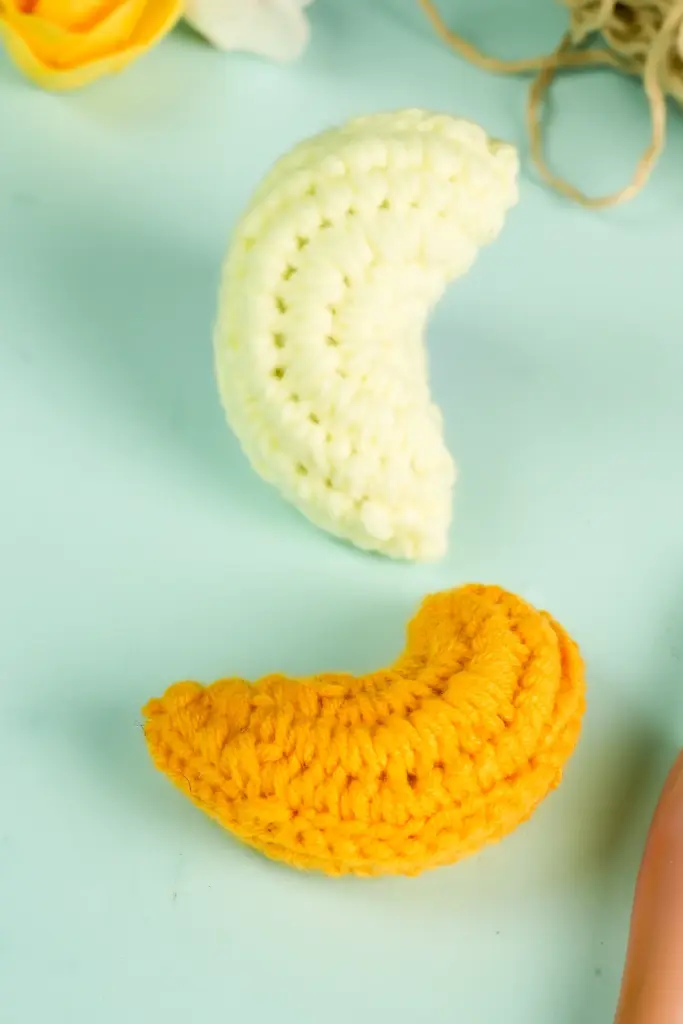
Sewing the Shape
To secure the folded piece, the sides are whip-stitched together with a yarn needle. This step requires sewing through both layers to keep the crescent firm. It’s important to stitch gradually, closing a section and then stuffing as you go. This way, the moon remains evenly filled and keeps its soft, rounded shape.
Stuffing the Moon
Stuffing is what gives the moon its plump, soft look. It’s best to add the filling gradually as you sew the edges closed. This ensures that the moon holds its crescent form without becoming lumpy. A small amount of stuffing goes a long way, so take care not to overfill. The goal is a balanced shape that feels firm yet squeezable.
Adding Facial Features
A big part of this moon’s charm is its personality. Simple embroidery can bring it to life. Using black embroidery floss, small eyes are stitched directly onto the surface. These are usually simple lines or curves to give the moon a gentle, playful expression. Taking time with this step makes the finished piece look polished and expressive.
To add extra character, small cheeks can be embroidered with pink yarn. These rosy details sit just under the eyes and add warmth and friendliness to the design.
Securing and Hiding Threads
Once the embroidery is done, the loose threads need to be secured neatly. This is done by tying small knots and then pulling them into the stuffing so they disappear inside the fabric. This method keeps the outside smooth and prevents unraveling. A tidy finish helps the moon look more professional and durable.
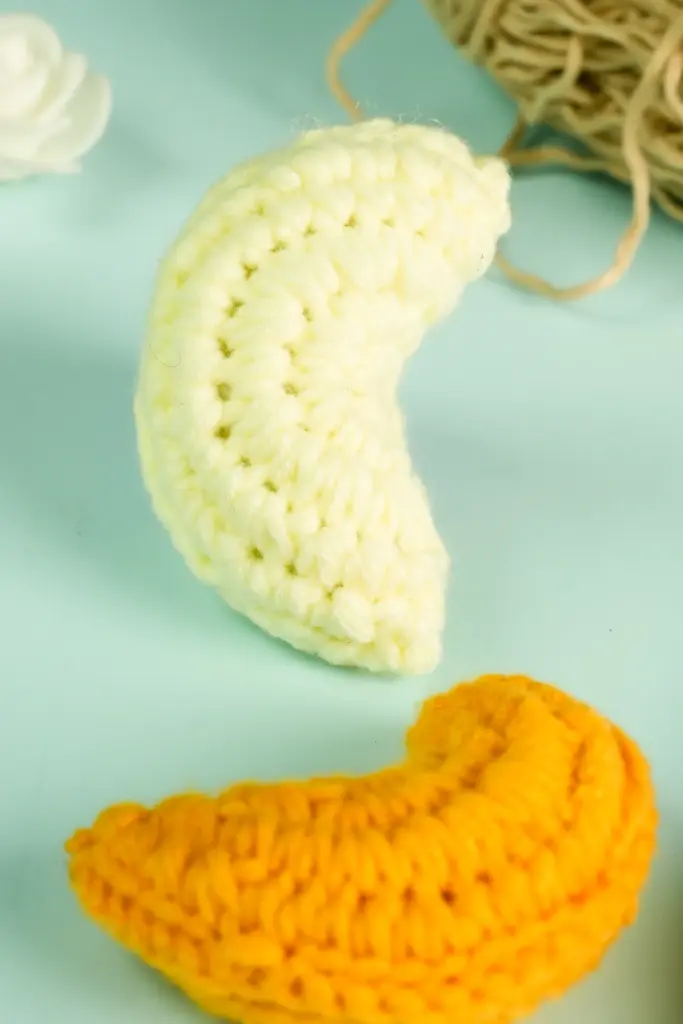
Final Details and Adjustments
At this stage, the moon is almost complete. The final step is making sure the shape is even, the stuffing is balanced, and the seams are strong. You can gently squeeze and adjust the moon to smooth out any bumps. Any leftover yarn tails are woven inside so they are invisible. This ensures the moon will last through daily handling as a charm, keychain, or desk buddy.
Ideas for Customization
While the basic moon is simple and charming, there are endless ways to make it unique:
- Use different yarn weights to create larger or smaller versions.
- Try metallic or glitter yarns for a starry, magical effect.
- Add tiny stars or clouds as accessories.
- Sew on a small loop at the top so it can hang as a keychain or bag charm.
Personalizing your moon makes it special and also makes it a thoughtful handmade gift.
Summary
The moon crochet pattern is a beginner-friendly project that combines basic stitches with fun finishing details. Starting from a simple circle, the design transforms into a crescent shape with a little folding and sewing. Adding stuffing and embroidery gives the moon a playful personality, making it more than just a crochet piece—it becomes a character.
With only a small amount of yarn and time, you can make a project that’s cute, practical, and customizable. Whether you keep it for yourself or gift it to someone else, this moon is sure to bring a smile. It’s an excellent project for anyone wanting to practice their crochet skills while creating something magical.