
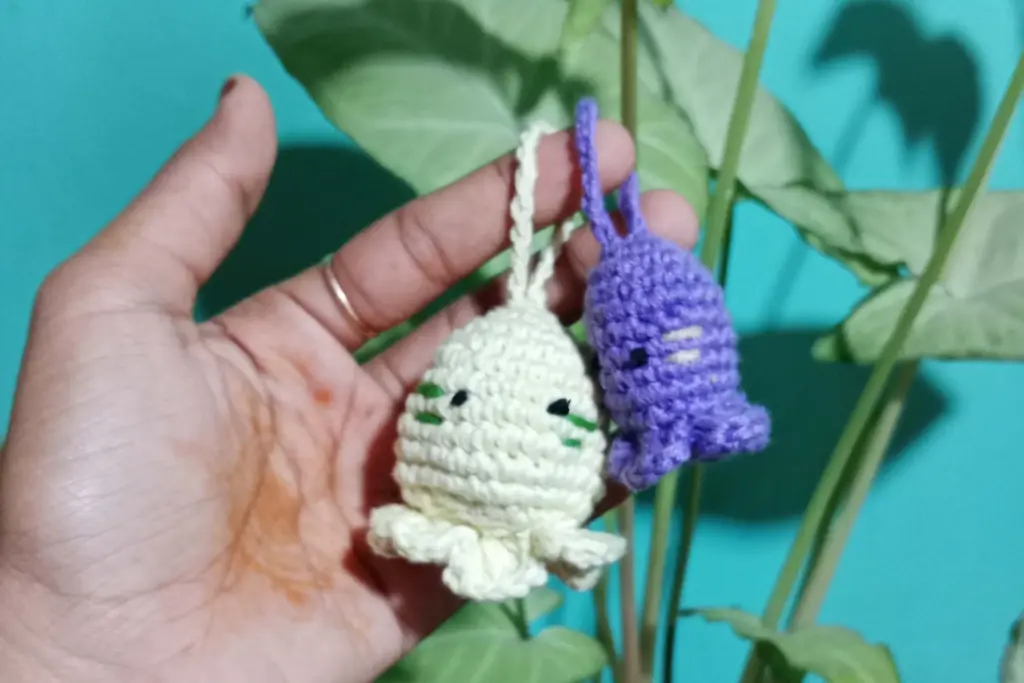
Tiny amigurumi octopus keychains are one of those projects that look impressive but are surprisingly simple once you understand the structure. They’re quick to make, ideal for using up leftover yarn, and small enough to hang from keys, backpacks, pencil cases, or gift bags. With their round heads, curly tentacles, and expressive faces, they appeal to both kids and adults – and they’re a gentle introduction to shaping in amigurumi.
In this guide, you’ll learn how to crochet a no-sew octopus keychain inspired by the video transcript you shared. The head and body are made in one continuous spiral, the tentacles are built directly onto the base, and the facial details are embroidered so you don’t have to attach separate pieces. If you’re a beginner, this is a great way to practice working in the round, increasing, decreasing, and finishing cleanly without visible gaps.
This article is written to be easy to follow but also rich in detail so you can adapt the pattern, tweak expressions, and confidently turn your little octopus into a secure, long-lasting keychain.
Materials Needed
Below is a practical checklist based on the transcript, with a structured view so beginners can see exactly what they need and why.
- Main yarn in one solid color for the octopus body
- Small amount of black yarn or thread for the smile
- Small amount of light contrast yarn for blush on the cheeks
- Safety eyes (small size, suitable for amigurumi)
- Polyester fiberfill or other soft stuffing
- Metal keychain hardware with jump ring
- Crochet hook slightly smaller than the yarn label suggests
- Yarn needle
- Stitch marker or paper clip
- Scissors
Abbreviations
All terms below follow US crochet terminology.
Definition list for clarity:
- MR – Magic ring
Creates a fully adjustable starting center so you can tighten the opening completely. - SC – Single crochet
The main building block of the octopus; used to form a dense, even fabric. - INC – Increase
Two single crochets worked into the same spot to widen the shape. - DEC – Decrease
Two neighbouring spots worked together to narrow the shape. - INV DEC – Invisible decrease
A neater way to reduce stitches that blends with the surrounding fabric, often done through the front or back strands only. - BLO – Back loop only
Working into the strand furthest from you; here it’s used to reserve the front strands for tentacles later. - SL ST – Slip stitch
A closing stitch used to join, tidy edges, or start new sections smoothly.
These are the only techniques you need to complete the octopus from start to finish.
Understanding the Octopus Shape
Before you pick up your hook, it helps to visualize the finished structure. This octopus is constructed as a compact ball for the head and upper body, with tentacles emerging from an exposed ring of strands near the base. Because the fabric is worked in a continuous spiral, there are no harsh seams and no separate pieces to sew on.
The build follows a simple rhythm:
- Begin with a tight circular start that forms the crown of the head.
- Gradually widen to reach the fullest point of the sphere.
- Work several spirals with no changes to keep the shape tall enough for the eyes and face.
- Slowly narrow again to form the underside, leaving one set of strands unused for tentacles.
- Close the bottom opening completely, then return to the reserved strands to form curls.
Thinking of the piece as a soft sphere with a decorative fringe at the base makes the steps much easier to digest. Every increase expands the circumference, every decrease tapers it, and the reserved strands act as an anchor for the tentacles.
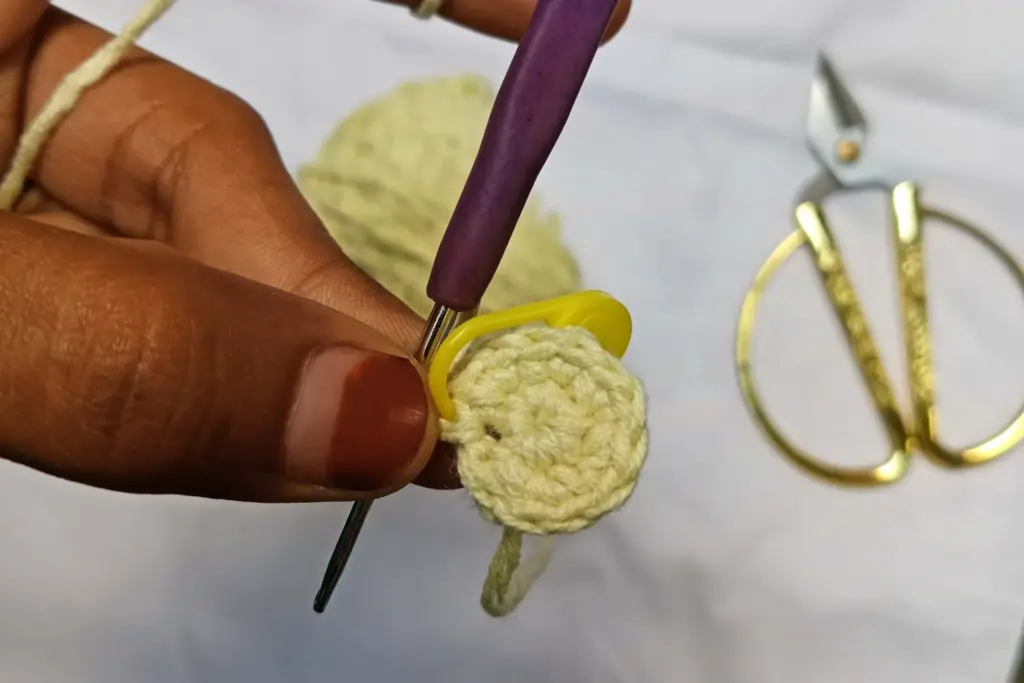
Forming the Head and Body
The head and upper body are made in one continuous piece. You start with an adjustable center, which is ideal for amigurumi because you can close it firmly so stuffing can’t escape. From that tiny center, each spiral layer adds more fabric, turning a flat circle into a rounded dome.
The shaping is gradual:
- At the start, each new spiral adds more fabric than the last, creating a gentle curve outward.
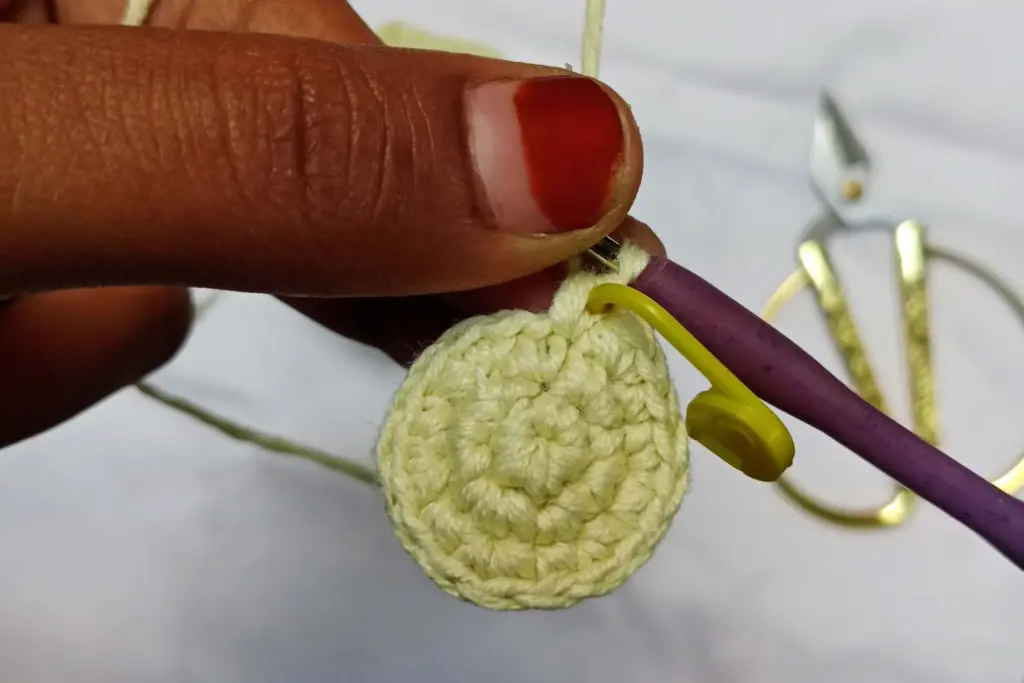
- Once the head is wide enough, you simply maintain that size for several spirals. This is where the personality of the piece lives, as it provides space for the eyes and expression.
- During these middle spirals, it’s important to keep your tension consistent. The fabric should feel firm, not stiff, and you shouldn’t be able to see the stuffing through the gaps.
As you work, the piece naturally cups and then curves downward, forming the sides of the sphere. If you notice corners forming, slightly adjust where you place your increases or decreases so the shape remains round rather than polygonal.
Creating a Smooth Amigurumi Fabric
Because this octopus is small and meant to be handled as a keychain, the fabric needs to be durable and smooth. That’s why the hook size is smaller than what the yarn label suggests – tighter stitches mean a more solid surface and better shape retention.
Here are a few practical tips to keep the fabric even:
- Hold the yarn with gentle but steady tension so each SC is the same height.
- Insert your hook cleanly through both strands (unless the pattern specifically uses front or back only) to keep the surface uniform.
- Avoid yanking the yarn tight after each stitch; instead, let the hook do the work and just guide the yarn.
When worked correctly, the fabric feels spongey and springy. You can gently squeeze the octopus without feeling individual stuffing lumps, and the surface will bounce back to shape.
Shaping and Preparing for Tentacles
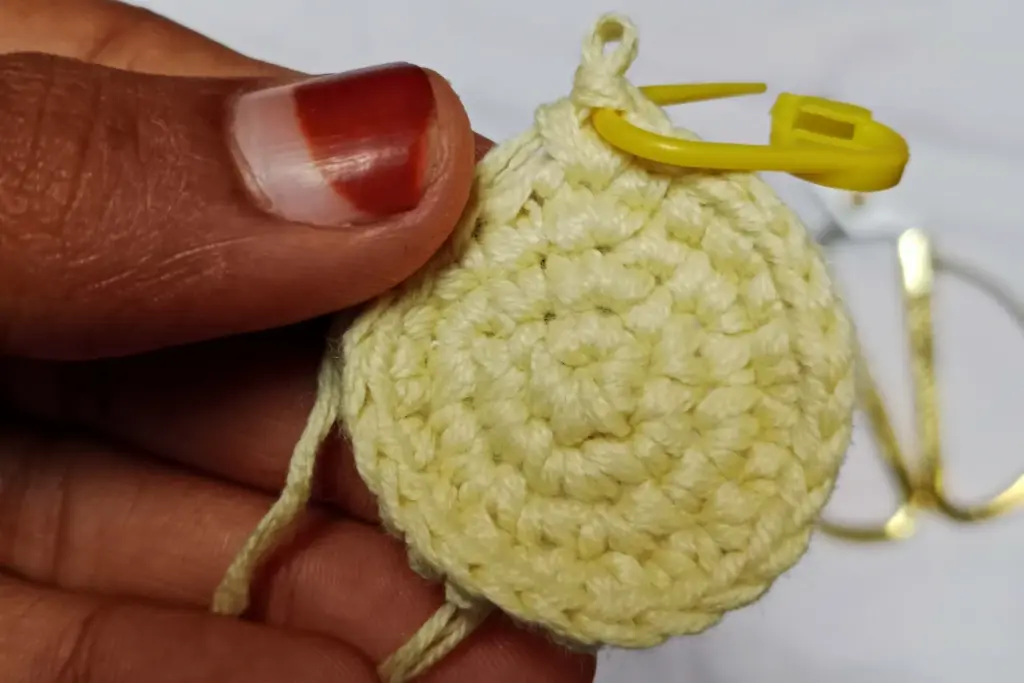
Once the head has reached its fullest circumference and the straight sides are complete, it’s time to narrow the underside. Decreases are used to gently taper toward the base. The designer uses an invisible method so those narrowing points blend into the spiral rather than standing out as obvious pinches.
One clever detail from the transcript is how the base is prepared for tentacles. Before the sphere is fully closed, one layer is made by working only through the strands furthest from you, leaving the strands closest to you untouched on the outside. Later, those visible strands form a neat ring around the base where each tentacle is attached.
This approach has two big advantages:
- The tentacles are built directly into the body, so there’s no sewing small pieces on.
- The ring of strands ensures all tentacles are evenly spaced, giving the octopus a balanced, symmetrical look.
After the narrowing and the special back-strand layer are done, the remaining bottom opening is closed completely with a tail and needle, forming a tidy underside while the ring of strands for tentacles remains visible.
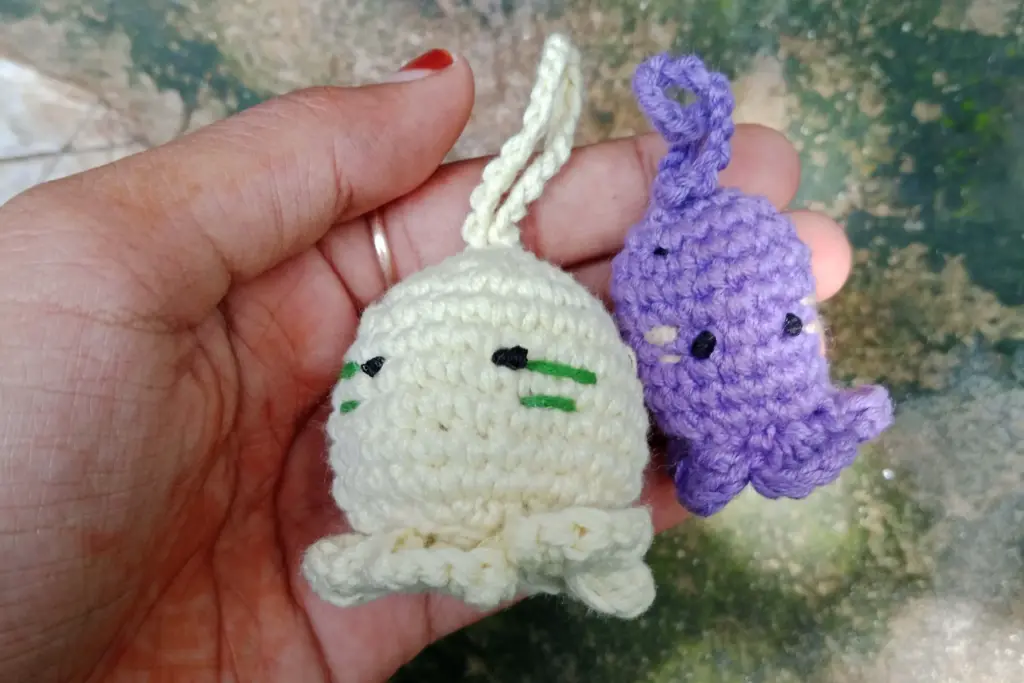
Making the Tentacles
The tentacles are one of the most charming features of this project, and they’re created directly from the ring of exposed strands left earlier. Because these strands sit evenly around the base, each tentacle naturally falls into place without measuring or spacing.
The process follows a simple flow:
- Join your yarn to any of the exposed strands to begin the first tentacle.
- Build a short narrow strip that curls slightly once completed. The shape stays soft and springy because of the stitch height used through the length.
- Attach the curling strip back at the base with a simple linking stitch so it anchors firmly.
- Move to the next exposed strand and repeat.
You’ll use this sequence eight times, once for each strand around the base. By the end, the octopus has a soft fringe of curls that mimic real tentacles without needing any stuffing or separate sewing.
The key to even tentacles is consistency: keep each strip the same length, keep your tension steady, and make sure each one is attached firmly to the strand it belongs to. When finished, gently shape them with your fingers so they fall outward rather than bunching underneath the body.
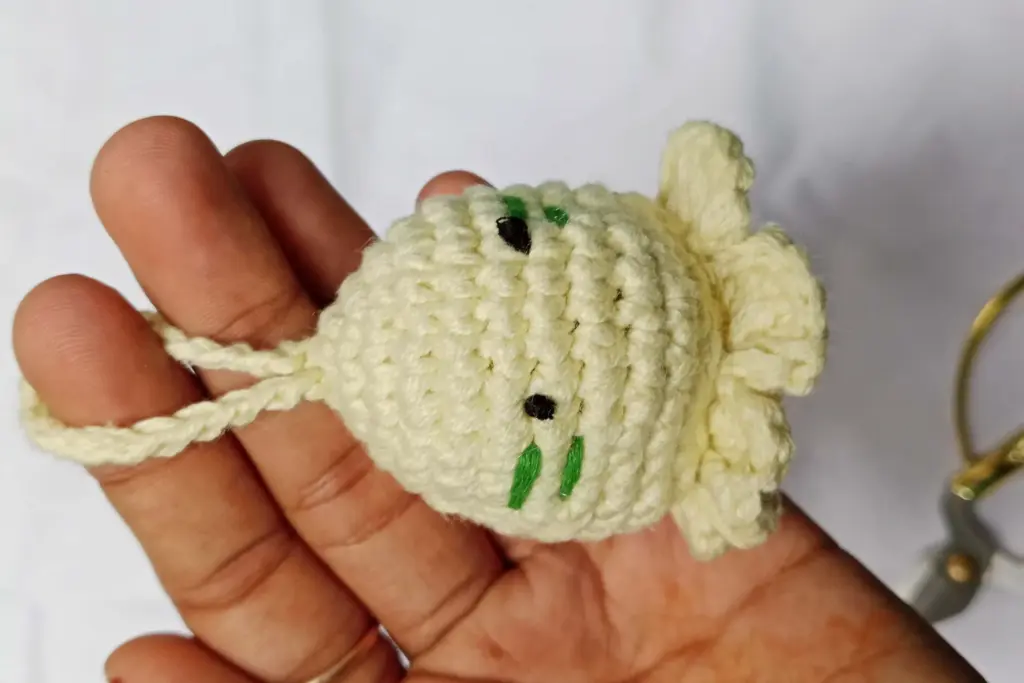
Adding the Face
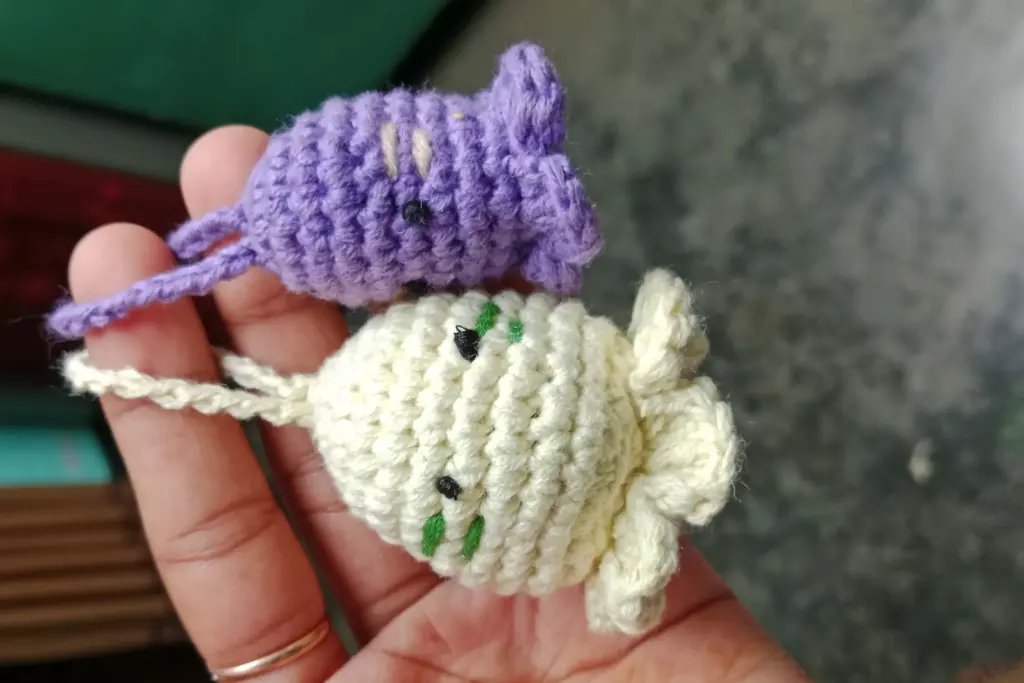
A tiny embroidered face gives your octopus its personality. The transcript describes a simple smile positioned between the eyes, which softens the expression and keeps the octopus looking friendly.
To create the face:
- Bring your needle from inside the body to the spot where you want the expression.
- Form a short horizontal line across a couple of stitch widths. This becomes the base of the smile.
- Secure the center of that line with a tiny tack stitch so the curve forms naturally.
- Adjust the tension of the thread so the smile is gentle and not pulled too tight.
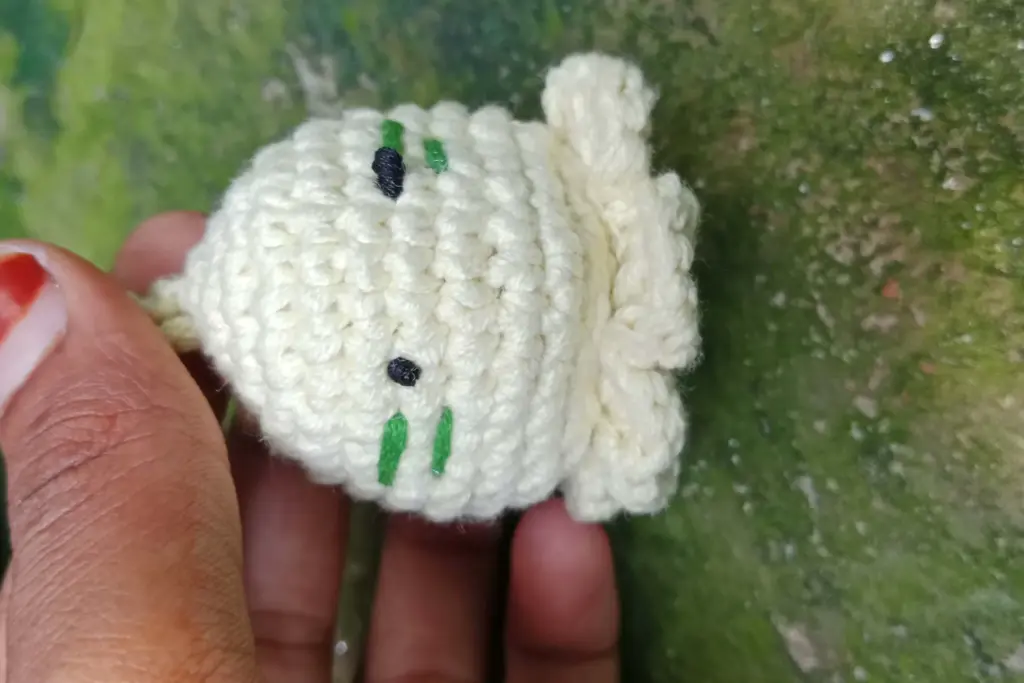
Because the embroidery thread passes only through the outer surface, it doesn’t distort the shape of the octopus. Once you’re happy with the smile, tie the ends securely on the inside of the body and hide the knot in the stuffing.
Adding optional blush is also simple. Use a light contrast yarn and place a few tiny, spaced stitches just under each eye. These short marks create a hint of rosy detail without overwhelming the face.
Closing and Securing the Top Tail
When the underside of the body is closed, a long tail is brought up through the center of the head. This tail serves two functions:
- It gives you a place to attach the keychain hardware.
- It helps reinforce the top of the head so the weight of keys doesn’t stretch the crochet fabric over time.
Because the tail passes through the stuffing and emerges at the top, it acts as a hidden structural support. You can even tug slightly on the tail before attaching the keychain to shape the head more firmly.
Once the hardware is attached, the tail is woven back down into the body to hide it completely.
Attaching the Keychain Hardware
To turn the octopus into a functional keychain, the jump ring needs to be sewn securely into place. The transcript includes a very beginner-friendly method that keeps the hardware centered and stable.
Generally, the process looks like this:
- Insert your needle through the jump ring.
- Bring the needle down into the head through the same opening where your tail emerged.
- Guide the needle out another small spot on the body, then bring it back in again so the stitch locks the jump ring in place.
- Repeat this anchoring twice or more for strength.
Using the same entry and exit point for each anchoring pass keeps the hardware stable and prevents wobbling. After securing the jump ring, knot the remaining threads together and hide the knot inside the body.
This method ensures the keychain can withstand daily use, from backpacks bouncing to keys swinging in a bag.
Shaping and Finishing Touches
Once your octopus is fully assembled, small adjustments can elevate the final look. Amigurumi tends to settle over time, so shaping at the end helps the creature sit correctly and ensures tentacles fall in the right direction.
Here’s how to refine the shape:
- Gently squeeze the head to redistribute the stuffing.
- Rotate the tentacles outward using your fingertips.
- Adjust the blush and smile embroidery if it shifted during handling.
- Pull the keychain loop upward to help the head round out.
If you want your octopus to sit more upright, you can slightly compress the bottom with your thumb. If you want the keychain loop to be centered perfectly, adjust the internal placement of the tail so the hardware sits directly over the face.
Customization Ideas
This small pattern is extremely adaptable. Once you understand the structure, you can create dozens of variations.
Here are beginner-friendly customization ideas:
- Change the main yarn color for seasonal or themed octopuses.
- Use different safety eye styles, such as glitter or oval eyes, for extra personality.
- Add embroidered eyebrows or eyelids for expressive looks.
- Make the tentacles longer or shorter for different proportions.
- Use variegated yarn for a multi-toned body.
- Add a tiny bow, hat, or charm to personalize the design.
- Swap the keychain hardware for a ribbon loop to turn it into a holiday ornament.
These small modifications transform each octopus into a unique character, making them ideal for gifts, party favors, or market stalls.
Troubleshooting Guide
| Issue | Possible cause | Solution |
|---|---|---|
| Visible stuffing | Fabric too loose | Use a smaller hook or lighten your tension. |
| Flattened head | Too little stuffing | Add small amounts and reshape evenly. |
| Tentacles twisting unevenly | Inconsistent length or tension | Count stitches and work slowly for each strip. |
| Uneven face placement | Eyes placed too high or low | Position safety eyes before closing the head entirely. |
| Keychain wobbling | Jump ring not anchored well | Add one or two more reinforcing passes through the ring. |
| Noticeable decreases | Using standard decrease | Switch to invisible decreases for a smoother surface. |
Final Thoughts
A crocheted octopus keychain is the perfect beginner amigurumi project—small, quick, and forgiving while teaching essential shaping skills. The no-sew structure keeps things simple, the tentacles add whimsy, and the embroidered face makes each octopus uniquely expressive.
With just a small amount of yarn and a short crafting session, you can create a charming accessory that’s both fun and functional. Keep experimenting with colors, facial expressions, and embellishments to build a whole collection of mini octopuses.
If you’d like a revised version, additional charts, a printable version, or SEO elements such as headings or keyword placement, just let me know!