

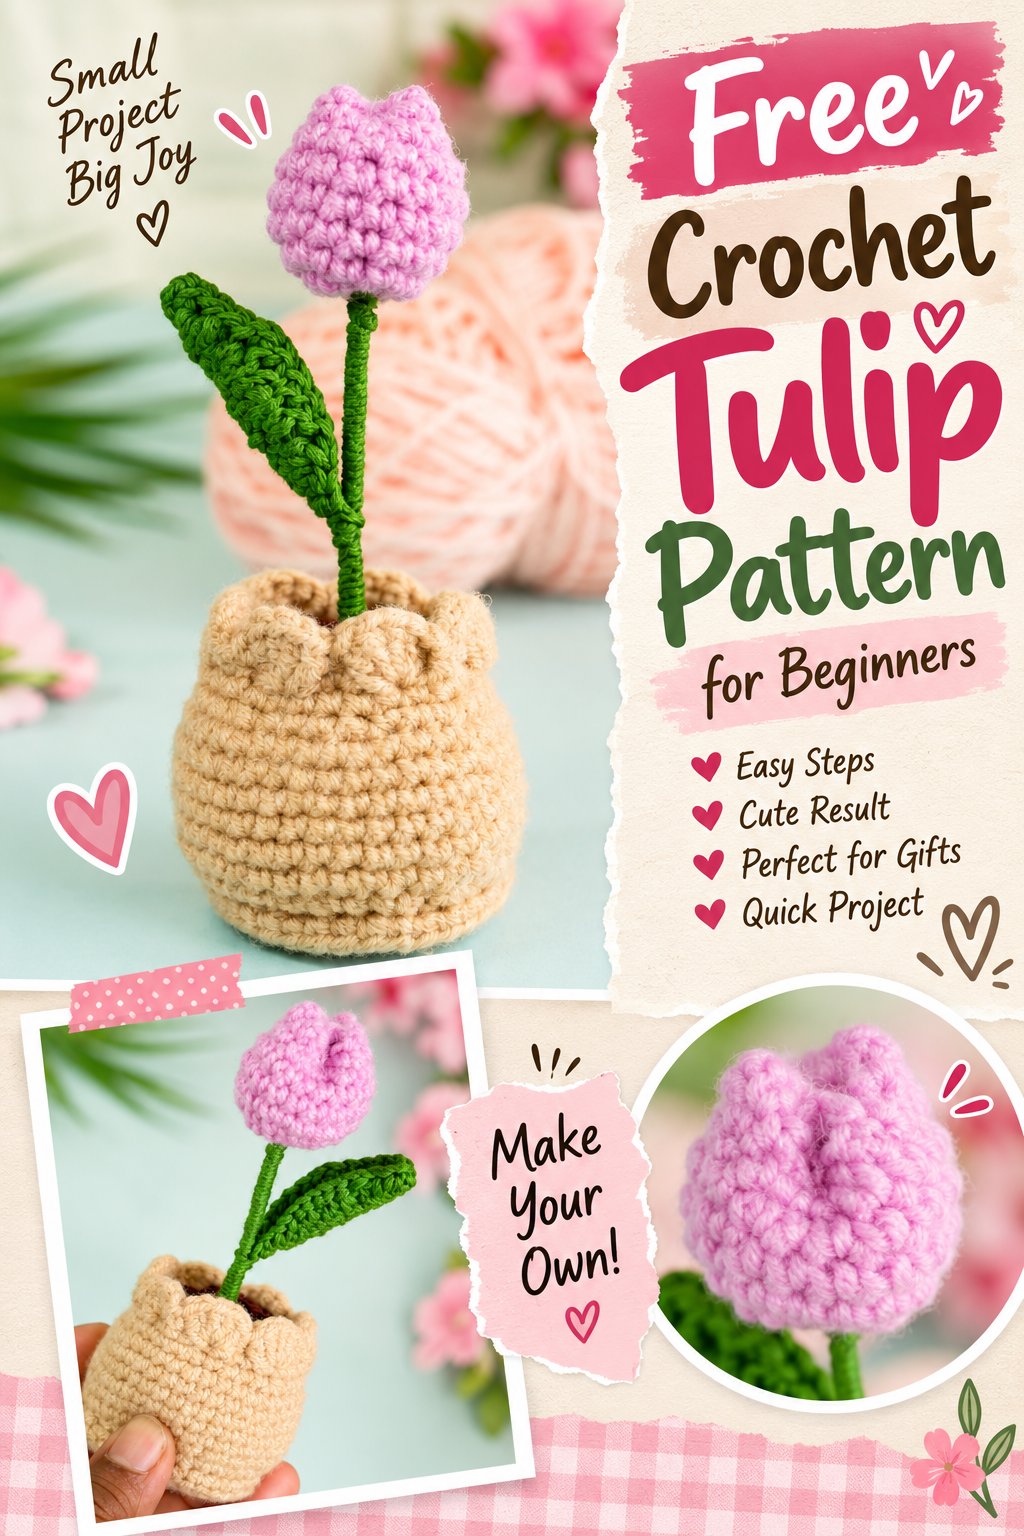
Crochet tulips are timeless, elegant, and surprisingly easy to make — even if you’re new to crochet. These soft blooms never wilt, making them perfect for decorating your home, gifting to friends, or crafting a handmade bouquet that lasts forever. Each tulip combines gentle texture, simple stitches, and graceful shaping to capture the look of a real flower in yarn form.
This free crochet tulip pattern is beginner-friendly and easy to customize. You can adjust the length, color, or fullness of your tulip simply by changing the number of stitches or rows. Whether you want a single stem in a vase or a full bouquet, this project offers endless possibilities for creativity and relaxation.
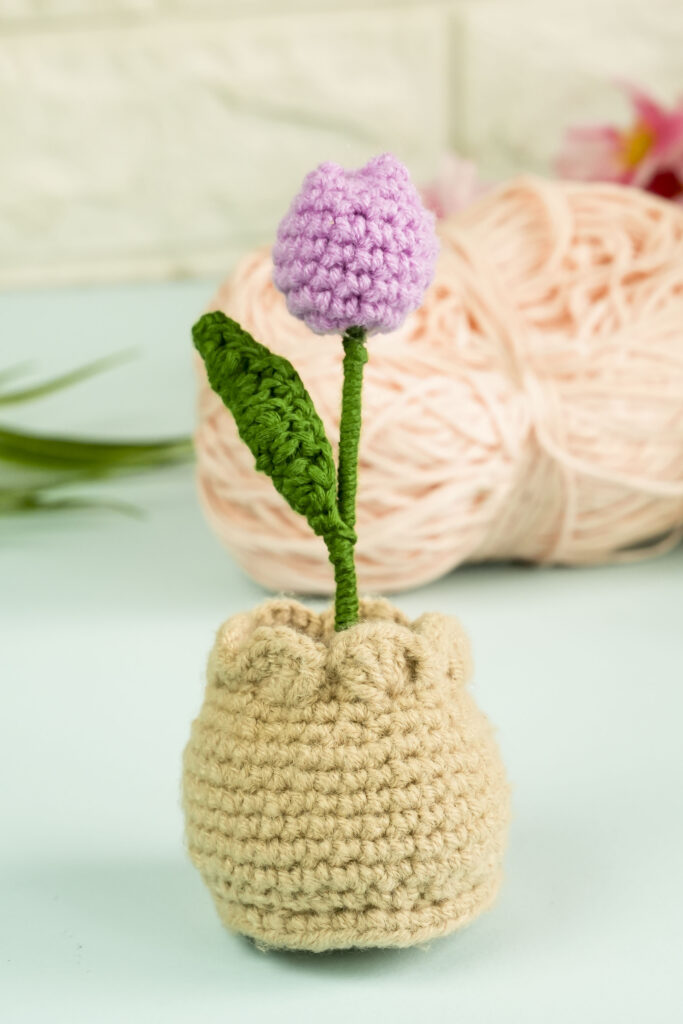
Materials You Will Need
Before you start crocheting, you will need these Instrument.
- Medium-weight yarn (50% acrylic, 50% polyester blend works well)
- Crochet hook approximately 2.2 mm in size
- Yarn needle for sewing and weaving in ends
- Scissors
- A small amount of fiberfill stuffing
- Thin floral wire for shaping the leaves and stem
- Hot glue or fabric adhesive for assembling the final bouquet
Tip: You can use any yarn you already have at home. Just make sure the hook size matches your yarn thickness. Finer yarn makes delicate tulips, while thicker yarn creates larger, bolder blooms.
Abbreviations (Us Terms)
- Sc – Single crochet
- Hdc – Half double crochet
- Dc – Double crochet
- Sl st – Slip stitch
- Blo – Back loop only
- Mr – Magic ring
Step by Step Free Crochet tulip flower pattern
Making the Tulip Petals
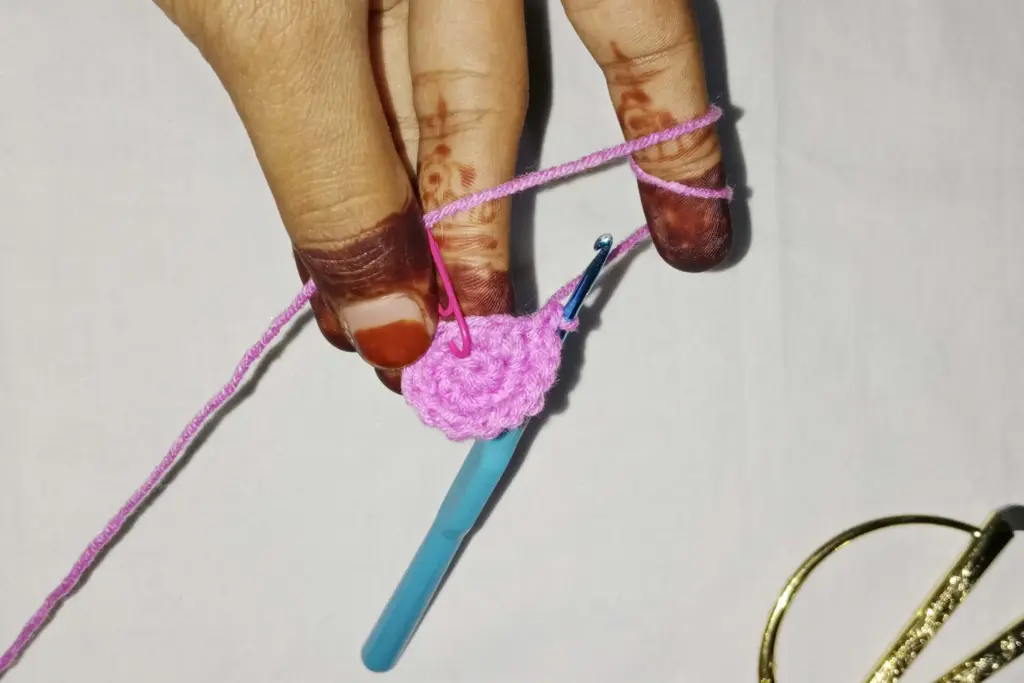
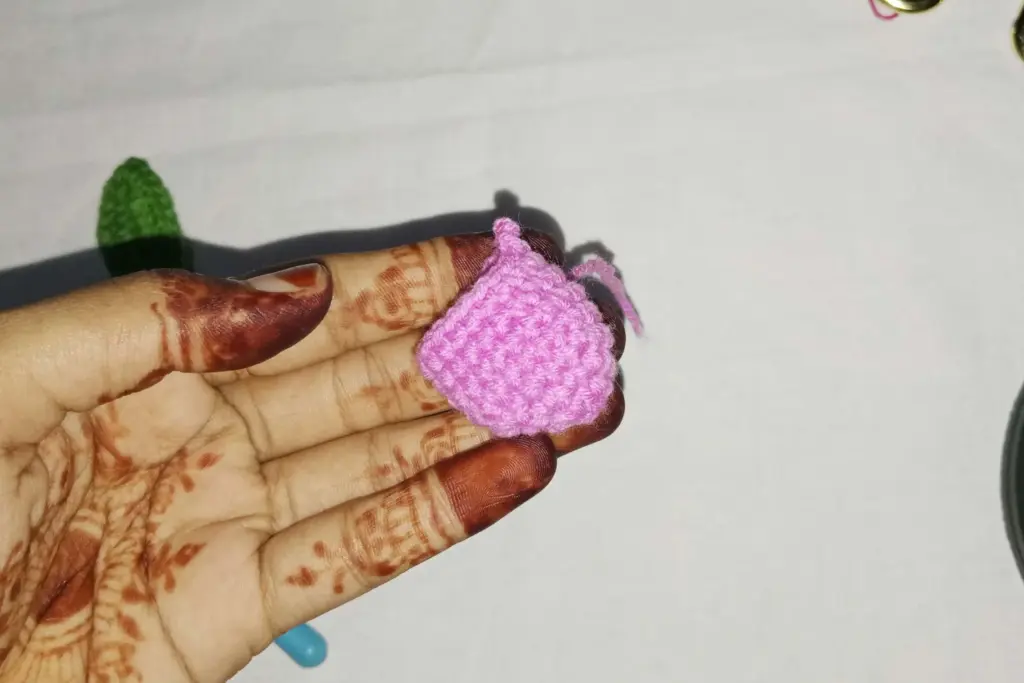
The petals are the heart of your tulip, and they’re created by crocheting a long, even rectangle that folds into shape. You’ll start with a simple foundation chain that determines the flower’s height. For taller tulips, use a longer starting chain; for smaller blooms, make it shorter.
Once the foundation is complete, build your fabric by working across each row evenly. The result will be a soft, flexible piece that naturally curls when folded. This curling helps form the round shape of the tulip once assembled. Keep your stitches consistent and relaxed — the smoother the texture, the neater your finished petals will look.
Forming the Tulip Shape
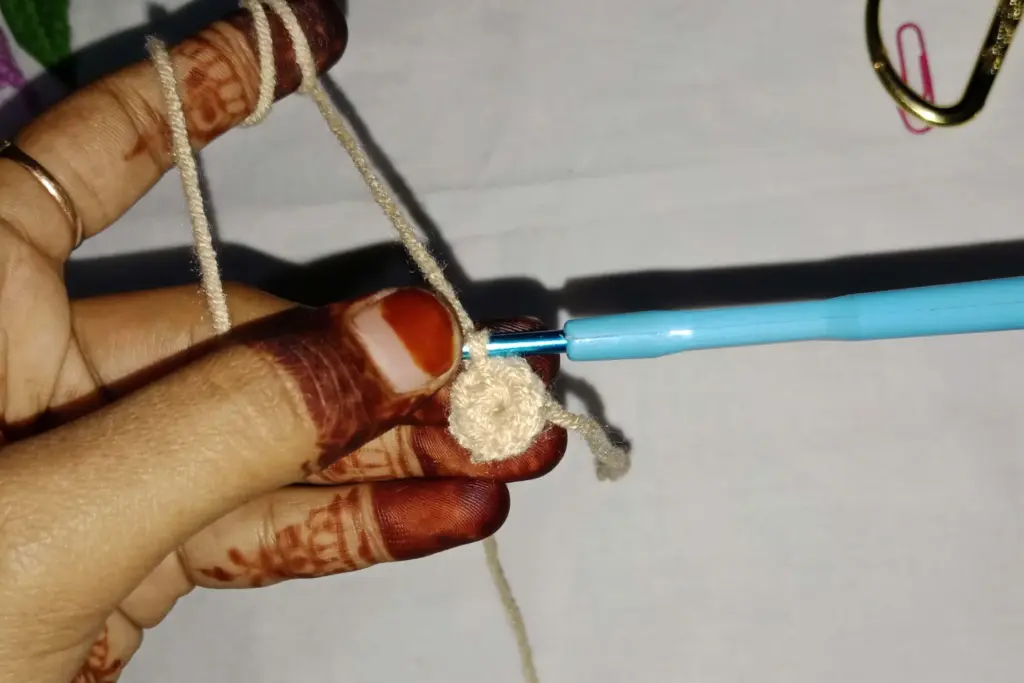
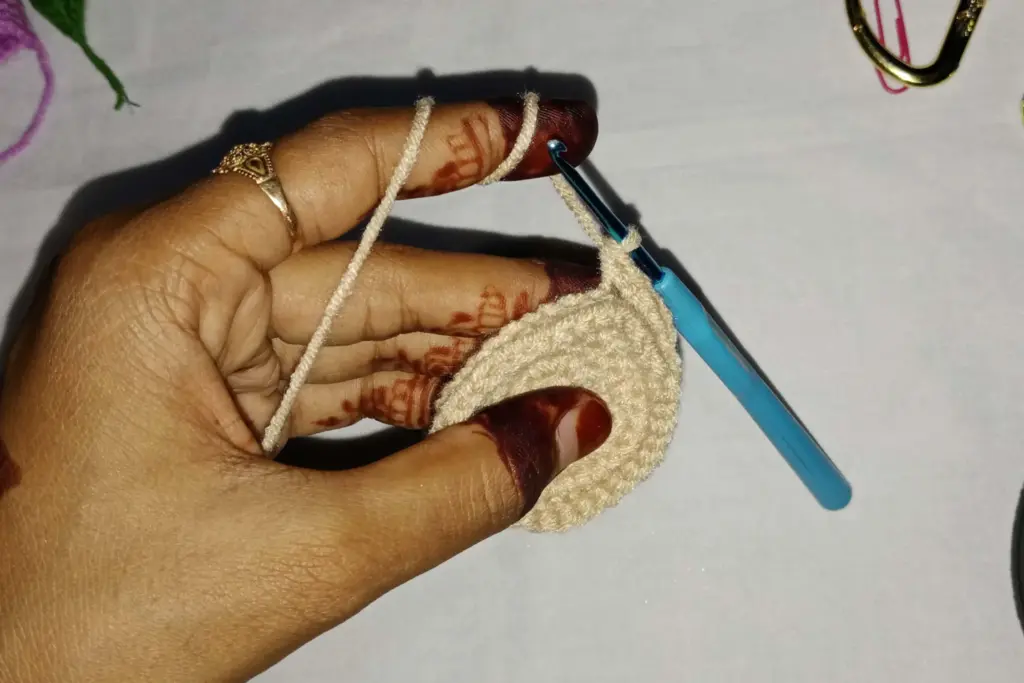
When your rectangular piece is ready, fold it lengthwise and sew or crochet the edges together. This forms the tubular base that mimics the shape of a real tulip bud. Secure the bottom tightly so the structure holds, and leave the top slightly open to allow for stuffing.
Gently gather the top edge with your yarn needle to create soft folds. As you pull the thread, you’ll see the fabric transform from a simple rectangle into a realistic tulip bloom. This step is often the most satisfying part of the project — watching the flower take shape right in your hands.
Adjusting the Size
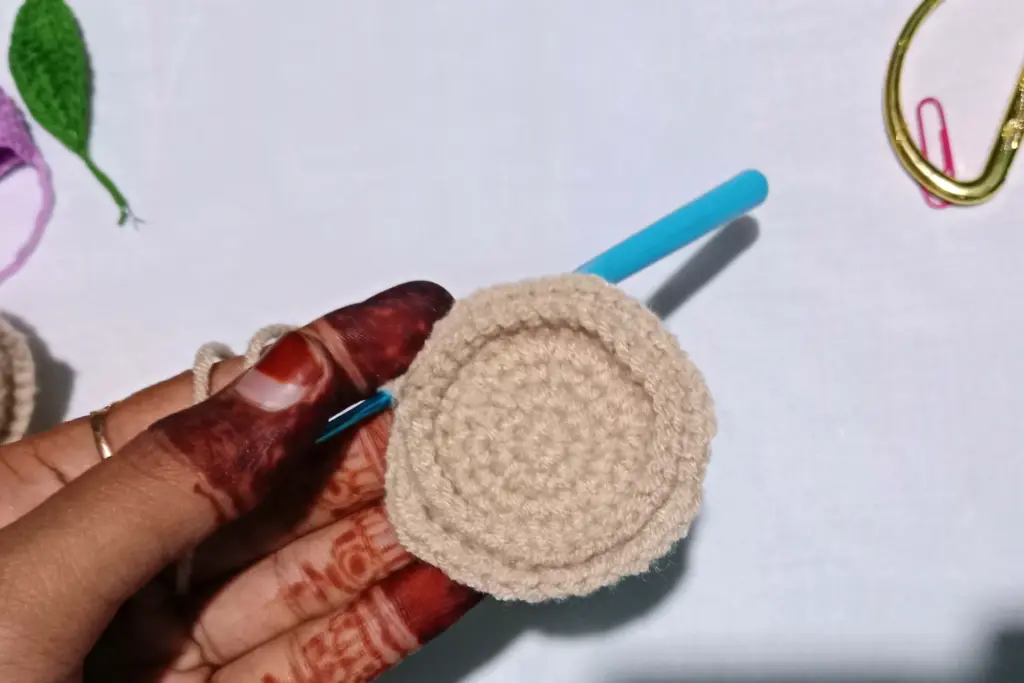
One of the best things about this tulip pattern is how easily it can be resized. If you want a taller or fuller tulip, simply increase the number of starting stitches or rows in your rectangle. For smaller flowers, reduce them. You can also use finer yarn for delicate petals or thicker yarn for oversized, decorative tulips.
Experiment with different sizes to create a bouquet full of variety. Mixing tall and short tulips together makes your final arrangement look more natural and visually interesting.
Crocheting the Tulip Leaves
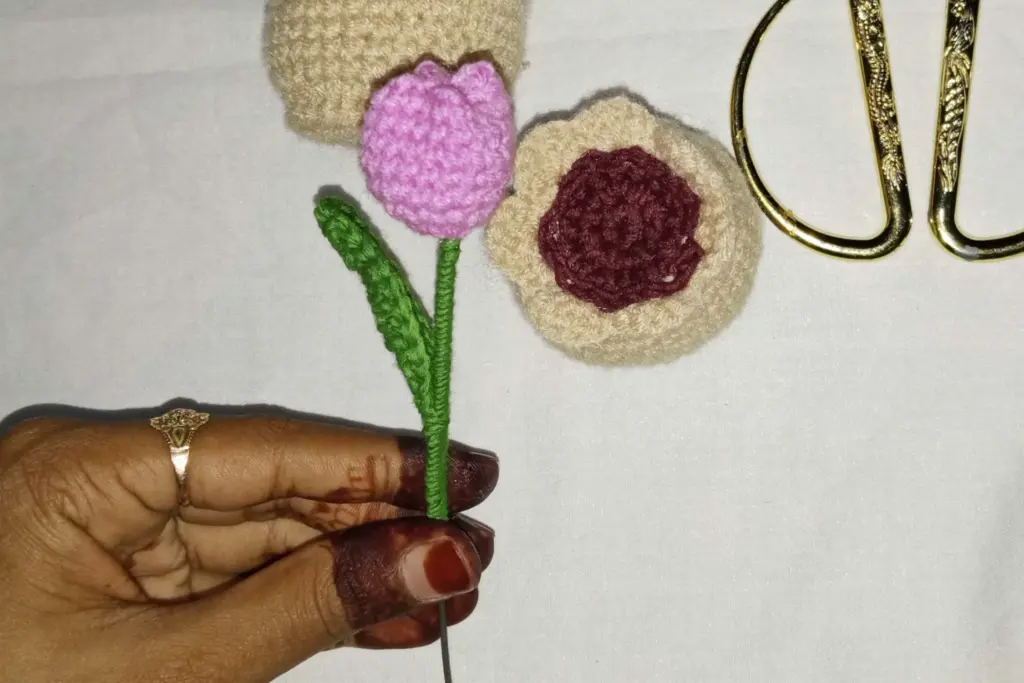
No tulip is complete without its graceful green leaves. These long, narrow shapes give your bouquet a realistic, elegant touch. Begin by working a chain that sets the overall length of your leaf — longer chains create tall, slender leaves, while shorter ones make smaller accents.
As you build the rows, you’ll notice the leaf gradually tapering toward the ends. The subtle curve comes naturally as you crochet, but you can enhance it by shaping gently with your fingers once finished. If you’d like a more defined edge, crochet evenly around the entire piece to outline the leaf neatly.
Each leaf should feel flexible yet sturdy enough to hold its shape. Adding a thin floral wire inside while stitching can help achieve that soft, lifelike curve. Once done, make at least two leaves for every tulip to create a full, balanced look.
Shaping and Strengthening the Leaves
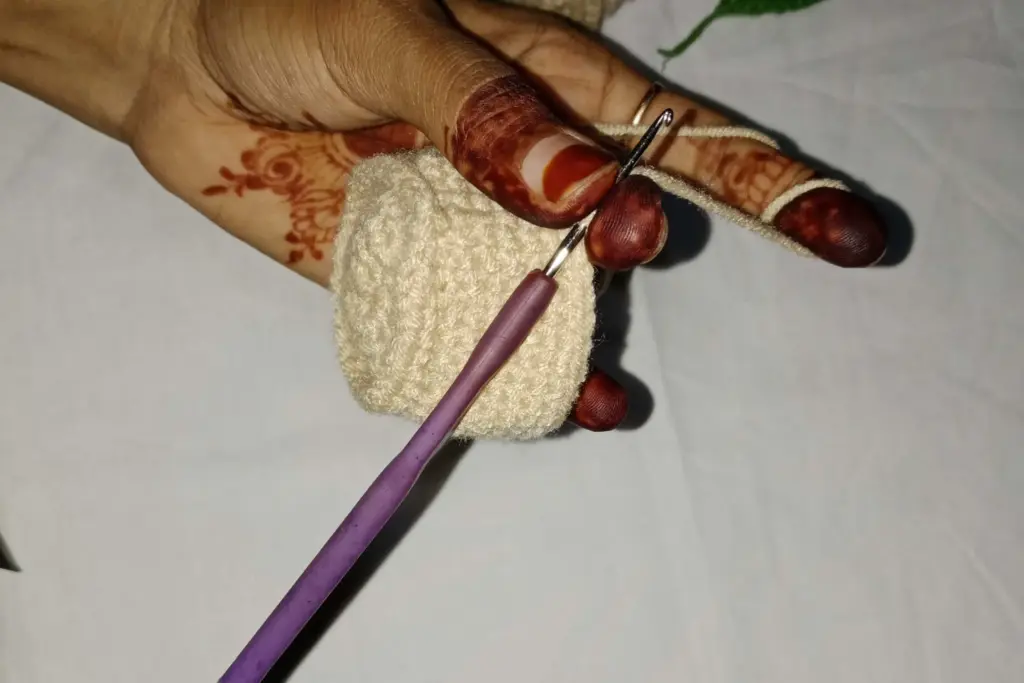
To make your leaves stand upright, weave the floral wire through the center while working your final stitches. This allows you to bend and position them naturally once the bouquet is assembled. If you don’t have wire, you can stiffen the leaves slightly with a bit of fabric glue or starch spray.
The added structure helps the tulips maintain a fresh, upright posture even after several days on display. Adjust each leaf gently so it curves outward, just like a real tulip reaching for sunlight.
Creating the Tulip Stem
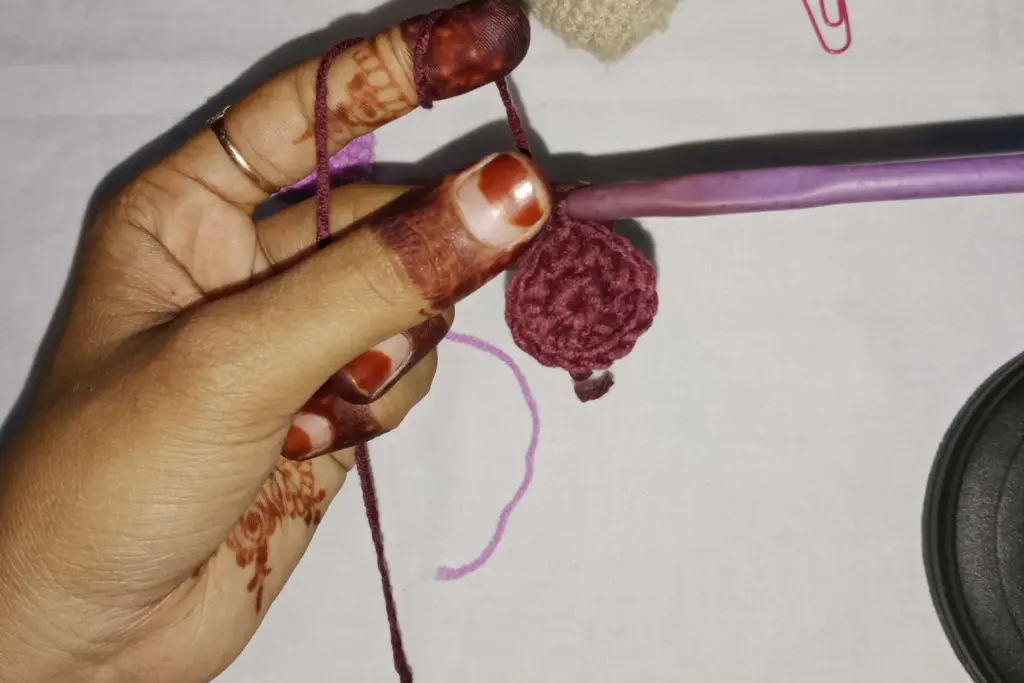
The stem ties the whole piece together. Use green yarn and start by crocheting a narrow tube or wrapping yarn around the floral wire. This will form a strong, flexible stem that can be shaped as desired.
Insert the stem through the center of the tulip base, securing it firmly with hot glue or a few stitches. Add a small amount of stuffing at the top to help the bloom sit securely. If you’re making several tulips for a bouquet, keep all stems roughly the same height or vary them slightly for a natural look.
Attaching the Leaves and Finishing the Bloom
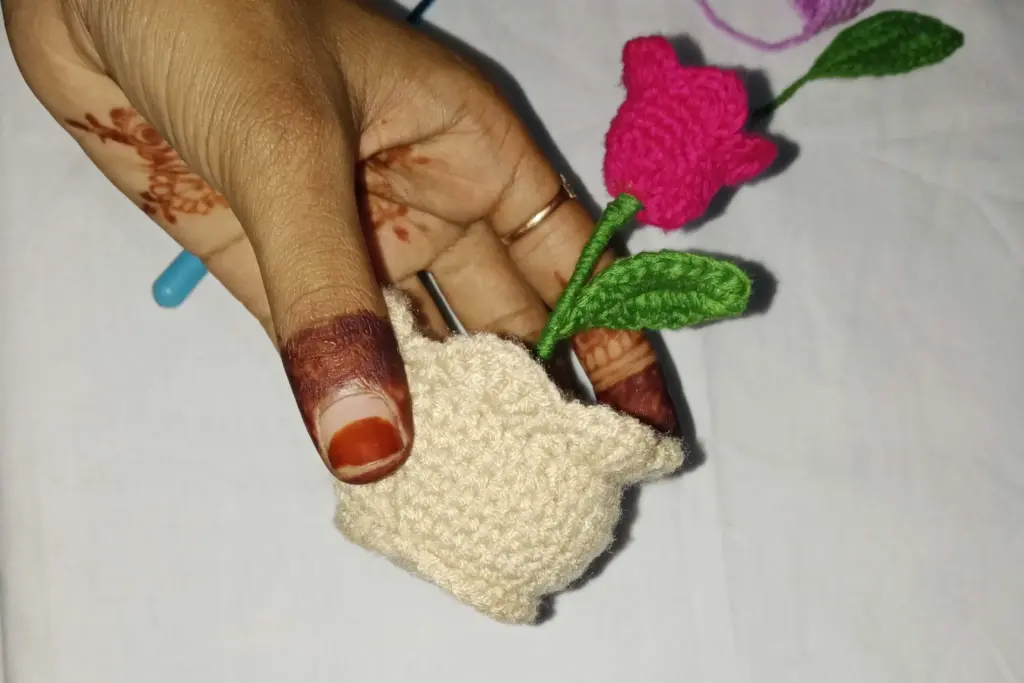
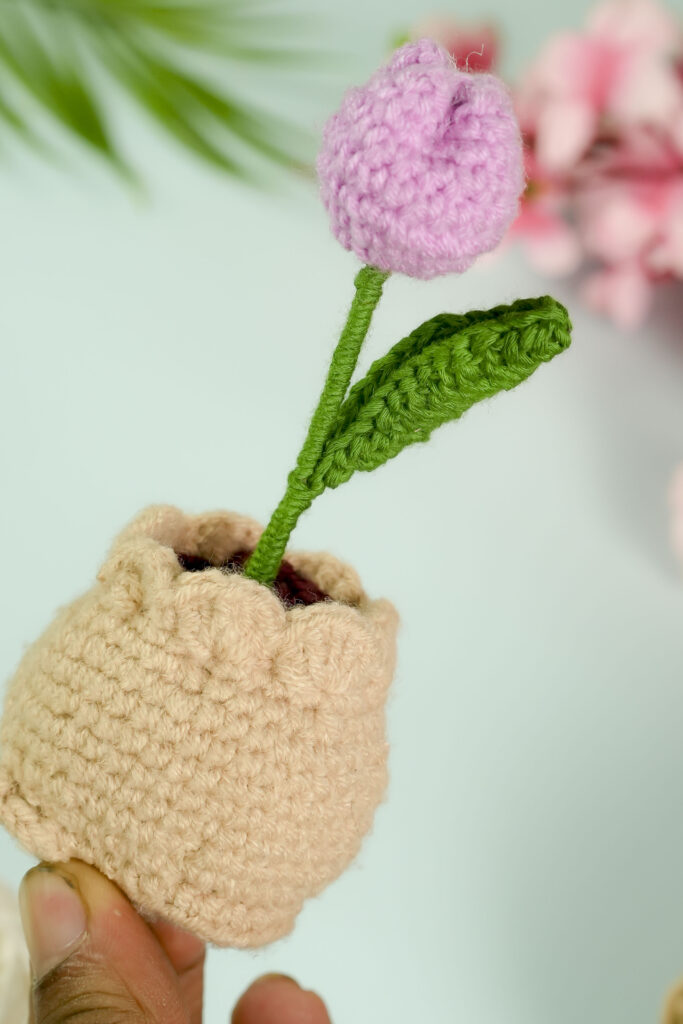
Once the petals, stem, and leaves are ready, it’s time to assemble your tulip. Position one or two leaves at the lower part of the stem and secure them with glue or thread. Angle the leaves slightly outward for a realistic appearance.
Check that the bloom is centered and the stem feels steady. If you used floral wire, twist the bottom ends together to form a stable bouquet base. You can then wrap the stems in green floral tape or yarn for a neat finish.
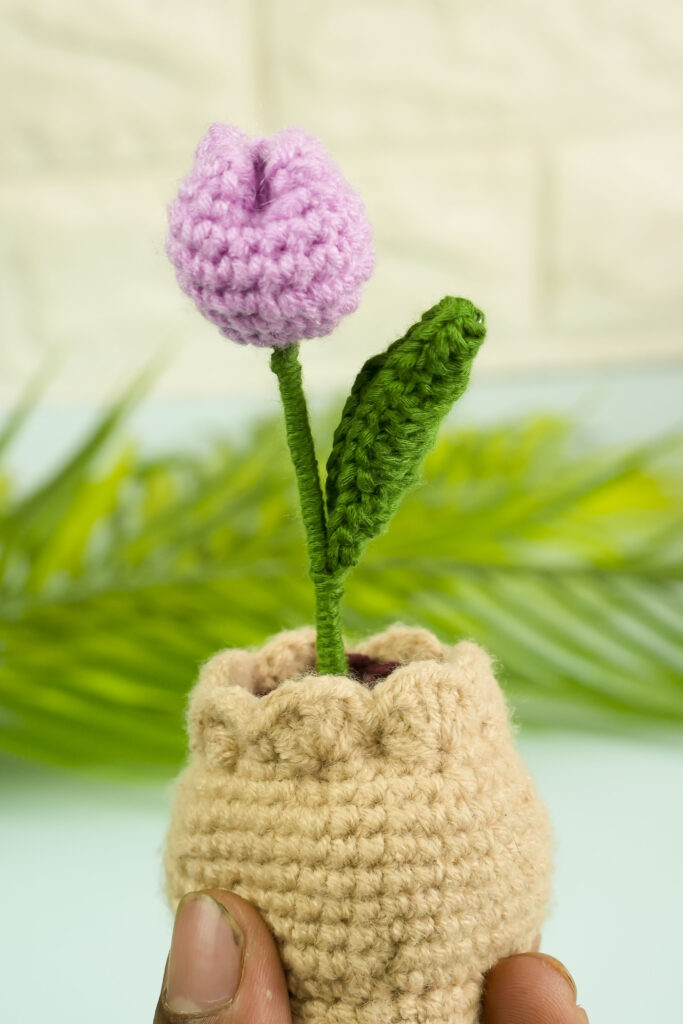
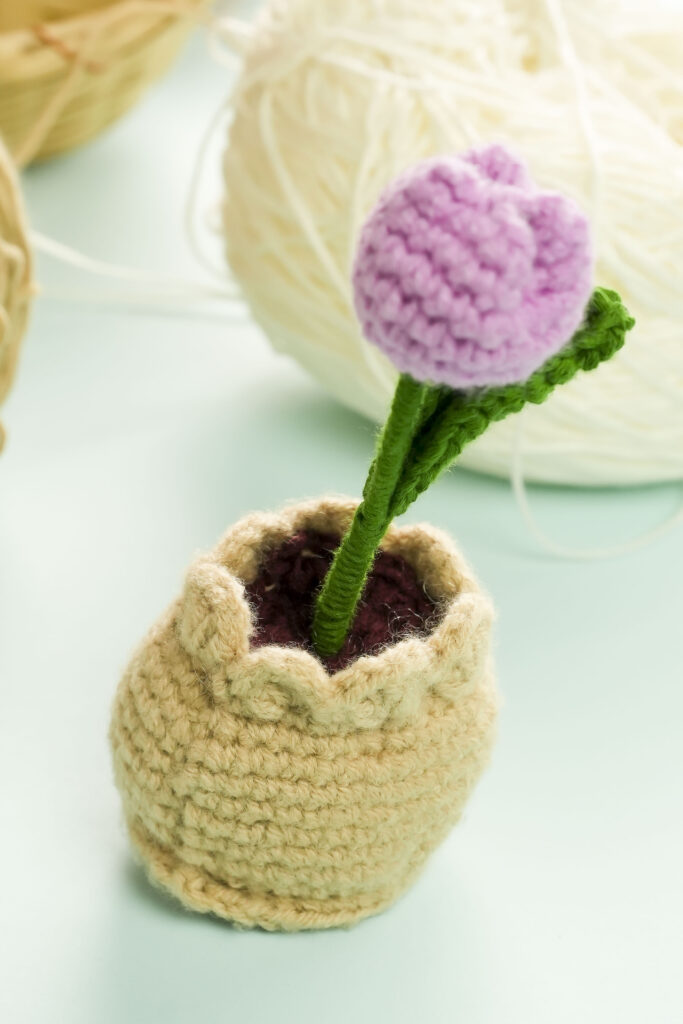
At this stage, your tulip should look complete — soft petals on top, slender leaves at the sides, and a smooth stem that holds everything together.
Customizing Your Crochet Tulips
The beauty of this project lies in its flexibility. You can easily personalize each tulip to suit your style or décor:
- Play with colors: Create a bouquet of pastel tulips for spring or bold reds and yellows for a cheerful centerpiece.
- Adjust the size: Mix tall and short stems for dimension.
- Add texture: Try combining matte and shiny yarns for contrast.
- Make a full bouquet: Arrange several tulips together in a vase or tie them with a ribbon for a handmade gift.
With only small adjustments, you can transform this simple pattern into something completely unique and eye-catching.
Care Tips and Display Ideas
Crochet tulips require very little maintenance but look stunning year-round. To keep them looking fresh:
- Avoid storing them in direct sunlight to prevent color fading.
- Dust them occasionally with a soft brush or hairdryer on cool air.
- If they lose shape, lightly steam them and reshape with your hands.
Display them in a glass vase, a basket, or even a shadow box. They also make beautiful decorations for weddings, baby showers, or seasonal displays.
 `
`
Final Thoughts
This free crochet tulip pattern is the perfect project for beginners who want to create something elegant and lasting. With simple stitches and clear steps, you can craft beautiful flowers that brighten any space. The combination of soft petals, gentle leaves, and a sturdy stem makes this design both simple and impressive.
Once you’ve made one tulip, you’ll likely want to create an entire bouquet. Each flower carries the charm of handmade work and the satisfaction of crafting beauty from yarn. Keep experimenting with colors, sizes, and arrangements — your crochet tulip garden will keep blooming forever.