
A crochet cherry blossom is one of those motifs that looks delicate and intricate, yet is built from very simple techniques. The design in this tutorial creates a classic five-petal blossom with a slightly cupped shape and a contrasting embroidered center that mimics stamens.
This pattern is aimed at beginners who are comfortable with basic stitches and want to learn how to:
- Start from a compact center using an adjustable ring
- Build tall, soft-edged petals from that center
- Join the last petal neatly so the flower looks seamless
- Add simple embroidery to highlight the middle
Instead of listing every action one by one, this guide explains the structure of the flower so you can see how each part relates to the whole. Once you understand the logic behind the petals and the center, you can make blossoms in different sizes, yarns, and color combinations for appliqués, hair clips, garlands, or bouquets.
Materials Needed
Based on the tutorial, you can adapt this pattern with whatever you have in your stash, but the following setup gives a crisp, neat blossom suitable for beginners.
- Smooth cotton yarn in a light shade for the petals
- A second, deeper shade of yarn for the embroidered center details
- A small steel or aluminum hook suitable for lightweight yarn
- Darning or tapestry needle for sewing and embroidery
- Scissors
You can use other fibers and thicknesses, but smooth cotton makes it easier to see the stitches and helps the petals keep their shape.
Abbreviations
US crochet terminology is used.
MR
: Magic ring; an adjustable starting circle used to close the center tightly
SC
: Single crochet; short dense stitch used to build the central base
TR
: Treble crochet; tall stitch used to give height and drape to each petal
SLST
: Slip stitch; joining movement with no added height, used for securing sections
YO
: Yarn over; wrapping the yarn around the hook before drawing it through
These are the only actions you need for the blossom itself. The center embroidery uses a simple sewing motion with a darning needle.
Building the Central Base
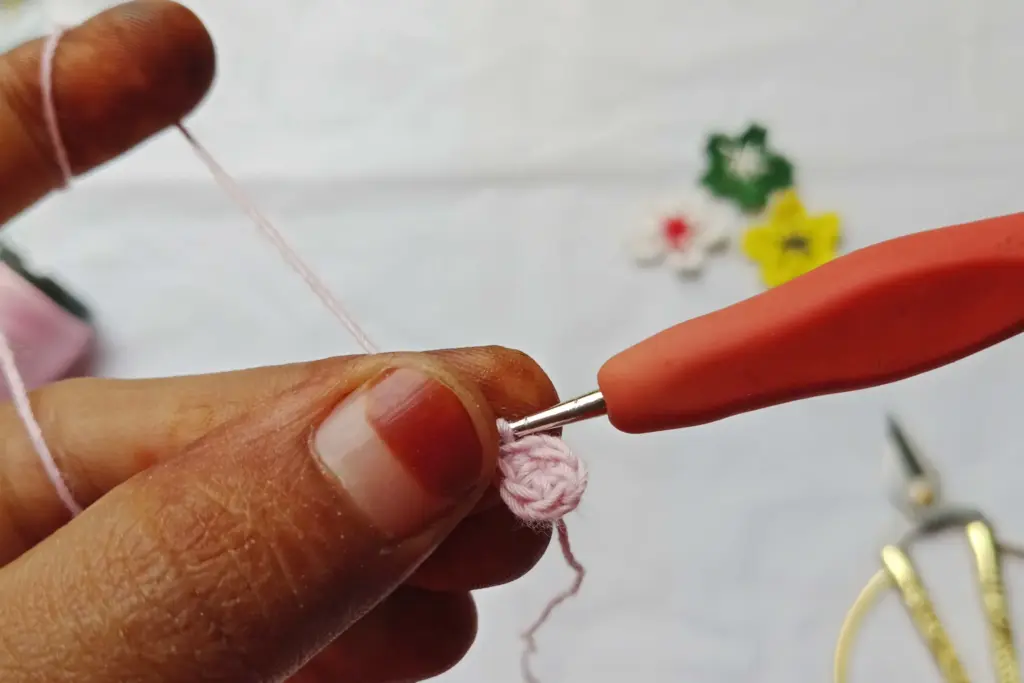
The cherry blossom begins with a small, compact base that acts as the anchor for all five petals. Instead of starting with a long foundation and closing it later, the tutorial uses an adjustable ring so the center can be pulled tightly shut.
A short ring of single crochets is worked into this adjustable opening. The important structural points are:
- The stitches are arranged close together so the center stays dense and sturdy
- The adjustable strand is drawn firmly to eliminate any gap
- A quick joining action completes the small disc and sets the stage for the petals
At this point, you have a tiny circle that looks almost like a button. This is the heart of your cherry blossom and the point where all petals will grow.
Shaping a Single Petal
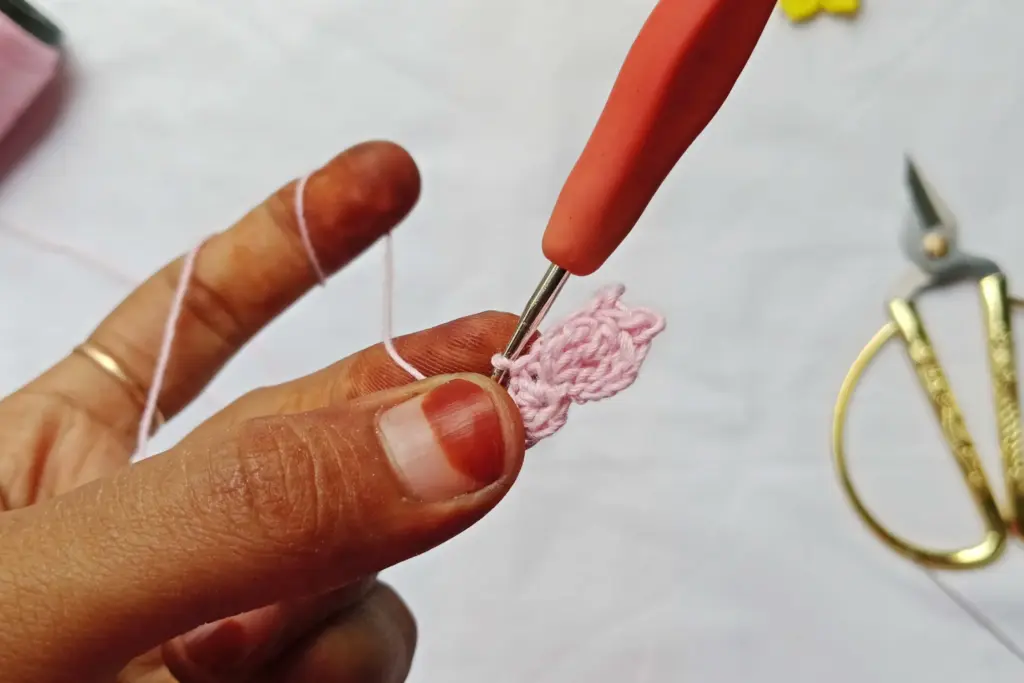
Each petal is built from that tiny central base using the same repeated structure. Instead of moving across many foundation points, most of the petal is built from one entry point on the central disc.
The basic rhythm of a petal is:
- Rise gently from the center with a small starting segment
- Build height using a tall treble crochet that becomes the main body of the petal
- Soften the top of that tall stitch with a small finishing action worked into the top of the treble
This finishing action sits like a tiny cap on the tall stitch, which:
- Rounds off the tip of the petal
- Prevents it from looking too sharp or spiky
- Adds a subtle decorative ridge at the edge
In the tutorial, this sequence is worked twice in the same entry point, so two capped treble stitches snuggle together and form a softly domed side of the petal. A third tall stitch is then added without the extra cap, giving the petal its full height without too much bulk at the top.
Repeating the Petal Structure Around the Center
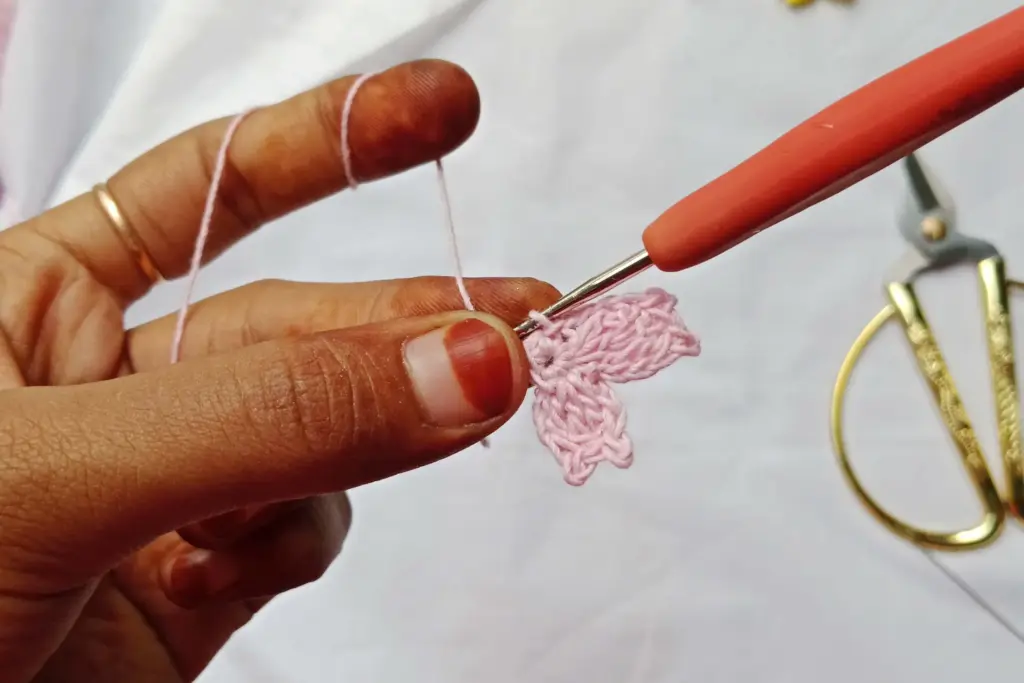
Once the first petal is complete, the next step is to repeat that same structure around the center. The yarn moves back down to the disc, secures to the next base point, and then the entire petal sequence is built again.
For each new petal:
- You begin from a nearby base stitch on the central circle
- You repeat the same tall-and-soft sequence as before
- You finish by returning to the base and securing to the next available space
This repetition creates five identical petals that radiate outwards. They crowd each other slightly at the base, which is exactly what gives the blossom that natural, overlapping look you see in real cherry blossoms.
Because every petal is constructed using the same small set of moves, the pattern is easy to memorize. Many beginners find that after the second or third petal, their hands begin to remember the rhythm, and the last petals feel much more fluid.
Creating a Smooth, Invisible Join

The final petal leads back to the starting point and must be joined carefully so there is no obvious “seam” where the work began. Instead of closing with a visible joining stitch at the front, the tutorial uses a neat sewing trick.
The working yarn is cut and threaded onto a darning needle. Then:
- The needle is passed through the top strands of the first petal
- The yarn is pulled just enough to mimic the shape of a final stitch
- The tail is woven back through the underside of the petals in the opposite direction
This method:
- Avoids a raised bump where a joining slip stitch might sit
- Keeps the top edge of the flower smooth and continuous
- Gives the illusion that the petals are part of one unbroken ring
Once the tail is securely woven in, the blossom base is complete and ready for its embroidered center.
Adding the Decorative Center
Once the petals are complete, the flower gains its signature cherry blossom look through a simple embroidery step. A contrasting strand is threaded onto a needle and anchored through the middle of the blossom. From there, alternating long and short stitches are added to represent the delicate stamens found at the center of real blossoms.
The longer stitches reach outward toward the middle of each petal, while the shorter stitches sit in the small gaps between petals. This alternating pattern creates a starburst effect that:
- Brings depth and dimension to the flower
- Highlights the natural separation between petals
- Adds visual interest using minimal materials
After completing the full rotation around the flower, the two yarn tails are tied securely on the back. These ends can be woven in or left long if you plan to attach the blossom to another project later.
Securing and Shaping the Flower
Because cotton yarn holds its structure well, the cherry blossom usually takes its final shape without much adjustment. However, a few small refinements can enhance the look:
- Gently flatten the petals so they fan out evenly
- Pinch the base of each petal to enhance the slight cup shape
- Smooth the embroidered center so the lines radiate cleanly
This soft shaping step helps the petals sit naturally instead of overlapping too rigidly.
Customizing the Cherry Blossom
Although the tutorial features a two-color design, the structure of the pattern invites creativity. Here are some common variations you can explore:
- Use a very pale yarn for the petals and a vivid highlight color for the center
- Experiment with subtle gradients or speckled yarns for a softer look
- Make a cluster of blossoms in different sizes by switching hook sizes
- Add a bead or knot in the center instead of embroidery for a different effect
Because the petals are built individually, you can also experiment with adjusting their height or planting more or fewer petals around the ring.
Attaching the Blossom to Projects
The finished flower lies relatively flat, making it easy to attach to many types of handmade goods. The yarn tails left from the center embroidery can be used directly to sew it onto:
- Headbands or hair clips
- Bags, hats, or scarves
- Spring-themed baby items
- Seasonal garlands or banners
- Greeting cards or home décor accents
If you prefer a removable accessory, you can glue the blossom to a pin or clip backing.
Tips for a Clean, Beautiful Blossom
- Use smooth cotton so the petals hold shape and the center embroidery doesn’t snag
- Practice tall stitches slowly; they build the petal’s body and define its form
- Keep tension consistent to avoid one petal looking larger than the others
- When embroidering the center, make sure the needle always returns to the middle for even spacing
- Try blocking the flower lightly if the petals curl more than you like
These small adjustments can make a significant difference in how polished the final blossom looks.
Summary
A crochet cherry blossom is a compact, elegant project ideal for beginners wanting to build confidence while creating something visually detailed. The pattern uses only a handful of stitches, yet the result looks refined thanks to thoughtful shaping, repeated petal structure, and a simple embroidered center.
With just lightweight yarn and a small hook, you can make blossoms to decorate accessories, garments, home décor, or handmade gifts. The pattern is easy to memorize, enjoyable to customize, and perfect for crafting in multiples.
Once you master one blossom, you can create a whole branch of them—each as unique as those found in nature.