
Amigurumi is a popular crochet technique that lets you create adorable, three-dimensional creatures, food items, and more using simple stitches. One of the cutest and most refreshing projects you can try is a crochet watermelon slice. Not only is it a fun way to practice your crochet skills, but it also makes a lovely decoration for the summer or a whimsical gift idea.
This beginner-friendly amigurumi watermelon slice pattern is designed to help you make a realistic-looking watermelon with a combination of red, green, and white yarns. The tutorial will guide you through every step of the process, from creating the base to adding the final details like the seeds. With basic crochet techniques and a few simple materials, you’ll be able to create this cute project in no time.
Materials Needed
Before you start, gather these essential materials:
- Yarn:
- Red yarn for the inner part of the watermelon
- Green yarn for the rind
- White yarn for the border between the red and green parts
- Black yarn (optional) for the seeds
- Crochet Hook: A 2.5 mm crochet hook (you can adjust based on the yarn thickness)
- Stuffing Material: Polyester fiberfill or another soft stuffing to fill your watermelon slice
- Scissors: To cut yarn at the end of each section
- Tapestry Needle: For weaving in the yarn ends and sewing pieces together
- Stitch Marker: Optional, but helpful for tracking the start of your rounds
This combination of yarn colors and crochet tools will give you everything needed to create a fun, realistic watermelon slice.
Abbreviations
The following crochet abbreviations will be used throughout the pattern. It’s important to understand these to follow along easily:
- Ch – Chain
- SC – Single Crochet
- INC – Increase (two stitches in the same stitch)
- Slst – Slip Stitch
- FO – Fasten Off
- TR – Triple Crochet
These basic stitches will form the foundation of your watermelon slice. As you progress, these abbreviations will guide you through increasing, decreasing, and adding texture to your work.
Step 1: Starting the Watermelon Slice
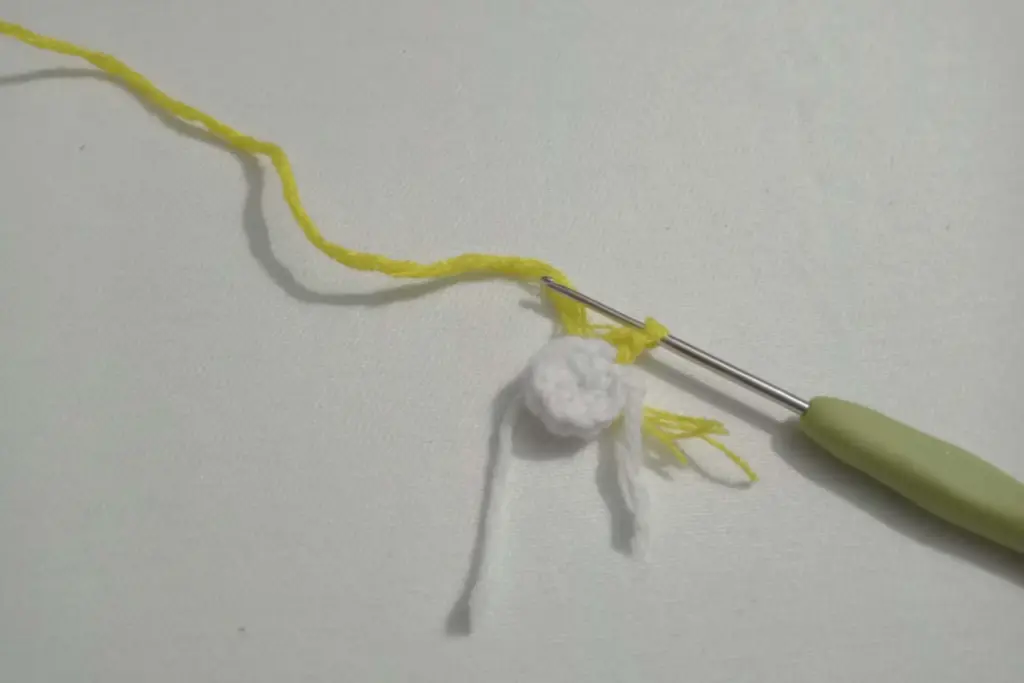
To begin, we’ll start by creating a small loop with the red yarn. After creating a slip knot, you’ll chain and then work in the round to create the base of the slice. This part of the pattern is crucial because it sets the foundation for the shape and size of your watermelon slice. As you crochet, be sure to keep your stitches tight and even, especially since you’ll be working with small rounds.
By the end of this step, you should have a small circular base with eight stitches. This will serve as the starting point for your watermelon slice. You’ll join the round with a slip stitch, then continue working to form the perfect round shape.
Step 2: Increasing the Round
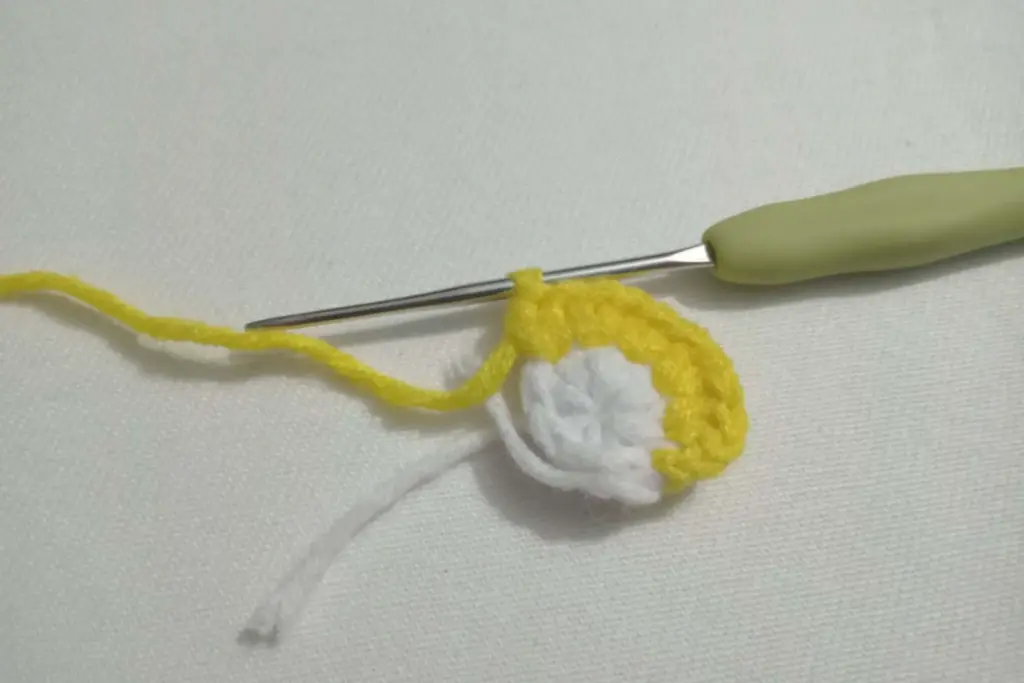
Once the base is set, the next step involves increasing the size of the watermelon slice by adding extra stitches. You’ll work two single crochets into each stitch around, doubling the number of stitches in the round. This increase creates a wider surface, giving you the proper base size for the watermelon. Keep track of your stitch count and be sure to join the round with a slip stitch at the end.
This step is where you begin to see the watermelon slice take shape. The increase in stitches gives it a fuller, rounder look, which is key to creating a realistic slice.
Step 3: Shaping the Watermelon Slice
As you move into the next rounds, you will continue to increase stitches, but the pattern will also involve some regular single crochet stitches. This combination of increases and single crochets helps shape the watermelon slice, ensuring it doesn’t become too flat or too rounded. By the time you reach the desired size for the watermelon, you should have a smooth, symmetrical shape with 24 stitches.
This step is where your watermelon slice starts to look more like the finished product. The red yarn will fill out the shape and the base, providing the vibrant color that represents the flesh of the watermelon.
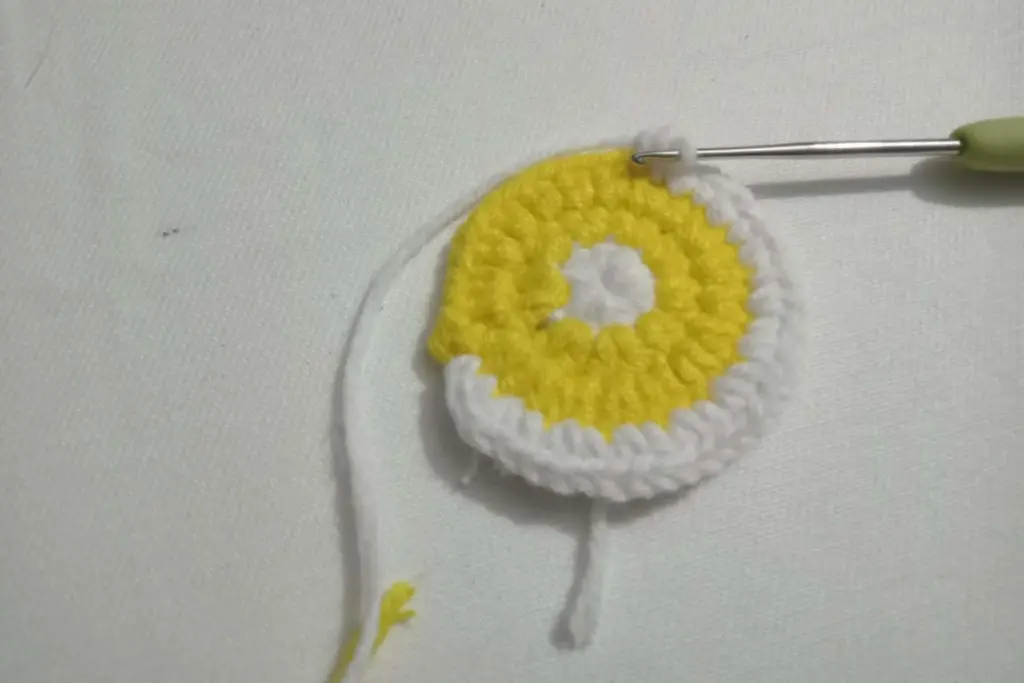
Step 4: Adding the White and Green Sections
Once the base of the watermelon slice is complete, it’s time to add the white and green sections that create the iconic layered look. Starting with the white yarn, you’ll crochet a row around the outer edge of the red section. This gives the watermelon a clean boundary between the flesh and the rind.
The white section is essential for giving the watermelon slice its realistic appearance. As you crochet, be sure to maintain a smooth, even tension to keep the white yarn from bunching up. You’ll work in a similar fashion as the previous rounds, but this time, the stitches will connect the red yarn to the green section.
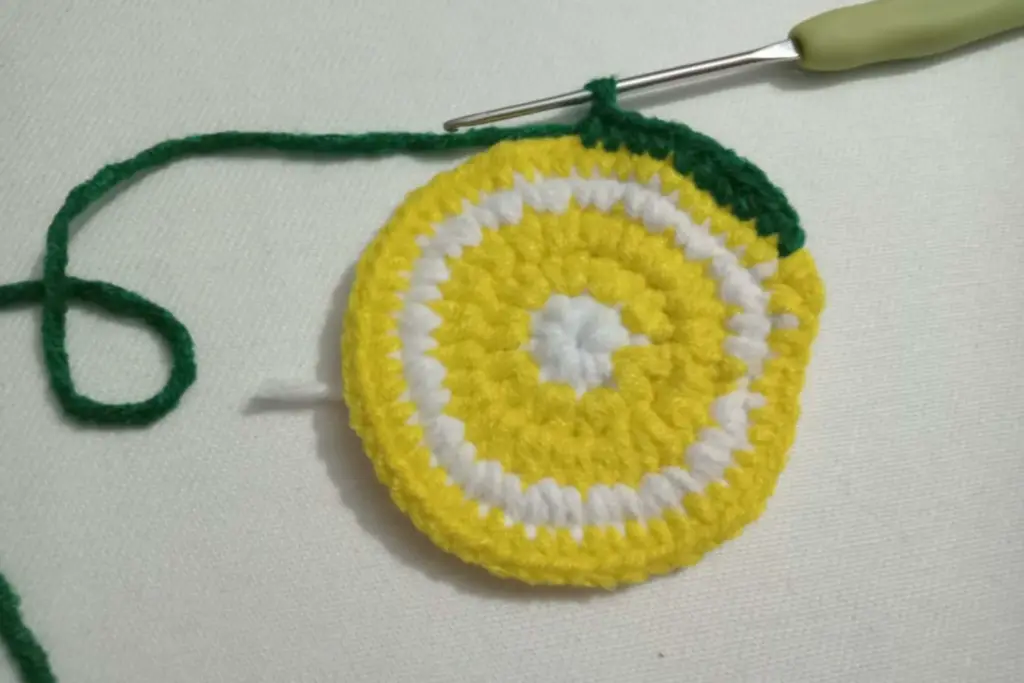
Once the white part is done, you will switch to green yarn to form the rind of the watermelon. The green yarn adds a contrasting layer that completes the look of a watermelon slice. This portion will be slightly thicker than the red and white sections to give the watermelon a more defined border.
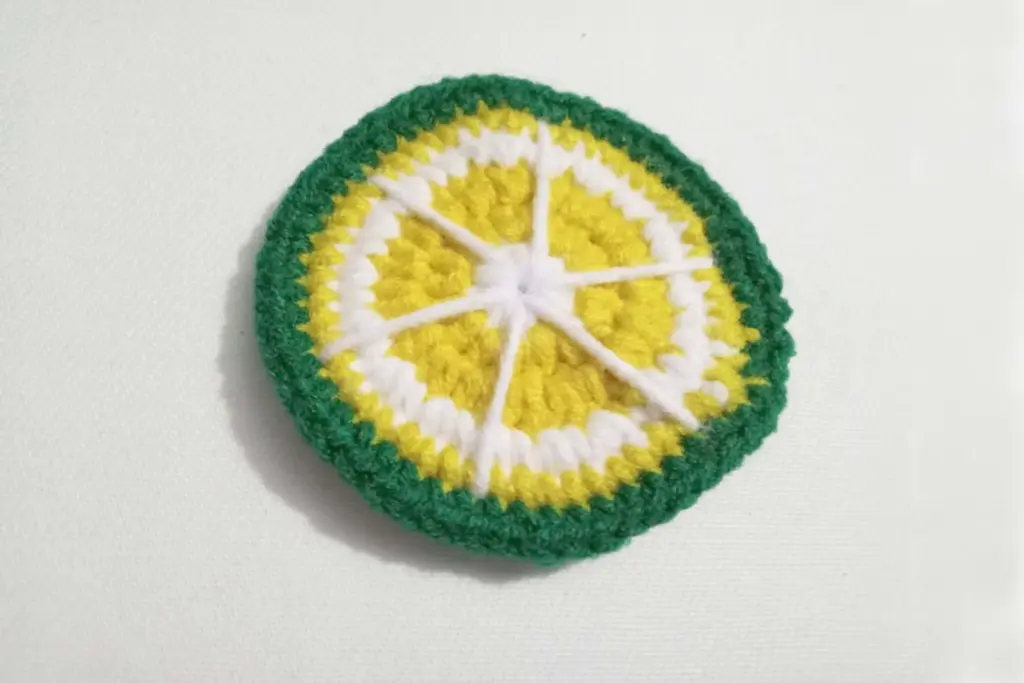
Step 5: Adding the Seeds
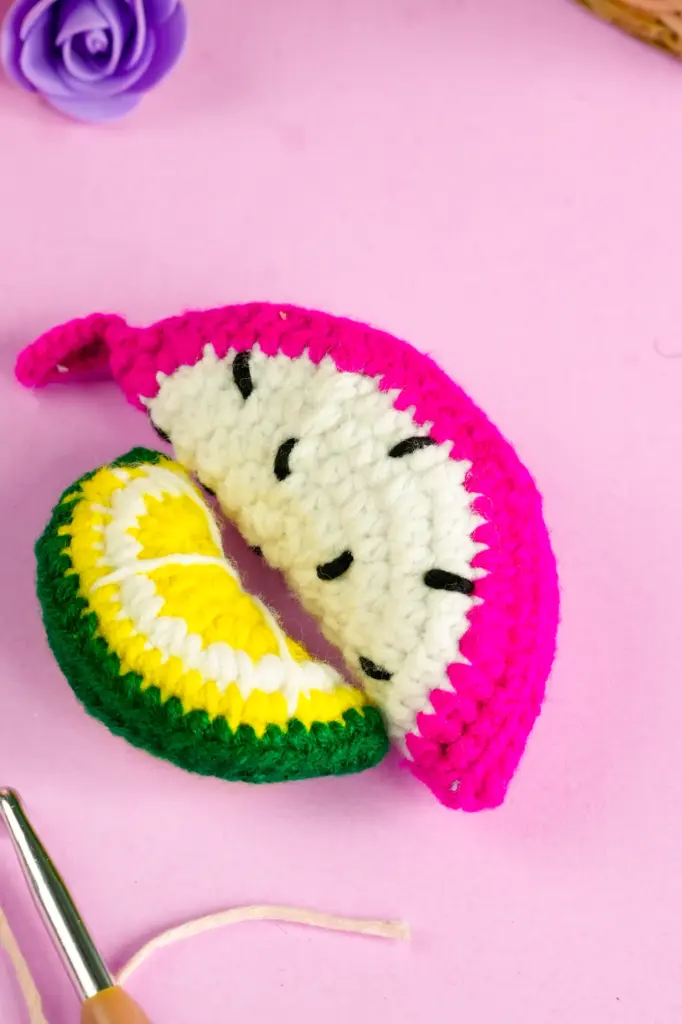
Now for the fun part — adding the seeds! Using black yarn, you will embroider small seed shapes in the red portion of the watermelon. The seeds are typically placed randomly but in a way that mimics the natural seed placement of a real watermelon.
To add the seeds, thread the black yarn onto a tapestry needle and gently stitch through the red yarn. You can make the seeds as large or small as you like, but they should be spaced evenly around the watermelon. This detail will give your crochet slice a realistic touch, making it look like a mini version of the fruit.
Be sure to place the seeds in such a way that they don’t get lost when the slice is folded or stuffed. You can choose to add as many or as few seeds as you prefer, depending on the look you want for your watermelon slice.
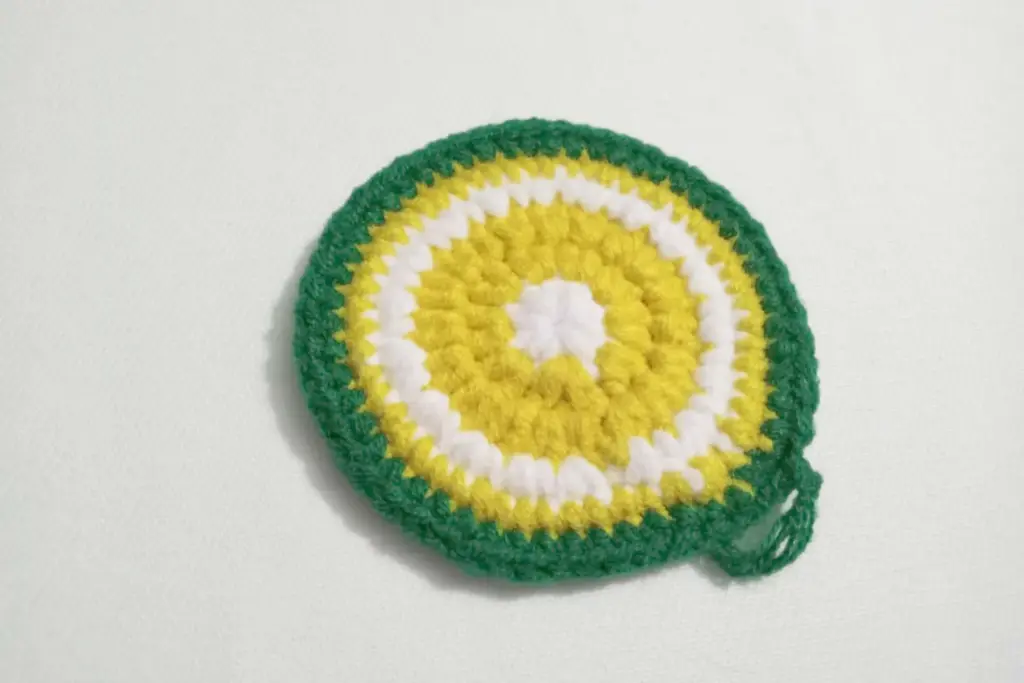
Step 6: Assembling the Watermelon Slice
With the red, white, and green sections complete and the seeds in place, it’s time to assemble everything. First, make sure your slice is fully stuffed with a soft filling, like polyester fiberfill. The stuffing will help the watermelon slice hold its shape and give it that plump, 3D look.
Once the stuffing is in, close up the edges by slip stitching the remaining green section. Be careful not to overstuff, as you want the slice to remain flexible and easy to display or attach to other projects. Once the slice is closed, you can weave in any remaining loose yarn ends to keep your project tidy.
Step 7: Finishing Touches
The final step involves adding a bit of personality to your watermelon slice. If you like, you can sew a small loop at the top of the slice to turn it into an ornament or keychain. This will make it perfect for holiday decorations or as a fun, seasonal accessory.
Feel free to get creative with your watermelon slice! You can try adding a different color to the rind, experimenting with different types of yarn, or even turning it into a larger project, like a watermelon-shaped pillow or bag.
Final Thoughts

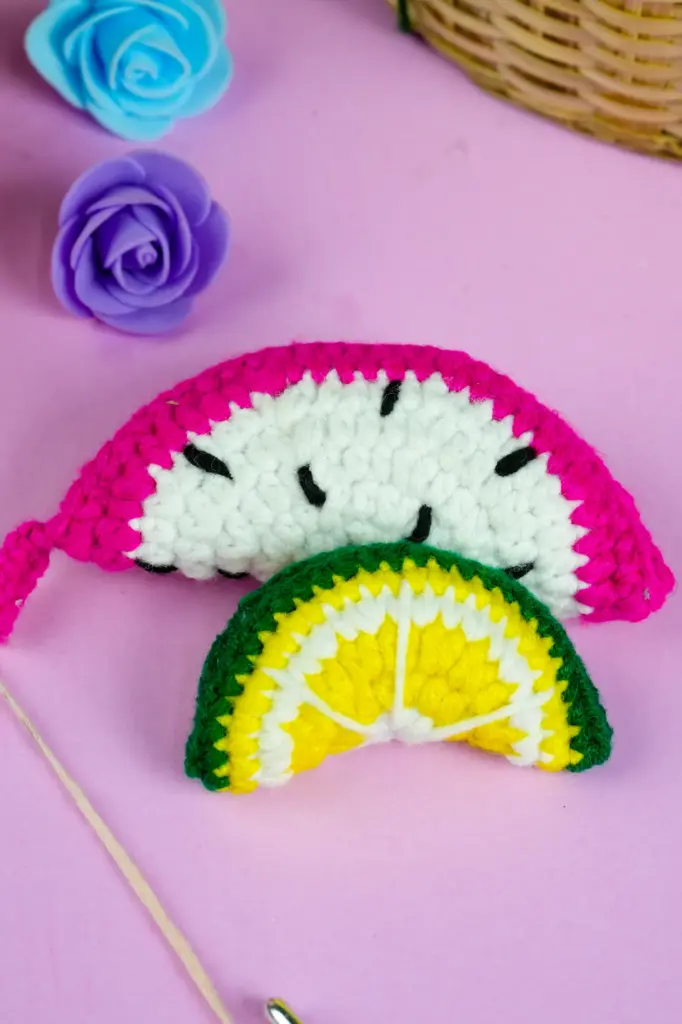
This amigurumi watermelon slice is an enjoyable and easy crochet project for beginners. It teaches you a variety of essential crochet skills, such as making a round shape, adding different yarn sections, and even embroidering seeds. The finished result is a cute, colorful slice of watermelon that’s perfect for summer, as a gift, or as part of a larger crochet collection.
By following these simple steps, you can create your very own watermelon slice that’s both fun and functional. With the right materials and techniques, you’ll be able to recreate this adorable treat and even experiment with your own variations.
Happy crocheting, and enjoy making your fruity creations!