A crochet butterfly is a charming project that adds a soft, decorative touch to any accessory. It can be turned into a keychain, attached to a brooch pin, added to a bag, or used as an embellishment on larger crochet pieces. The appeal of this project lies in both its simplicity and the satisfying transformation from a circular motif into a butterfly with four distinct wings. This design is easy enough for beginners, yet still enjoyable for experienced crocheters who appreciate quick, creative makes.
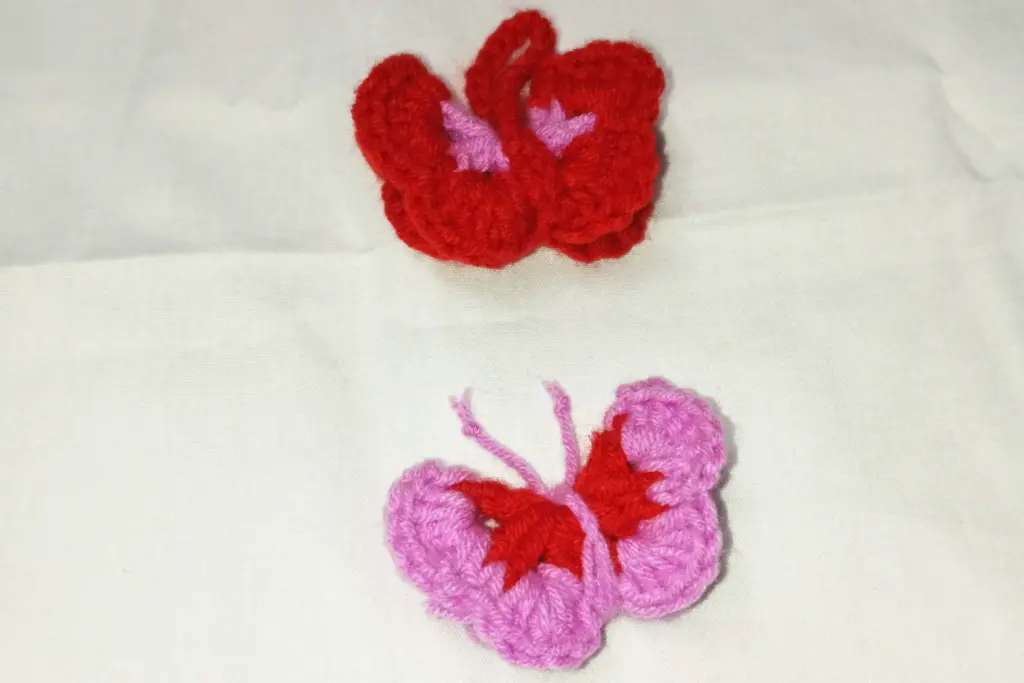
The butterfly demonstrated in the video tutorial uses two colors for contrast, but it can be made with one color if you prefer a simpler look. The overall construction involves building a center circle, adding scalloped edges, and then folding the finished piece to create the wing structure. This clever folding method makes the final design feel more intricate than it is, giving beginners a confidence-building project.
Materials Needed
The project requires only a small amount of yarn and basic tools. The video uses a medium-weight yarn in two shades along with a crochet hook suited to that yarn.
• Yarn in one or two colors
• Crochet hook appropriate for the yarn weight
• Scissors for trimming yarn ends
• Darning needle for joining and weaving in threads
• Optional short yarn pieces for simple antennae
• Optional hardware such as a keychain ring or safety pin
Abbreviations
Here are the basic crochet terms referenced, using US terminology:
mr – magic ring
sc – single crochet
dc – double crochet
tr – treble crochet
slst – slip stitch
yo – yarn over
Starting the Butterfly Center
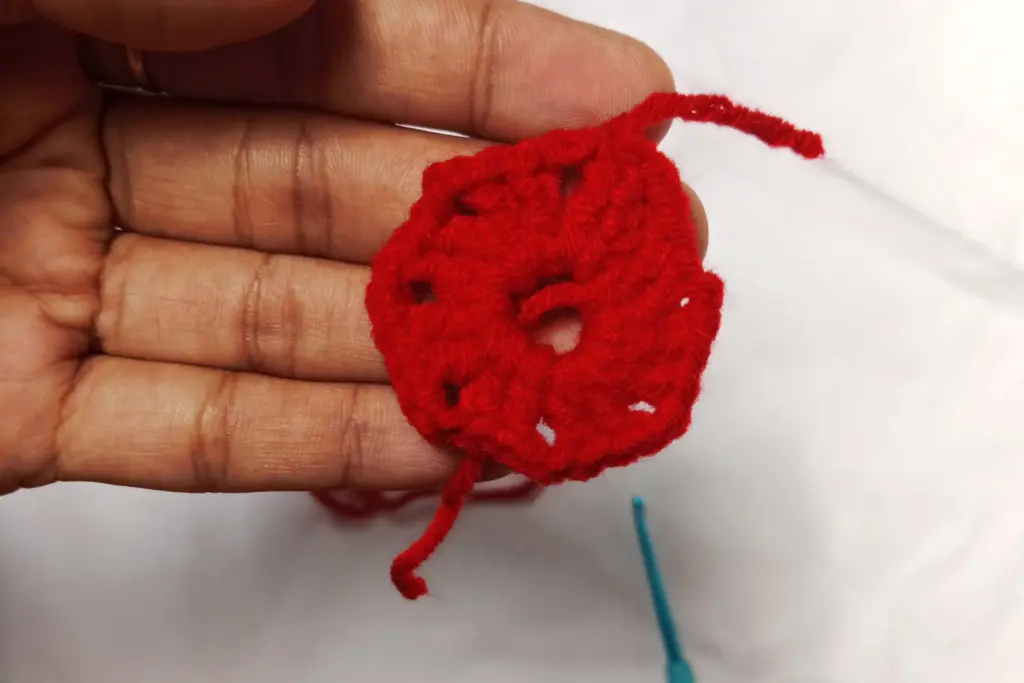
The butterfly begins with a small foundation circle. This central ring acts as the anchor point for all the wing segments that follow. The goal at this stage is simply to establish a stable base that can support the decorative outer sections. Working into this center helps keep the structure compact, allowing the wings to form evenly when the project is folded later.
Building Wing Clusters
Once the center is established, groups of stitches are built outward to create the first stage of the wings. Each grouping forms part of a wing segment, and several of these are placed evenly around the base. As these sections develop, the shape starts to look like a circular motif, but these early clusters are what will eventually separate into four wings once folded. Beginners often enjoy this part because it creates visible structure quickly.
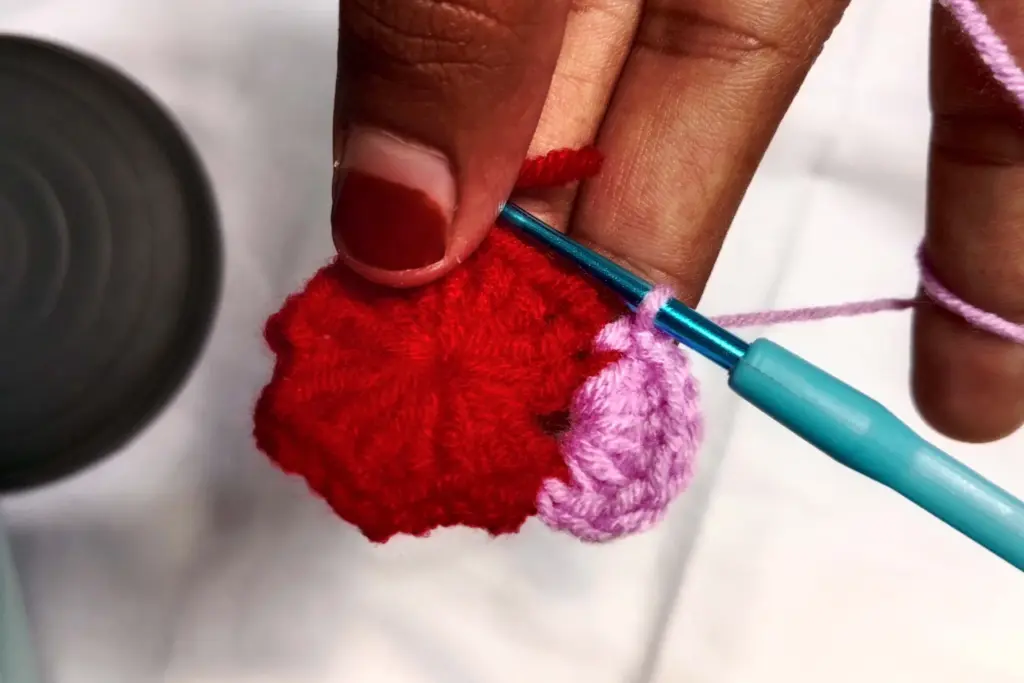
Adding Decorative Scalloped Edges
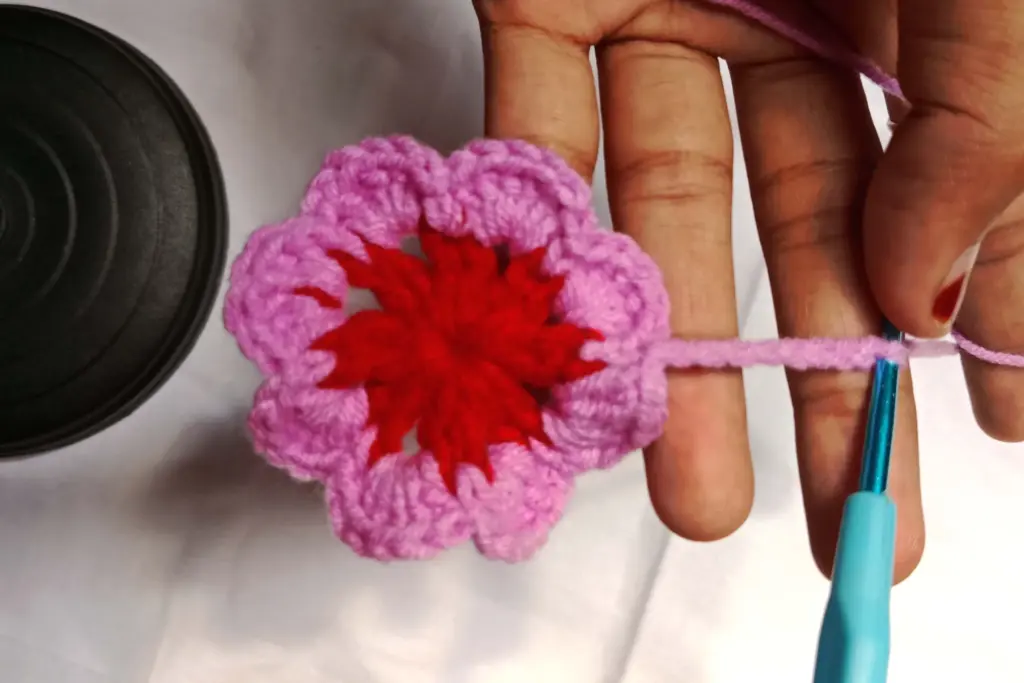
The second color is introduced around the outer spaces to form curved, decorative edges. These scallops add softness and dimension, giving the butterfly its delicate, fluttery appearance. This edging stage makes the piece look almost like a flower, but the shape will change dramatically once folded. The scalloped border also helps define the top and bottom wings by adding texture and fullness.
Folding the Shape into a Butterfly
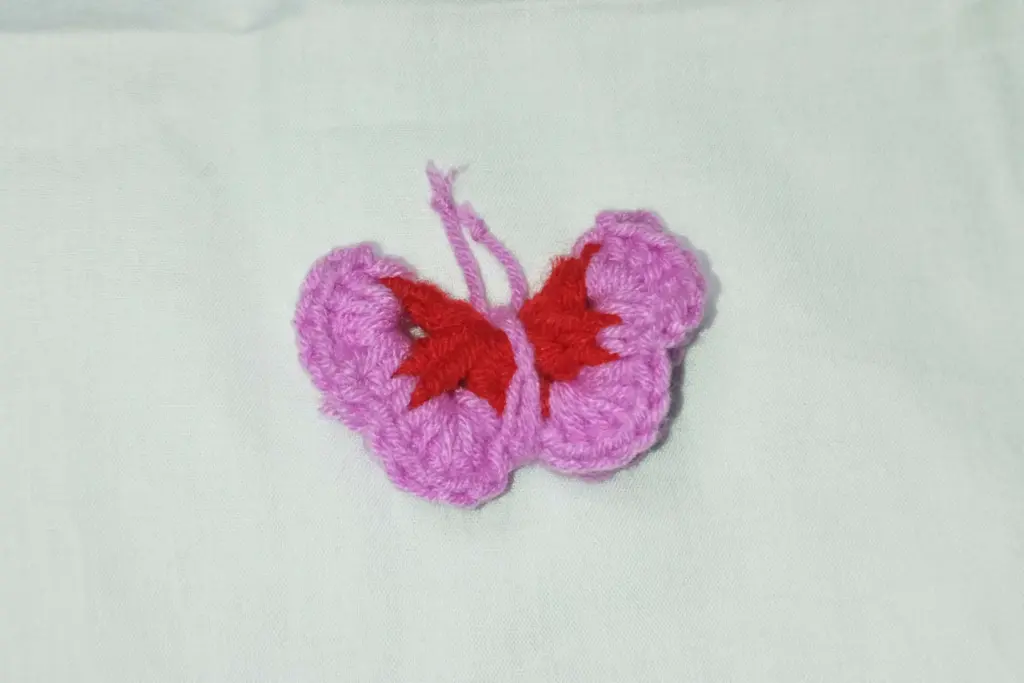
A simple fold is what transforms the circular motif into a butterfly. The piece is folded so the scalloped edges naturally create four wing sections—two on each side. This step is surprisingly effective, turning the round design into a recognizable butterfly shape immediately. Adjusting the fold slightly allows you to refine the symmetry and ensure both sides mirror each other.
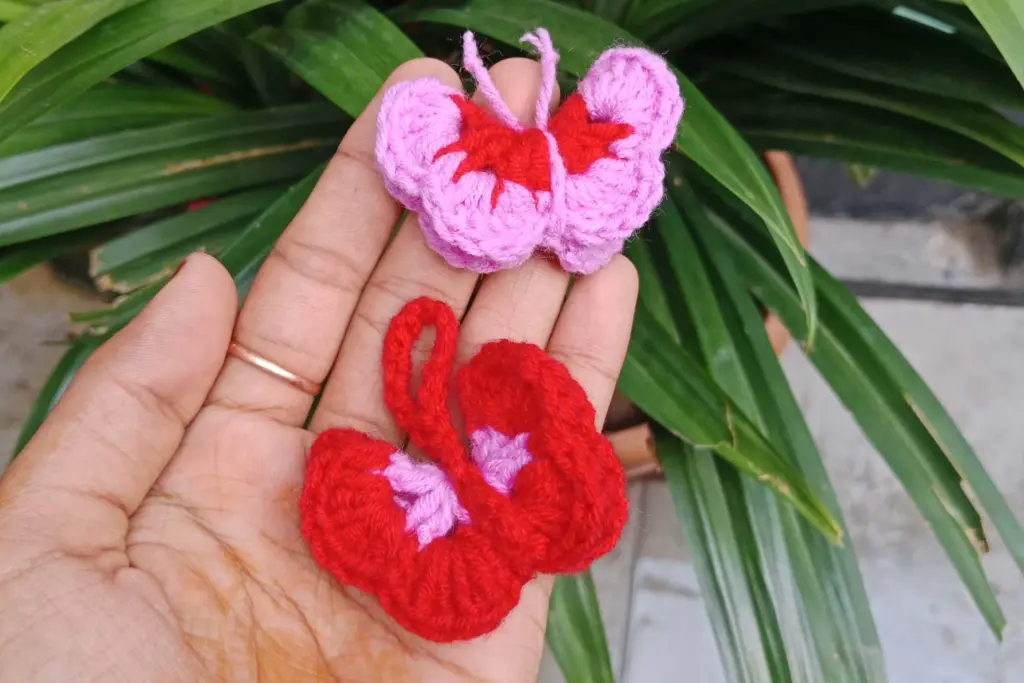
Securing the Fold and Forming the Body
With the wings folded in place, the next step is to secure the center so the butterfly maintains its shape. This central securing becomes the butterfly’s body, holding the wings together while giving the piece structure. Once tightened, the wings naturally flare outward, creating a balanced design. Minor shaping with your fingers helps each wing sit smoothly.
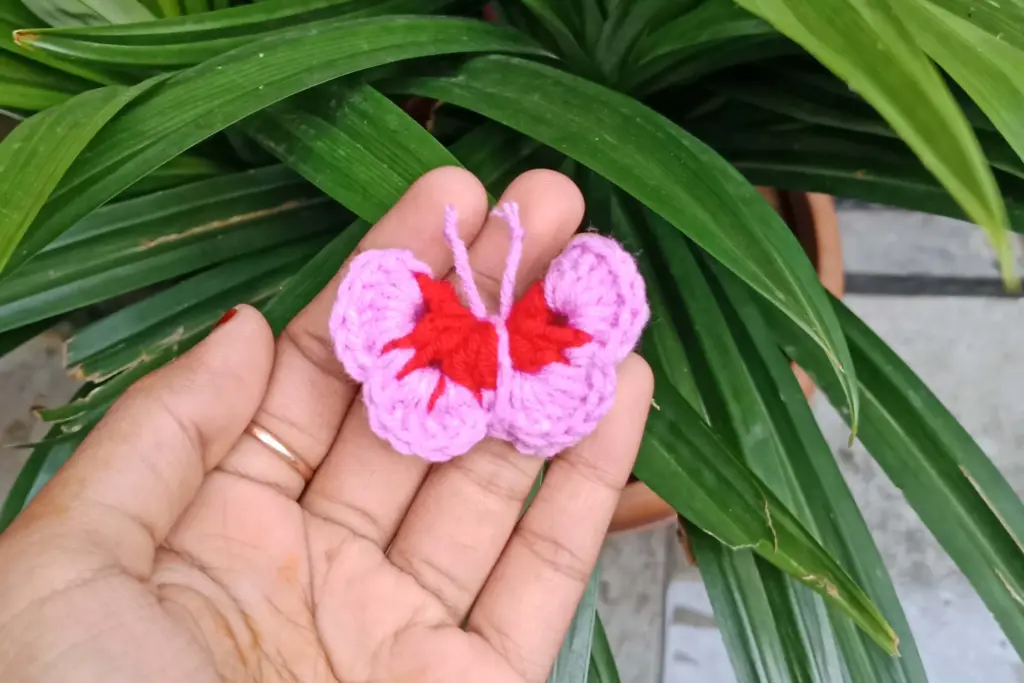
Adding the Antennae
A short piece of yarn is used to form the butterfly’s antennae. This simple addition gives the butterfly more personality and completes its overall look. The ends of the yarn are tied with small knots, then trimmed to the desired length. After preparing the yarn piece, it is slipped under the secured center section of the butterfly. Adjusting the position slightly ensures the antennae sit evenly and face outward, enhancing the natural appearance of the finished piece.
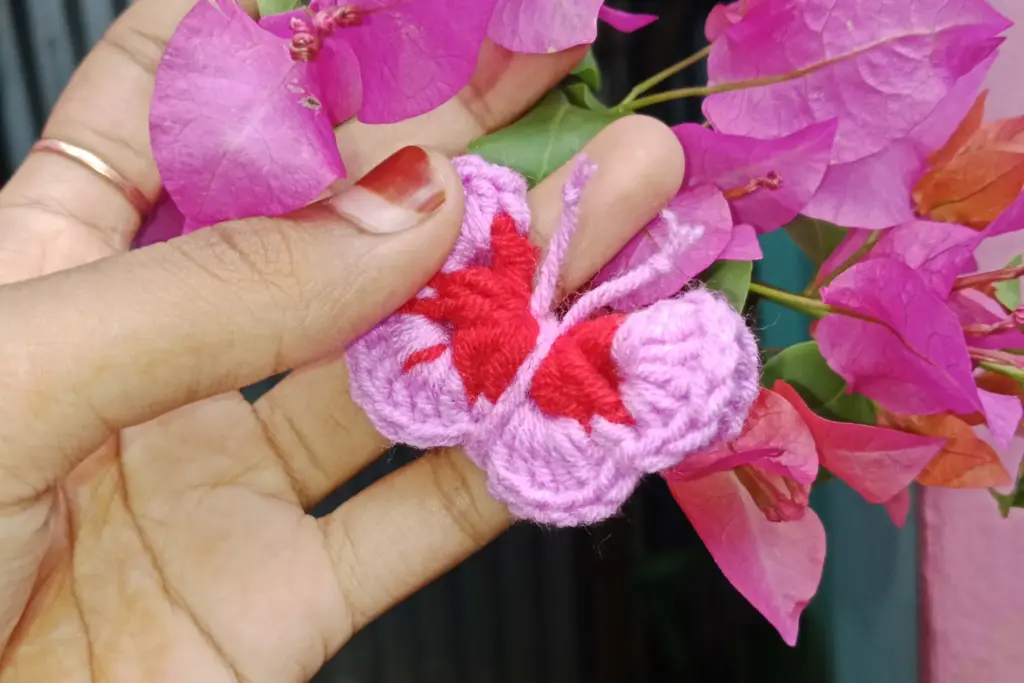
Tidying and Shaping the Wings
With the main structure complete, the butterfly benefits from a bit of final shaping. The wings can be gently spread or pinched to define the upper and lower sections more clearly. Any ends not already woven in are secured using a darning needle and hidden within the stitches. This small amount of finishing work makes the piece look neat and professional. Because each butterfly is handmade, these final adjustments allow you to give it character and balance.
Turning the Butterfly into a Keychain
To convert the butterfly into a keychain, the center area becomes the point of attachment. A keychain ring is slipped under the wrapped center section, just as the antennae were added. This placement helps the butterfly hang evenly when used as a charm. Some rings open easily by hand, while others may benefit from using a darning needle to pull the strand aside for easier access. Once attached, the keychain is ready for daily use on bags, zippers, or keys.
Creating a Brooch Version
Although the main focus is a keychain, the butterfly can also be turned into a brooch for clothing or accessories. A small pin backing is added to the reverse side, usually sewn on with yarn to keep it stable. This version sits nicely on hats, bags, sweaters, or scarves. Because the butterfly is lightweight, it does not weigh down the fabric it is attached to, making it ideal for delicate materials as well.
Summary
A crochet butterfly keychain is a quick, rewarding project for beginners, combining simple fabric construction with a clever folding technique that transforms a round motif into an elegant butterfly. The design requires very little yarn and uses only basic stitches, making it accessible to those just starting their crochet journey. With the addition of antennae and a keychain ring, the piece becomes a delightful accessory that can brighten bags, keys, and handmade gifts. Adjusting colors or yarn textures allows each butterfly to be unique, making this project both beginner friendly and creatively inspiring.