

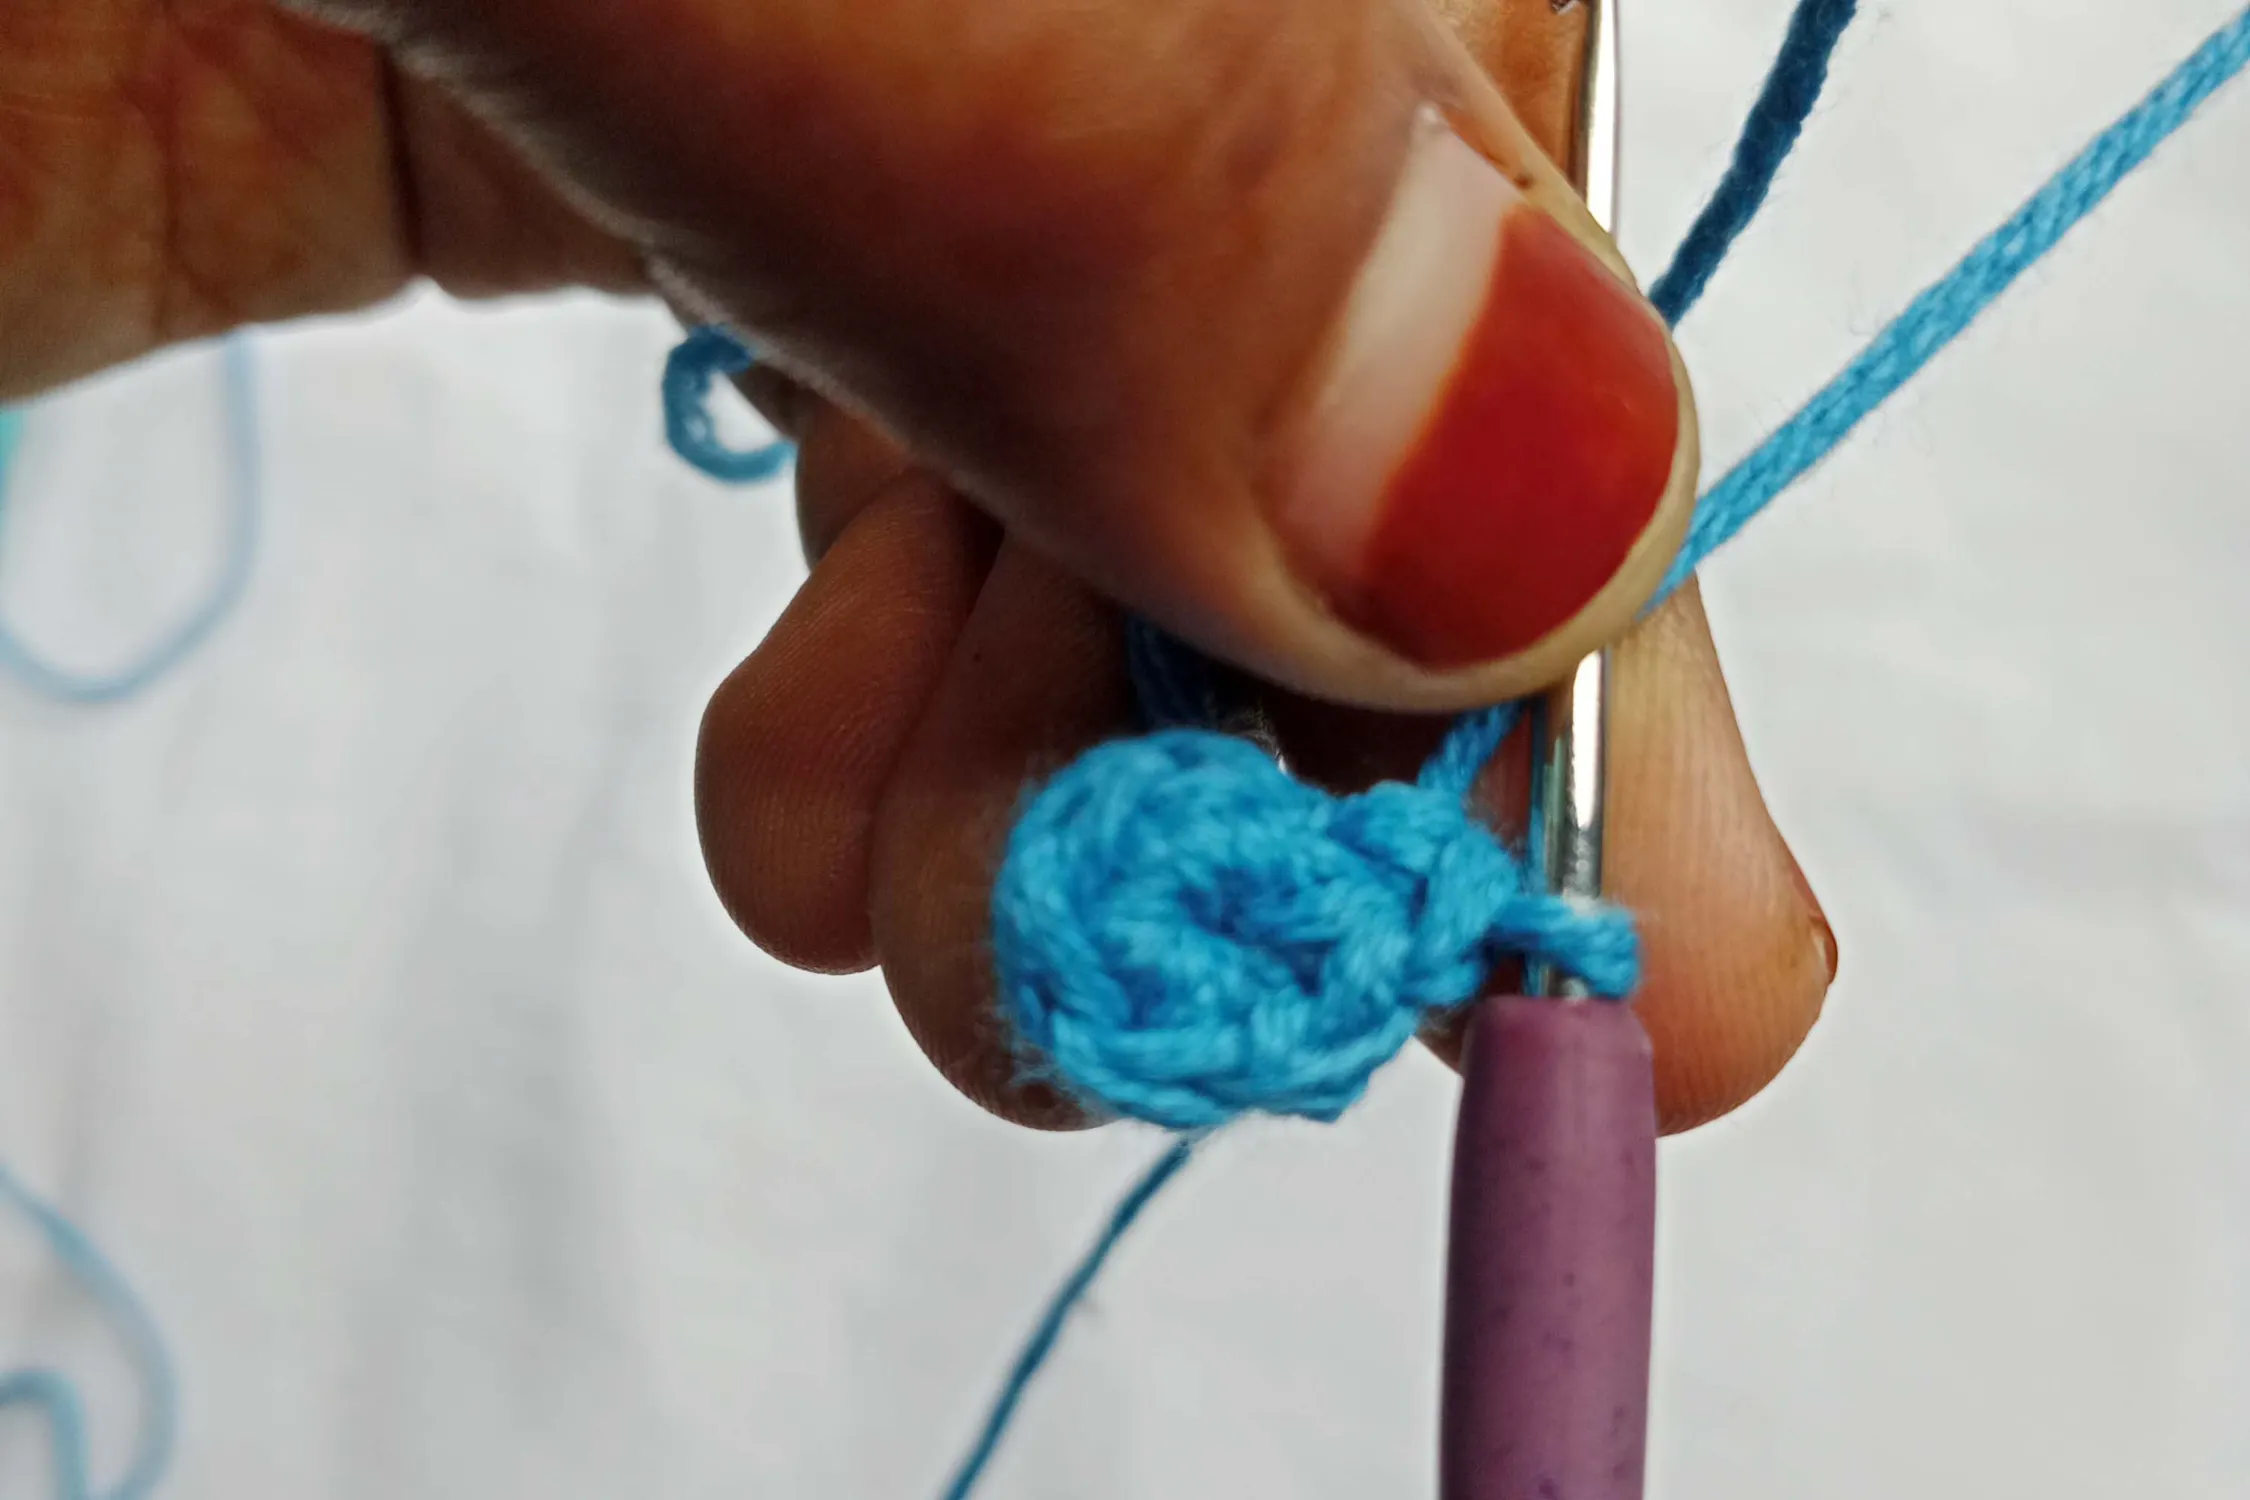
A handmade keychain is a simple way to add a touch of personality to your everyday routine, and a tiny crocheted cat is one of the most endearing options for beginners. Its small rounded body, expressive features, and easy construction make it suitable for anyone learning amigurumi. This project uses minimal yarn, relies on basic shaping techniques, and allows the maker to assemble small pieces like ears, limbs, and a tail in a beginner-friendly way.
This guide is inspired by the crafting process shown in the provided transcript. Instead of technical step instructions, the article focuses on the overall stages involved in shaping and assembling the cat. The aim is to provide new crocheters with a clear understanding of how each element fits together while maintaining a natural, reader-friendly flow suitable for a crochet blog.
Materials Needed
The material list is simple and composed of tools commonly found in any crochet kit. Based on the transcript, the project uses two main yarn shades along with standard amigurumi supplies.
• Yarn in two different shades for body and accents
• Fiber filling for shaping the body
• Crochet hook suitable for the chosen yarn
• Scissors for trimming yarn
• Stitch markers for tracking progress
• Darning needle for sewing and weaving ends
• Safety eyes around mid-size as seen in the video
• Keychain base and metal ring
• Pliers for closing and securing the hardware
Abbreviations
These abbreviations follow standard US crochet usage and apply to the techniques referenced in the transcript.
mr – magic ring
sc – single crochet
inc – increase
dec – decrease
slst – slip stitch
R – round or row
st – stitch
Shaping the Cat’s Body
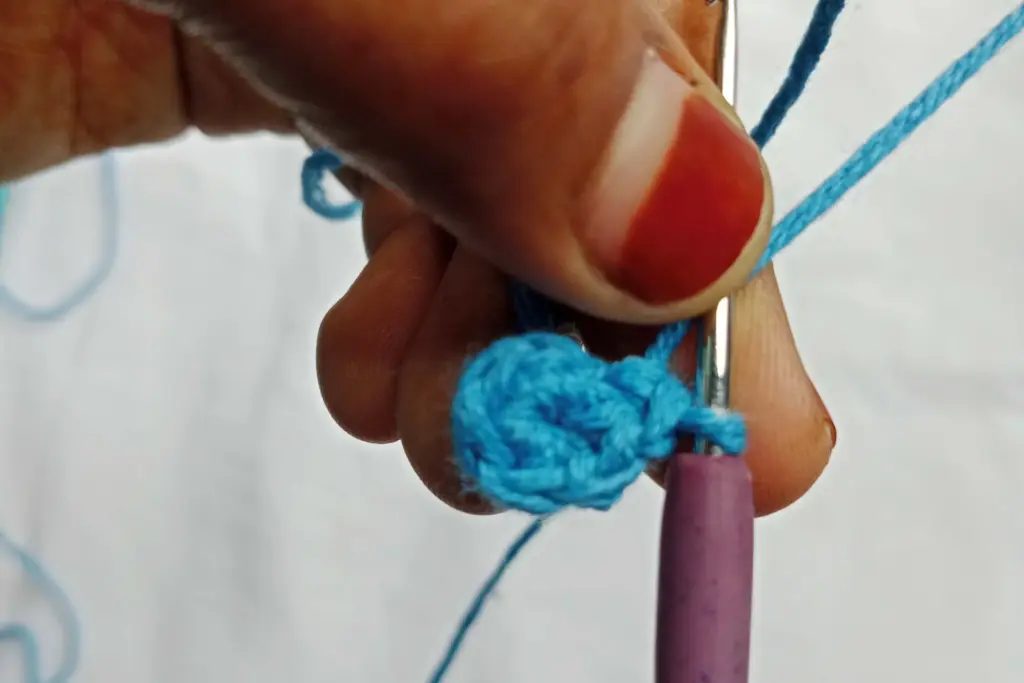
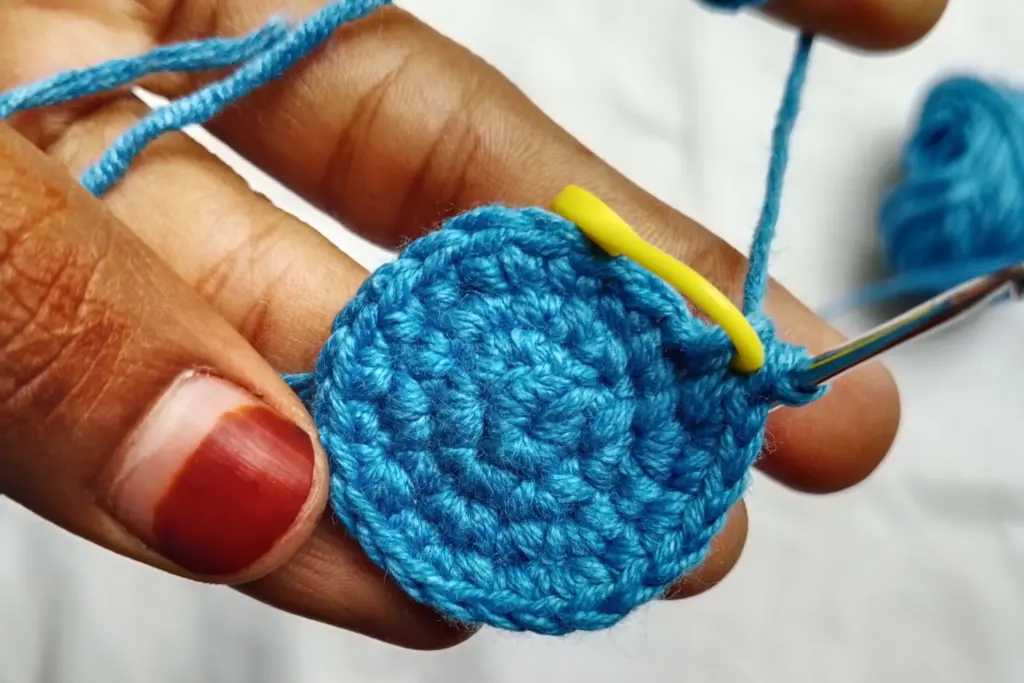
The body starts with a compact form that grows outward to create the familiar rounded shape of amigurumi. This early shaping stage lays the foundation for the entire project. As the body expands, it develops a soft curve that gives the cat its gentle silhouette. Maintaining consistency during this stage is key, helping produce a smooth and balanced fabric that will hold the stuffing well later.
Forming Facial Contrast
A section of the body includes a change in yarn color, giving the cat a contrasting facial or belly area. This transition happens gradually, blending the two shades without breaking the overall shape. The contrasting patch adds personality and visual depth, making the final cat more expressive. Despite its appearance, this part is simple for beginners and helps them practice switching colors within a rounded shape.
Narrowing and Closing the Upper Body
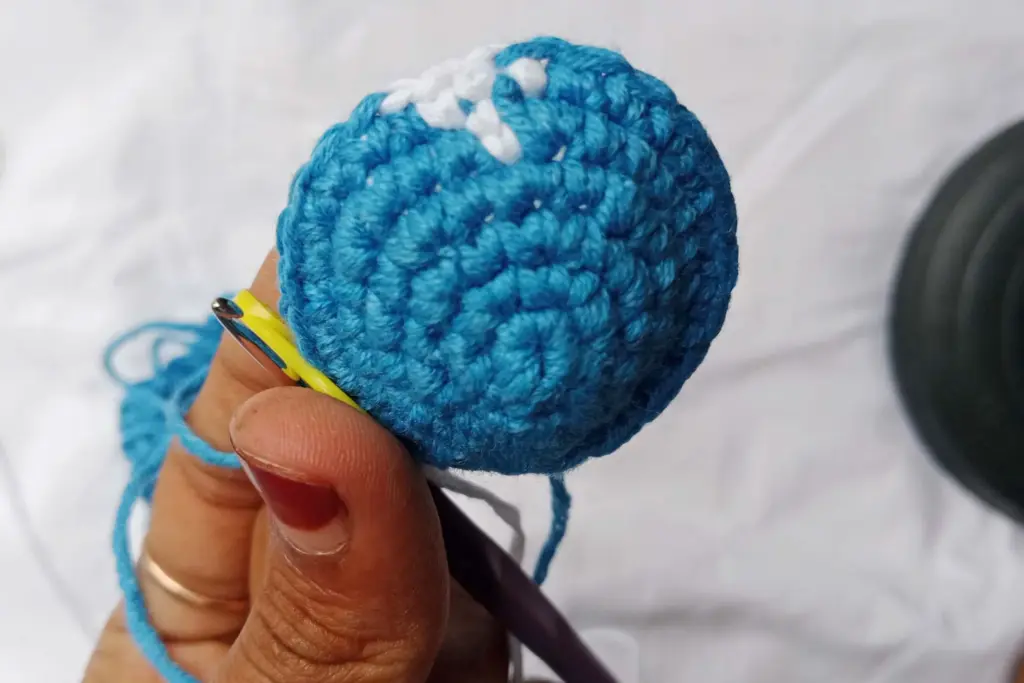
After reaching the widest point, the body begins to narrow, creating the gentle curve toward the top of the cat’s head. This reduction phase shapes the upper portion while keeping the silhouette smooth. Before the opening becomes too small, the body is filled with fiber stuffing. Even distribution of the filling is important to avoid bumps or uneven areas. Once the shape feels firm and rounded, the remaining opening is closed securely, completing the main structure.
Creating the Ears
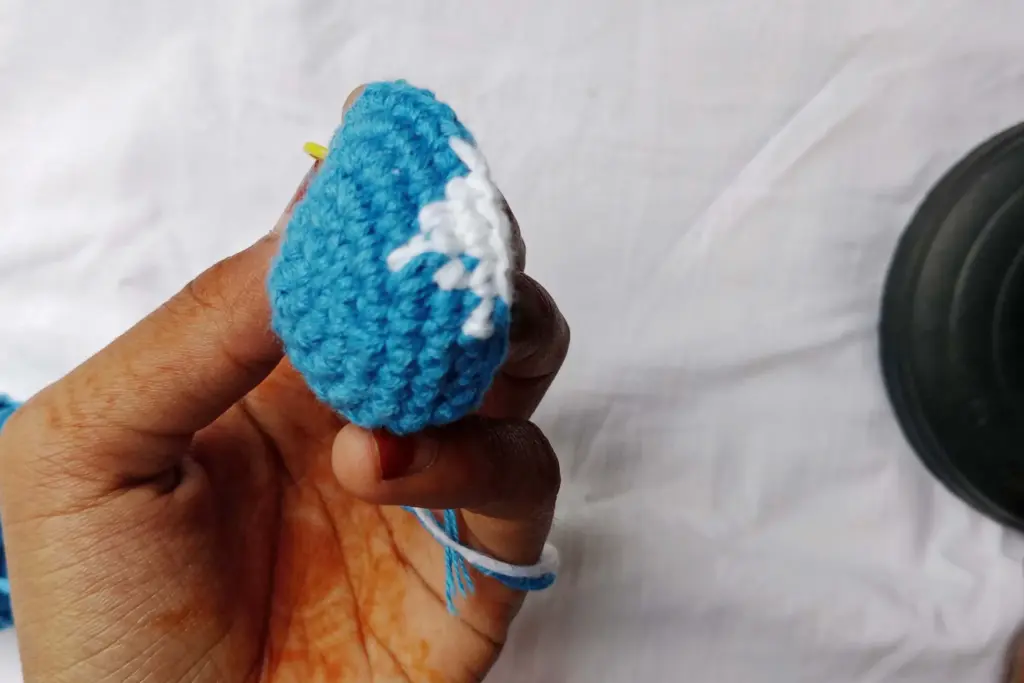
The ears are made separately and shaped into small pointed forms. Each ear has a soft, subtle curve that adds character once attached. When positioned on the head, they create a lively and alert appearance. Their placement is balanced around the area where the safety eyes will be inserted. This part is an excellent exercise in working with small components, giving beginners practice in creating and attaching miniature shapes.
Adding Facial Features
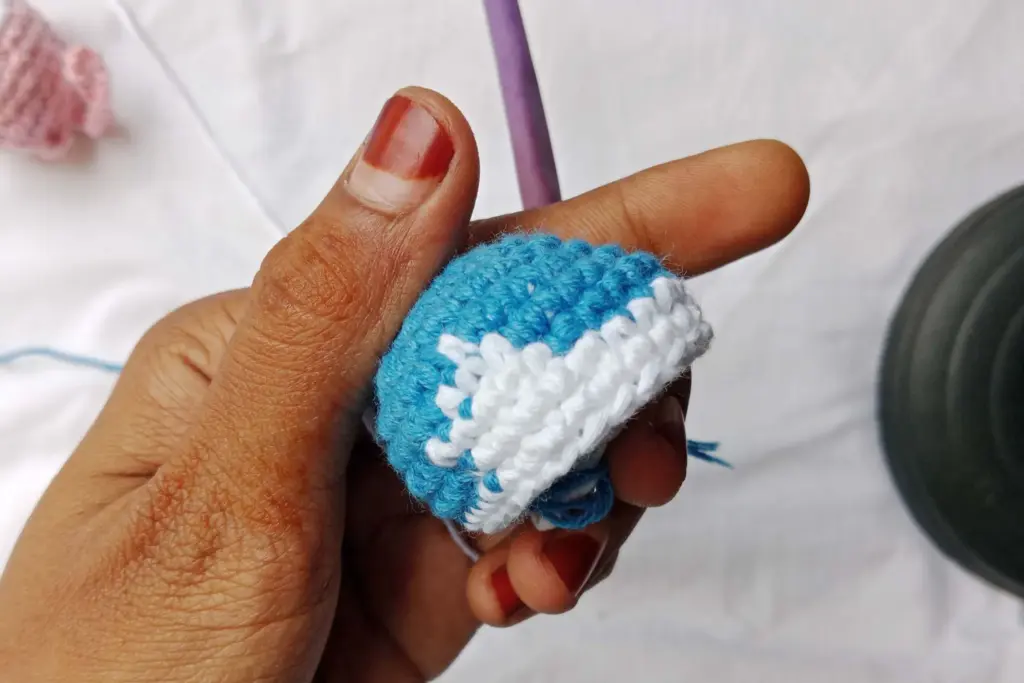
The eyes are added after the main shaping is finished and before the remaining pieces are attached. Safety eyes are positioned at an even distance so the face looks balanced and expressive. Their placement slightly below the narrowing of the body creates a natural facial proportion. Once the eyes are locked in place, the face begins to take shape and the cat’s personality becomes clear. This step is simple but has a big impact on the final appearance.
Making the Tail
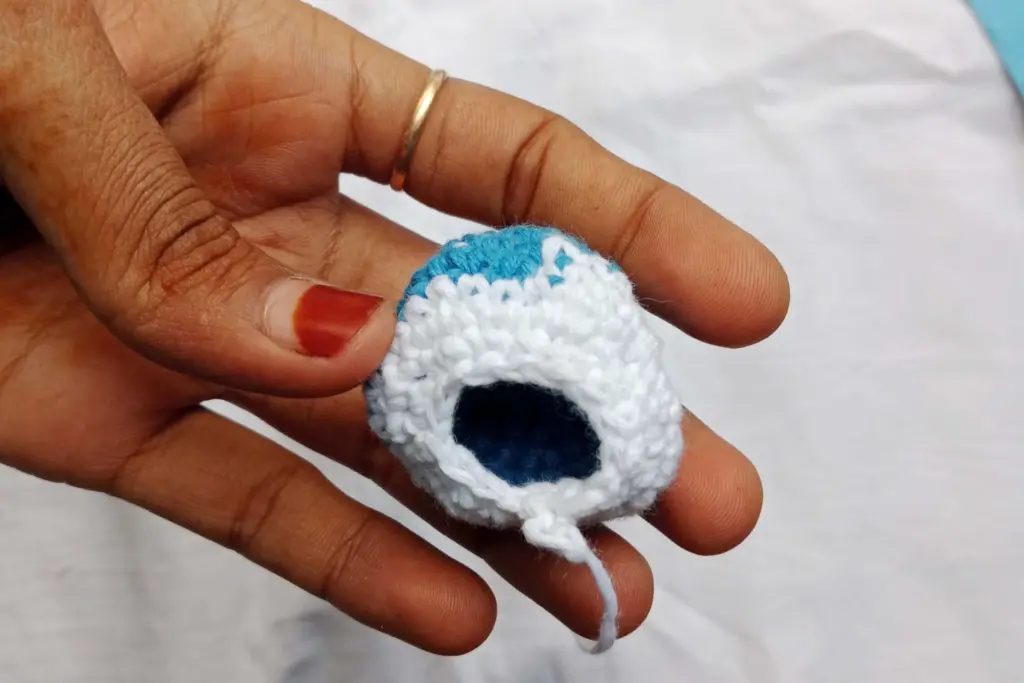
The tail is created as a small, narrow piece with a gentle curve. Its slender shape adds charm to the finished cat, making the design feel lively and complete. Once made, the tail is sewn securely onto the back of the body, placed at a height that flows with the natural curve of the cat’s form. This helps maintain balance and prevents the piece from looking stiff or detached.
Forming the Legs
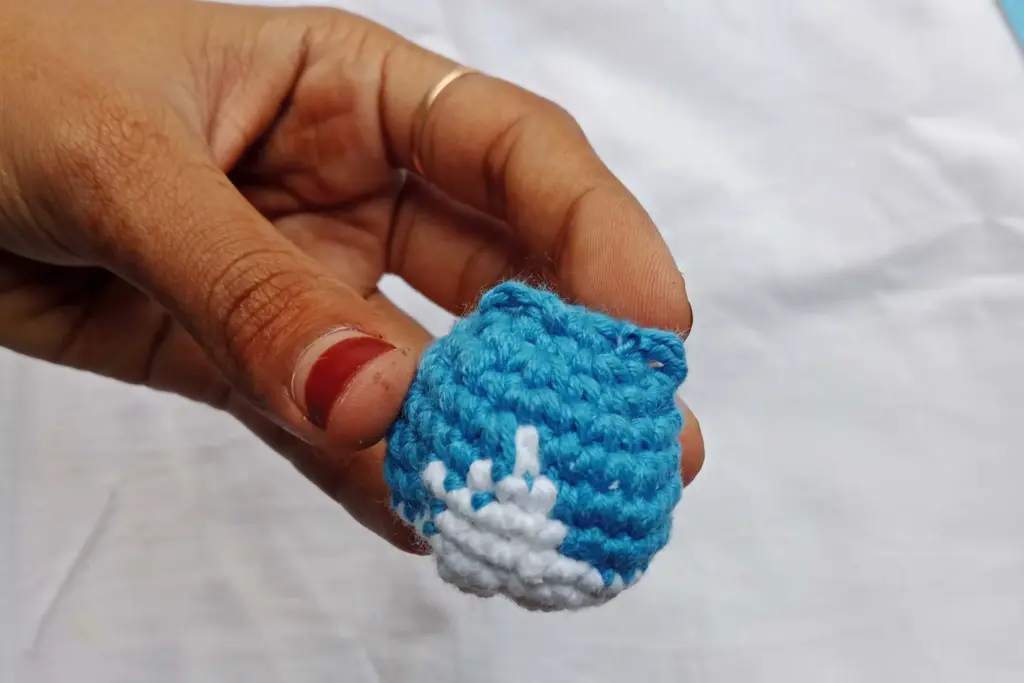
The legs are created as small cylindrical shapes. Each one is shaped so it maintains a firm structure that supports the overall proportions of the cat. Once completed, the legs are sewn beneath the body, positioned evenly on both sides. Their placement adds dimension and helps frame the body, resulting in a well-rounded silhouette. This step also teaches beginners how to attach small parts without distorting the main shape.
Assembling and Attaching All Parts
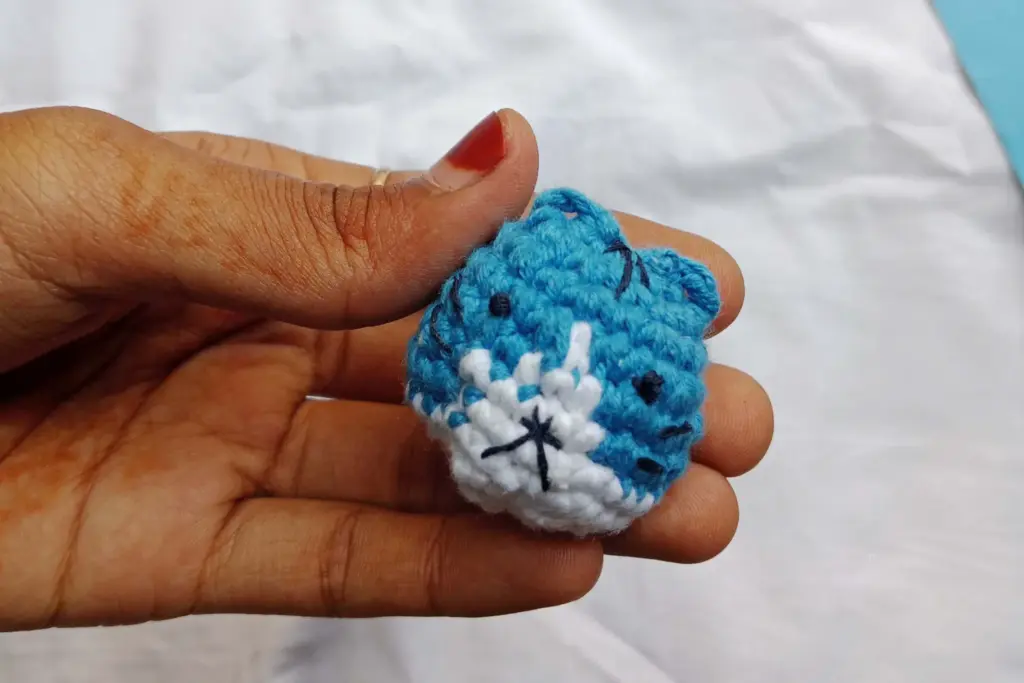
When all individual pieces—ears, tail, and legs—are made, the assembly begins. Each component is carefully sewn onto the body, following the natural lines of the shape. The goal is to maintain balance and symmetry while ensuring the pieces are securely attached. The process is gradual, allowing new makers to adjust positions as needed so everything sits neatly. As the parts come together, the cat develops a clear personality and becomes a complete amigurumi figure.
Securing the Keychain Hardware
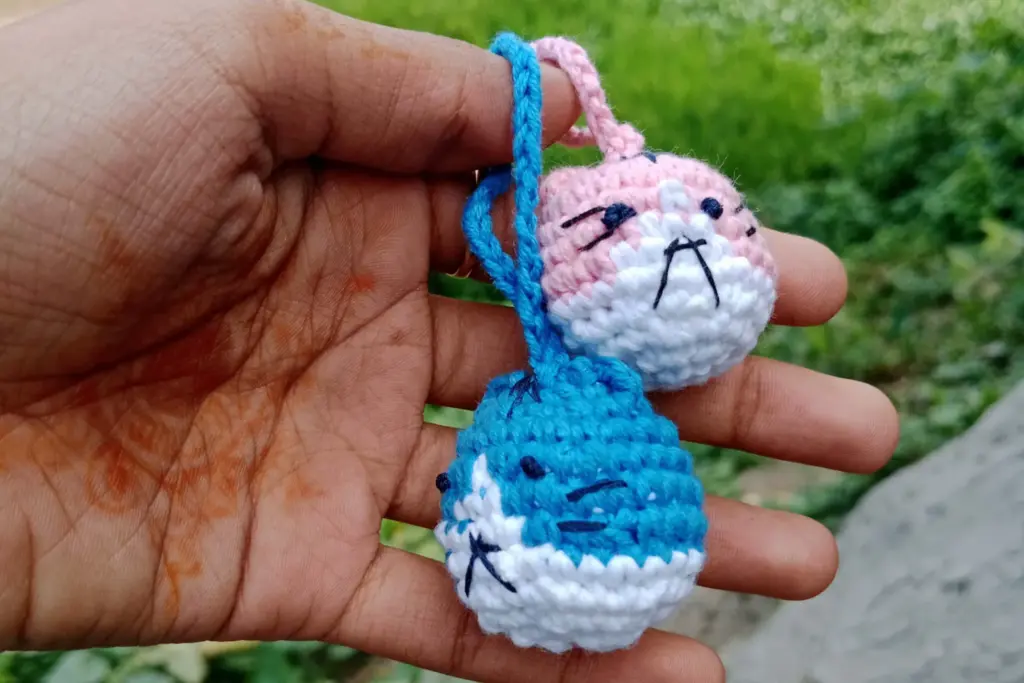
The last functional step is attaching the keychain base and metal ring. The hardware is opened using pliers and inserted through the top area of the cat, often near the ears or central head point. Once positioned, the hardware is closed tightly for durability. This completes the transformation of the crochet figure into a practical keychain. The finished result is sturdy enough to hang on a backpack, keys, or zipper pull.
Summary
A crocheted cat keychain is an enjoyable, beginner-friendly project that introduces essential amigurumi skills such as shaping, color changes, assembling small parts, and attaching hardware. It uses minimal materials and small amounts of yarn, making it ideal for leftover scraps or quick handmade gifts. By following the general flow of creation—starting with the body, forming details, adding limbs, and completing with keychain hardware—any beginner can create a charming and expressive little cat. This project is not only a fun crafting experience but also a great way to build confidence in crocheting small three-dimensional figures.