Creating a Crochet Apple Keychain is a fun and charming way to add personality to your everyday essentials. Whether you’re crafting it as a thoughtful gift, a cute personal accessory, or a playful addition to a fruit-inspired collection, this project combines simplicity with creativity. Its small size, bright colors, and quick completion time make it an enjoyable project for beginners while still delivering a polished result.
In this guide, you’ll discover the step-by-step method to design a soft, plush Crochet Apple Keychain using basic crochet techniques. From shaping the apple base to adding realistic touches like a stem, leaf, and delicate embroidery details, this tutorial will walk you through every stage, making it easy to create a stylish and whimsical accessory.

Materials Needed
Here’s what you’ll need to complete your crochet apple keychain:
- Lightweight yarn in red, brown, and green tones
- Crochet hook suited for fine or sport yarn (e.g., 2.5mm–3mm)
- Tapestry or darning needle for sewing
- Scissors
- Yarn needle for embroidery
- Small amounts of yarn in dark shades for seed accents
- Optional: Keyring, hot glue
Each material contributes to a clean, compact finish, and the project requires only a small amount of yarn — making it ideal for scrap usage or on-the-go crafting.
Abbreviations
The terms used in this project follow standard US crochet terminology:
- MR – Magic Ring
- SC – Single Crochet
- HDC – Half Double Crochet
- DC – Double Crochet
- SLST – Slip Stitch
- CH – Chain
- [] – Total stitch count at the end of a section
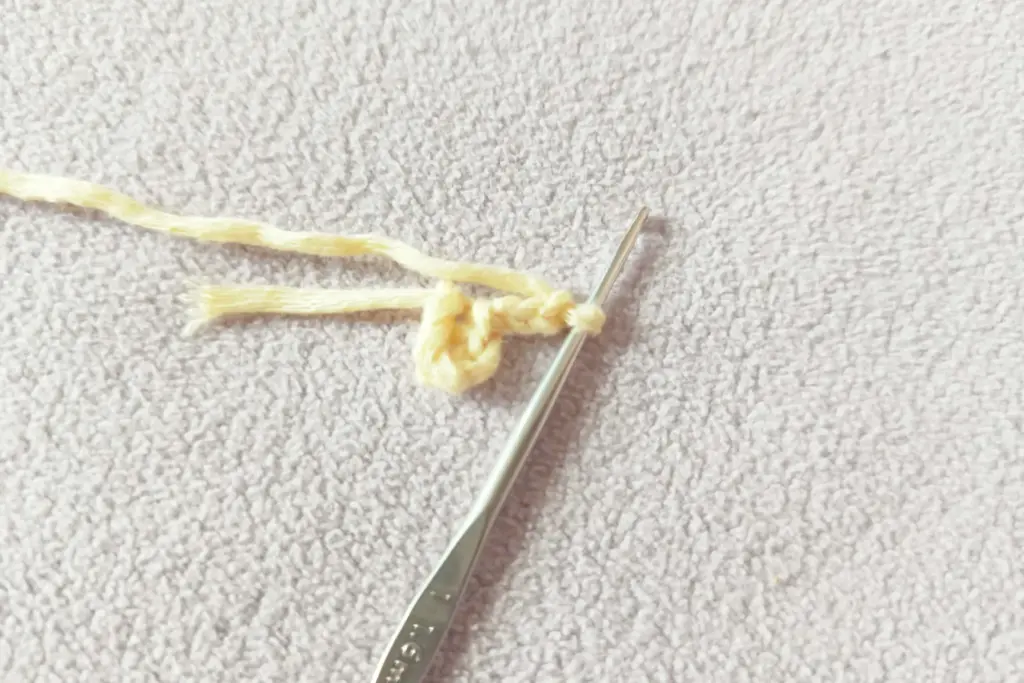
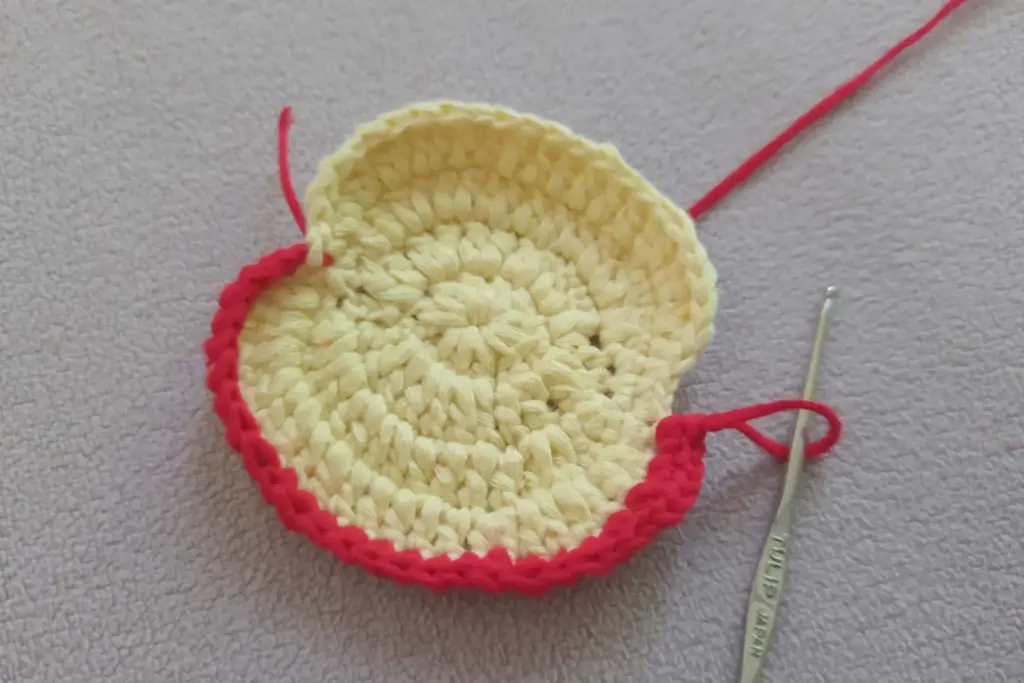
Building the Apple Base
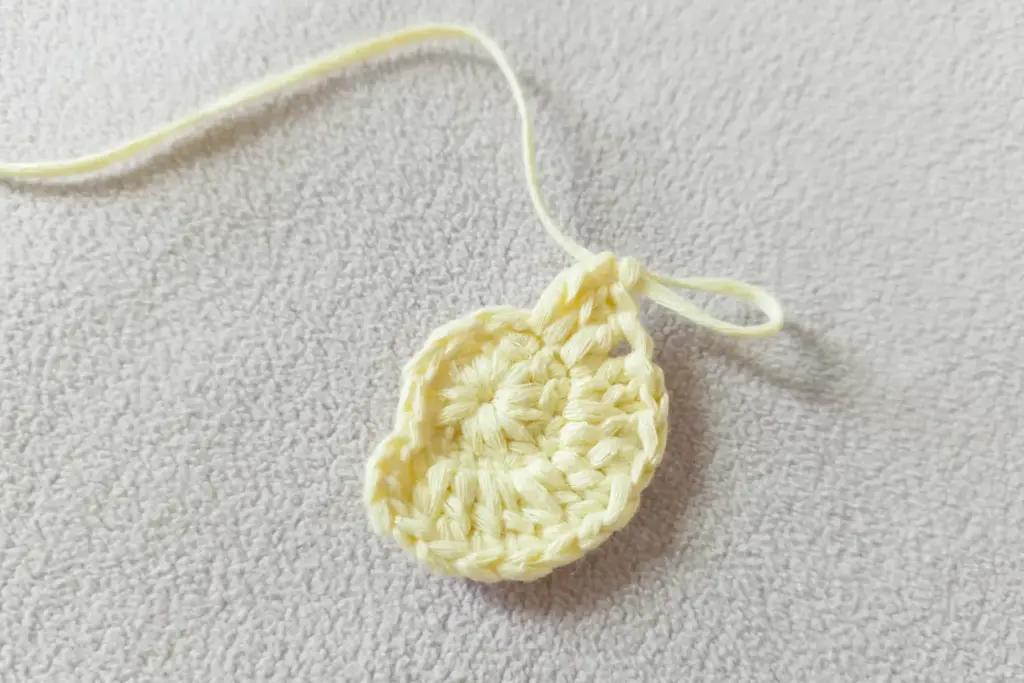
The apple’s body begins with a circular foundation, which expands into a rounded shape that gives the fruit its fullness. Using a combination of double and half-double crochet stitches allows for smoother curvature and subtle shaping around the top and bottom edges. This layered structure helps mimic the natural contour of an apple without being overly complex.
In the final stages of this section, slight increases and mirrored patterns build symmetrical sides, helping the shape appear balanced. This symmetry is essential for making both sides look clean and unified, especially if you plan to glue them together for a plush-style finish.
Shaping With Subtle Transitions
One of the most clever aspects of this design is how the transitions between sections are done without harsh lines. Color changes happen gradually, with the new yarn introduced in a discrete stitch. This seamless transition allows the red body of the apple to stand out while the green outer edge softly outlines the form.
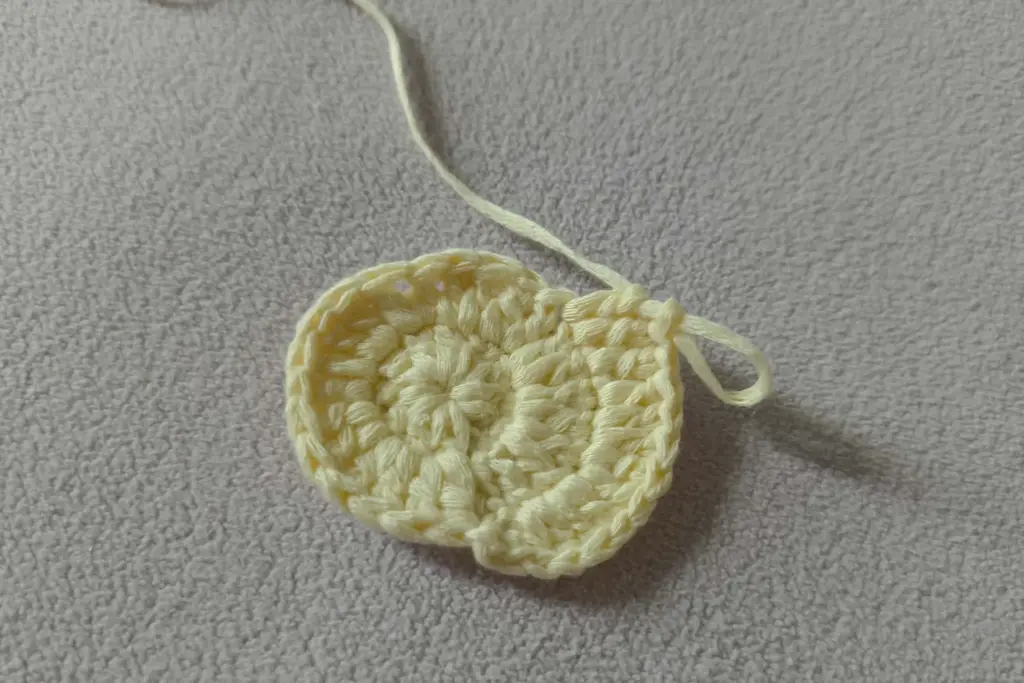
You’ll notice that some stitches are skipped or altered near the top, allowing the piece to taper naturally. This creates the classic apple dip near the stem area and contributes to the 3D look of the finished product.
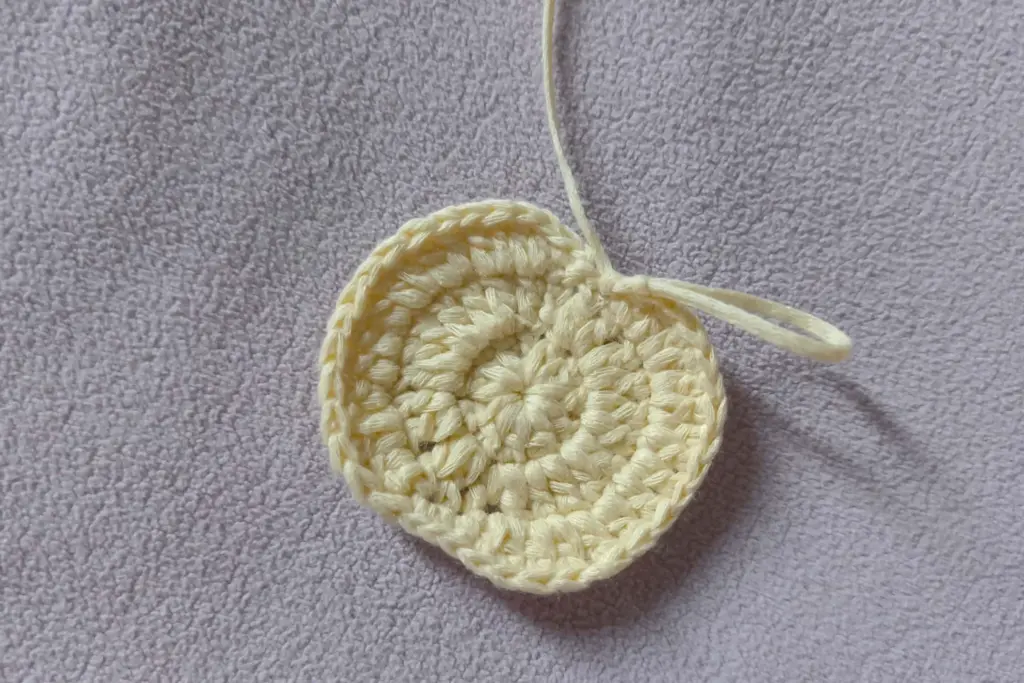
Creating the Second Half
To complete the apple, an identical second half is made using the same sequence. This ensures a mirrored, cohesive structure once both pieces are joined. If you’re aiming for a soft, padded version, this is the time to stuff the interior with a bit of fiberfill before sealing them together.
By repeating the same process, you reinforce your understanding of the stitch pattern, and it also gives you the opportunity to correct any inconsistencies that might have appeared in the first piece.
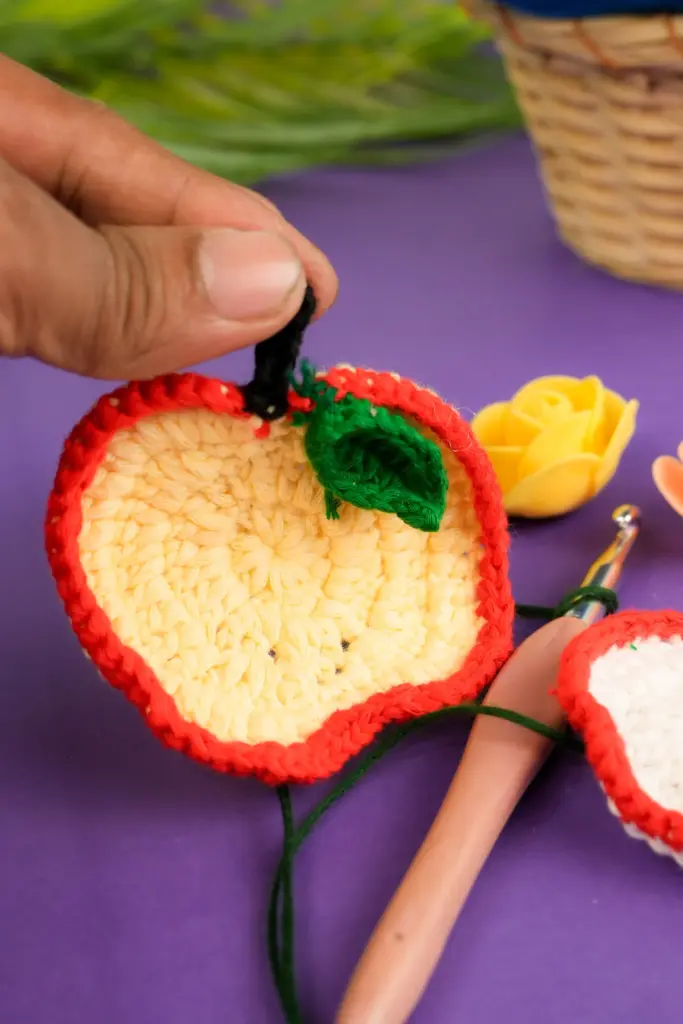
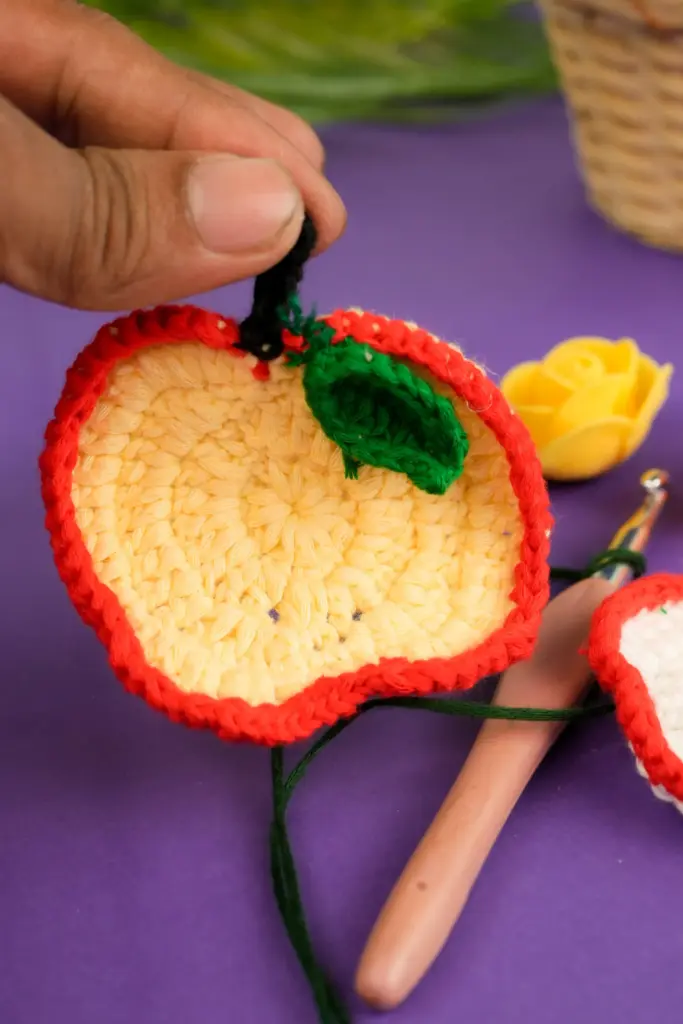
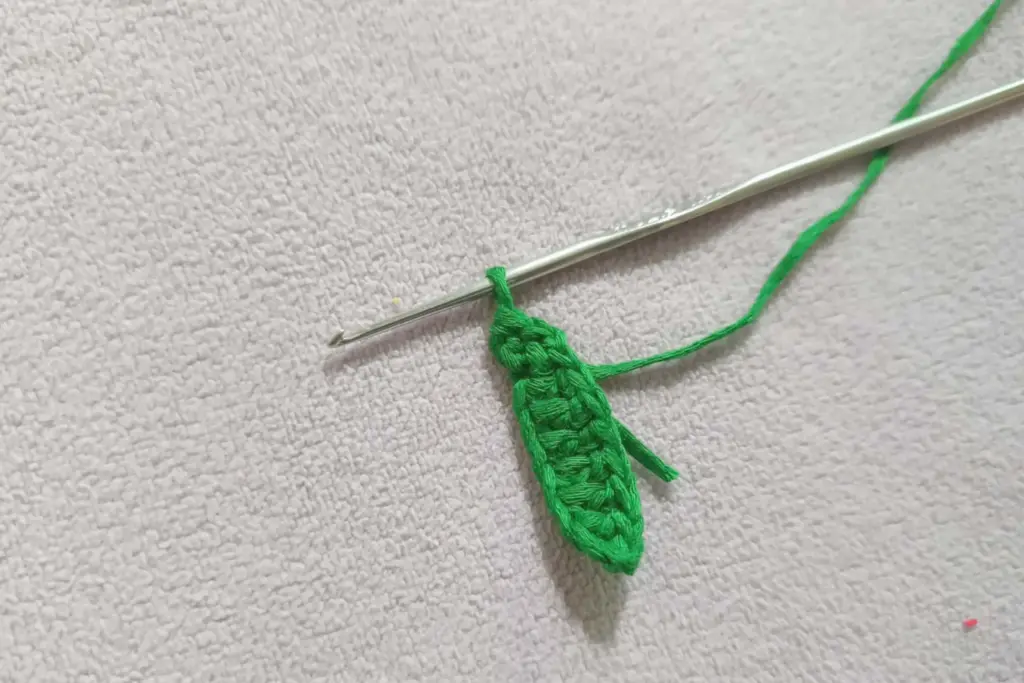
Assembling the Stem and Leaf
Once both halves are complete, it’s time to add details that make the apple feel more lifelike. The stem is a short strip created with a few basic chains and stitched back to give a defined, textured finish. Even though it’s small, this element brings a lot of character to the overall shape.

The leaf is slightly more decorative, worked in a linear style that mimics the curved edge of a real apple leaf. It starts narrow, expands in the middle, and returns to a point — all in one continuous flow. This little element adds a splash of color and a hint of movement, and when placed near the stem, it makes the entire piece feel polished.
Perfect! Here’s the second chunk of your article on Crochet Apple Keychain, continuing seamlessly in Markdown format and fully optimized for WordPress.
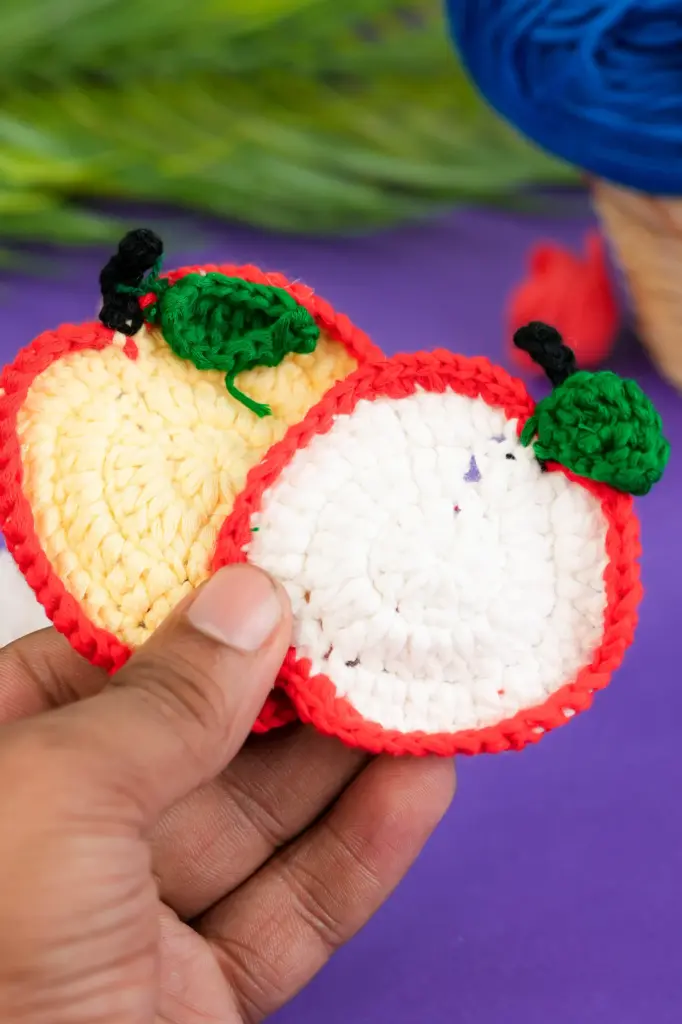
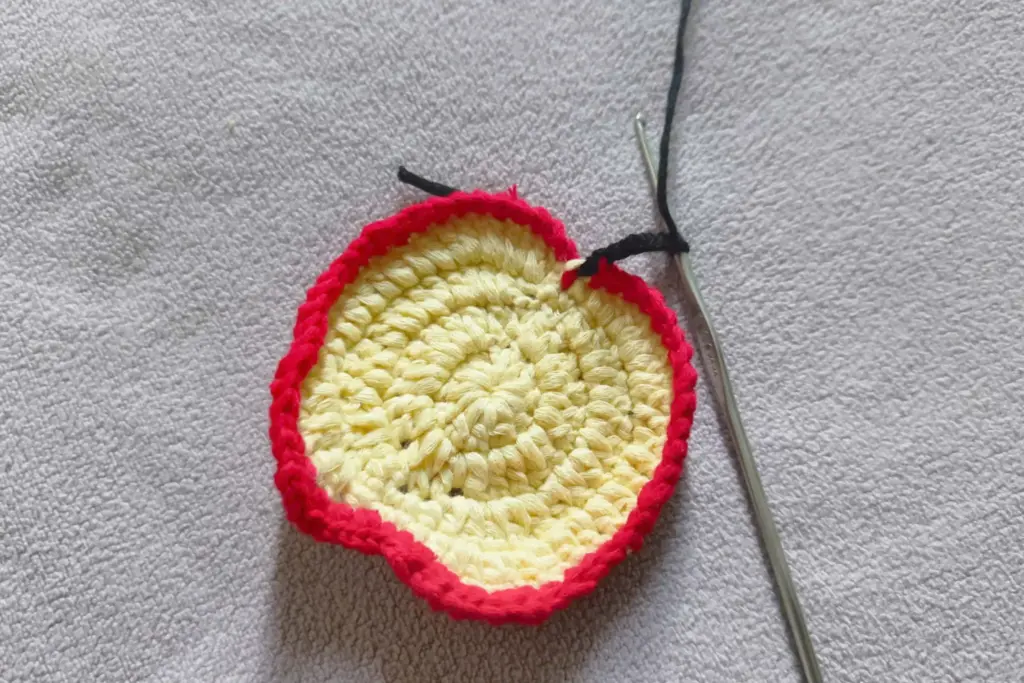
Adding Embroidered Seeds
To add a realistic touch, tiny seeds are embroidered onto the center of one apple piece. This is done using short strands of darker yarn and a needle. Each seed is stitched as a small dash or V-shape, subtly placed to mimic where the seeds would naturally be visible if the apple were cut in half.
You can choose to add two or three seeds, depending on the size of your apple and your aesthetic preference. These small details help elevate the keychain beyond just a crochet item — they transform it into a miniature, artful representation of fruit.
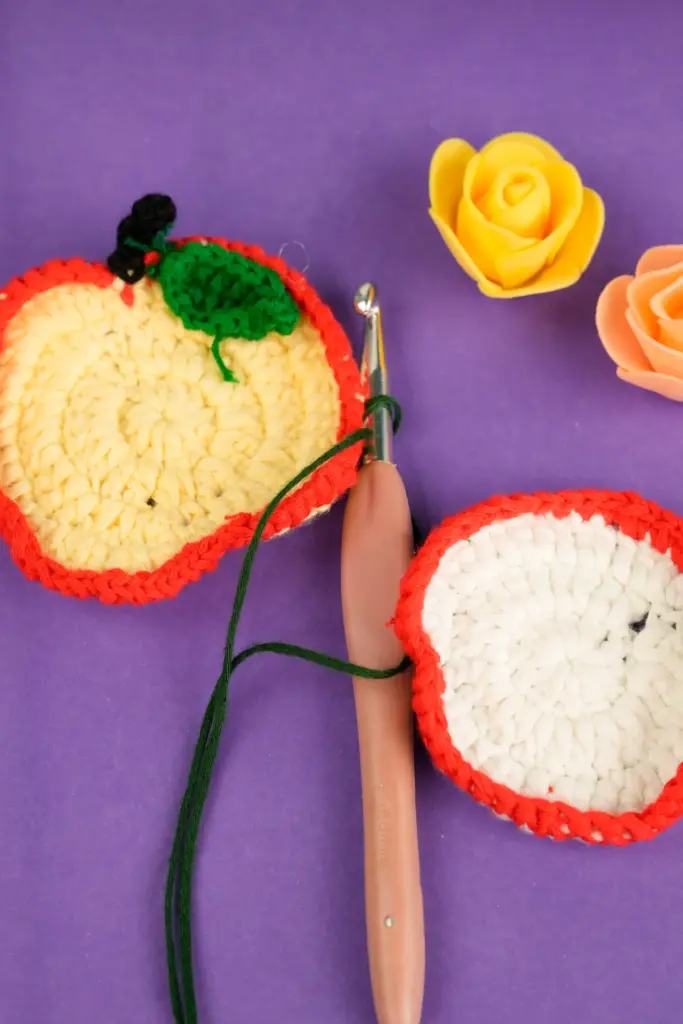
Joining the Halves Together
Once the details are done and both apple pieces are complete, it’s time to assemble them. You can either sew the halves together using matching yarn and a darning needle or use a strong adhesive like hot glue for a faster finish. When joining, make sure to align the edges neatly to preserve the round shape.
If you plan to stuff the apple, add the filling just before sealing the final edge. This gives your apple a soft, plush texture that feels nice to the touch and holds its form better over time.
Attaching the Keyring
The final step is to attach a keyring, turning your handmade apple into a functional accessory. You can either:
- Sew or glue the ring directly to the back of the apple
- Loop a short strand of yarn through the stem area and tie it securely to the ring
If you prefer a more decorative touch, tie a small ribbon around the base of the stem before adding the keychain. This adds charm and makes your apple keychain gift-ready for friends, family, or craft markets.
Care Tips and Storage
To ensure your crochet apple stays looking fresh:
- Store in a dry place to avoid yarn damage
- Spot clean with a damp cloth; avoid soaking
- If the shape deforms, reshape gently with your fingers
- Avoid attaching it to areas exposed to heavy friction
With proper care, your handmade keychain can stay vibrant and intact for months or even years.
Project Overview Table
Here’s a snapshot of key information for your crochet apple keychain project:
| Feature | Details |
|---|---|
| Skill Level | Beginner-friendly |
| Estimated Time | 45 minutes to 1 hour |
| Yarn Type | Lightweight cotton or acrylic in red, brown, green |
| Hook Size | Approximately 2.5mm–3mm |
| Techniques Used | Magic ring, single crochet, half double, double crochet |
| Tools Needed | Scissors, tapestry needle, yarn needle, optional hot glue gun |
| Finishing Elements | Embroidered seeds, stem, leaf, keyring |
| Optional Details | Ribbon, stuffing, second leaf |
Final Thoughts
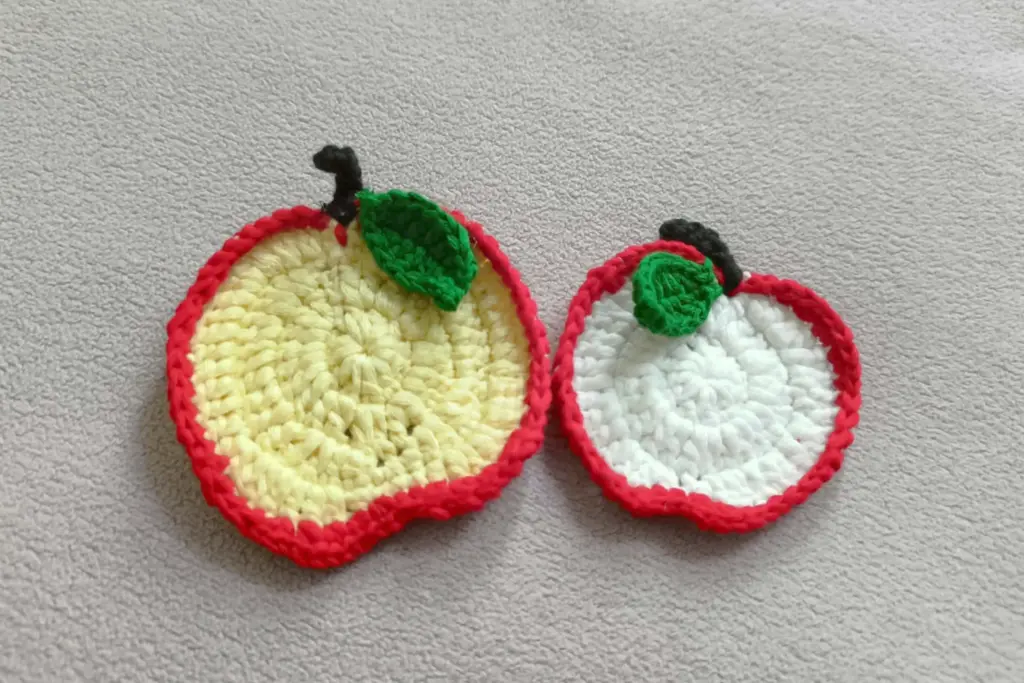
This crochet apple keychain blends simplicity with creativity, offering a fun, fast project that’s full of personality. Whether you’re building your amigurumi skills or looking for something quick and satisfying, this little fruit delivers. From its soft shape to the embroidered seeds and dangling leaf, every part adds charm and depth.
The beauty of this pattern lies in its flexibility — change the yarn color to make different fruits, swap stitches to experiment with texture, or add multiple leaves for a whimsical look. Once you’ve made one, it’s hard to stop. These are perfect for gifts, markets, or even just brightening your own bag or workspace.
Give it a try, and soon you’ll have a basket full of handmade joy — one stitch at a time.