
Crochet projects are not only fun but also a great way to create personalized accessories. One of the most playful designs you can try is the crochet basketball keychain. This project is perfect for beginners who want to practice shaping, stuffing, and adding details to small crochet items. With just a few materials and some basic stitches, you can make a miniature basketball that looks realistic, complete with embroidered lines, and attach it to your keys or bag.
This guide will walk you through everything you need to get started — from materials and abbreviations to the general flow of crocheting, shaping, and finishing your basketball keychain. By the end, you’ll have a unique handmade item that makes a great gift or a sporty accessory for yourself.
Materials Needed
Before you start, gather all the necessary supplies. Having everything ready will make the process smoother and more enjoyable.
- Yarn:
- Worsted-weight anti-pilling yarn for the main body of the ball.
- Thinner yarn (mini skeins) in a contrasting color for the basketball lines.
- Crochet Hook: A 3 mm crochet hook (you may use a slightly smaller hook for tighter stitches).
- Polyfill Stuffing: For filling the ball so it holds its round shape.
- Tapestry Needle: Used for weaving in ends and sewing on the lines.
- Scissors: To cut yarn cleanly.
- Keychain Ring: For attaching the finished ball to your keys or bag.
- Jewelry Pliers: Optional, but helpful for attaching the keychain hardware securely.
These are standard crochet tools, and many beginners will already have them in their kit.
Abbreviations
The following abbreviations are based on US crochet terminology:
- MR – Magic Ring
- SC – Single Crochet
- INC – Increase (two stitches in the same place)
- DEC – Decrease (combine two stitches into one)
- Slst – Slip Stitch
- FO – Fasten Off
These are the main stitches you’ll encounter in this pattern. Since the project is small and round, most of it will be worked in single crochet with increases and decreases.
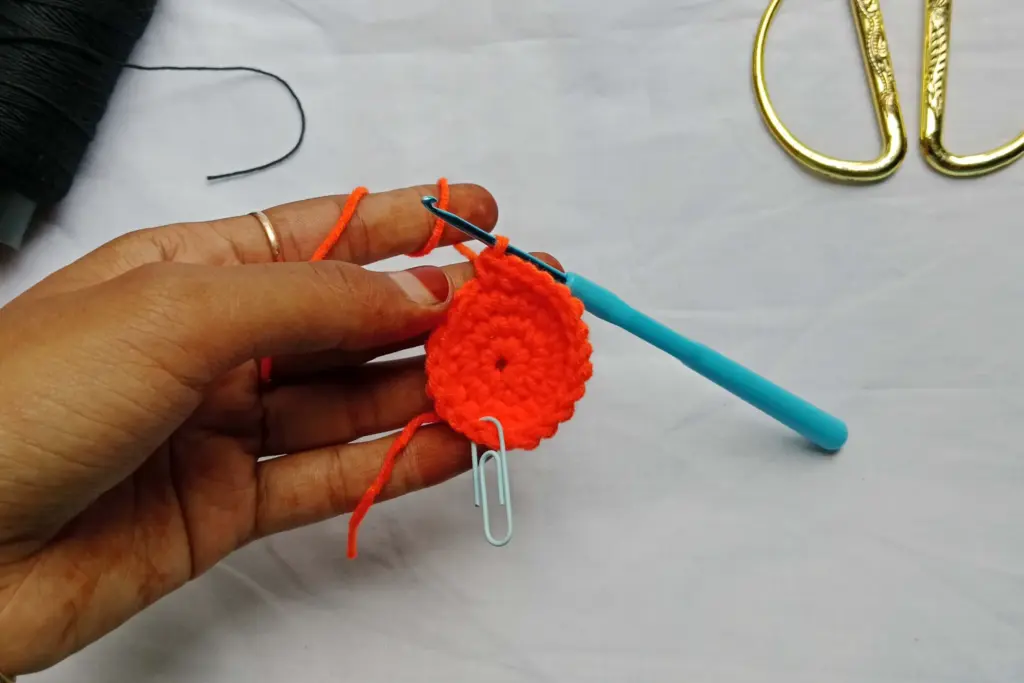
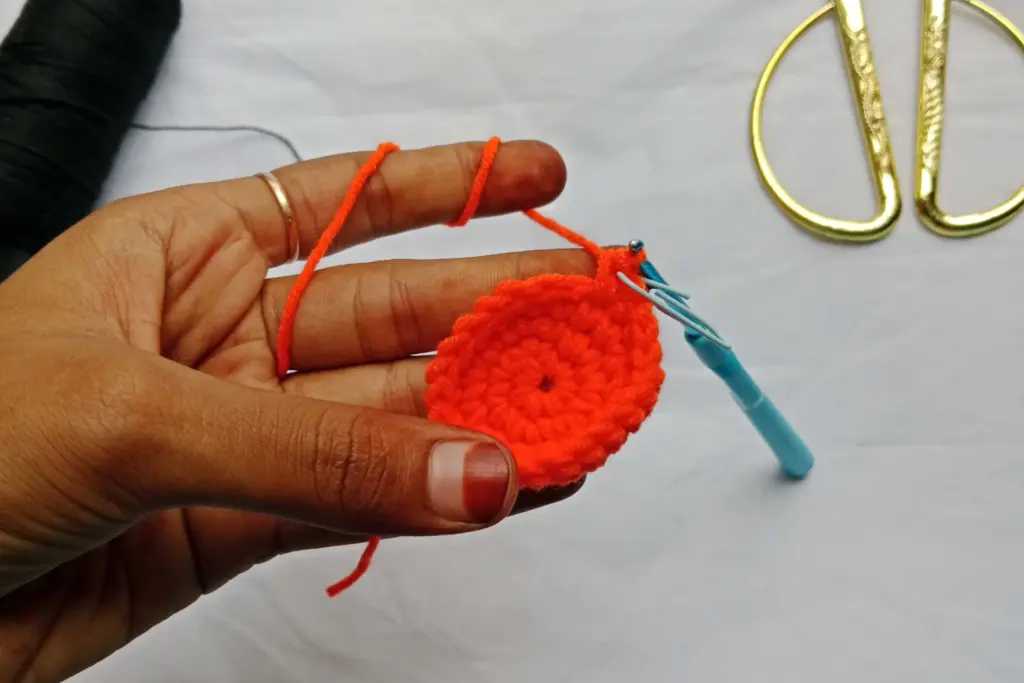
Step 1: Forming the Base of the Ball
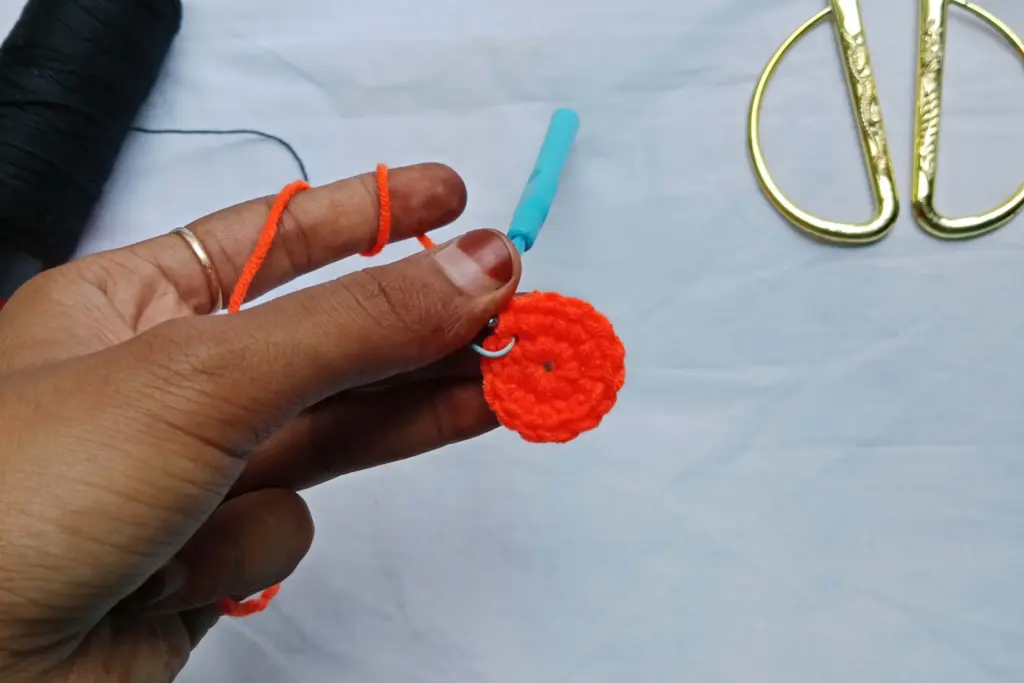
The basketball begins with a circular base that gradually expands. This step sets the foundation for the round shape. You’ll start with a small adjustable ring and build it up by adding stitches evenly around. The goal is to create a neat, flat circle that can later curve into a sphere. Beginners often enjoy this stage because it’s repetitive and helps them get into the rhythm of working in the round.
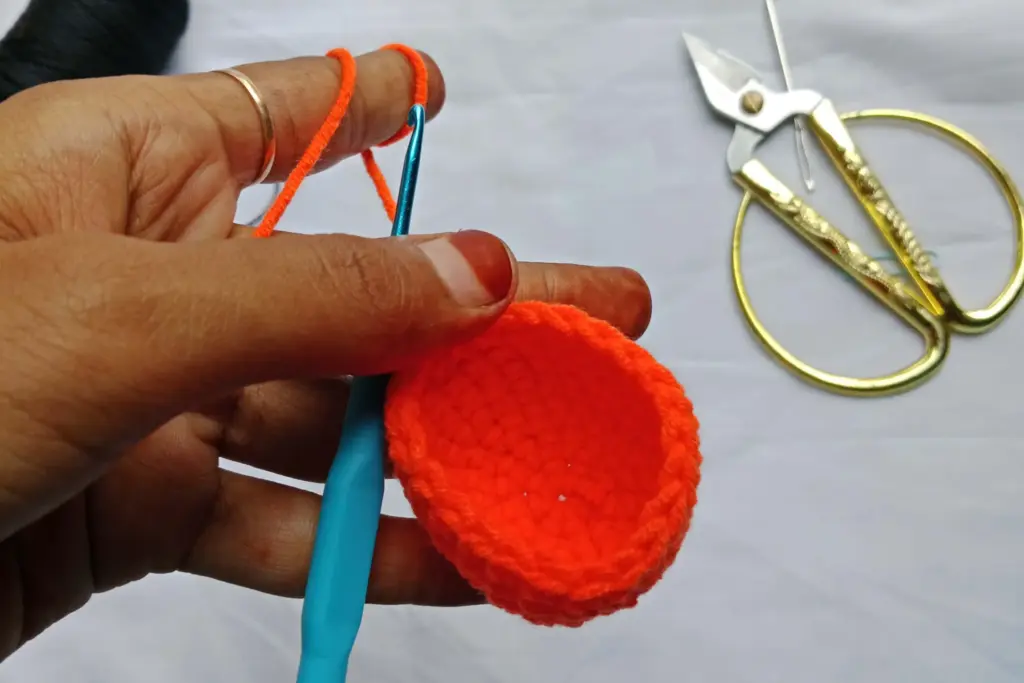
Step 2: Building the Sphere Shape
Once the base is complete, you’ll continue crocheting around without adding more width. This creates the walls of the ball and gives it height. The fabric should feel tight and dense so that the stuffing won’t poke through. Working evenly at this stage ensures that your basketball comes out as a smooth, symmetrical sphere instead of lopsided or bumpy.
Step 3: Adding the Stuffing
Before finishing the ball, you’ll need to fill it with polyfill. This step is crucial for giving the basketball its shape and firmness. Stuffing should be added gradually, making sure there are no lumps. Using the end of your crochet hook or a blunt tool can help push the filling into small spaces. The stuffing should feel firm enough to hold its shape but not so tight that it stretches the stitches.
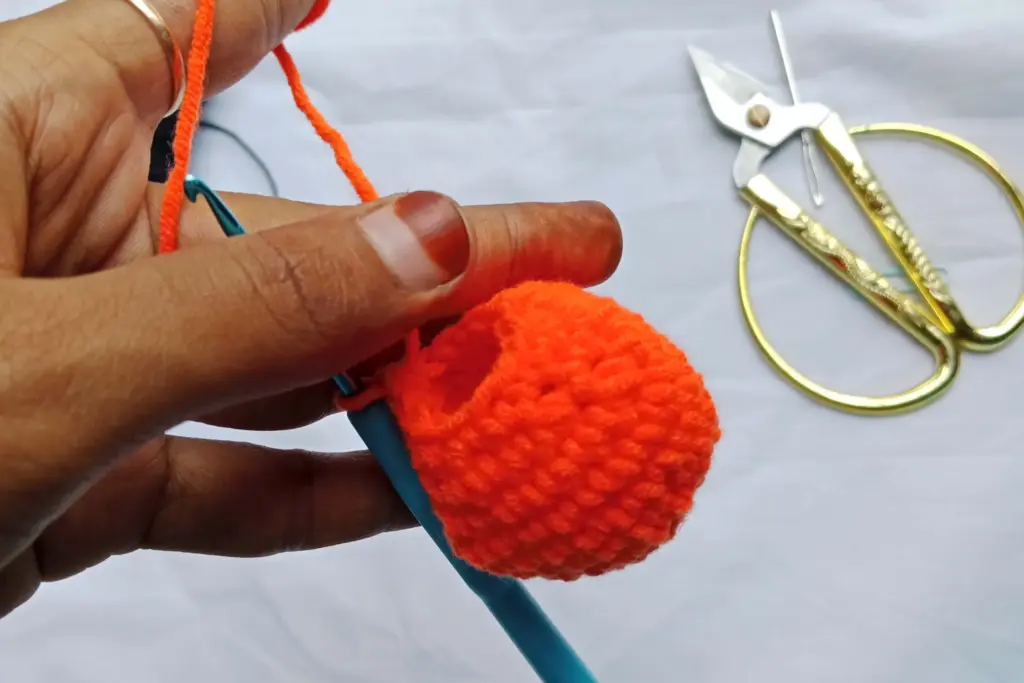
Step 4: Shaping the Top of the Ball
After stuffing, the ball needs to be closed. This is done by gradually reducing the number of stitches so the opening tightens. The decreases should be worked evenly around the ball to maintain its round shape. Beginners often find this step a little tricky, but keeping the tension steady and decreases neat will help avoid any gaps. By the end, you’ll have a perfectly formed mini basketball.
Step 5: Closing the Ball Securely
Once the top is nearly shut, you’ll weave the remaining yarn through the last stitches to pull the opening tight. This ensures no stuffing escapes and the ball holds its firmness. A neat closure also makes the keychain look polished. After the hole is fully closed, the yarn tail can be hidden inside the ball for a clean finish.
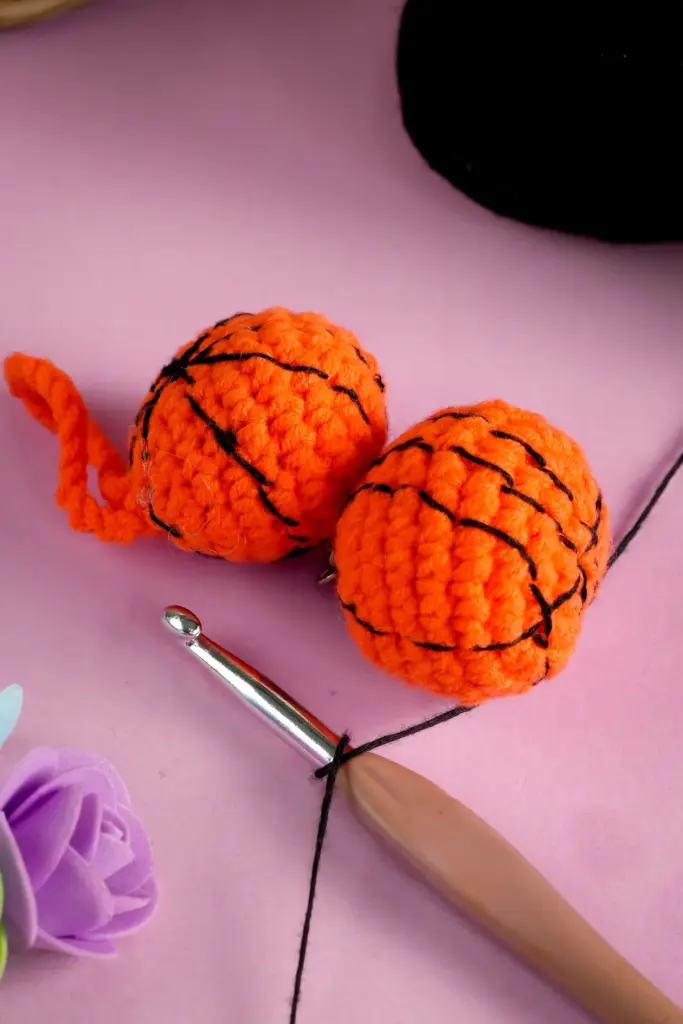
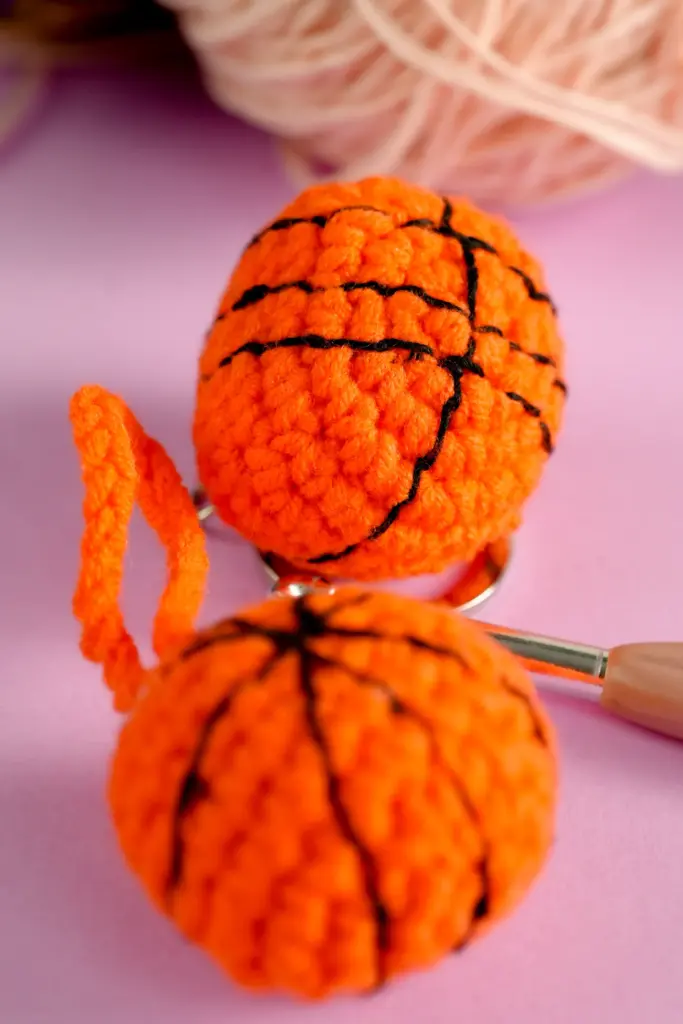
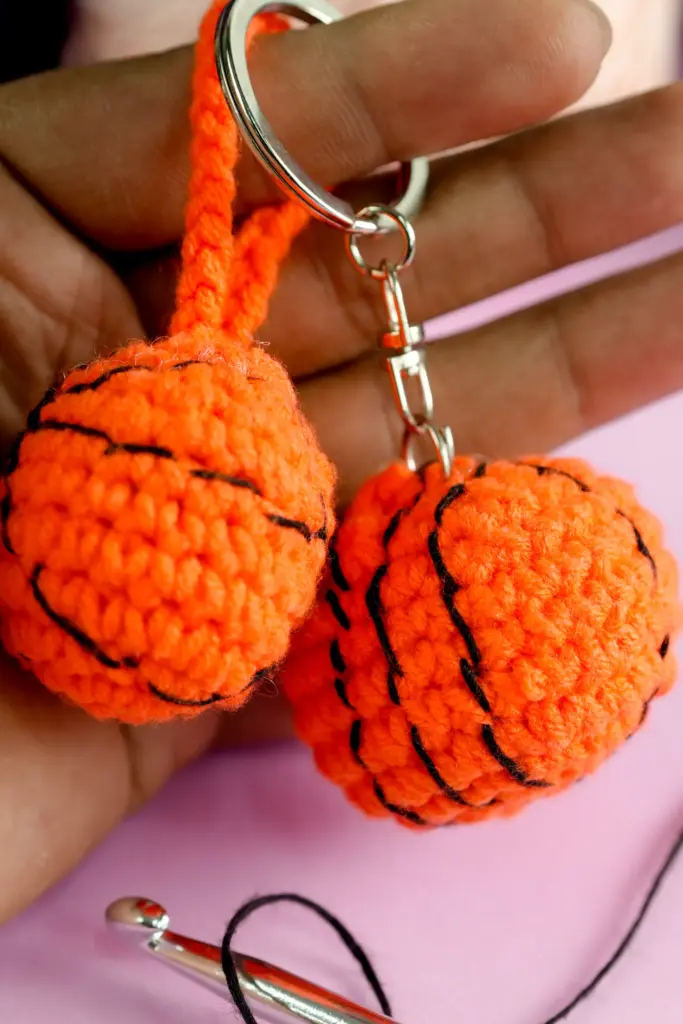
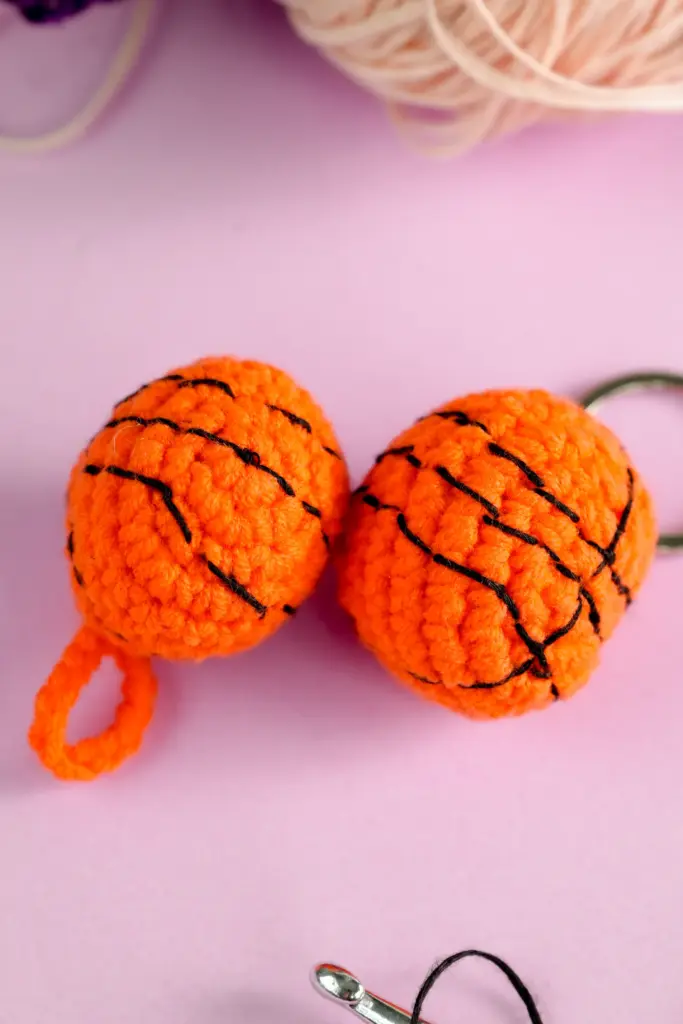
Step 6: Adding the Basketball Lines
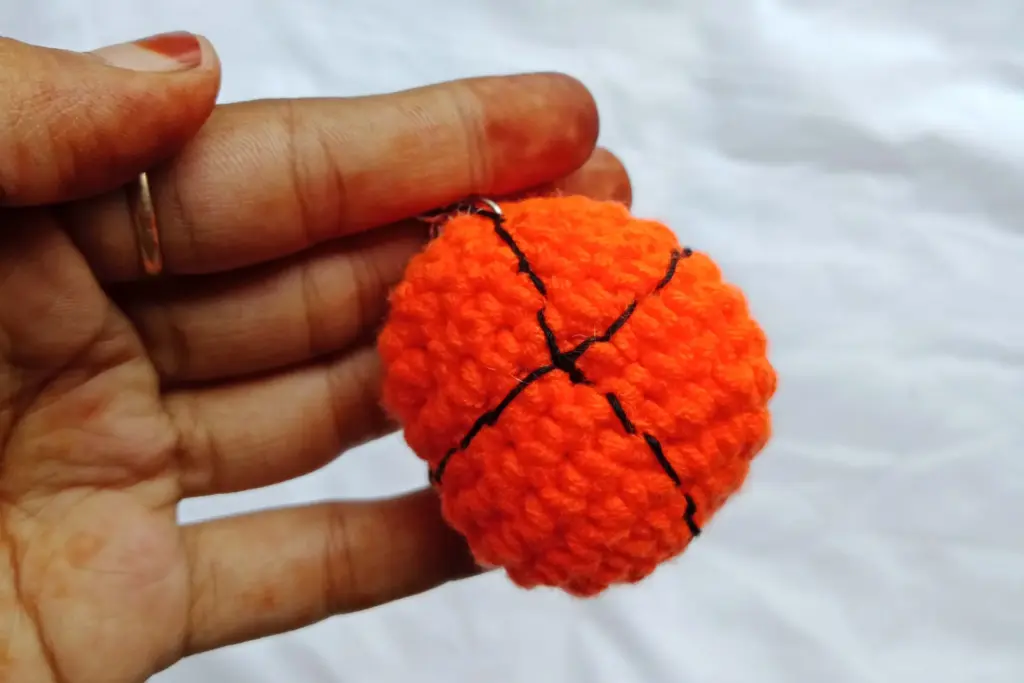
What makes this project instantly recognizable as a basketball are the signature black lines. Using a thinner contrasting yarn, you’ll stitch the lines onto the surface of the ball. Typically, these include two straight lines intersecting like a cross and two curved lines creating an oval effect on each side. Marking the spots beforehand with washable markers or pins can help keep the lines even. This detailing step transforms a simple crochet sphere into a true basketball replica.
Step 7: Attaching the Keychain Ring
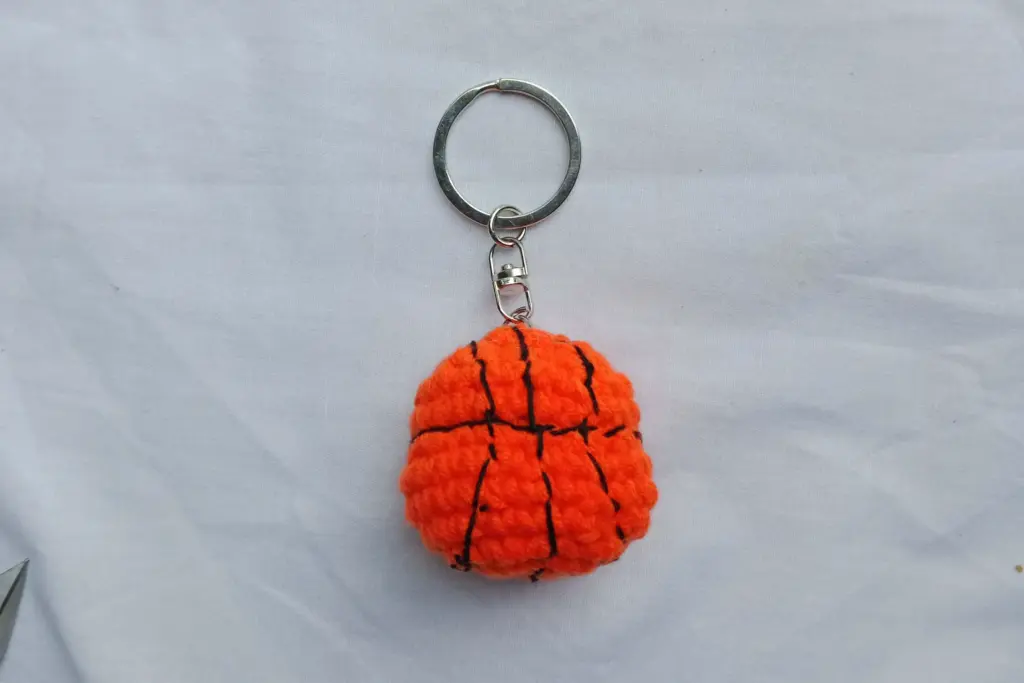
With the basketball complete, it’s time to turn it into a keychain. A small metal ring is attached to the top of the ball, usually by creating or securing a small loop of yarn. Jewelry pliers can help fasten the ring tightly so it stays in place even with daily use. This step finalizes the project, turning your crochet piece into a practical accessory.
Step 8: Troubleshooting and Tips
Every crochet project has its challenges. Here are a few common issues beginners face and how to handle them:
- Loose Stuffing: If the ball feels soft or loses its shape, it usually means the stitches are too loose. Try using a smaller hook size or keeping your tension tighter.
- Uneven Lines: When sewing on the basketball lines, keep your yarn snug but not too tight, otherwise the ball may warp. Use reference points like “poles” of the ball to stay aligned.
- Lopsided Shape: If the ball doesn’t look even, it may be from uneven increases or decreases. Counting carefully and using a stitch marker helps keep the rounds balanced.
Final Thoughts
A crochet basketball keychain is a beginner-friendly project that combines simple stitches with shaping, stuffing, and embroidery. It’s small enough to complete in one sitting yet detailed enough to give you valuable practice. Once you’ve mastered this, you can explore making other sports ball keychains like footballs, baseballs, or soccer balls. These make thoughtful handmade gifts, fun accessories, or even items to sell at craft fairs.
The beauty of this pattern is that you don’t need advanced crochet knowledge to succeed. With a bit of patience and attention to detail, anyone can create a mini basketball keychain that looks realistic and feels sturdy. So grab your yarn and hook — your handmade basketball accessory is just a few stitches away.