
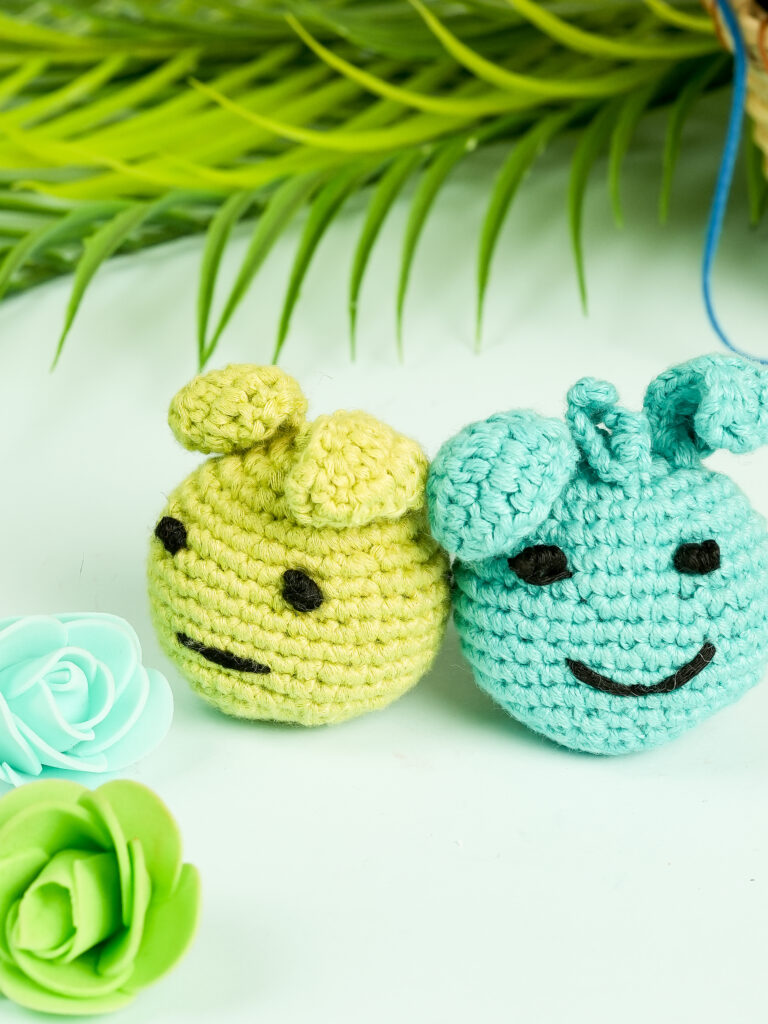
Creating a crochet bunny keychain is the perfect way to combine cuteness with practicality. Whether you want to make something adorable for your bag, gift a handmade item, or start your crochet journey with a simple yet satisfying project, this miniature bunny is an excellent choice. The design is soft, compact, and customizable, and can be adapted into charms, toys, or decorative elements.
This guide walks you through the general process of crocheting the bunny keychain using beginner-friendly techniques. If you’re new to crochet, don’t worry — we’ll simplify everything and help you build confidence along the way.
Materials Needed
To make your bunny keychain, you’ll need a few simple tools and materials. You can substitute based on what’s available, but here’s a basic list to start with:
- Soft yarn (lightweight cotton or thin chenille recommended)
- Small crochet hook (suitable for the yarn)
- Stuffing material (fiberfill or cotton)
- Darning needle
- Stitch markers
- Scissors
- Optional: Safety eyes, keyring, ribbon, glue
These materials will help you form a structured, plush bunny that’s small enough to carry yet detailed enough to look handmade.
Abbreviations
All abbreviations follow US crochet terminology. Here’s a helpful list:
- MR – Magic Ring
- SC – Single Crochet
- INC – Increase
- DEC – Decrease
- SLST – Slip Stitch
- CH – Chain
- ST – Stitch
- [] – Indicates the stitch count at the end of a round or row
Starting With the Magic Base
The magic base is where your project begins — this foundational loop forms the structure for smaller parts like the ears. The idea is to create a circular form that can be gradually expanded. This method lets you avoid a visible hole in the center and ensures a neater finish. It’s important to keep control of the yarn tension at this stage and use your fingers to shape and guide the ring before tightening.
Once the magic base is complete, gentle increases shape it into a fuller structure. This part sets the tone for symmetrical shaping, which is especially helpful when forming pairs like bunny ears.
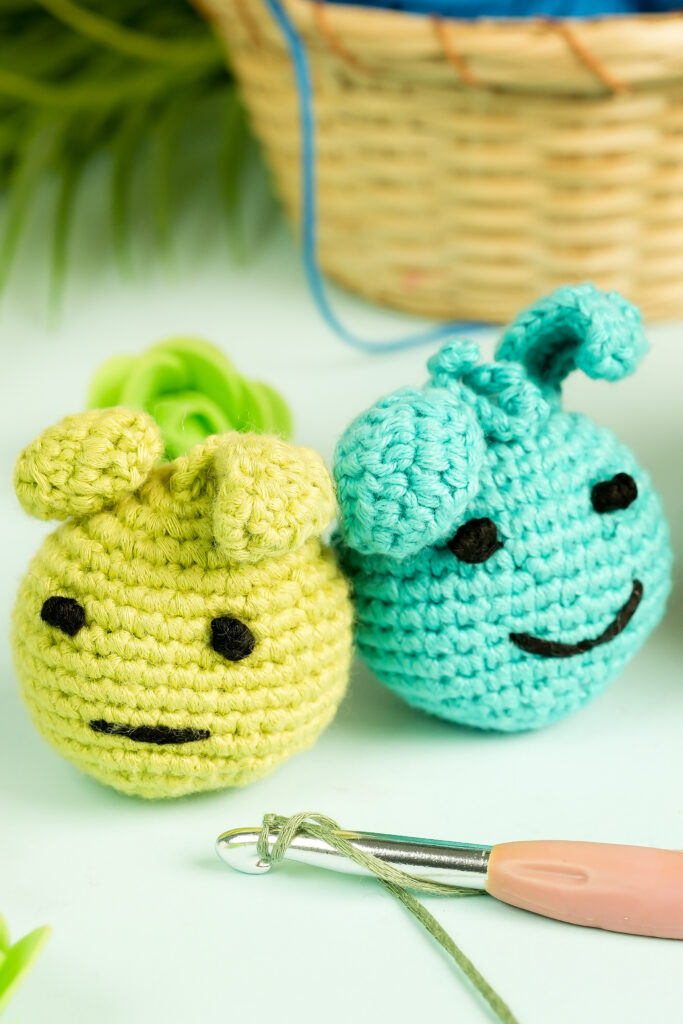
Creating and Pairing the Ears
The bunny’s charm lies in its big, soft ears. Each ear begins with a small circular base and is built up by consistent shaping. As you work, you’ll notice the piece forming a gentle oval — this curved shape makes the ears floppy and expressive.
After making two identical ear pieces, they are joined together by crocheting directly into one another. This is a delicate process that requires you to align the edges properly so they sit side by side. Once connected, these paired ears create a seamless transition into the bunny’s head. This joining stage also helps provide stability, allowing the top portion of the head to feel sturdy.
Building the Head Structure
After connecting the ears, the rest of the piece is constructed downward. The head is shaped as a firm sphere by alternating gentle increases and decreases to create volume. The trick here is to balance the tension so the surface remains smooth and doesn’t collapse.
As the shape grows, you gradually stop increasing and focus on maintaining the shape. Toward the lower part, you begin decreasing, which helps close off the form neatly while preserving the round shape of the bunny’s head.
During this process, you should start inserting the stuffing. Begin with the ears so they maintain their fullness, then fill the head slowly. Use your crochet hook to gently push the filling into tight spots. Proper stuffing helps maintain form and provides a plush, squeezable texture.
Adding Volume and Shaping
Once the head is nearly closed, you’ll add a few final shaping steps. These last decreases require patience — the space inside becomes smaller, and control becomes a bit tricky. Inserting your fingers gently into the project or pinching the shape can give you more control.
The finishing stage also involves securing the tail end of the yarn and preparing the head for final touches. The hole left at the bottom is closed using a sewing needle and yarn by threading through the outer loops of the final round and pulling it tight like a drawstring. This technique ensures a clean closure with no lump or awkward bump at the base.
Finishing the Shape and Smoothing
After closing the bottom, a small bump may remain. This can be gently corrected by sewing through the surrounding stitches and redistributing the yarn tension. It’s not about perfection — just making sure the base feels even and neat.
The remaining yarn tail can be woven into the body using a few discreet insertions with a darning needle. Tuck it deep inside to hide any visible end. At this point, the main bunny form is complete — soft, round, and ready for detailing.
Personalizing With a Face
The bunny’s expression brings the whole keychain to life. Adding features like eyes and a mouth gives personality to your creation. You can either sew these using yarn or embroidery thread or use small safety eyes if you prefer a more polished look.
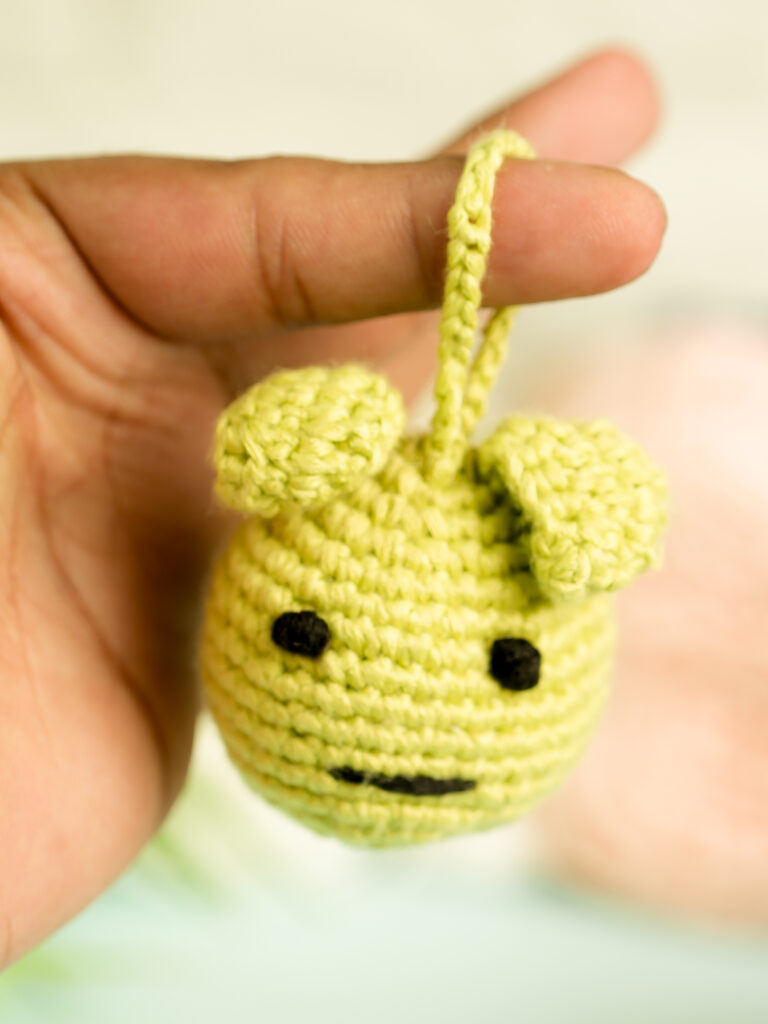
To sew the eyes, thread a needle with a short piece of contrasting yarn and go back and forth through a small section on the front of the head. Repeat this motion a few times to build depth, making each eye distinct. Space them evenly for symmetry.
Once the eyes are done, use the same technique to create a small “X” or straight line for the mouth. It helps to visualize the placement before stitching, and always leave a little slack in your yarn to avoid pulling the fabric too tight.
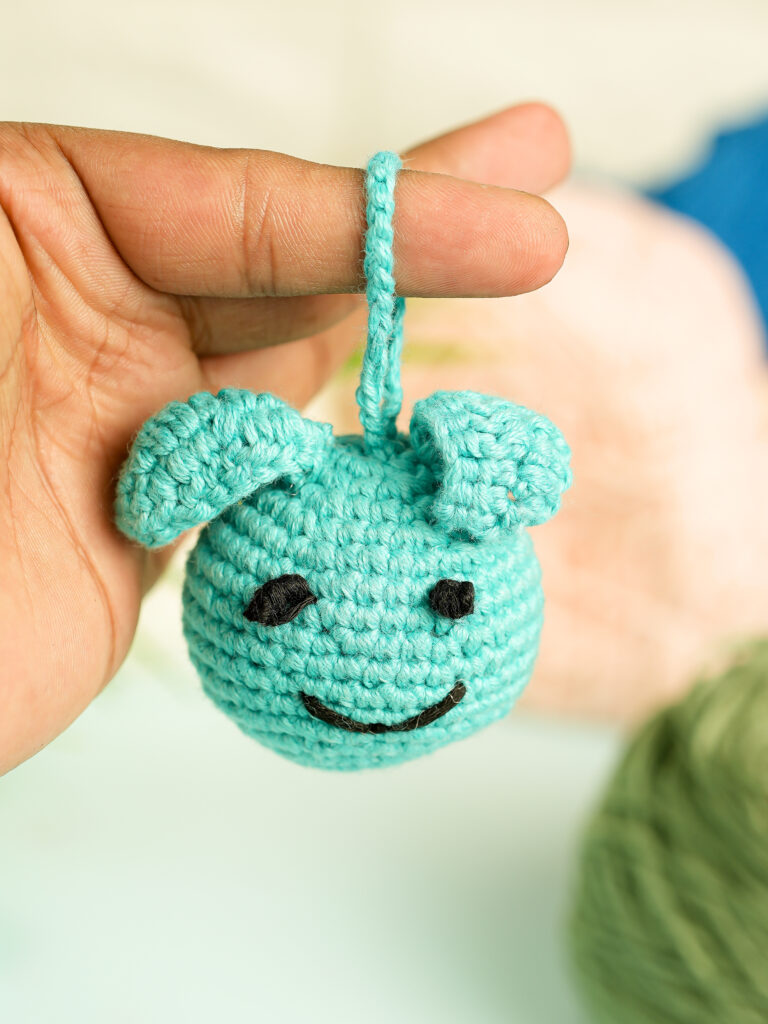
Adding Keychain and Accessories
Now that your bunny has a face, you can add the finishing details. To turn it into a keychain, attach a metal ring either through the top of one ear or with a looped thread at the center. If you don’t have a keyring handy, simply thread a loop of yarn or ribbon, tie it securely, and use it to hang your bunny from a bag or zipper.
You can also add a small ribbon around the neck for decoration or glue on tiny accessories like beads or bows. These optional elements let you personalize your bunny to match your style or the person you’re gifting it to.
Care and Display Tips
To keep your crochet bunny keychain in great condition:
- Avoid washing it in a machine; spot clean gently by hand
- Keep it dry and away from moisture-prone areas
- If it flattens over time, gently reshape and restuff
- Store in a soft pouch when not in use
Because of its small size, this bunny makes a perfect handmade gift, stocking stuffer, or desk companion.
Project Summary Table
Here’s a summary of what you’ll need and what to expect:
| Element | Details |
|---|---|
| Skill Level | Beginner-friendly |
| Total Time | 1–1.5 hours depending on experience |
| Materials | Soft yarn, 3mm hook, stuffing, scissors, darning needle, keyring |
| Techniques Used | Magic ring, single crochet, increase, decrease, slip stitch |
| Stuffing Needed | A small handful |
| Accessories (Optional) | Safety eyes, ribbon, glue, keyring |
| Washing Tips | Spot clean by hand only |
Final Thoughts
This bunny keychain is a perfect example of how simple stitches can transform into something incredibly cute and functional. It teaches you how to shape 3D forms, work with small parts, and add personal details—all while creating a giftable keepsake.
Whether you’re practicing for larger amigurumi projects or just want something handmade to brighten your bag, this bunny is the perfect starting point. And the best part? Once you’ve mastered one, making a whole collection is both quick and addictive.