
Crochet mushrooms are one of the cutest and most beginner-friendly projects in the world of amigurumi. They’re small, quick to make, and ideal for keychains, bag charms, or handmade gifts.
With a few basic stitches and minimal materials, you can create an adorable mushroom that adds a touch of handmade charm wherever you go.
This step-by-step Crochet mushroom keychain pattern is perfect for beginners. The finished piece looks professional but is simple enough to complete in one sitting.
Once you’ve made one, you’ll want to crochet a whole collection in different colors to decorate your keys or give as thoughtful gifts.
Materials
You only need a few simple supplies to create this crochet mushroom keychain. All of them are easy to find and affordable.
- Cotton yarn in two contrasting shades – one for the mushroom cap and one for the stem
- Crochet hook (around 3.5 mm, depending on your yarn thickness)
- A small amount of polyester stuffing or fiberfill
- Darning needle for sewing pieces together and weaving in ends
- Scissors for trimming yarn
- Optional: keyring or metal clasp to attach your finished mushroom
Tip: Cotton yarn works best for keychains because it holds its shape and gives a neat, polished look to small amigurumi pieces.
Abbreviations
All abbreviations in this guide follow US crochet terminology for consistency and clarity:
- Mr – Magic ring
- Sc – Single crochet
- Inc – Increase
- Dec – Decrease
- Sl st – Slip stitch
These basic stitches form the entire mushroom shape. If you’re completely new to crochet, spend a few minutes practicing these before beginning your keychain project.
Step by step Crochet Mushroom Keychain Pattern
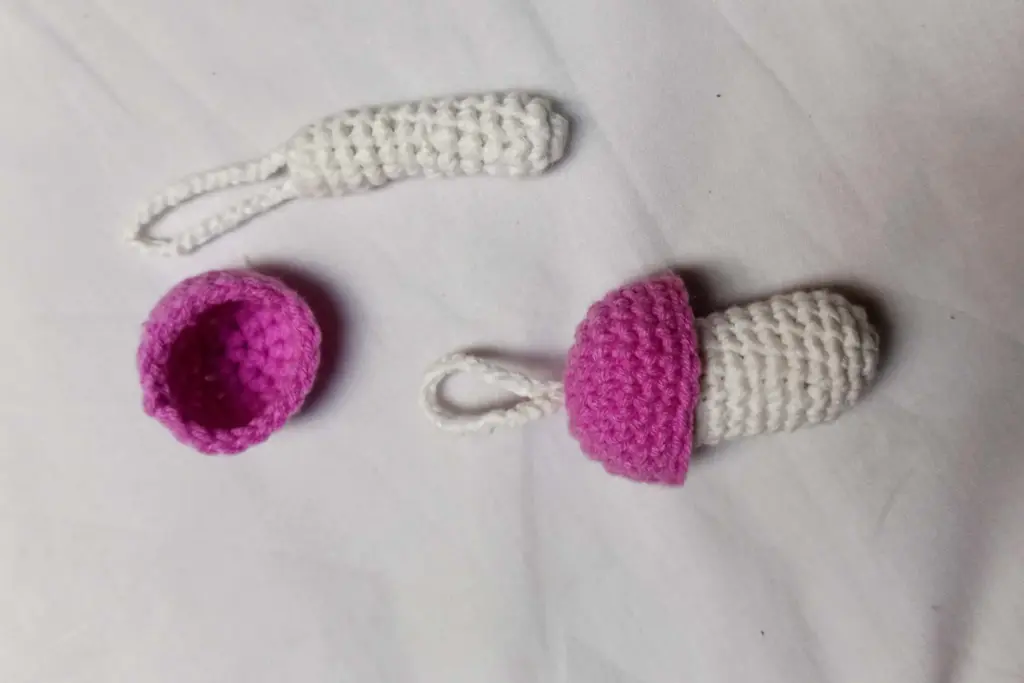
Shaping the Mushroom Cap
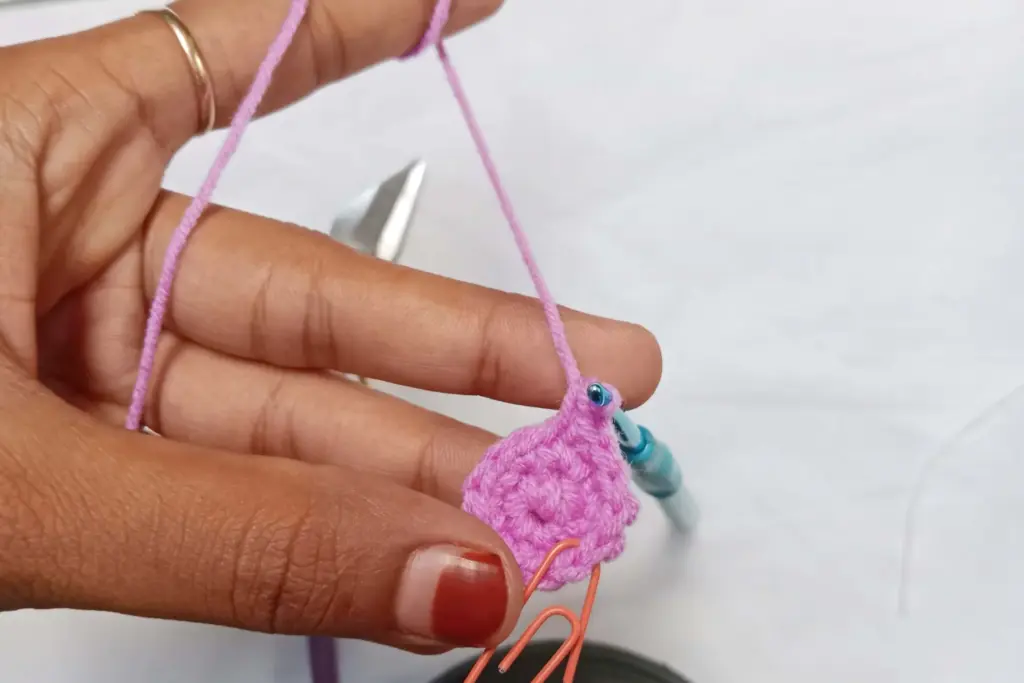
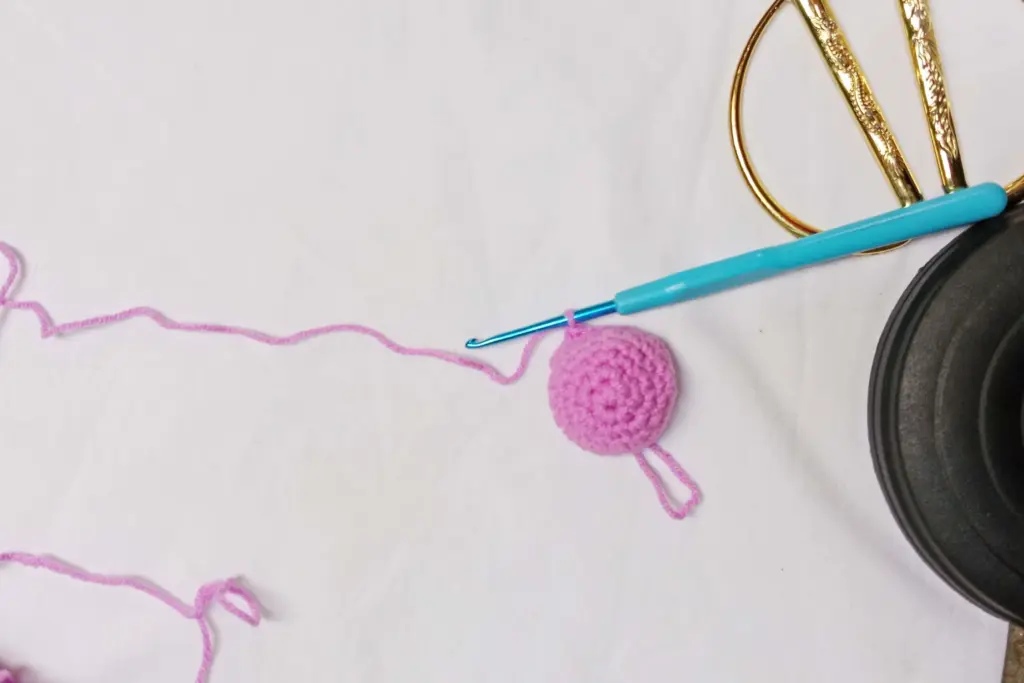
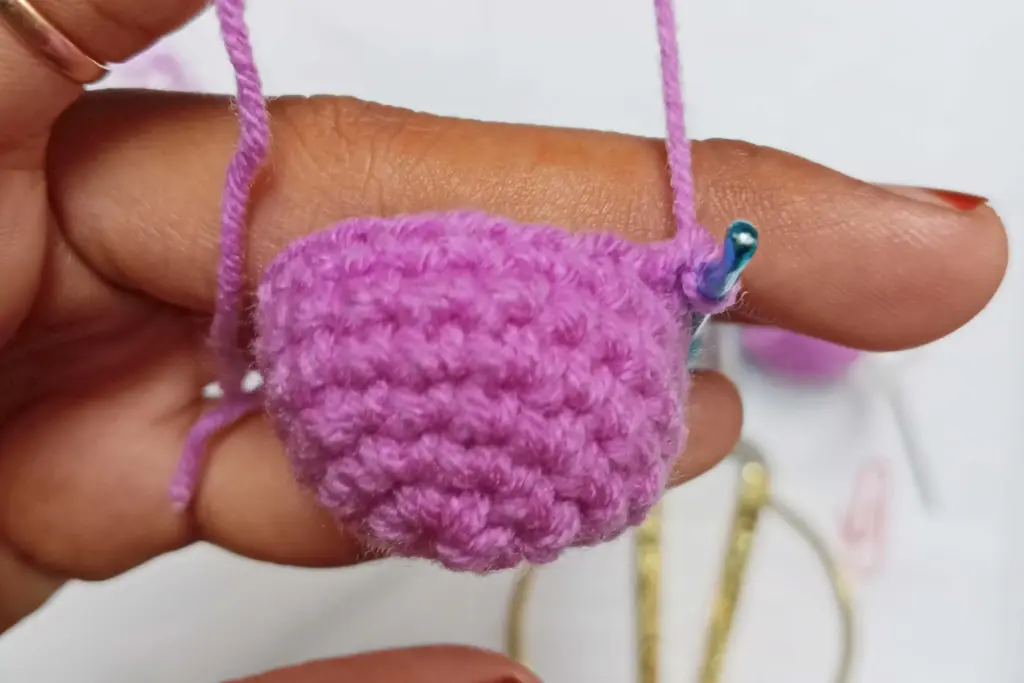
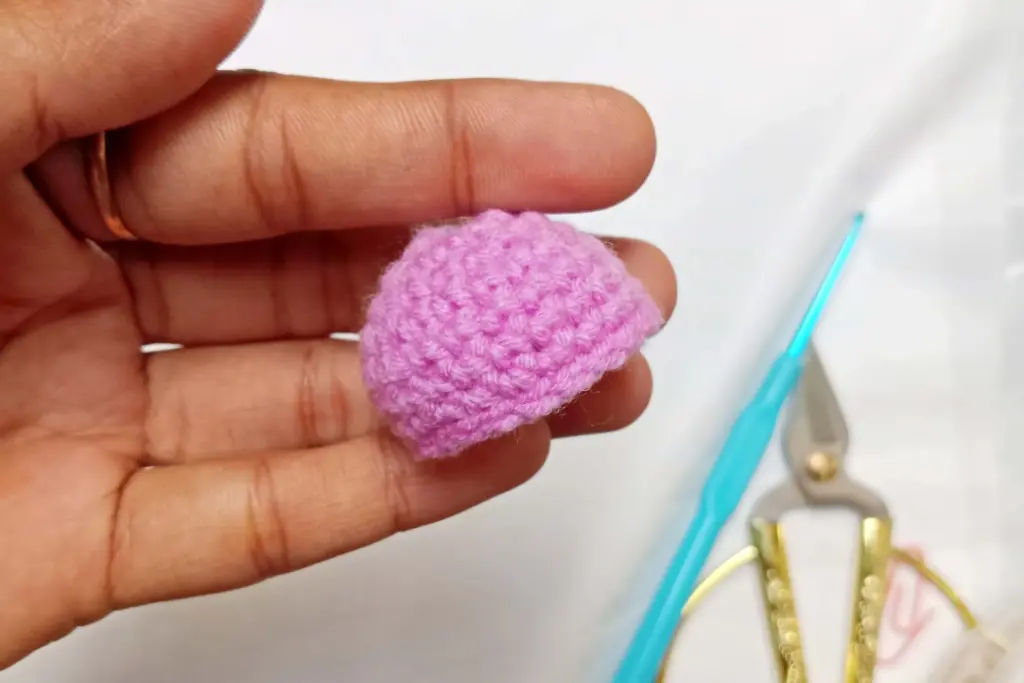
Every mushroom starts with its cap. Begin by working in a circular shape using your chosen color for the top. This part forms the rounded, dome-like hat that gives the mushroom its characteristic look. The cap gradually expands as you crochet, curving gently outward to create a natural mushroom shape.
Keep your tension even so the stitches remain smooth and symmetrical. As you work, you’ll notice the fabric forming a flat circle that slowly cups into a curved form — that’s exactly what you want. The cap should feel firm but still flexible enough to hold stuffing later.
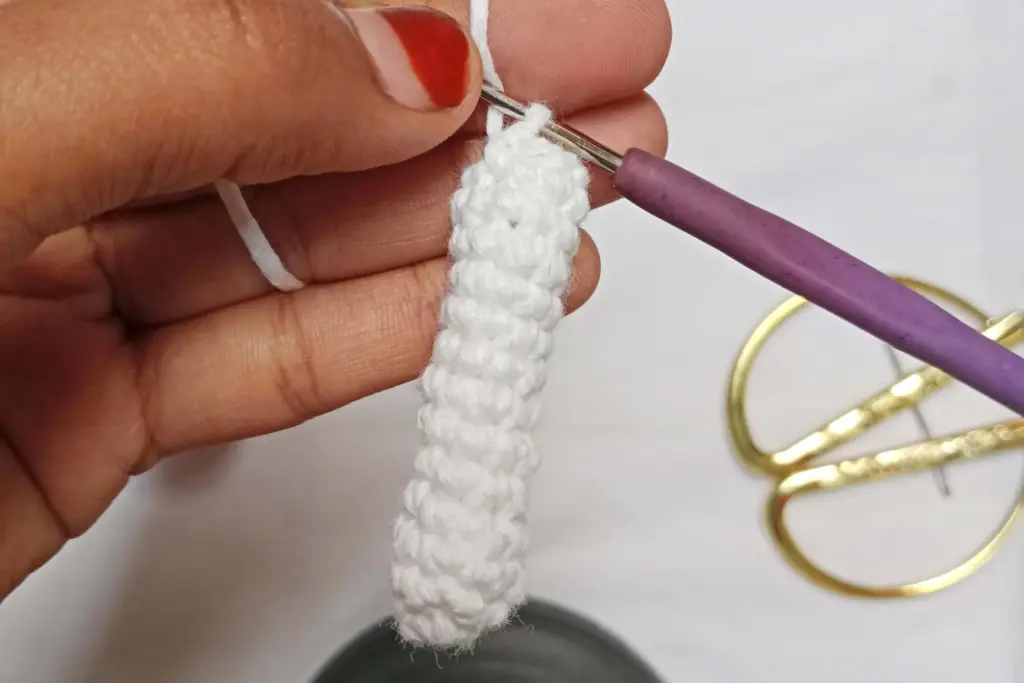
Creating the Stem
Once the cap is complete, switch to your second yarn color to begin forming the stem. This section is worked from the base upward, giving the mushroom a sturdy structure. It’s slightly narrower than the cap, helping the finished piece keep its realistic shape.
The key here is consistency — maintain the same stitch tension so the stem looks neat and balanced. This part is usually made in one continuous piece, which means there’s no need for excessive sewing later. The stem should feel solid once stuffed, but not overly tight, allowing the fiberfill to expand evenly.
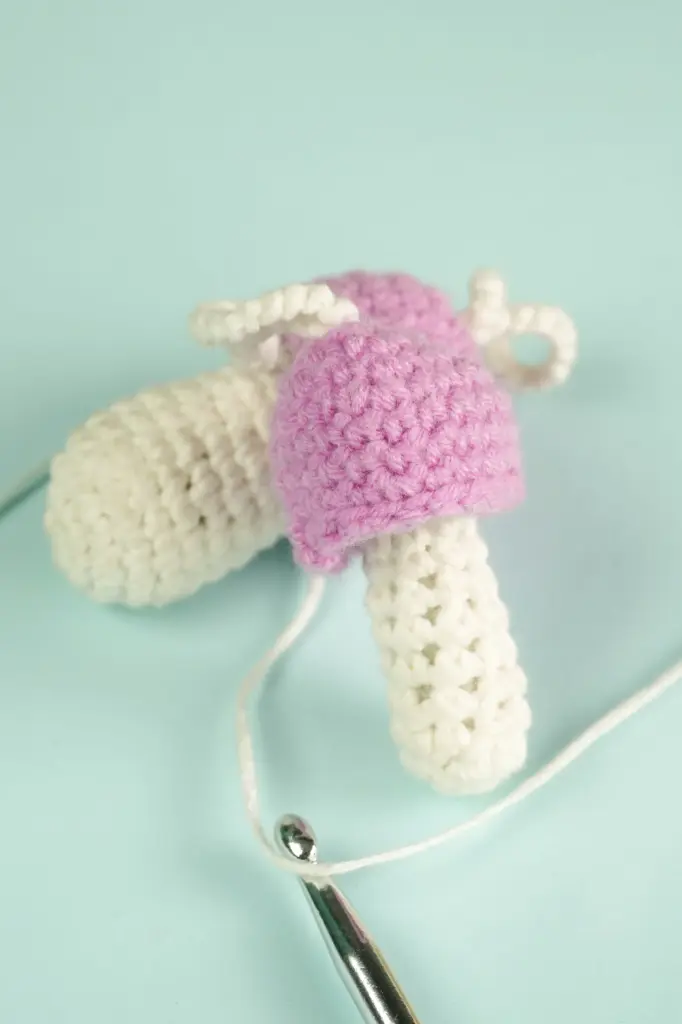
Combining the Parts
After finishing both the cap and stem, you’ll join them together to create the full mushroom shape. This step transforms your two separate pieces into a cute amigurumi figure. When attaching, align the stitches carefully to ensure the base of the cap sits evenly on the stem.
Use your darning needle and matching yarn color to sew the pieces together. The join should look seamless, giving the mushroom a professional finish. Before fully closing the seam, insert a small amount of stuffing inside the stem to add firmness. Once attached, your mushroom will start to come to life — soft, round, and perfectly shaped for a keychain.
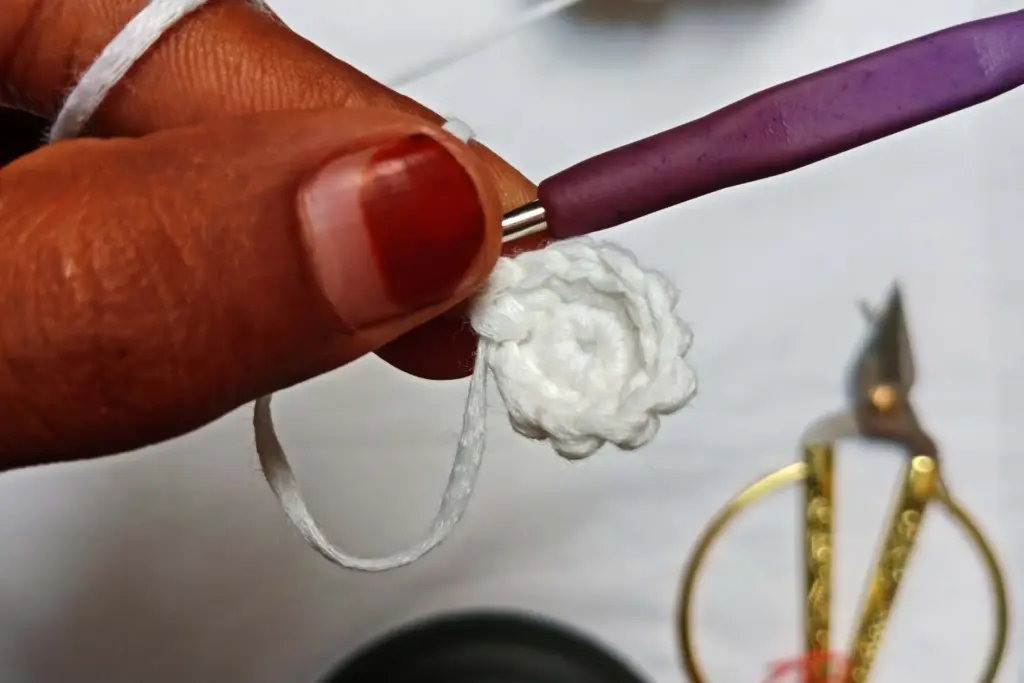
Adding the Polka Dots
A classic mushroom design isn’t complete without its signature dots. Once the cap is shaped and secured, use a contrasting yarn color to add small embroidered circles across the surface. This detail gives the mushroom its playful, whimsical character.
Start near the center of the cap and work outward in random placement — you can choose to cover the whole top or just scatter a few dots for a minimalist look. Keep each stitch even and avoid pulling too tightly to maintain a soft, rounded texture. The embroidery process also helps reinforce the structure of the cap, ensuring it stays in shape.
If you prefer variation, experiment with uneven spacing or slightly different sizes of dots. Each mushroom will have its own unique charm, making every keychain a little different from the next.
Stuffing and Shaping
Before you sew the final seam, it’s time to stuff the mushroom. Use small pinches of polyester filling to gently fill the stem first, followed by the cap. Distribute the stuffing evenly to avoid lumps and keep the surface smooth. The mushroom should feel firm but still slightly squeezable.
If you want a more rounded look, add a bit of extra filling in the center of the cap. For a flatter design — ideal for keychains — use less stuffing and press gently to shape it. Take your time adjusting until you’re happy with how it looks. Once stuffed, secure the last opening with a few tight stitches and weave in any loose yarn ends neatly.
Joining the Cap and Stem
To attach the two parts, line up the edges so they meet evenly. Using a yarn needle, sew around the perimeter of the join, inserting your needle through both layers with small, tight stitches. This creates a seamless connection that looks clean and professional.
For added durability, go around the edge twice — especially if the keychain will be used frequently. Once you’ve closed the seam, tie off the yarn securely and tuck the tail inside. The finished mushroom should stand upright and hold its shape easily.
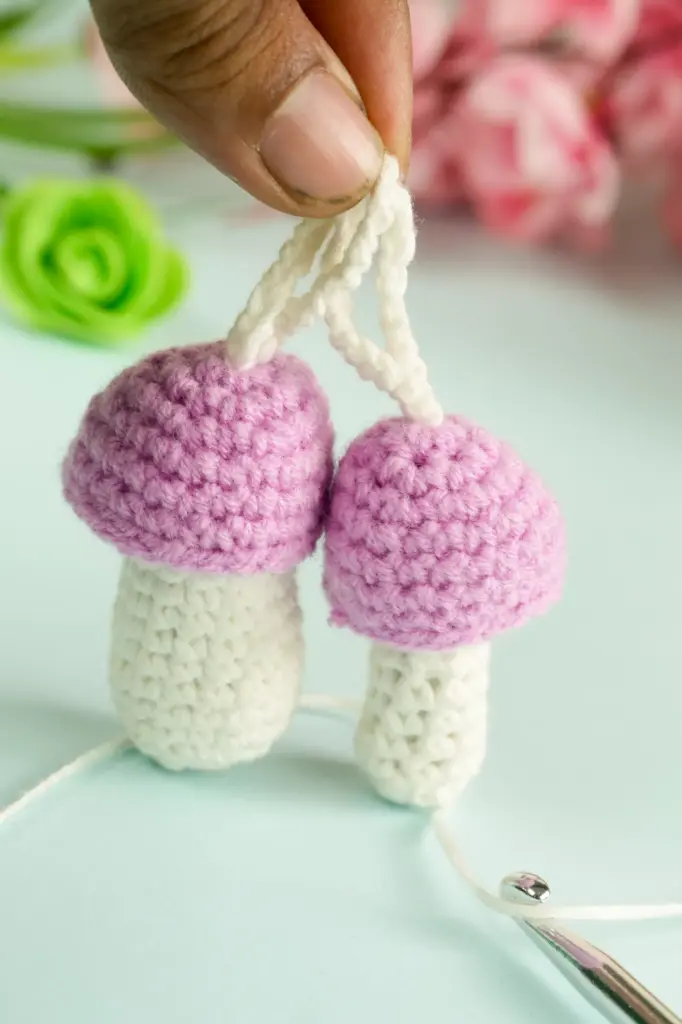
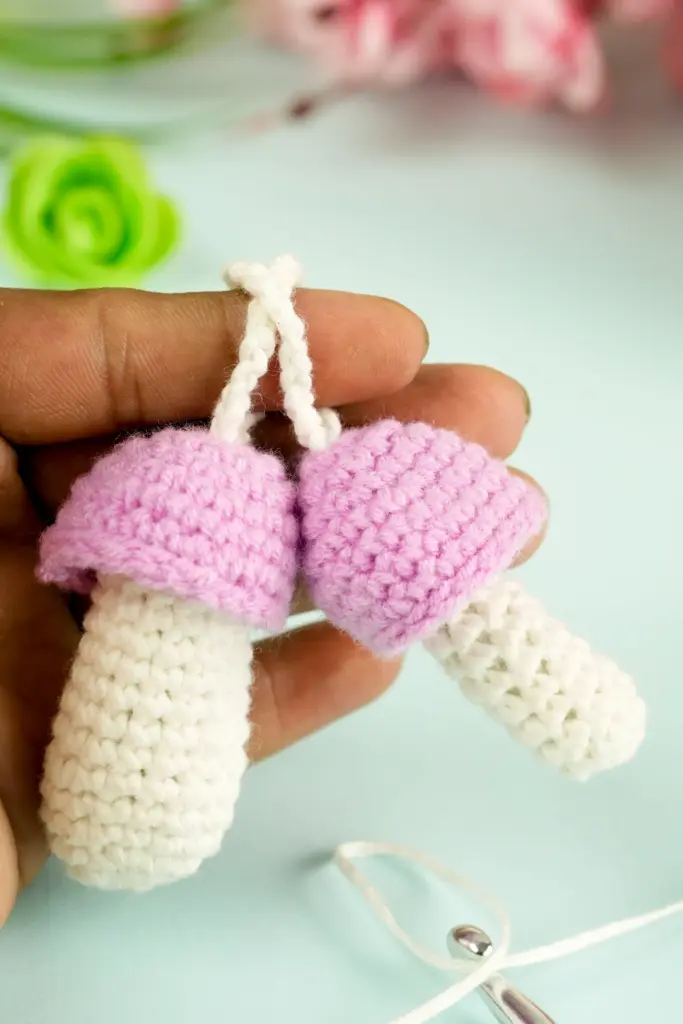
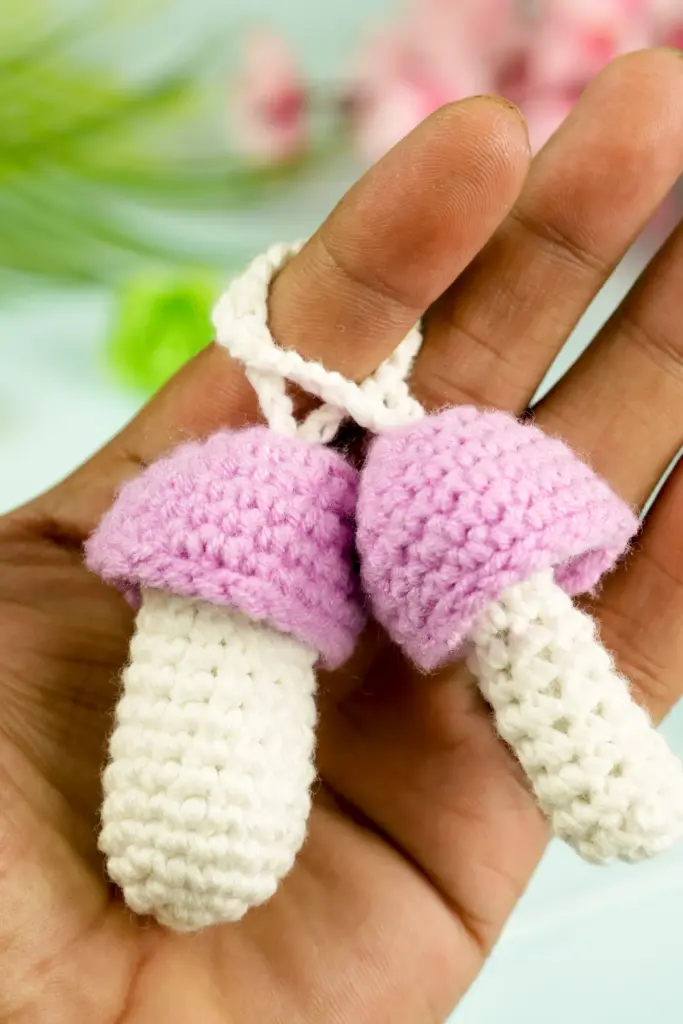
Attaching the Keychain
Turn your finished mushroom into a functional accessory by adding a keyring or metal clasp. Using a small piece of yarn, thread through the top center of the cap and tie it securely to the ring. You can also use a short chain or lobster clasp for a polished look.
Make sure the attachment feels firm enough to handle daily use. If you plan to gift it, consider using a small decorative loop or a contrasting yarn strand for hanging. This step instantly transforms your handmade mushroom into a charming, practical item that’s perfect for keys, bags, or even car mirrors.
Customizing Your Mushroom
The beauty of this pattern is its flexibility. You can customize your mushroom keychain in endless ways to suit your personality or the season.
Try these ideas:
- Use pastel shades for a soft, dreamy look.
- Add sparkling yarn or metallic thread for a whimsical, fairy-style mushroom.
- Create miniature versions to make multiple charms for friends or party favors.
- Embroider tiny faces or smiles to turn your mushroom into a cute character.
Each variation gives your work a personal touch — and once you master the basic structure, experimenting becomes effortless.
Care and Maintenance Tips
Even though it’s a small project, taking care of your crochet mushroom keychain will help it last for years. Avoid exposing it to water or excessive friction, especially if attached to a frequently used bag. If it gets dusty, gently spot-clean it with a damp cloth and reshape while it’s still slightly damp.
Because it’s stuffed, avoid squeezing or twisting the shape too hard. If you ever need to refresh its look, a few minutes of gentle reshaping with your fingers will bring it back to life.
Final Thoughts on Crochet Mushroom Keychain
The crochet mushroom keychain is a delightful little project that combines creativity and functionality. It’s simple enough for beginners yet satisfying for experienced crocheters who enjoy quick, whimsical makes. By learning how to shape, stuff, and assemble small pieces, you’ll gain valuable amigurumi skills that you can use for countless other designs.
This tiny mushroom not only looks adorable but also makes a heartfelt handmade gift. Attach it to your keys, backpack, or gift it to someone who appreciates unique, handcrafted accessories. With every stitch, you’re adding a touch of warmth and creativity to something you’ll use every day.