
Creating your own Handmade Crochet Bag is a rewarding way to blend fashion with function. This beginner-friendly project is ideal for anyone eager to try larger accessories without feeling overwhelmed by complex patterns. Using just a few basic tools and a forgiving yarn style, you’ll craft a roomy, durable, and stylish bag that’s perfect for everyday use.
This guide takes a relaxed, intuitive approach where even small imperfections add to the charm of your piece. Whether you’re upcycling leftover yarn or making your first structured design, you’ll learn essential techniques like shaping, joining, and edging — all while building confidence in your crochet skills.
Materials Needed
To make this bag, you’ll need just a few essentials:
- Chunky or thick yarn (acrylic or soft blend works well)
- 8 mm crochet hook
- Scissors
- Yarn needle (for weaving in and joining pieces)
Optional tools:
- Stitch markers (for tracking row starts)
- Measuring tape (to gauge your progress)
This pattern uses accessible materials, making it a budget-friendly option even for those digging into leftover yarns tucked away in closets.
Abbreviations
All terminology follows the US crochet standard. Below are the key abbreviations used in this guide:
- Ch – Chain
- Sc – Single Crochet
- Slst – Slip Stitch
- Inc – Increase
- BLO – Back Loop Only
- St – Stitch
- Rep – Repeat
These abbreviations simplify the explanation while ensuring clarity for those familiar with beginner-level patterns.
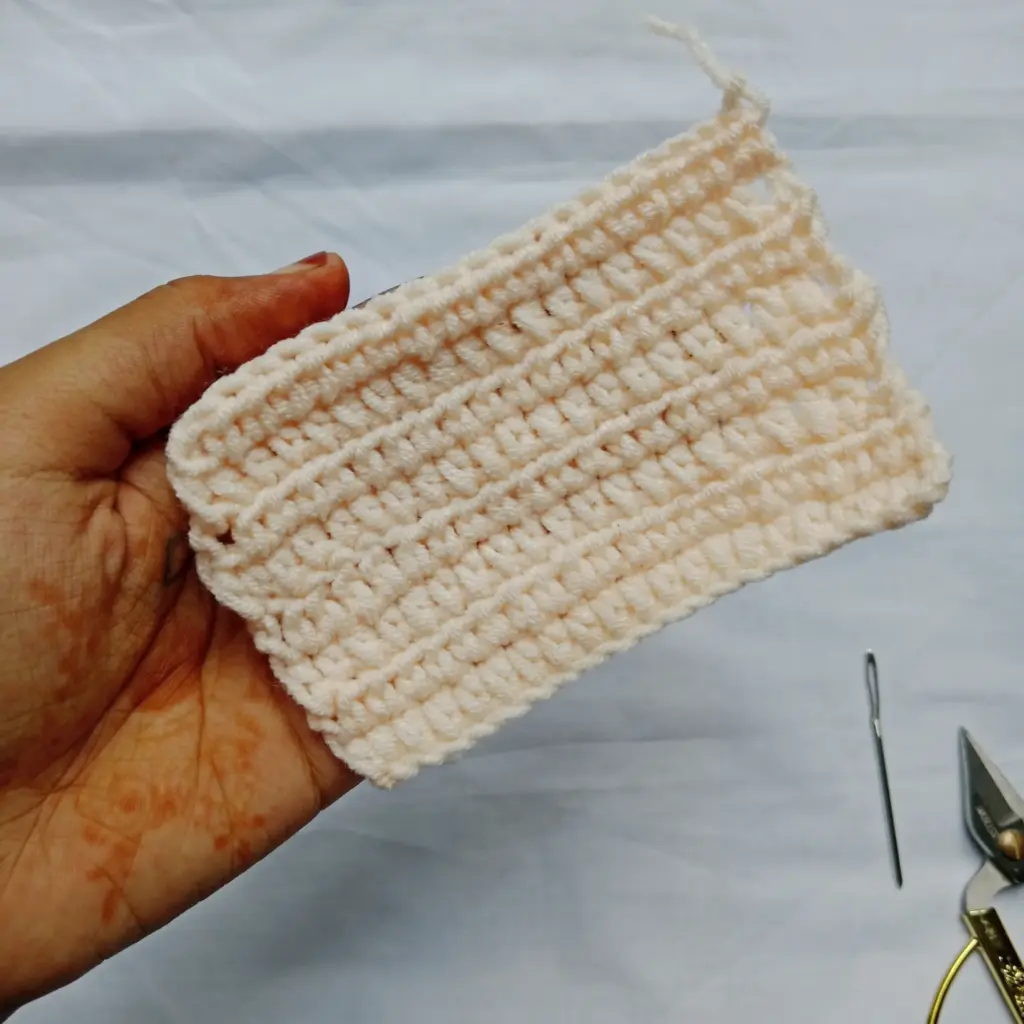
Building the Bag Foundation
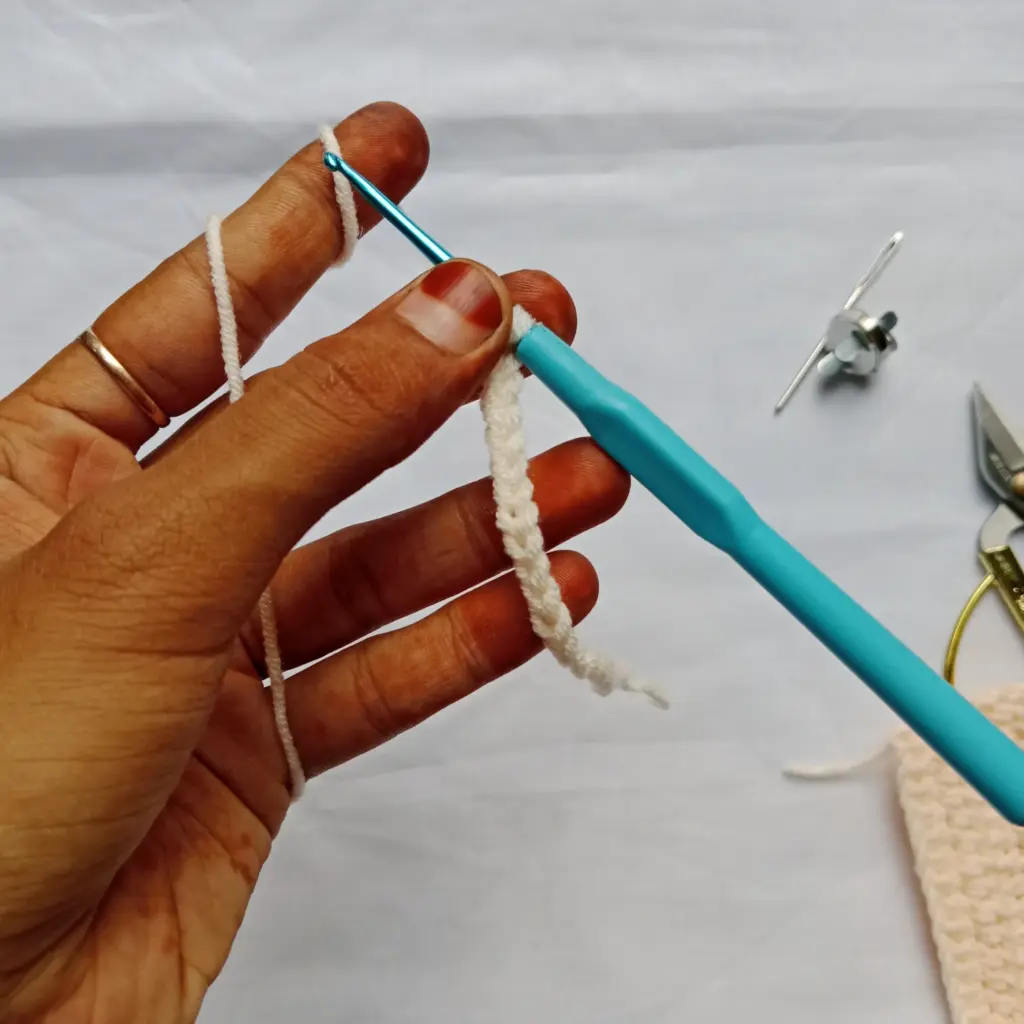
Every bag starts with a base, and in this project, it’s a horizontal strip that determines the final width. This base is crocheted in a straightforward line using a slightly firm tension to keep the structure intact. The number of starting stitches will influence the finished size, but what’s important is that it lays flat and has a solid shape to support the rest of the bag.
This step gives you a feel for the yarn and hook combo, especially if you’re working with a thicker blend. It’s a great way to warm up before moving on to more flexible shaping techniques used later.
Creating the Initial Structure
After establishing the base, the body begins to grow upward. The trick here is using a specific loop from each stitch to add texture and stretch. This method creates a subtle ridged effect that mimics knitted fabric while staying true to crochet techniques.
Working back and forth, the rows build height while the sides of the bag start to softly curve outward. This is where beginners can start seeing how easy it is to adjust width and depth with a few simple tricks—no complicated shaping required.
Expanding with Gentle Increases
To add volume and give the bag its casual slouchy look, the rows gradually get wider. This is achieved by adding extra stitches at the beginning and end of each pass. The effect is subtle but powerful—it creates a roomy body that feels relaxed yet intentional.
This shaping method allows you to experiment freely without being locked into rigid counts. The natural widening enhances the bag’s silhouette and creates more space inside without altering the basic rhythm of stitching.
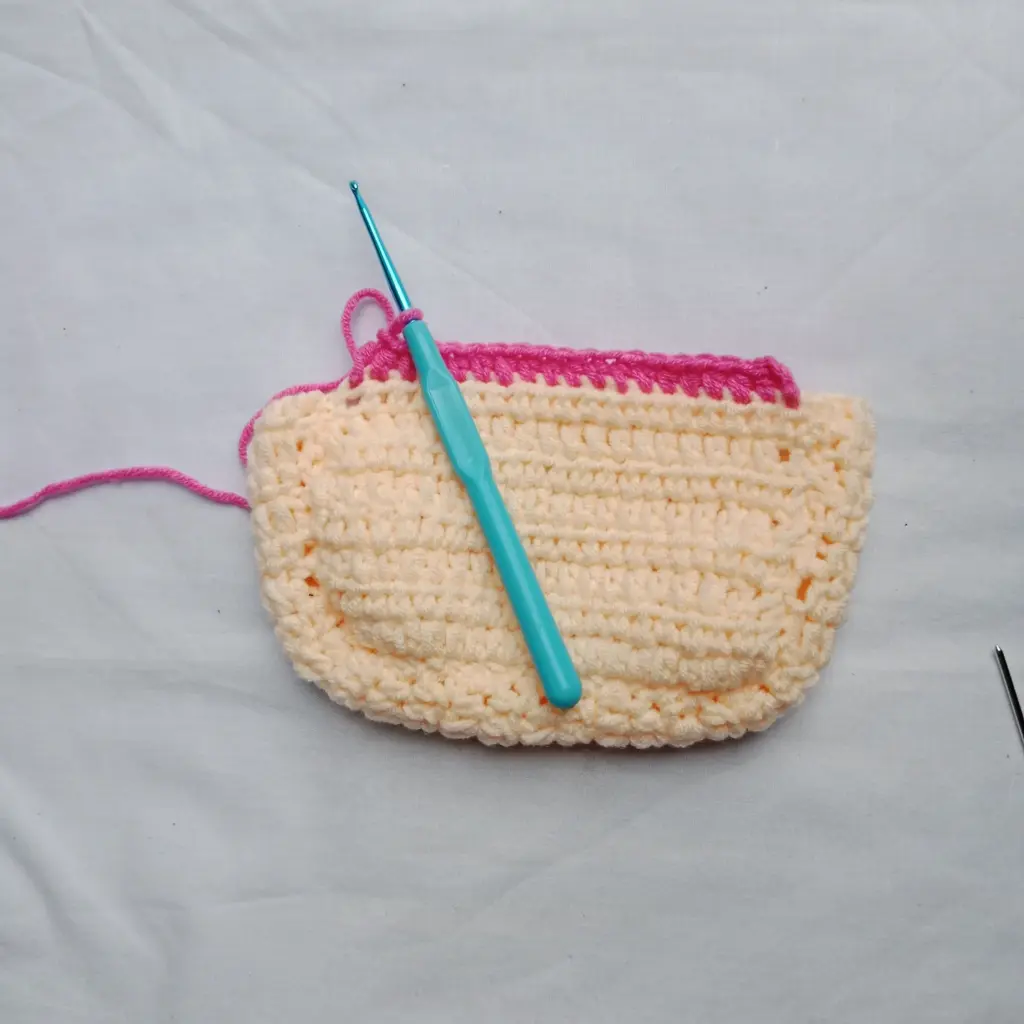
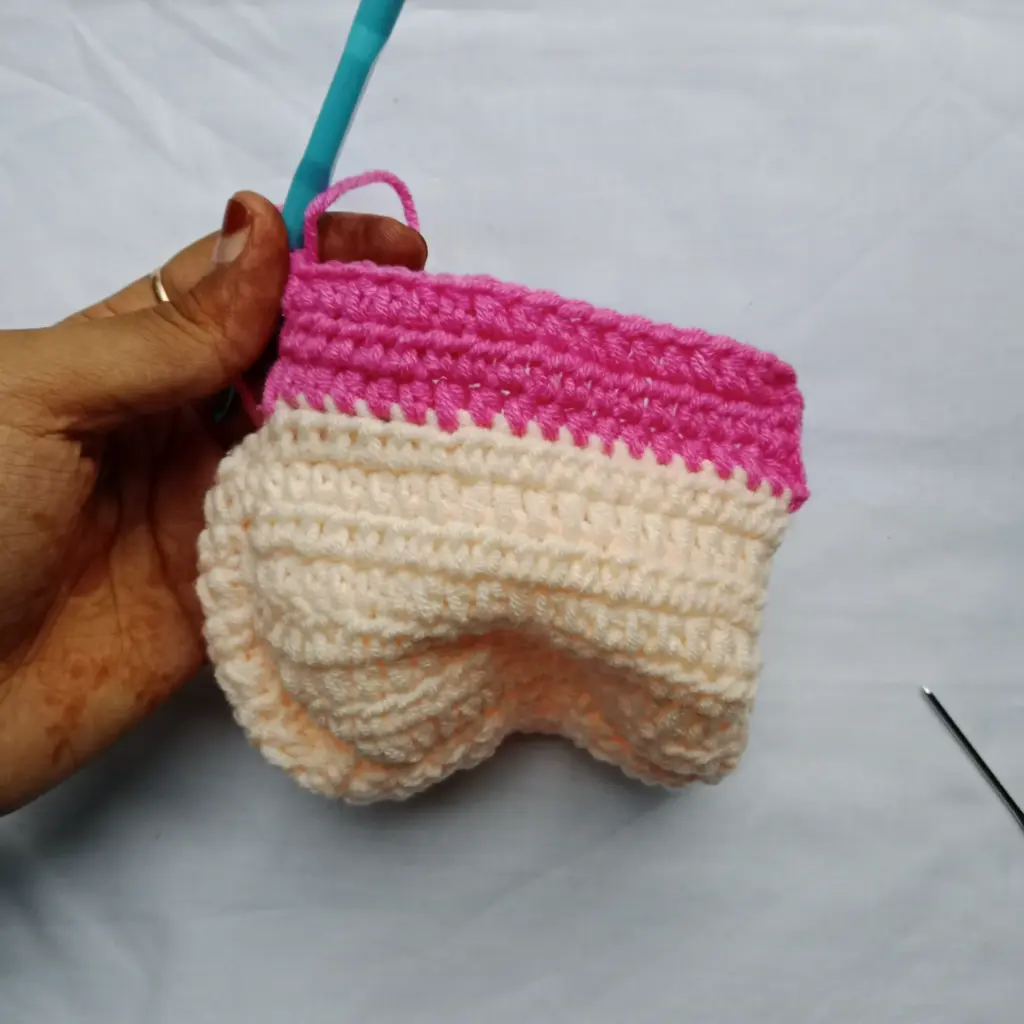
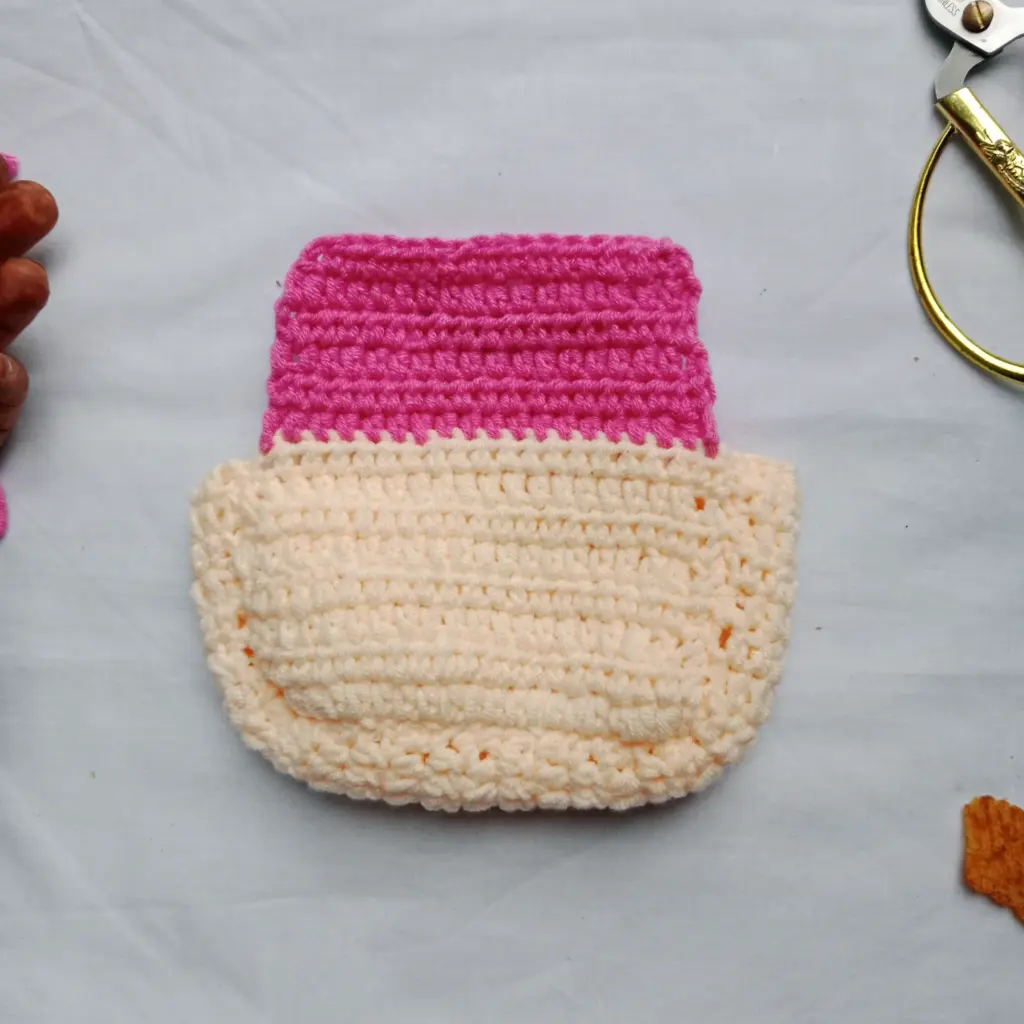
Transitioning to Straight Rows
Once the desired width is reached, the rows shift to a more structured build. By skipping the initial increases, you can work even rows that climb upward in a clean, uniform manner. This technique is perfect for balancing the bag’s shape, especially if you want the top portion to look neater and hold its form better.
This approach brings a nice contrast between the expanding lower portion and the steady upper build, creating a more refined overall look while still keeping the process approachable for beginners.
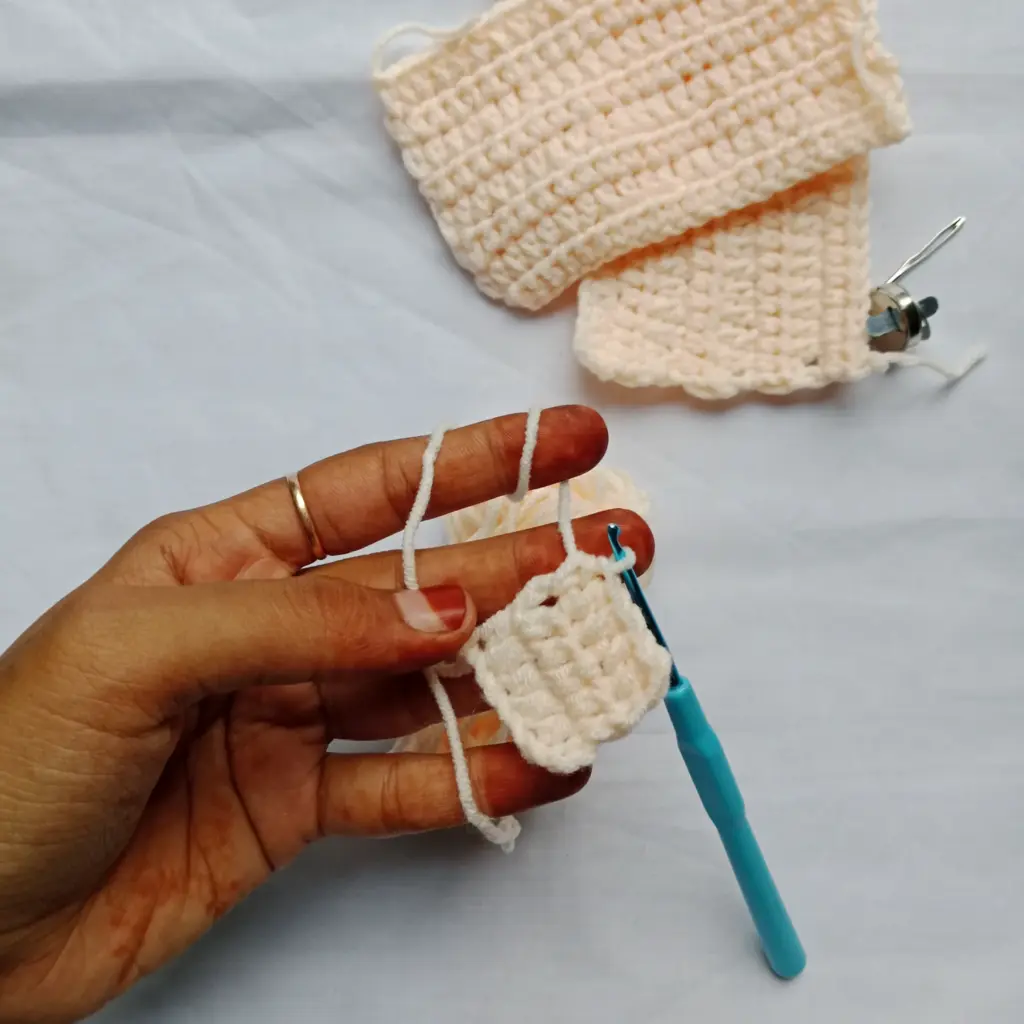
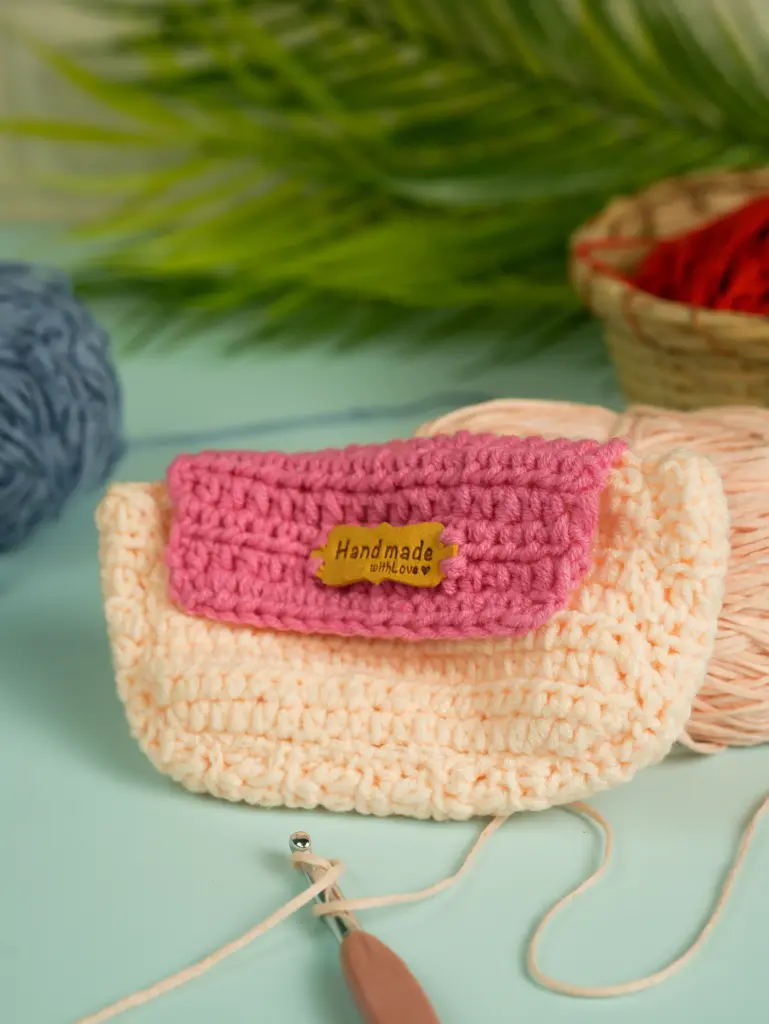
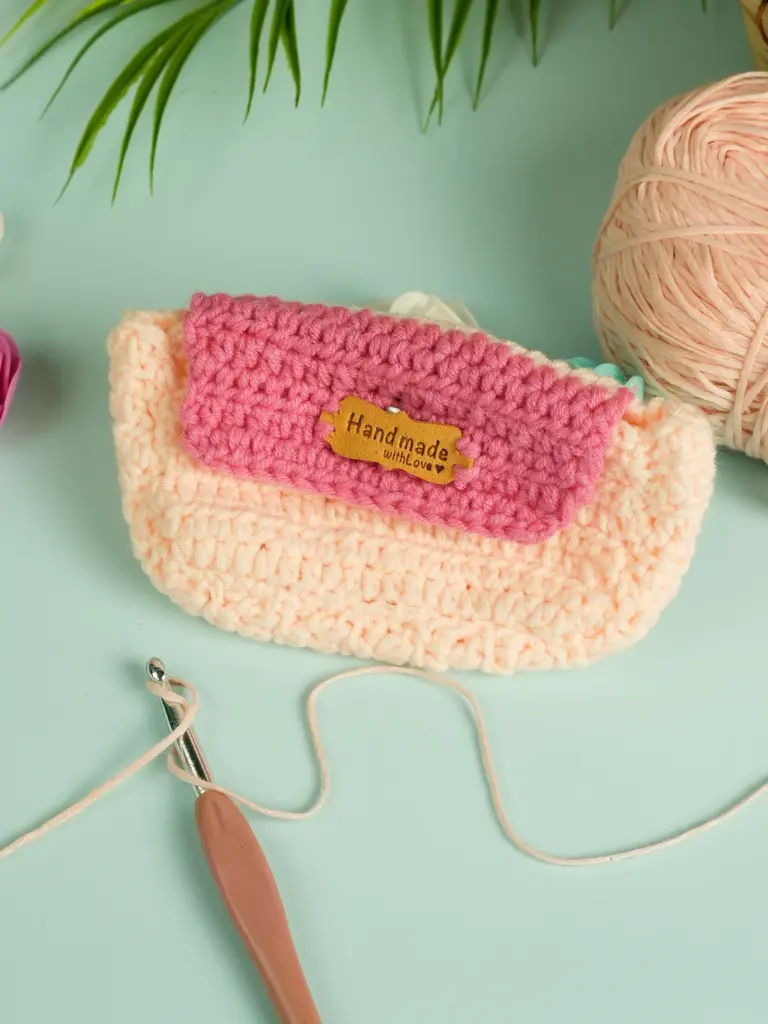
Shaping the Other Panel
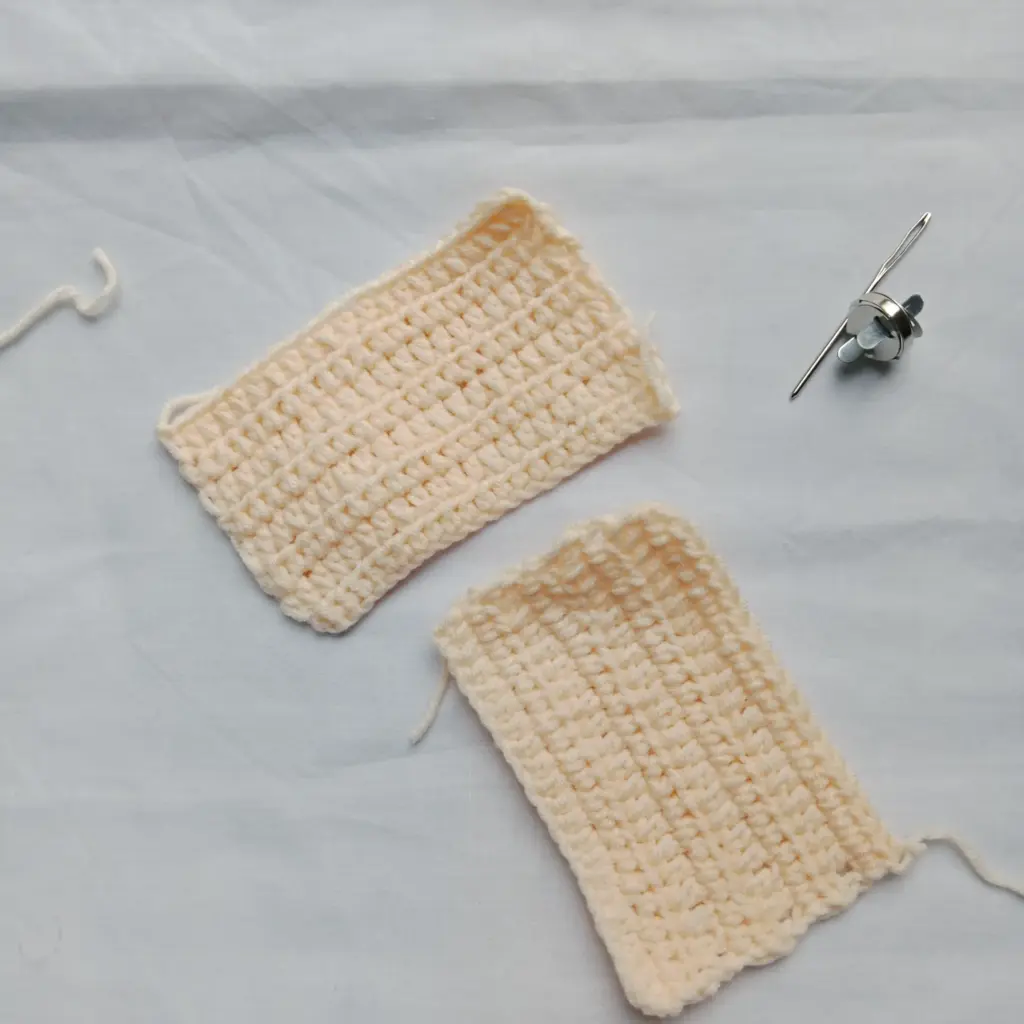
With the front panel done, it’s time to create the matching back. The good news is that the process stays the same—starting with a strong foundation, gently widening as needed, and shifting to straight rows once the width is set. This kind of repetition reinforces technique and helps the second piece fly off the hook much faster than the first.
The back panel can mirror the front in shape and size or be slightly customized if you prefer a tapered or asymmetrical look. The stitches used will feel more familiar this time around, and you might even find your rhythm speeding up as you get into the flow.
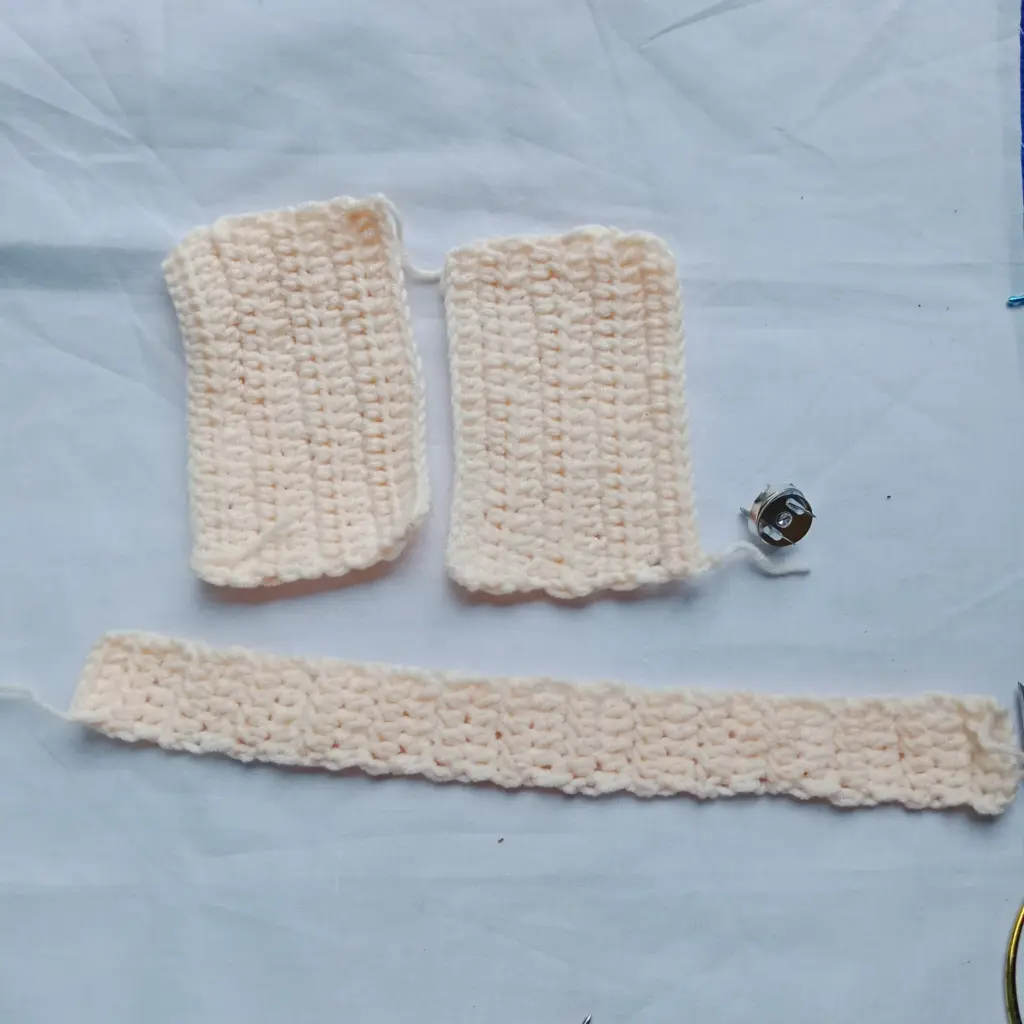
Working the Side Panels
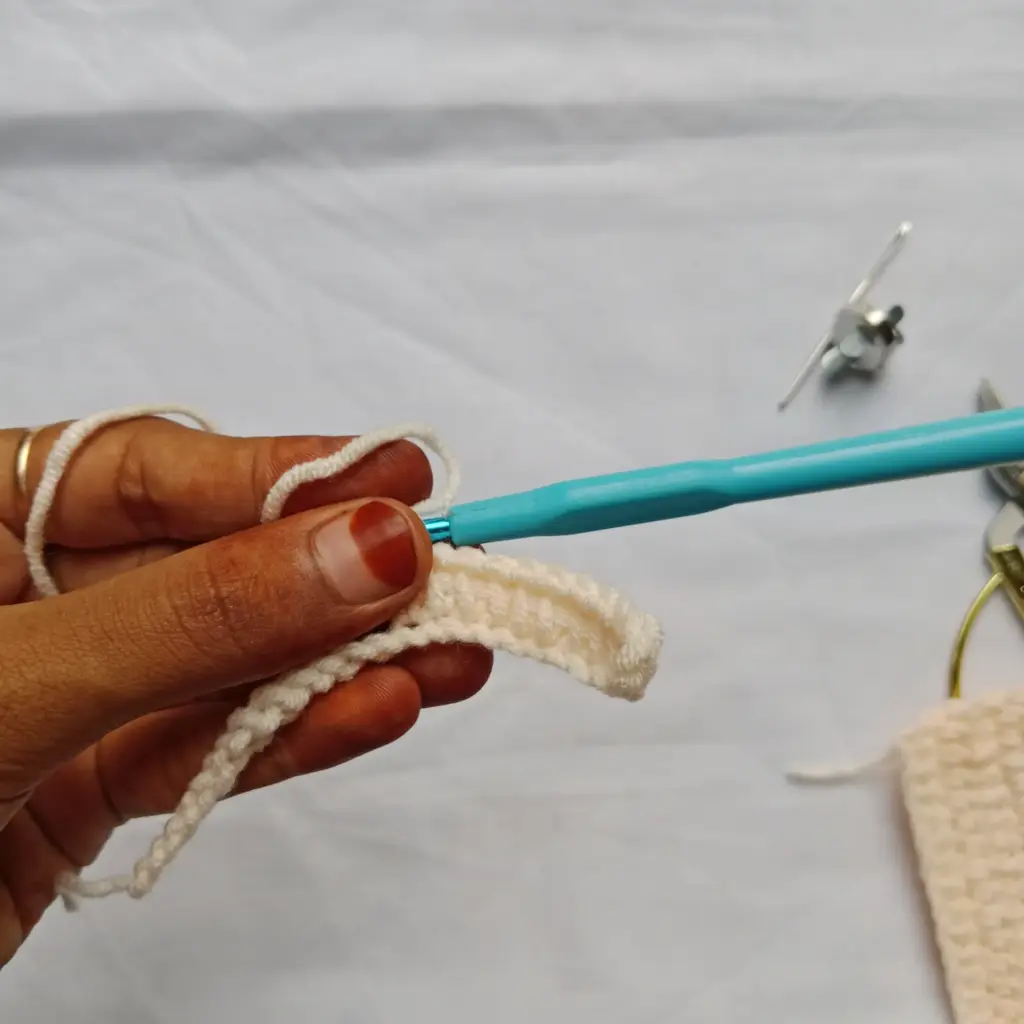
The sides of the bag help define its depth and structure. This project introduces a new stitching method for these parts, inspired by a Tunisian-style approach. Instead of finishing each stitch as you go, loops are collected across the row and then worked off in sequence, creating a woven texture that mimics knitting.

This section adds a unique contrast to the main body while also reinforcing the edges. It takes a bit more yarn and patience, but the finished effect is worth it. If preferred, simpler stitches from earlier sections can be used instead, making this part entirely customizable based on comfort and yarn availability.
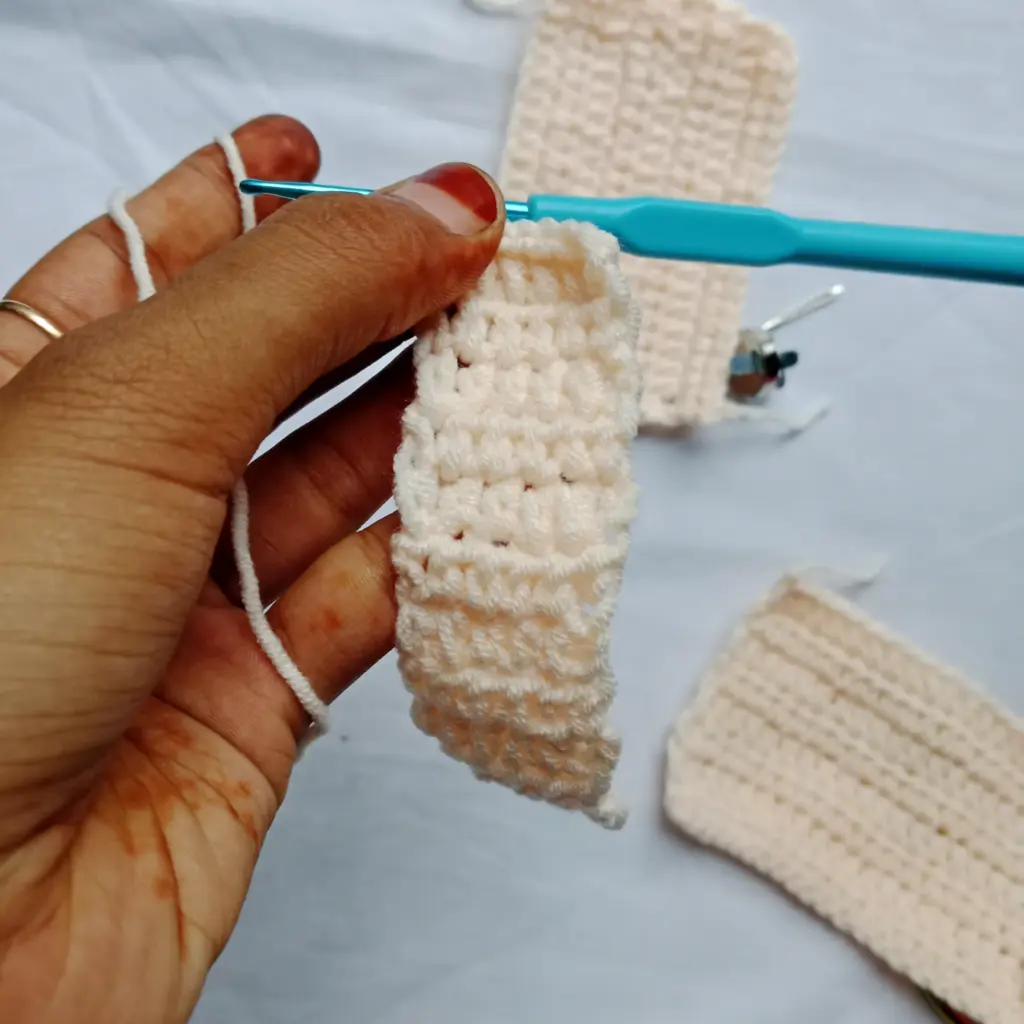
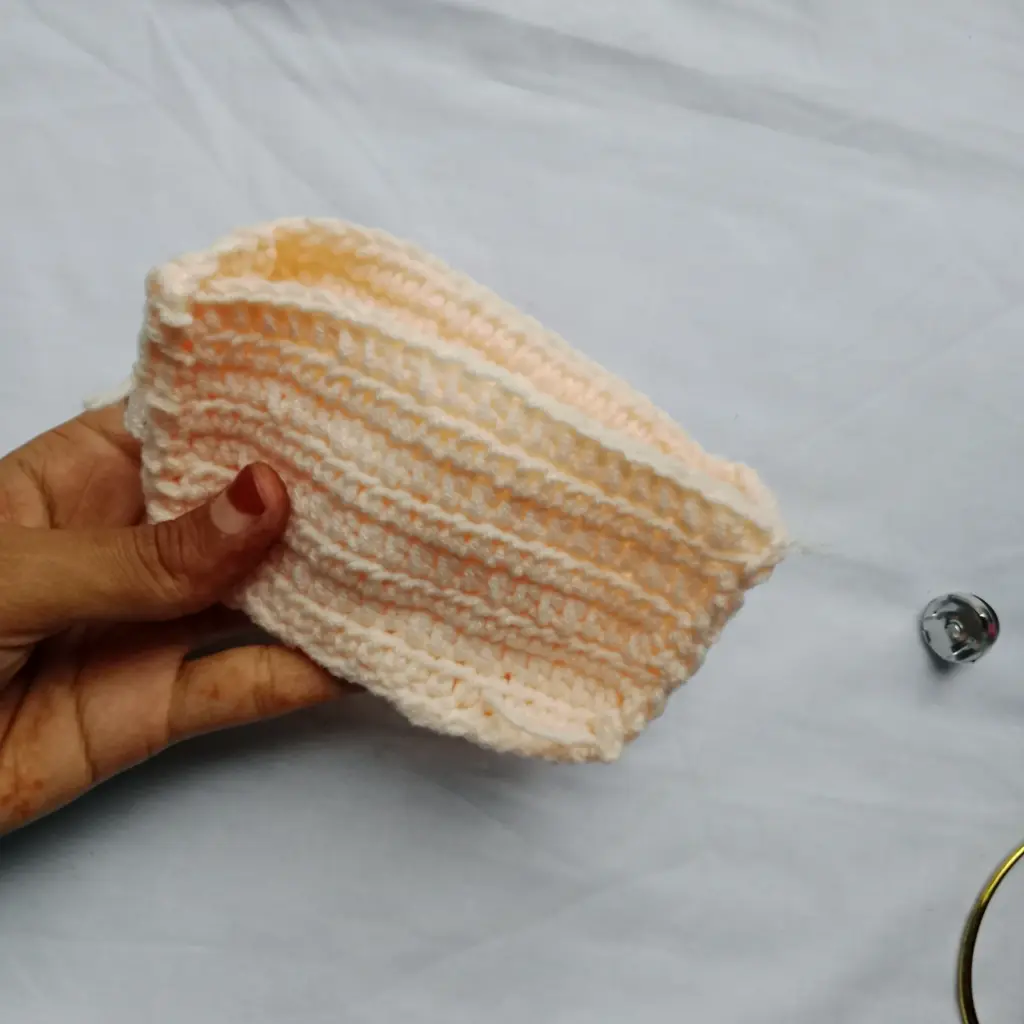
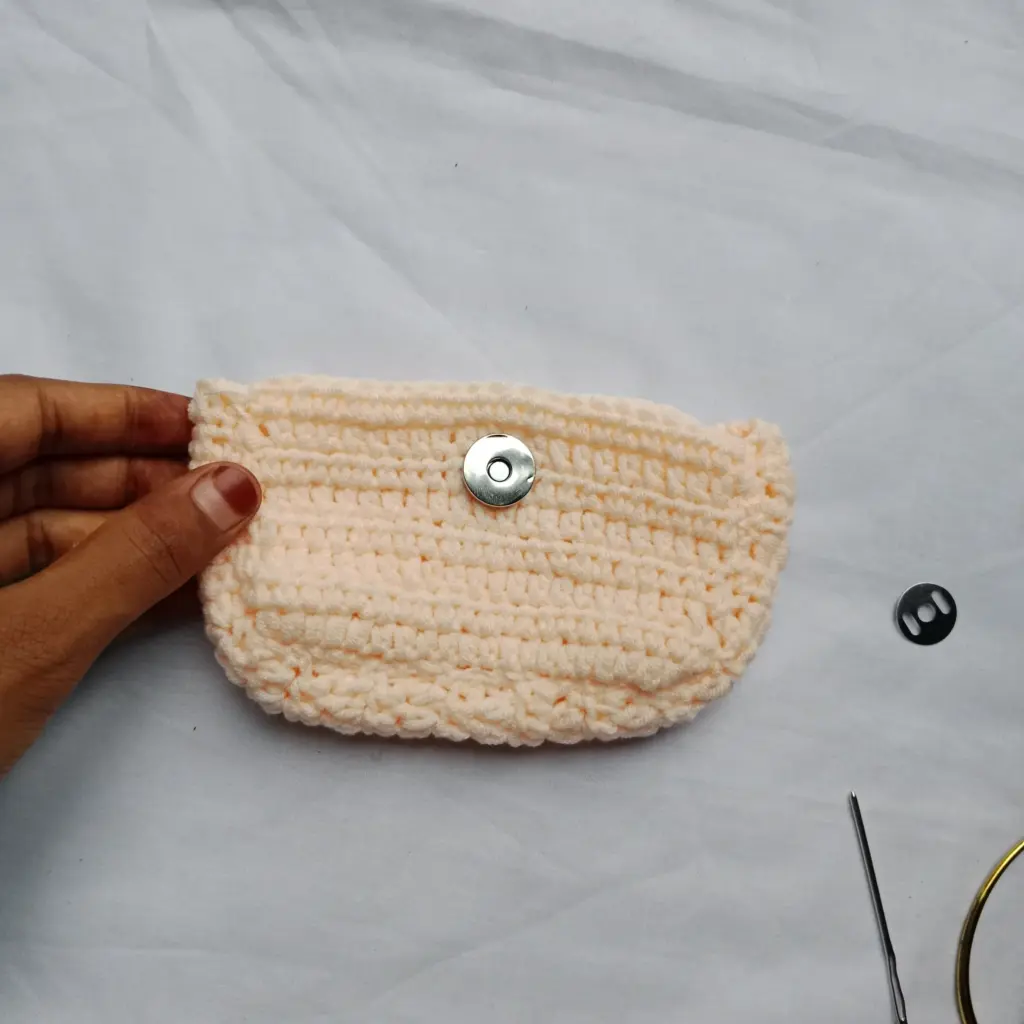
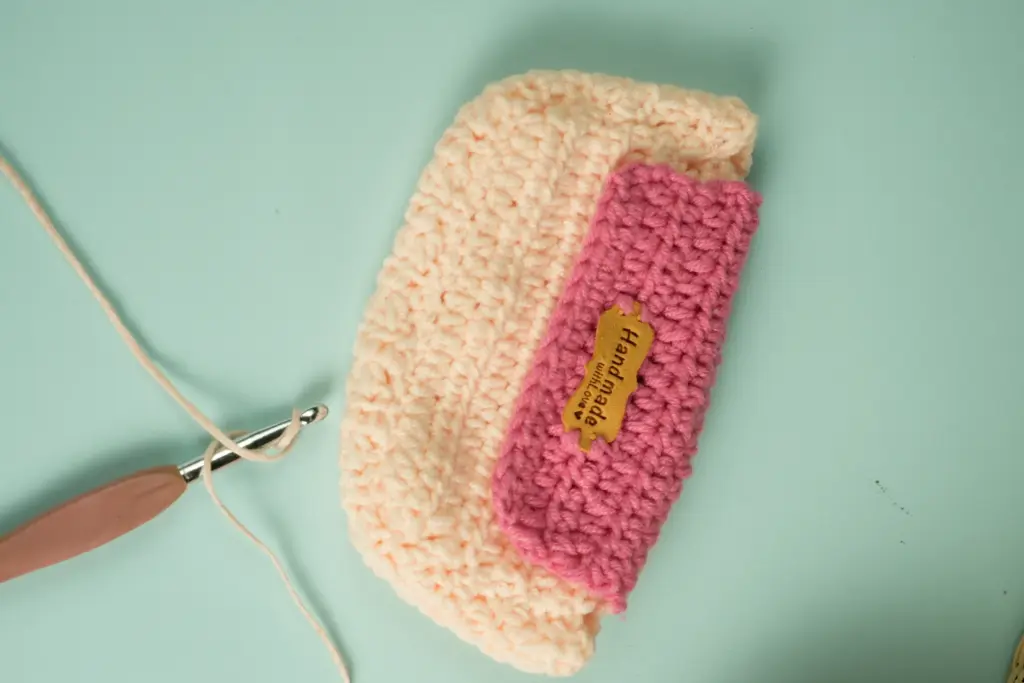
Joining the Pieces
Once all the panels are ready, the next step is assembly. The pieces are brought together and joined along their edges using crochet rather than sewing. This not only keeps the texture consistent but also gives the bag extra durability and stretch resistance.
Joining with a hook allows for cleaner alignment and control. Even beginners can master this with a bit of care and checking as they go. Each join becomes a visible seam that can serve as both reinforcement and design detail.
Adding the Handle
The final touch is the strap, and its design is as flexible as the bag itself. Using the same Tunisian-style technique gives the strap a smooth, knit-like texture and strong hold. For those running low on yarn, a shorter handle or even a braided yarn strap could work.
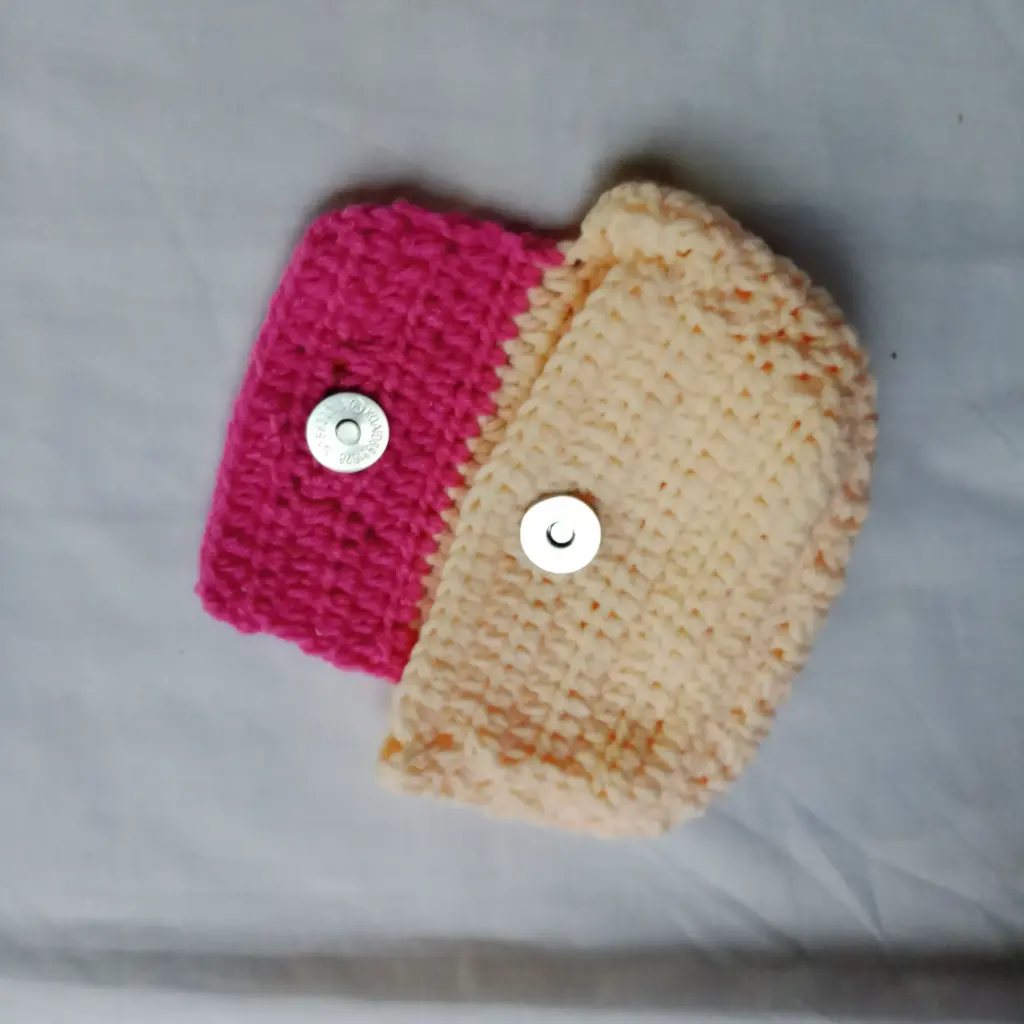
The key is securing the ends well to avoid stretching over time. Depending on your preference, the handle can be long for shoulder wear or kept short for a handbag-style grip. With this method, it’s easy to create a one-piece handle that blends right into the structure.
Quick Reference Table
| Section | Function | Method/Approach Used |
|---|---|---|
| Front Panel | Decorative and structural front | Single crochet with gradual increases |
| Back Panel | Rear structure of the bag | Matches front or modified for design |
| Side Panels | Defines depth and stability | Tunisian-inspired rows |
| Joining | Combines all parts | Hook-based seam with matching yarn |
| Handle | Carries weight and finishes bag | Dense stitch or braided alternative |
Tips for Better Results
- Use a larger hook if the yarn is too stiff – It will loosen the tension and make stitching easier.
- Measure as you go – It’s more important than counting stitches for bags.
- Match tension across panels – Helps keep the shape balanced.
- Customize the size – Adjust width or height by simply adding or removing rows.
- Leave long tails for joining – Saves time and avoids waste during assembly.
Final Thoughts
A handmade crochet bag is more than just a project—it’s a statement of style, skill, and creativity. Whether you’re making it for yourself, gifting it to a friend, or adding it to your craft market lineup, this hobo-style bag is a beautiful blend of form and function.
The mix of techniques—from simple rows to textured side stitches—makes this pattern educational as well as enjoyable. As you gain confidence, you’ll find countless ways to modify it: color blocks, pocket additions, even button or zipper closures.
So dig into that yarn stash, grab your favorite hook, and let your hands bring a beautiful new bag to life—one stitch at a time.