

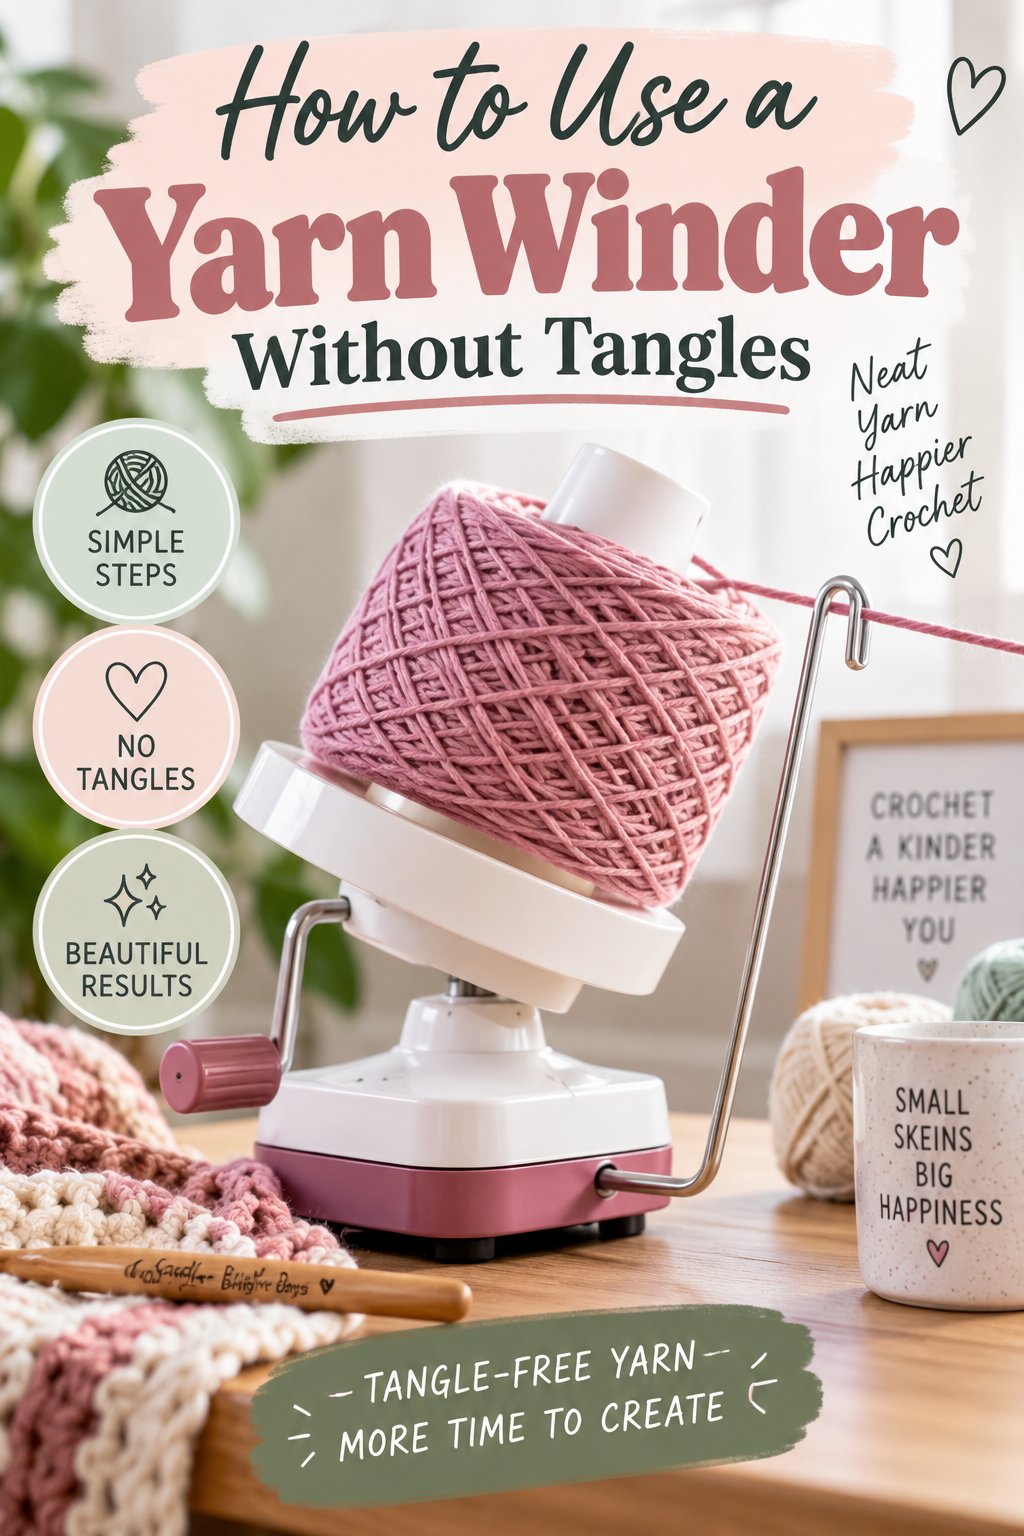
A yarn winder is a mechanical device that turns a loose hank, skein, or tangled yarn into a stable center-pull cake. A rotating spindle and moving yarn guide distribute the strand diagonally, creating a flat-bottomed shape that feeds smoothly from the center or outside during knitting and crochet.
Key Facts About Yarn Winders
- A yarn winder needs a free-forming hank, skein, or yarn holder. A loose pile should not feed directly into the machine.
- A swift keeps a tied hank open while the winder pulls yarn at a controlled rate.
- A typical 100 g skein takes 2-5 minutes with a manual winder and swift.
- Most entry-level winders handle about 100 g, while jumbo models commonly handle 280-450 g.
- Gentle, consistent tension matters more than maximum crank speed.
- A center-pull cake is convenient for active projects, but tightly wound cakes are poor long-term storage containers.
What Is a Yarn Winder and How Does It Work?
A yarn winder converts loose yarn into a compact cake by combining spindle rotation with a lateral guide movement. The spindle turns as the crank moves, while the guide arm shifts the strand from side to side; that synchronized motion creates a diagonal, crisscross structure rather than a simple layered ball.
A typical tabletop model includes a clamp, crank, drive gears, spindle, yarn guide, and one or more notches that hold the yarn tail. The clamp transfers the force of cranking into the table, so a loose clamp can make the entire winder wobble and produce uneven layers.
The guide arm is the component that controls distribution. If the guide stops moving, the yarn piles in one narrow band, creating a tall, unstable lump. If the spindle slips, the cake may develop loose sections or sudden tight bands.
The finished form is called a yarn cake because its sides are generally cylindrical and its base is flat. Unlike a round hand-wound ball, a cake can sit beside a chair or project bag without rolling across the floor.
Why the Cake Shape Matters
The center-pull structure reduces rolling and lets a knitter or crocheter draw yarn from a stationary container. The outside tail remains available when a pattern requires two strands, a color comparison, or a controlled rewind.
The winding pattern does not make yarn stronger. It only organizes the strand. The fiber remains vulnerable to abrasion, compression, and excessive tension while the cake is stored or used.
Knit Picks’ yarn-winding guidance uses the practical rule that yarn should be wound “firmly, but not tightly.” That distinction is important: a firm cake holds its shape, while an over-compressed cake can temporarily elongate wool and reduce its spring.
How Do You Prepare Yarn Before Winding?
Prepare yarn by identifying its form, locating every tie, checking for damage, and placing the yarn on a swift or another controlled holder. Never cut a hank tie until the yarn is supported, because an untied hank can collapse into a knot-filled loop within seconds.
A standard preparation sequence is:
- Identify the yarn format. A hank, skein, ball, and cake do not feed in the same way. A center-pull commercial skein may not need rewinding unless it collapses or develops tangles.
- Inspect the strand. Look for weak spots, knots, joins, fuzz, and color changes before tension hides them inside the cake.
- Find all ties. Most hanks have two to four ties. Keep the strand that forms the ties separate from the working yarn.
- Place the hank on the swift. Adjust the swift so the yarn loop turns freely without rubbing against the posts.
- Cut the ties one at a time. If the loop begins to relax, stop cutting and reposition it.
- Find the yarn end. The easiest end is not always the outermost strand. Pull gently rather than digging through the loop.
- Position the swift and winder. Keep the yarn path level and free of chair backs, table legs, pets, and sharp edges.
A yarn swift is not technically mandatory, but some controlled holder is necessary for most hanks. A partner can hold the loop, yet a partner must maintain steady rotation and distance; inconsistent feeding creates uneven tension and makes hand fatigue more likely.
| Preparation Variable | Recommended Setting | Problem When Ignored |
|---|---|---|
| Swift distance from winder | 12-18 inches | Yarn rubs against the table or pulls sideways |
| Hank support | Swift or steady second person | Untied loop collapses into tangles |
| Table edge thickness | Within clamp range | Winder rocks or detaches |
| Tie count to inspect | 2-4 ties per hank | Crossed strands form a knot |
| Yarn path height | Swift and guide at similar height | Strand lifts, drops, or slips from the guide |
How to Use a Yarn Winder Step by Step
Use a yarn winder by clamping it securely, routing the yarn through the guide, anchoring the tail, and turning the crank slowly while the swift rotates freely. The best cake comes from light, even feeding tension rather than from pulling the yarn tightly or maximizing the crank speed.
- Choose a stable surface. A solid table is better than a folding tray or thin shelf. Leave enough space for the crank to complete a full rotation.
- Attach the clamp. Tighten the clamp until the base cannot shift, then turn the crank once without yarn to check for wobble.
- Set up the swift. Place the swift about 12-18 inches from the winder and align the swift’s yarn loop with the winder guide.
- Place the hank on the swift. The yarn should rotate without catching on the swift’s arms or posts.
- Cut and remove the ties. Keep the loop supported until all ties are removed and the strand path is clear.
- Thread the yarn guide. Follow every metal or plastic guide point in sequence. Skipping a guide changes the pull angle and can cause loops.
- Anchor the yarn tail. Insert 2-4 inches of yarn into the spindle notch. If the notch is shallow, hold the tail for the first several turns.
- Start the first layers. Turn the crank clockwise at approximately one rotation per second. Confirm that the strand crosses the spindle instead of stacking in one place.
- Maintain light tension. Let the yarn slide across your fingers. Do not pinch it tightly or pull it downward.
- Watch the guide arm. The guide should travel smoothly from side to side. Stop immediately if it stalls, rattles, or jumps.
- Slow down near the end. The final 1-2 yards can slip free and become a loose loop if cranked at full speed.
- Secure the finished tail. Tuck it under several outer strands or place it in a yarn band. Do not knot it tightly through the cake.
- Remove the cake. Lift it vertically from the spindle so the center opening does not collapse.
The first rotations determine whether the cake remains stable. If the yarn forms a narrow tower, stop, remove the loose layers, and confirm that the guide arm is moving across its full range.
How Much Tension Should You Use?
Use the minimum tension that keeps the strand moving smoothly through the guide. A useful hand test is to pinch the yarn lightly between thumb and forefinger; the strand should slide while retaining its normal loft and should not leave a compressed groove in your fingers.
Yarn weight changes the feel of correct tension. Lace yarn needs very little resistance because its thin plies can separate. Bulky wool needs enough guidance to prevent loops, but excessive force can flatten the fibers and make the cake unusually dense.
A practical test is to compare the wound cake with an unwound section. If the wound section looks thinner, feels harder, or does not rebound after gentle stretching, rewind it more loosely.
Expert insight: The most common tension mistake is controlling the yarn with the feeding hand instead of controlling the machine speed. A slow crank reduces sudden pulls without requiring the hand to clamp the strand.
Which Type of Yarn Winder Fits Your Work?
The right yarn winder depends on skein size, monthly volume, fiber type, available space, and tolerance for hand cranking. A basic plastic model suits occasional 100 g skeins, while a jumbo or electric model becomes more practical when large hanks, frequent winding, or hand discomfort changes the cost calculation.
- Manual plastic winder: Suitable for occasional acrylic, wool, cotton, and blended yarn.
- Heavy-duty manual winder: Better for frequent use, bulky yarn, and larger cakes.
- Wooden or metal-gear winder: Chosen for durability, smoother operation, and repairability.
- Electric winder: Useful for production work or users who cannot comfortably turn a crank.
- Nostepinne: A low-cost alternative for portability and small quantities.
- Hand winding: Appropriate for one emergency skein, but slow and difficult to tension consistently.
| Winder Type | Typical Capacity | Typical Price in USD | Typical Winding Time | Best Use |
|---|---|---|---|---|
| Entry-level plastic manual | 100 g | $15-$40 | 2-5 minutes | 1-4 skeins per month |
| Heavy-duty manual | 280-450 g | $60-$150 | 5-12 minutes | Bulky yarn and frequent home use |
| Wooden or metal-gear manual | 100-450 g | $80-$180 | 2-12 minutes | Long-term ownership and repairability |
| Electric tabletop model | 100-450 g | $180-$350 or more | 1-4 minutes | Shops, dyers, and high-volume winding |
| Nostepinne or winding stick | Usually 50-200 g | $5-$20 | 20-30 minutes | Travel and low-cost winding |
Capacity claims are not interchangeable between brands. A winder advertised for 100 g may handle less of a dense cotton hank than a lofty wool hank because volume, not weight alone, determines whether the cake touches the housing.
Stanwood and Knit Picks are common consumer examples of manual winders, while Knitter’s Pride offers wooden and composite tools used with compatible swifts. Manufacturer capacities are starting points, not permission to force a full hank onto a spindle.
How Much Does Winding Yarn Cost and Take?
Winding yarn usually costs nothing after equipment ownership, but the equipment investment ranges from approximately $15 for a basic manual model to more than $350 for an electric unit. A typical 100 g hank takes 2-5 minutes with a swift and manual winder, excluding setup and tie removal.
| Yarn Amount | Manual Winding Time | Electric Winding Time | Typical Cake Count |
|---|---|---|---|
| 50 g fine yarn | 1-3 minutes | Under 2 minutes | 1 small cake |
| 100 g worsted yarn | 2-5 minutes | 1-3 minutes | 1 standard cake |
| 200 g bulky yarn | 4-8 minutes | 2-5 minutes | 1 large cake |
| 400 g mixed-fiber hank | 8-15 minutes | 4-8 minutes | 1 jumbo cake or 2 standard cakes |
Time varies with yarn thickness, winding speed, swift resistance, and the number of knots in the hank. A damaged or tangled hank can take longer to prepare than to wind.
The swift adds cost if purchased separately. Typical umbrella swifts cost $25-$80, while wooden floor or tabletop swifts commonly cost $80-$200 or more. For someone winding six 100 g skeins each month, a $50 winder and $40 swift spread over two years equals about $0.63 per skein before replacement parts.
Expert insight: A larger capacity does not always mean a better result. A jumbo spindle can create a cake too large for a project bag, and a dense jumbo cake may become difficult to center-pull near the middle.
What Are the Alternatives to a Yarn Winder?
Alternatives include hand winding, a nostepinne, a cardboard tube, or a partner-held hank. These methods cost less and travel easily, but they generally require more time and offer less repeatable tension than a swift and mechanical winder.
| Method | Equipment Cost in USD | Typical Time for 100 g | Tension Consistency | Main Limitation |
|---|---|---|---|---|
| Winder with swift | $40-$200 or more | 2-5 minutes | High | Requires storage space |
| Nostepinne | $5-$20 | 20-30 minutes | Skill-dependent | Slow for large yarn quantities |
| Hand-wound ball | $0-$20 | 15-25 minutes | Low to moderate | Ball rolls and may compress yarn |
| Partner-held hank | $0 | 5-15 minutes | Variable | Partner must rotate consistently |
| Cardboard tube method | $0-$5 | 15-30 minutes | Moderate | Tube can collapse under tension |
A nostepinne creates a center-pull ball through repeated wrapping around a tapered stick. It is useful for lace or travel projects because the user can stop at any point, but the method demands careful rotation and consistent hand placement.
Hand winding is acceptable for a single skein when the yarn is already organized. It is a poor choice for a slippery silk blend, a long gradient hank, or yarn that must preserve a specific sequence, because the ball can tighten unpredictably.
A cardboard tube can help form a center opening, but it should not replace a stable spindle for heavy yarn. The tube may crush, and the resulting ball often has less predictable layers.
What Problems Happen While Winding?
Most winding problems come from poor alignment, insufficient support, excessive speed, or a mechanical fault. The visible symptom usually identifies the cause: stacked layers indicate guide trouble, loose loops indicate speed or tension trouble, and repeated slipping indicates clamp or gear trouble.
| Symptom | Likely Cause | Immediate Fix | Prevention |
|---|---|---|---|
| Yarn piles in one spot | Guide arm is stuck | Stop and free the guide | Test guide travel before winding |
| Yarn slips from notch | Tail is too short | Reinsert 2-4 inches | Hold the tail for first turns |
| Swift jerks | Hank ties remain or loop rubs | Stop and inspect ties | Cut every tie before feeding |
| Cake is hard and dense | Feeding tension is excessive | Rewind loosely | Use a two-finger sliding grip |
| Gear skips | Clamp is loose or yarn is overloaded | Tighten clamp and reduce load | Stay below practical capacity |
| Outer layers collapse | Yarn is slippery or loosely wound | Add a loose yarn band | Slow the crank near the finish |
| Yarn breaks | Weak fiber, knot, or sharp guide | Stop and inspect strand | Remove burrs and reduce tension |
If the yarn jumps out of the guide, do not keep cranking to “fix” the loop. Stop, unwind the affected section, and rethread the strand. Continuing can create a tight knot around the spindle or pull a fragile yarn apart.
If a gear skips only under heavy load, divide the hank into two cakes. Forcing the machine beyond its practical capacity accelerates gear wear and can distort the cake even when the mechanism does not visibly fail.
If the swift spins too freely, the hank may overrun and create a slack loop between the swift and winder. If the swift resists rotation, the yarn may stretch. The correct setup has gentle, even resistance with no sudden stops.
How Do You Wind Difficult Yarn?
Wind difficult yarn at a slower speed and reduce the amount placed on the spindle. Slippery rayon, silk, singles, boucle, brushed mohair, recycled yarn, and fragile lace yarn each need more observation than smooth plied wool.
For slippery yarn, use a wider cake base and slower guide movement if the model allows adjustment. For fuzzy yarn, avoid repeated rewinding because abrasion can increase halo loss and create pills.
For a yarn with frequent knots, stop at every knot and pass the knot through by hand. Never allow a knot to slam into the guide or spindle, because the impact can tighten it permanently.
Gradient and self-striping yarn need special care. Mark the beginning and end before winding, then choose center-pull or outside-pull use according to the color sequence required by the pattern.
How Should Yarn Cakes Be Stored and Used?
Store yarn cakes loosely in a dry, shaded place and use them for active projects rather than indefinite storage. Wool, alpaca, cotton, and other fibers can remain in a cake temporarily, but months of compression can alter loft, elasticity, or shape.
| Storage Situation | Recommended Form | Typical Duration | Reason |
|---|---|---|---|
| Project begins within a week | Center-pull cake | 1-14 days | Convenient and low risk |
| Project pauses for a month | Loose cake in breathable bag | Up to 4 weeks | Limits dust and compression |
| Seasonal storage | Loose hank with ties restored | 1-12 months | Preserves spring and shape |
| Delicate mohair or alpaca | Loose hank, cool and dry | 1-12 months | Reduces crushing and abrasion |
| Damp or humid room | Sealed only after drying | 24-48 hours before packing | Prevents trapped moisture |
A cake can feed from the center or outside. Center-pull feeding is convenient but may cause the center to collapse as the project progresses, especially with slippery yarn. Outside-pull feeding keeps the cake intact but allows it to roll unless placed in a bowl or project bag.
Do not store an untied hank. Re-tie it loosely in at least four places with figure-eight ties before placing it away. Tight cross ties can create permanent creases, while too few ties allow the hank to twist.
The Craft Yarn Council’s yarn-label guidance distinguishes yarn weight from yardage and fiber content, which matters when planning cakes. Two 100 g skeins can have very different lengths and volumes, so project planning should use the label’s meter or yardage information rather than weight alone.
How Do You Maintain a Yarn Winder?
Maintain a yarn winder by removing lint, checking fasteners, inspecting the guide for burrs, and lubricating only the parts recommended by the manufacturer. Most plastic gear systems should not receive random oil because oil can soften plastic, attract dust, or contaminate yarn.
After every few winding sessions, inspect these points:
- Clamp screw and table contact surface
- Crank attachment and spindle alignment
- Guide arm movement
- Gear teeth for missing or rounded edges
- Spindle notch for sharp plastic or metal edges
- Screws holding the base and housing
- Lint trapped around moving joints
Use a dry soft brush for fiber debris. If the manufacturer specifies a lubricant, apply a very small amount to the named metal pivot or gear location, then rotate the mechanism without yarn and wipe away excess.
Entry-level plastic winders commonly cost $15-$40 and may last 1-3 years under moderate use. Well-maintained wooden or metal-gear models often operate for 10 years or longer, although lifespan depends on load, alignment, and frequency.
Expert insight: A burr on the yarn guide can damage more yarn than a visibly rough gear. Run a scrap of smooth yarn through the guide before using a valuable hand-dyed skein.
Frequently Asked Questions About How to Use a Yarn Winder
Can I wind a skein without a swift?
You can wind a skein without a swift if another person holds the loop and rotates it evenly, or if the skein rests on a controlled holder. Do not place a loose hank on the floor or feed it from a pile. The yarn will cross over itself, creating tangles faster than the winder can organize them.
Why does my center-pull cake collapse?
A center-pull cake can collapse because the center tail was pulled out forcefully, the cake was wound too loosely, or the yarn is slippery. Place the cake in a bowl or project bag, and pull the center strand gradually. For unstable yarn, use the outside tail instead.
Can I wind two strands together?
You can wind two strands together if both strands feed from separate holders at the same rate. Keep the strands aligned before they enter the guide, and avoid winding them together if one strand has a different fiber, thickness, or stretch behavior that could create uneven tension.
Should I rewind commercially wound balls?
Rewind a commercial ball when it collapses, tangles, contains damaged sections, or does not feed reliably. A factory center-pull skein that remains stable does not need mechanical rewinding. Rewinding only for appearance adds handling and may compress the yarn unnecessarily.
How do I know whether a yarn cake is too tight?
A yarn cake is too tight when it feels hard, the outer layers show deep compression lines, or the yarn appears thinner than an unwound section. A gentle squeeze should produce slight give. If the cake feels rigid, unwind and rewind it with less resistance.
Can a yarn winder handle very bulky yarn?
A yarn winder can handle very bulky yarn only when the spindle, housing, and guide provide enough clearance. Check the manufacturer’s capacity, begin with a partial skein, and turn the crank slowly. If the yarn rubs against the housing or the gears skip, divide the yarn into smaller cakes.