
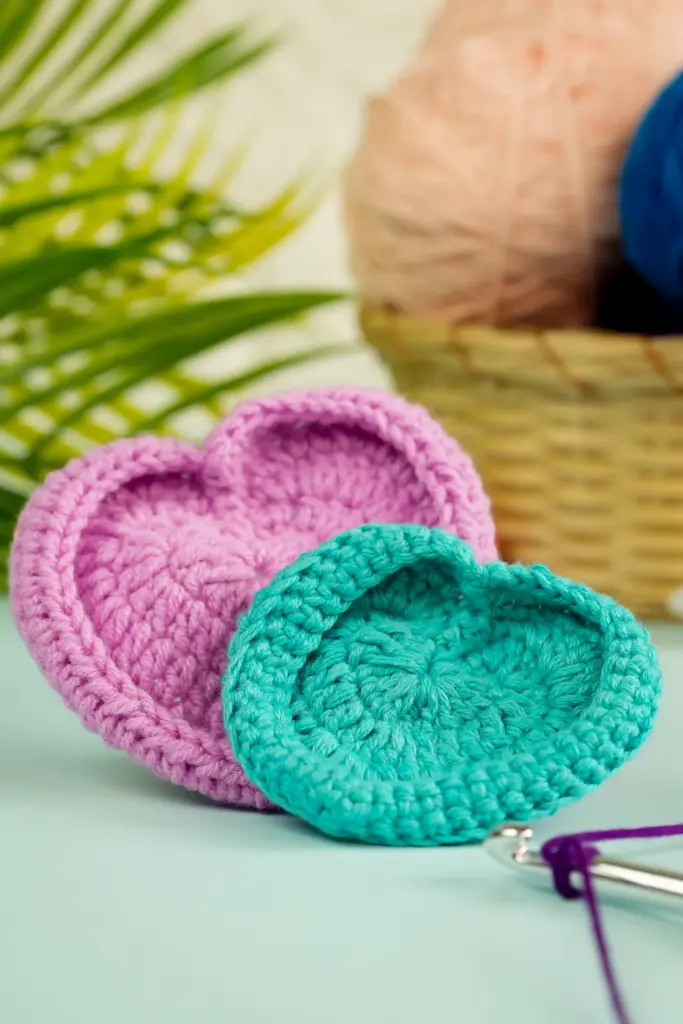
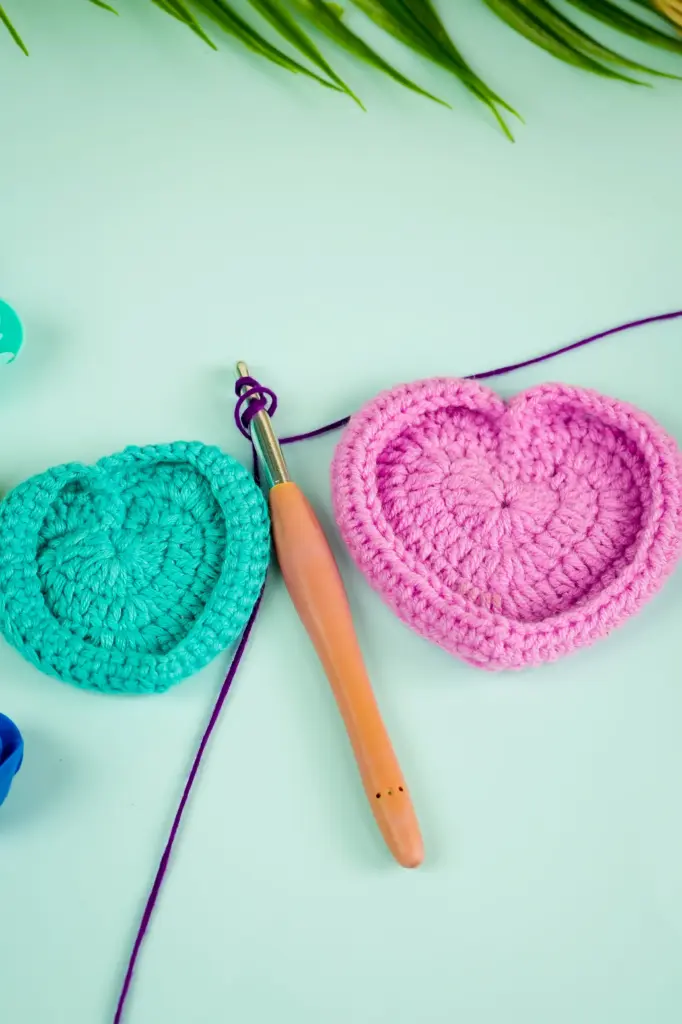
Crochet mini love baskets, also known as heart-shaped trinket trays. They are the perfect blend of charm and functionality. These adorable little baskets can hold rings, lip glosses, small accessories, or even serve as thoughtful handmade gifts.
The design is simple enough for beginners yet elegant enough to showcase as part of your home décor.
What makes this mini love basket pattern special?. With a few basic stitches and minimal materials, you can create a beautiful heart-shaped tray that stands upright on its own.
It’s an excellent project for learning Mini Love Basket Crochet Patterns with fun and relaxing.
Materials
Before beginning you need these materials.
- Medium-weight (10 ply) yarn — any soft acrylic or cotton blend
- Crochet hook size 4 mm
- Darning needle for weaving in ends
- Scissors
- Stitch marker
Abbreviations (US crochet terminology)
- Mr – Magic ring
- Sc – Single crochet
- Hdc – Half double crochet
- Dc – Double crochet
- Tr – Treble crochet
- Sl st – Slip stitch
Mini Love Basket Crochet Patterns step by step Guide
Forming the Heart Base
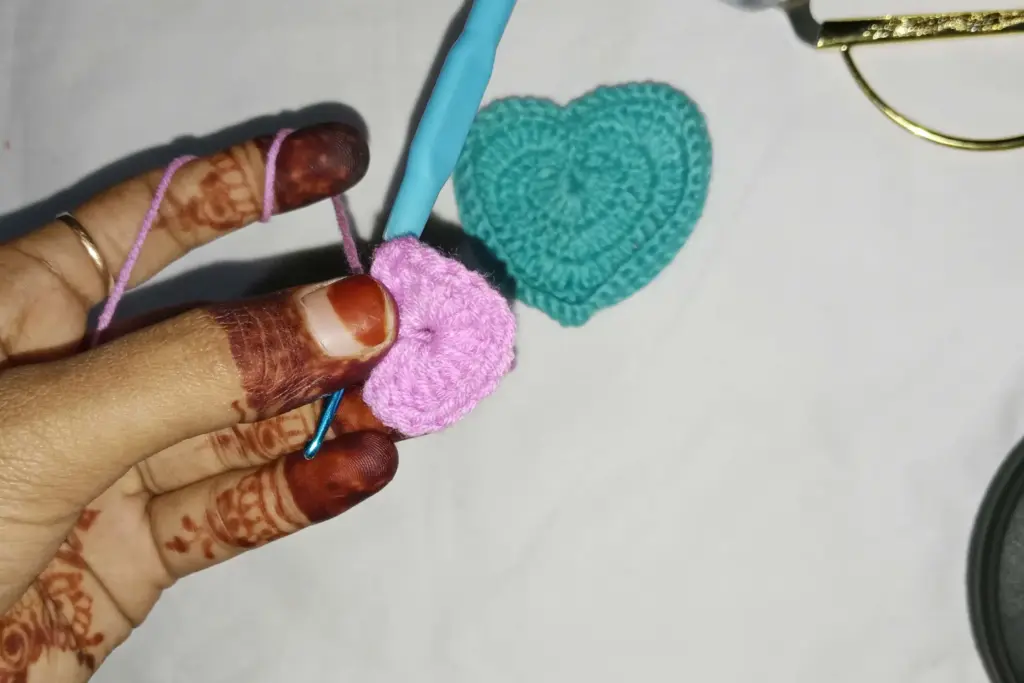
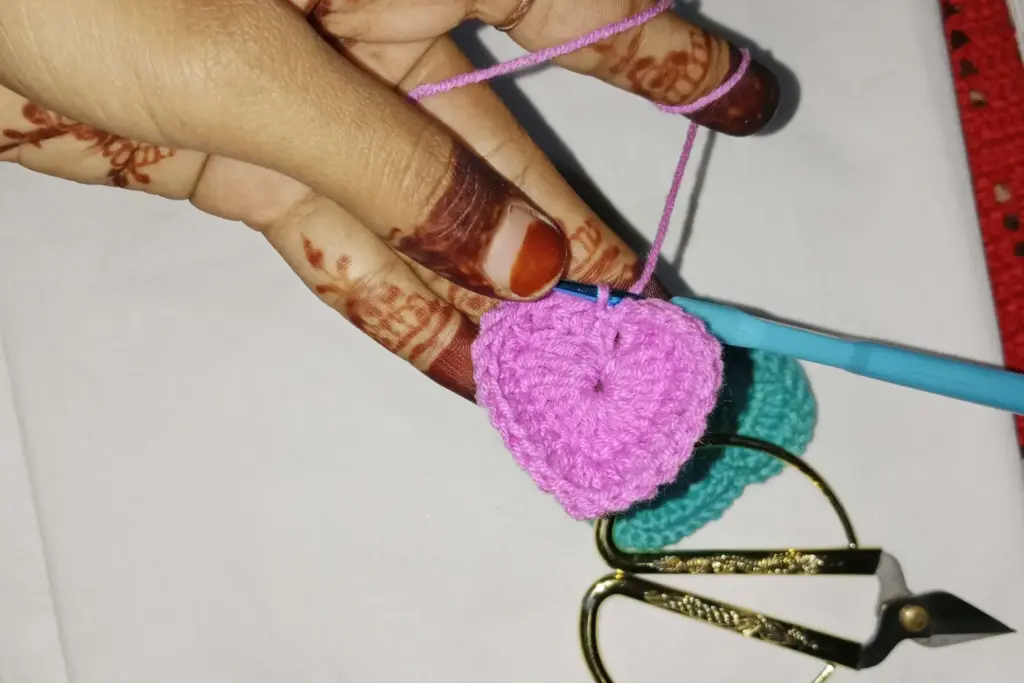
The foundation of the mini love basket starts with creating the heart shape. You’ll first work a circular center and then shape it into a heart by strategically placing taller stitches on one side and shorter stitches on the other. This gradual change in stitch height helps the design naturally curve into that iconic heart silhouette.
Once the base is formed, you’ll begin to notice the structure taking shape — one end forming a soft curve and the other narrowing into the signature point. Adjust your tension as you go to keep the edges even and smooth. The first stage is all about establishing the shape that will serve as the bottom of your trinket basket.
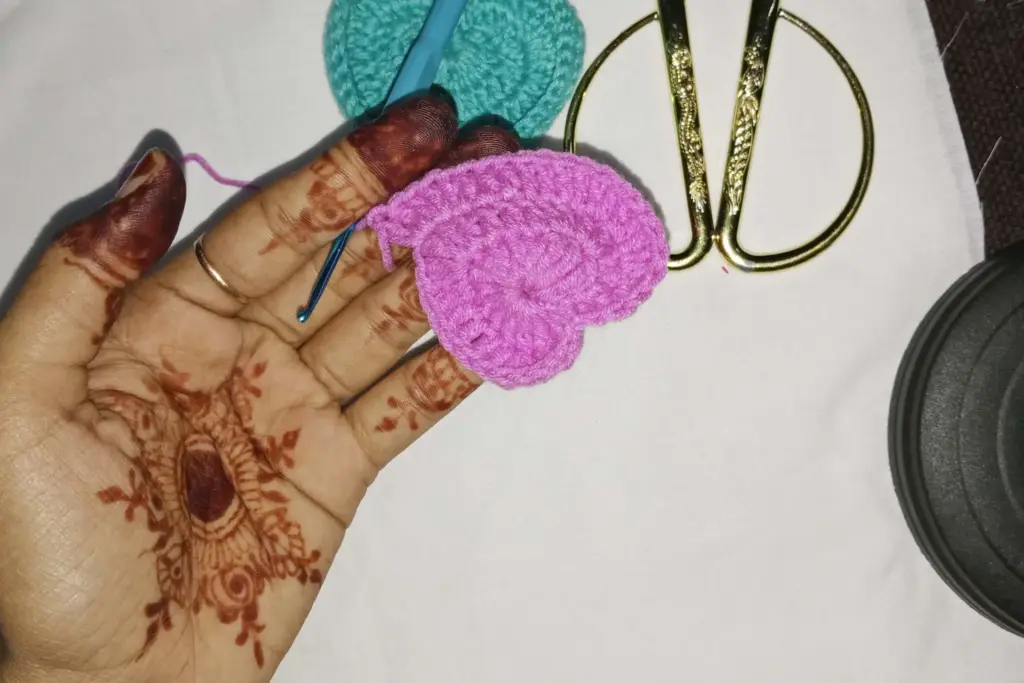
Building the Heart Walls
After completing the base, it’s time to create the sides that give your heart basket its depth. You’ll work upward from the edges, using simple stitches to form a short wall around the perimeter. This helps the basket stand upright and hold small objects securely inside.
By working into the surface stitches of the heart’s base, you’ll create a clean and seamless join between the bottom and the sides. The result is a smooth curve that mimics the contours of a real heart. This step transforms your flat heart into a three-dimensional basket that feels sturdy and balanced.
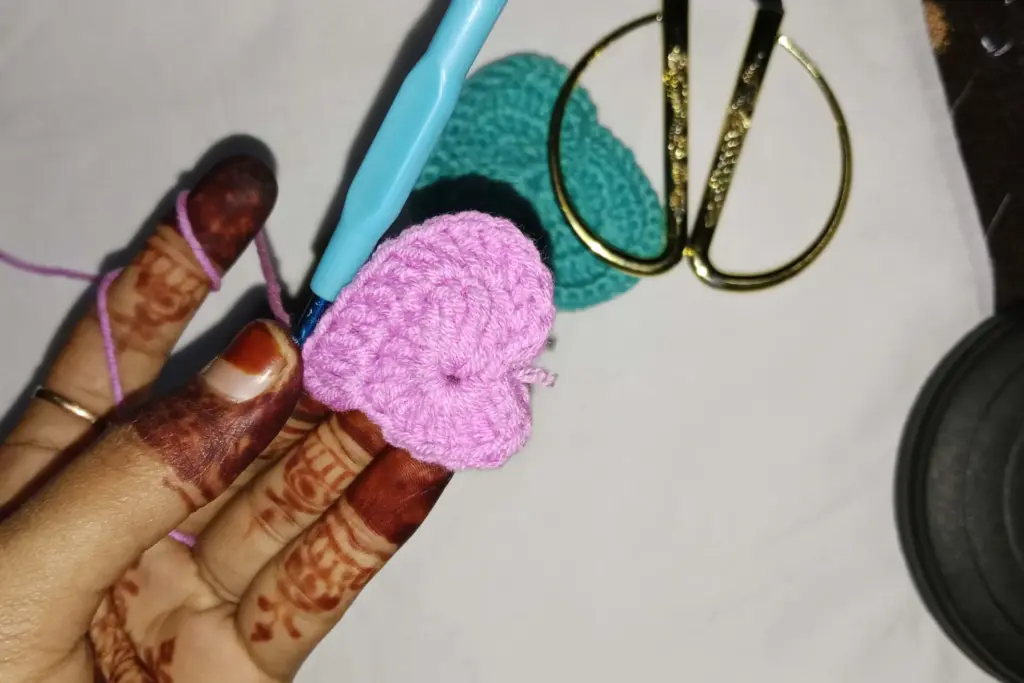
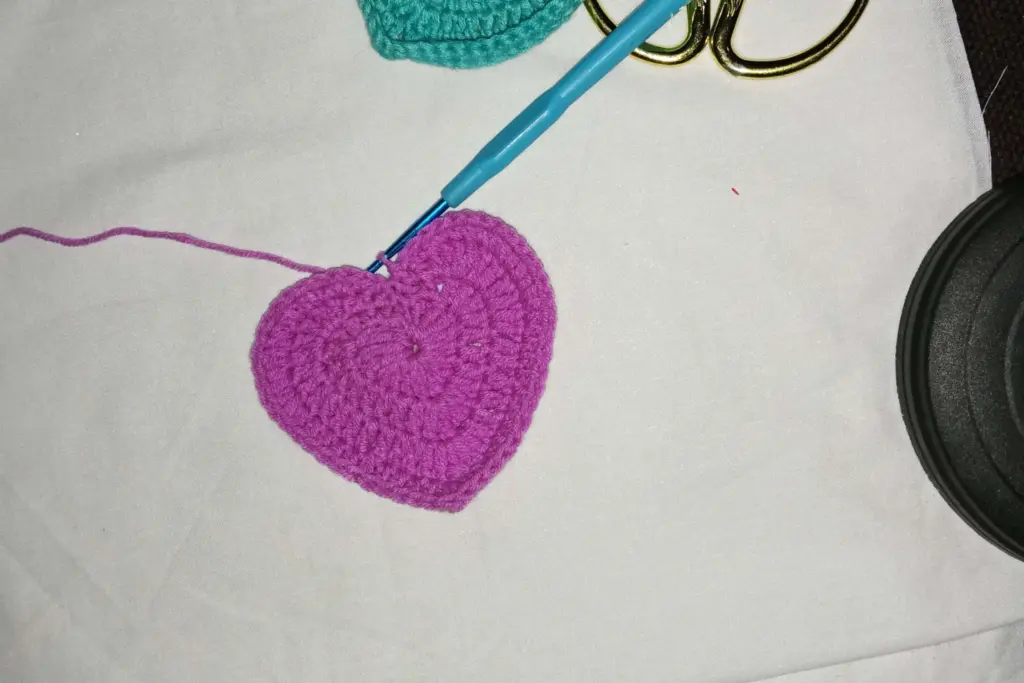
Shaping the Curves
To enhance the natural look of the heart, careful attention is given to shaping the curves on both sides. By alternating between stitch heights, you create soft dips and rounded tops that make the heart recognizable from every angle.
This stage is where your basket starts to come alive. The edges begin to lift slightly, and the heart shape becomes more defined. Keep your stitches relaxed but consistent to maintain symmetry on both sides. A gentle touch ensures that the finished basket retains a delicate yet structured appearance.
Creating the Basket Border
Once the heart shape is complete, it’s time to strengthen the rim. This border not only adds height but also helps the basket maintain its structure. You’ll work around the edge of the heart, focusing on neat and even stitches to create a smooth wall.
A helpful technique is working through the front loops only. This subtle method causes the edges to curve upward naturally, forming a gentle wall without adding bulk. As you move around the curves and point of the heart, remember to adjust your tension slightly — tighter stitches near corners and lighter ones along the curves help the basket hold its shape beautifully.
For beginners, this is a great introduction to dimensional crochet, as it shows how small changes in stitch placement can alter the form of your entire piece.
Reinforcing and Raising the Sides
To make the basket deeper, continue adding more rows to the edge. Each row builds on the previous one, gradually increasing the height of the wall. Two to three rows are usually enough to create a sturdy mini tray that can hold items like rings, keys, or tiny cosmetics.
As you crochet each new round, ensure your stitches stay consistent and straight. If you’d like a firmer look, consider tightening your tension slightly on the uppermost row. Once the sides reach your desired height, the basket will stand on its own and feel durable enough for everyday use.
Adding the Finishing Touches
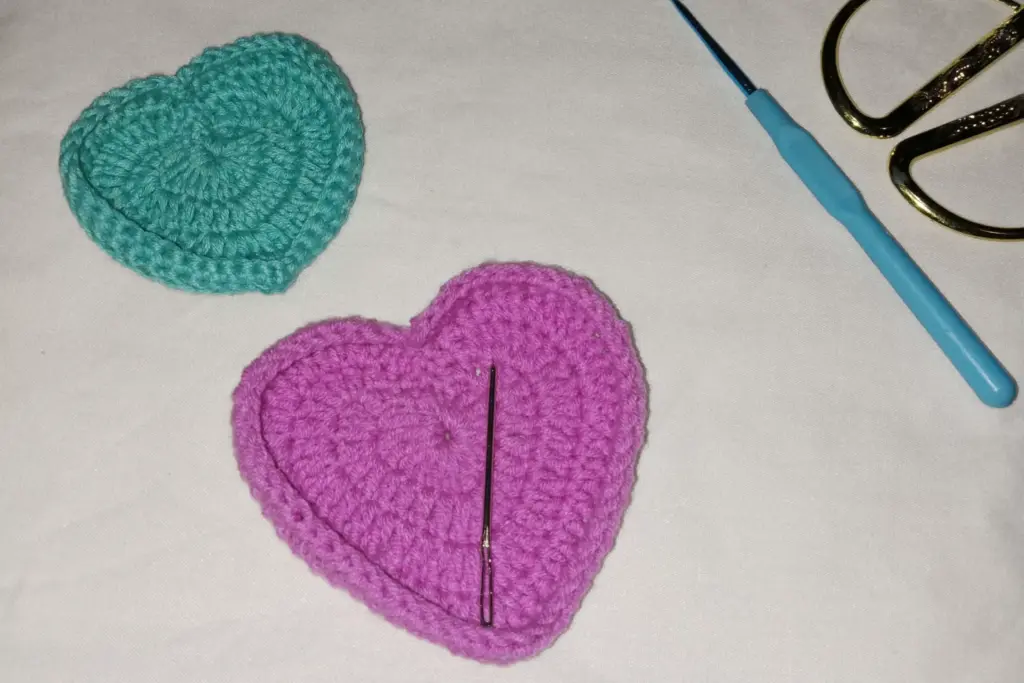
With the walls built, finish off your heart basket by securing the yarn neatly. Use a darning needle to weave in any loose ends, hiding them along the inside edge for a clean result. This gives your project a professional finish and prevents unraveling.
If you want to make your basket even sturdier, lightly shape it with your hands and let it sit for a few hours. The yarn will begin to set in the desired shape. Some crocheters like to apply a light spray of starch or use a fabric stiffener to help the edges keep their structure — this step is optional but can enhance durability.
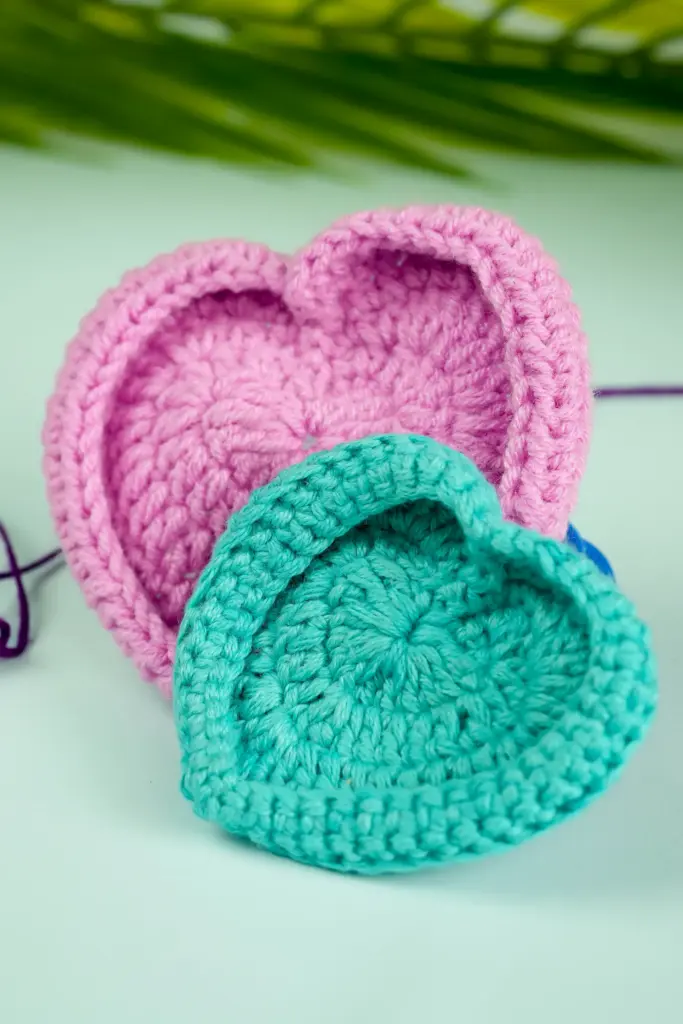
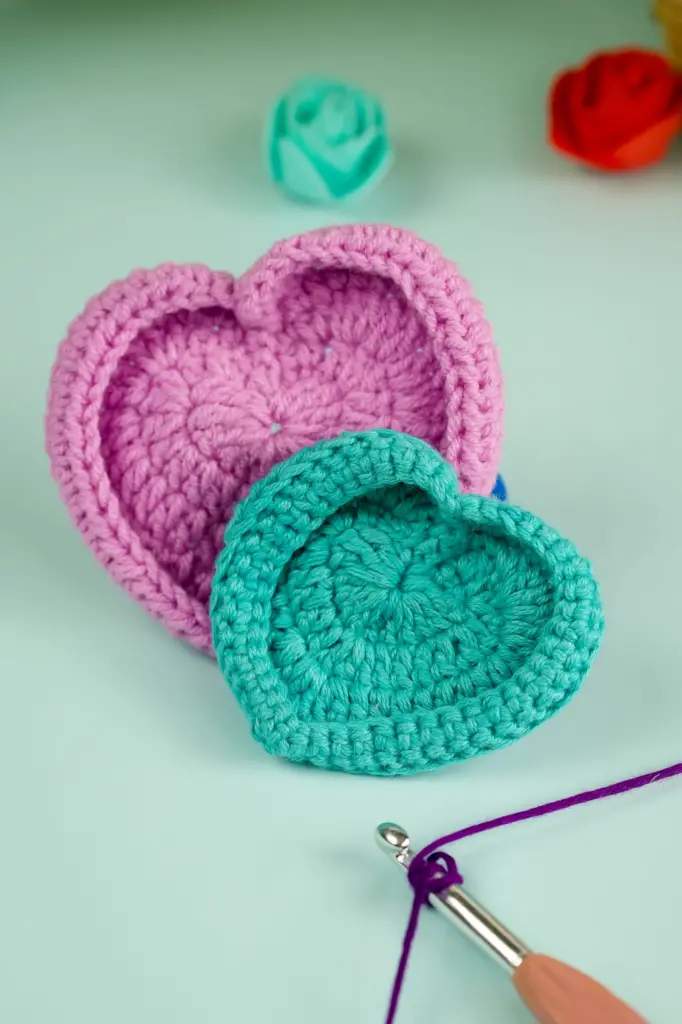
Once finished, your basket should have a smooth curve at the top, a defined heart point, and walls that stand tall and even.
Customizing Your Mini Love Basket
Part of the charm of this project is how easy it is to personalize. You can adapt it for different purposes or themes:
- Color Play: Use gradient yarns for a soft ombré look or combine contrasting tones for bold statement pieces.
- Edging Detail: Add a scalloped or picot border to make the basket feel more decorative.
- Embellishments: Attach a ribbon bow, crochet flower, or tiny beads along the rim for a romantic finish.
- Functional Variations: Make smaller versions as jewelry trays or larger ones to hold craft supplies or candles.
The pattern’s simplicity gives you endless ways to modify it, whether you want a minimalist design or something bright and eye-catching.
Tips for a Perfect Shape
- Keep your tension consistent from start to finish. Uneven tension can distort the heart shape.
- Work slowly around the center point of the heart to maintain symmetry.
- When adding more rows for height, check after each round that the basket’s walls remain even.
- Gently shape and stretch the basket once complete — this helps define the edges and point clearly.
Remember, crochet is flexible. Don’t worry if your first attempt isn’t flawless. With practice, you’ll learn how to adjust your hand movement and yarn pull for a perfect finish every time.
Final Thoughts
The mini love basket crochet pattern is a delightful project that proves small creations can make a big impression. It’s quick to complete, perfect for beginners, and a great way to practice shaping techniques that go beyond flat designs.
These heart-shaped baskets also make heartfelt gifts. Fill them with chocolates, jewelry, or self-care items, and they instantly become thoughtful handmade presents for Valentine’s Day, anniversaries, or just to show appreciation.
Once you’ve mastered one, you can easily crochet a whole set — each in different colors and sizes — to decorate your space or share with friends. Simple, creative, and full of charm, this pattern is the perfect weekend crochet project.