
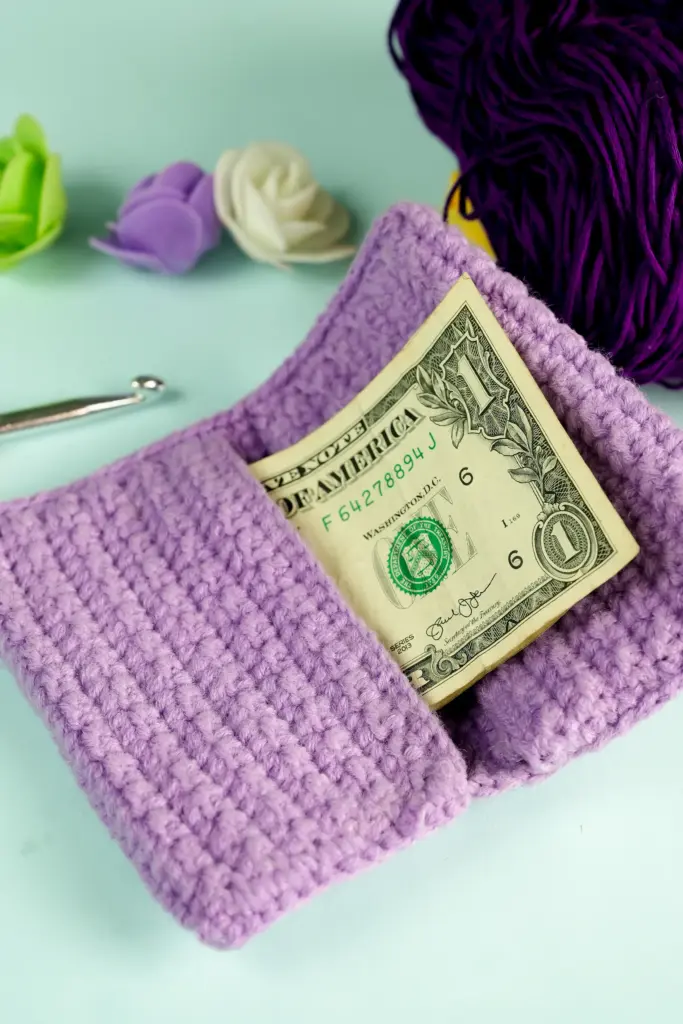
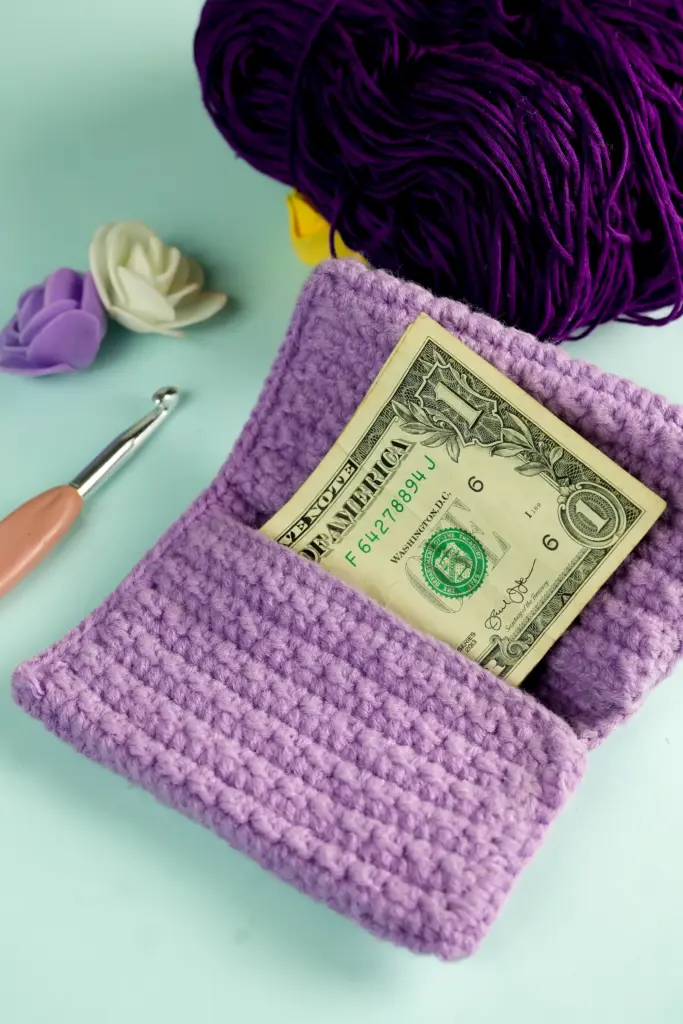
Crochet is a fun, relaxing craft, and small projects help you build skills fast. This Mini Wallet Crochet Pattern is perfect for beginners—quick to make, practical, and simple, ideal for carrying cards or small essentials while showing off your handmade charm.
Materials Needed
You don’t need much to get started. A few simple tools and yarn are enough to complete this project:
- Medium-weight yarn in your favorite colors
- Crochet hook (5 mm for the body and 3.5 mm for the edging)
- Stitch markers to help with folds and edges
- Yarn needle for sewing in loose ends
- Scissors
- Small metal clasp or snap button for the closure
These materials are easy to find and budget-friendly, making this a perfect starter project.
Abbreviations
The pattern uses US crochet terms. Here are the stitches and abbreviations used:
- Ch – Chain
- Sc – Single Crochet
- Sl st – Slip Stitch
- YO – Yarn Over
- Rep – Repeat
These are all beginner-friendly stitches, so you don’t need advanced crochet knowledge to make this wallet.
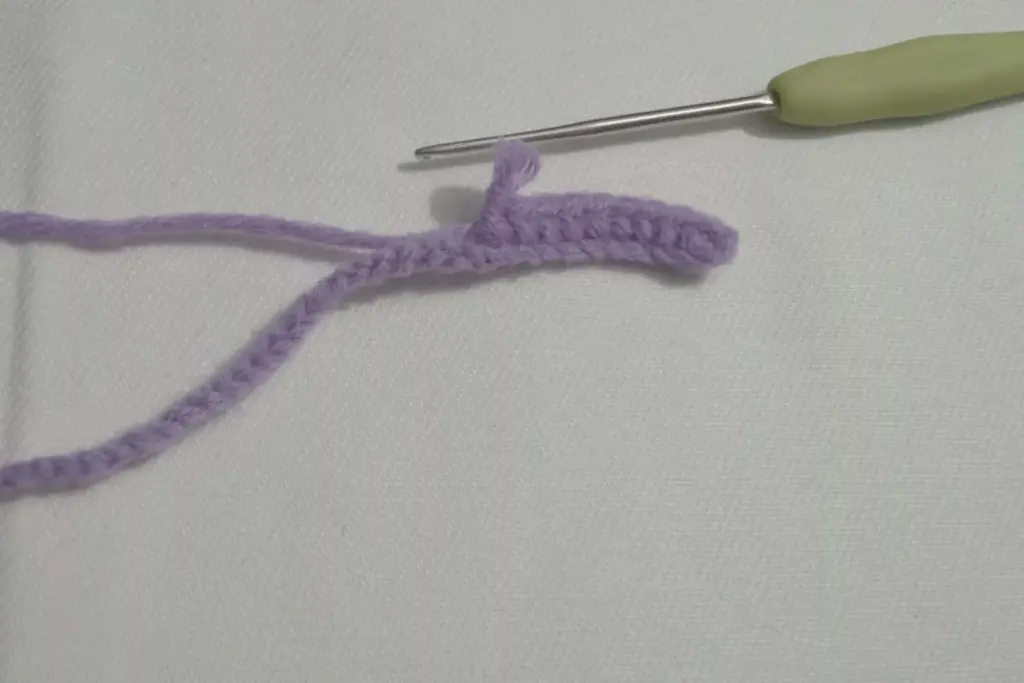
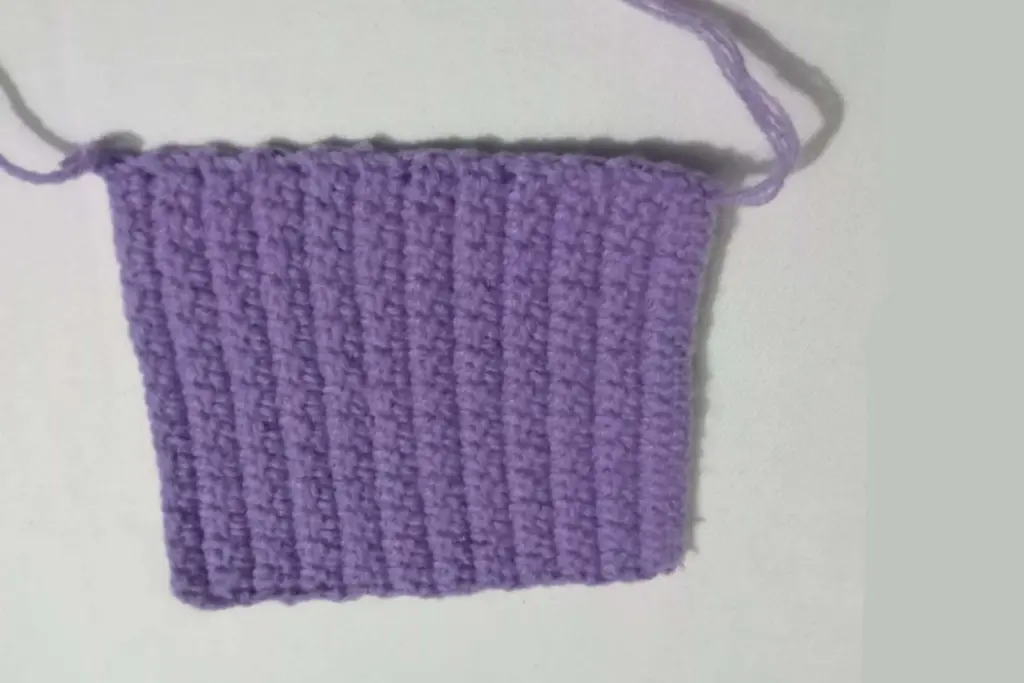
Starting the Base
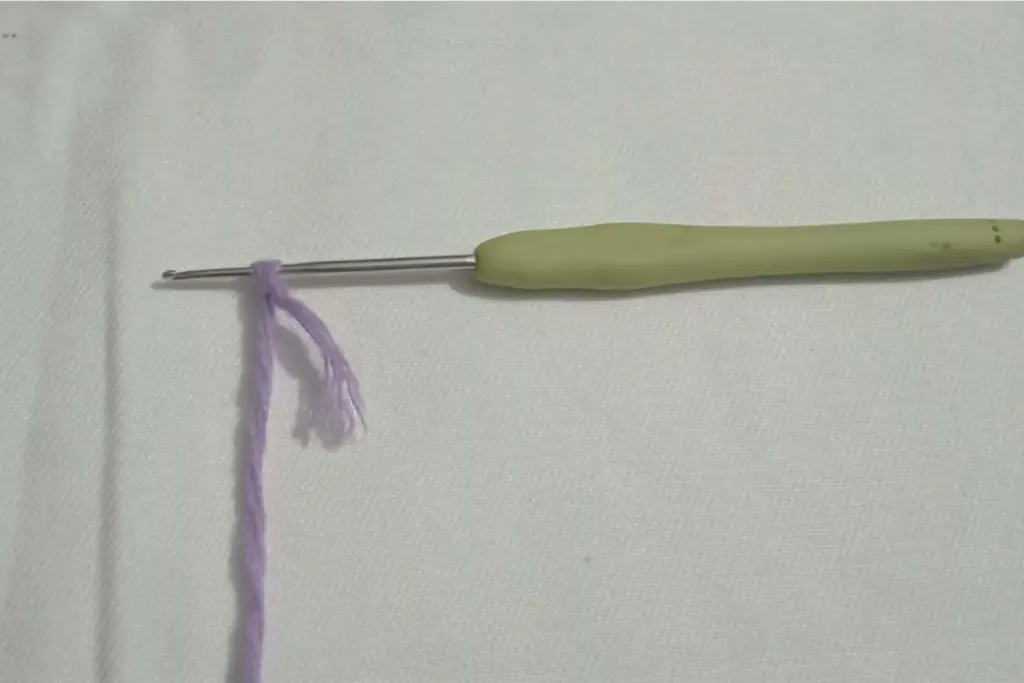
The wallet begins with a foundation section. This part sets the size of the project and gives it a flat, solid base. Taking your time here will make folding and finishing the wallet much easier later.
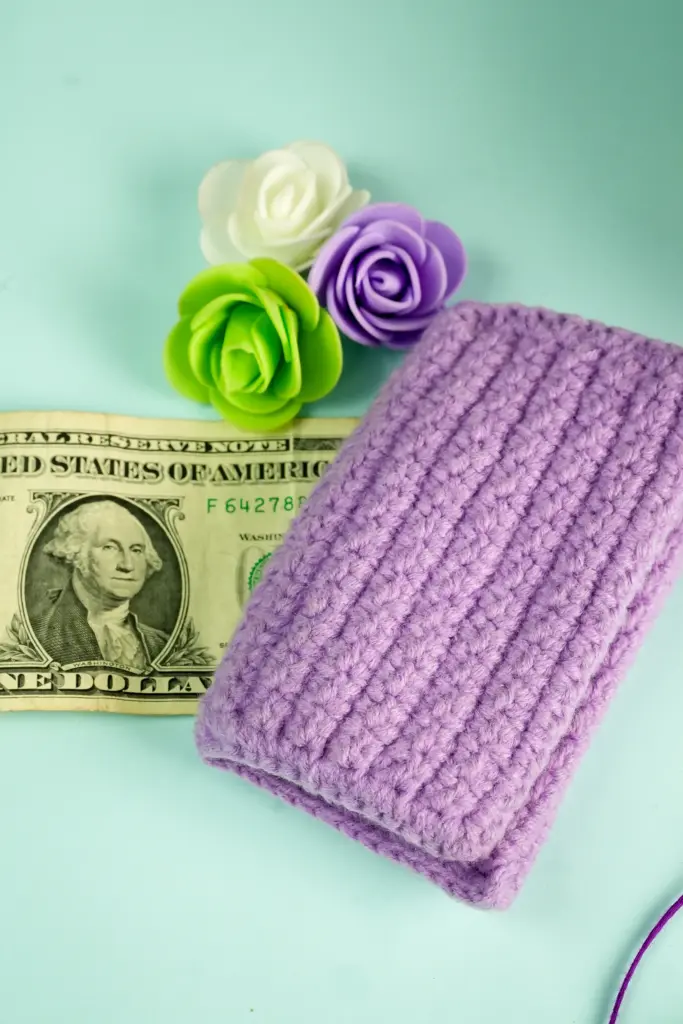
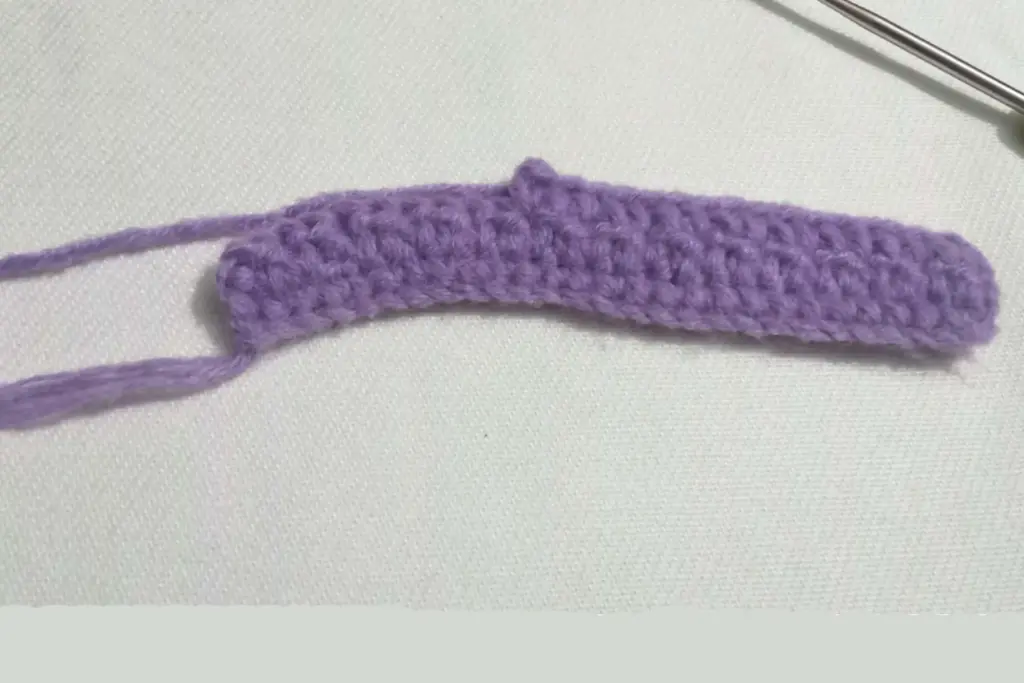
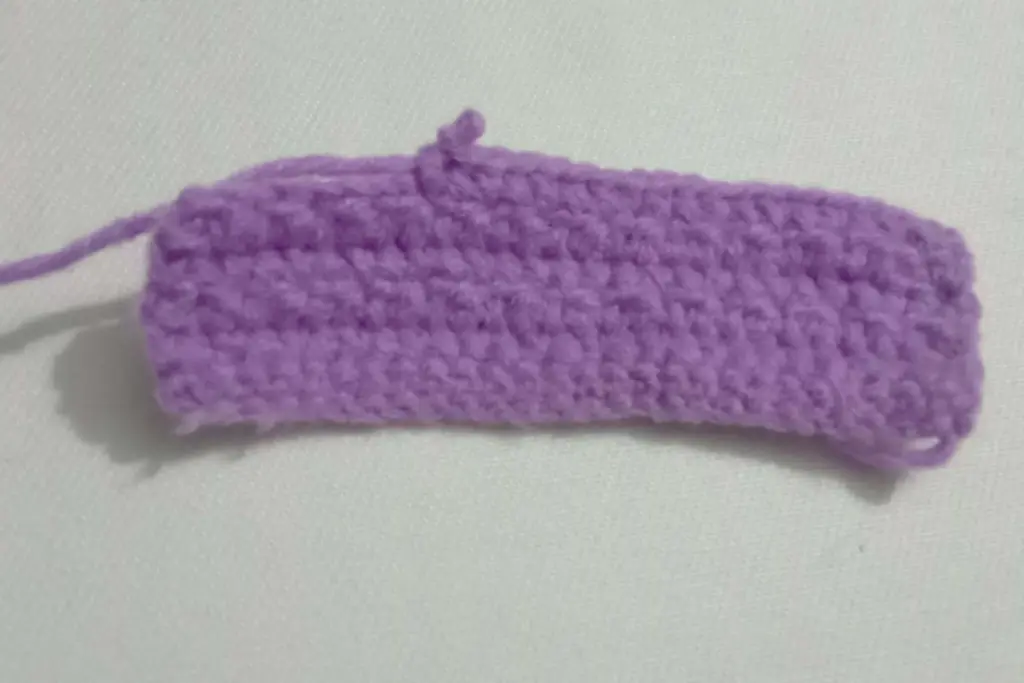
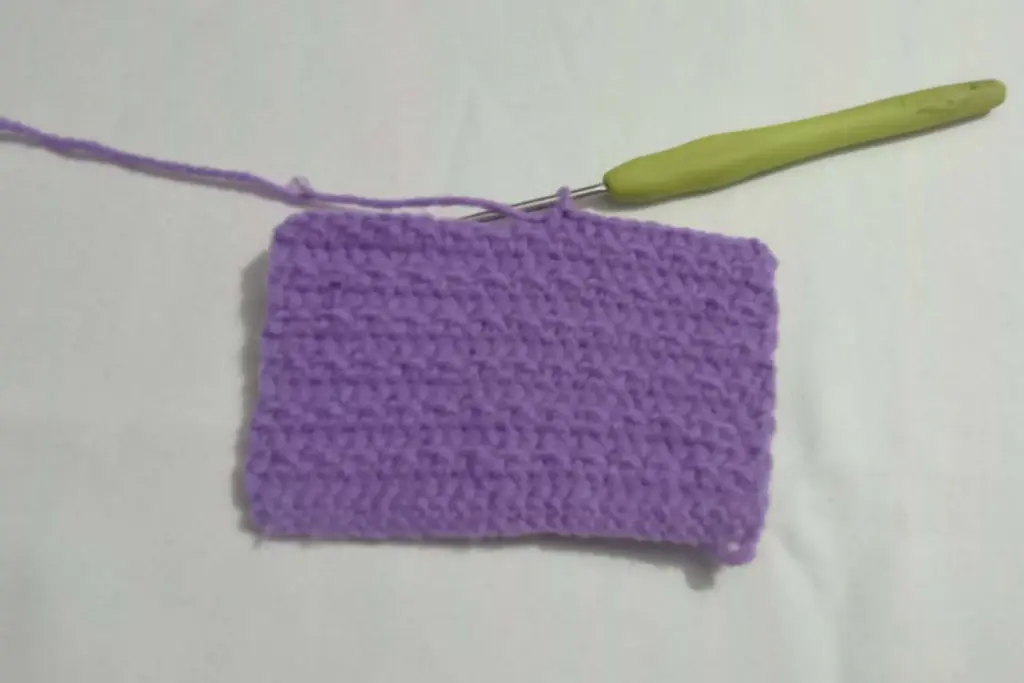
Building the Body
Once the base is complete, the main section is worked by repeating a simple stitch pattern. This creates both strength and texture in the fabric. The length of this section decides how large the wallet will be, so you can adjust it depending on whether you want a compact or slightly larger wallet.
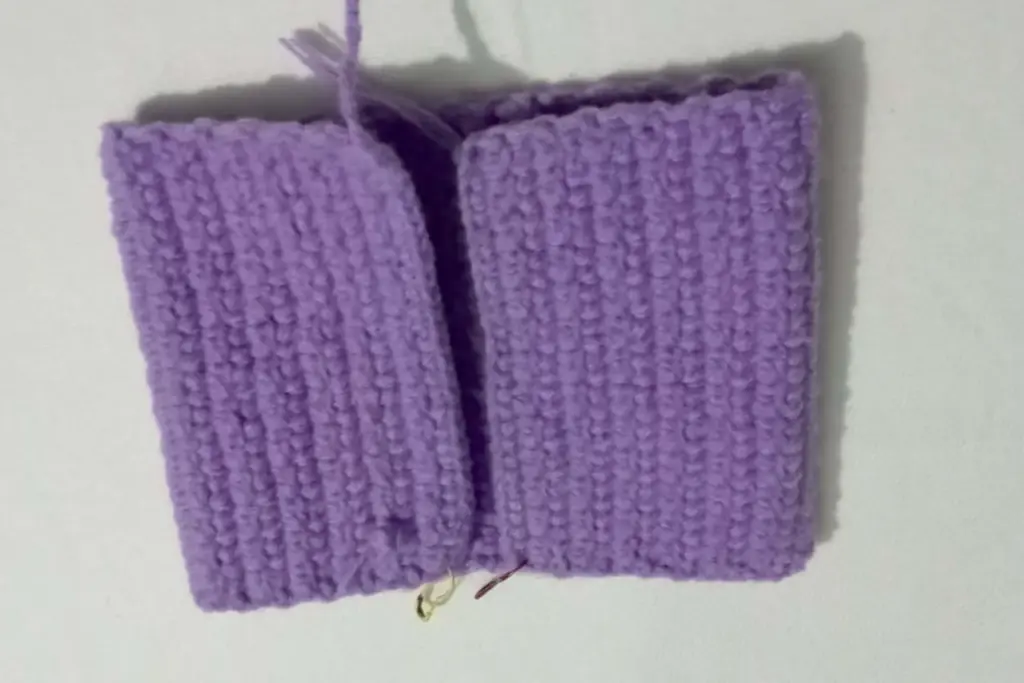
Folding and Securing
When the body reaches the desired length, it is folded into the shape of a wallet. Stitch markers come in handy here to keep the folds in place. The sides are then joined neatly, which holds the structure together and gives it the look of a real wallet.
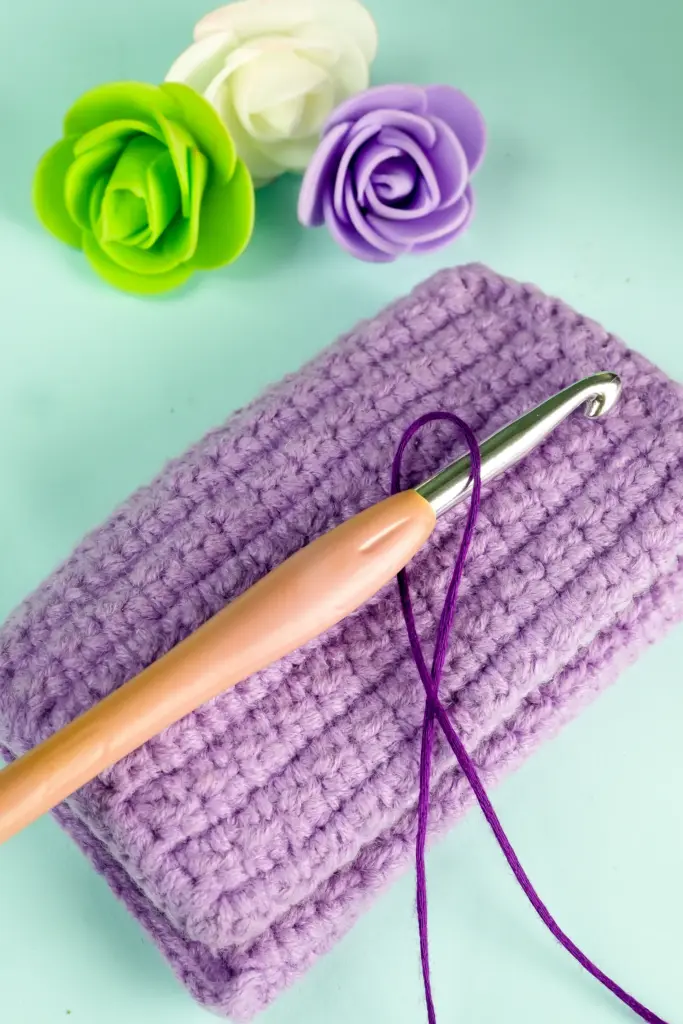
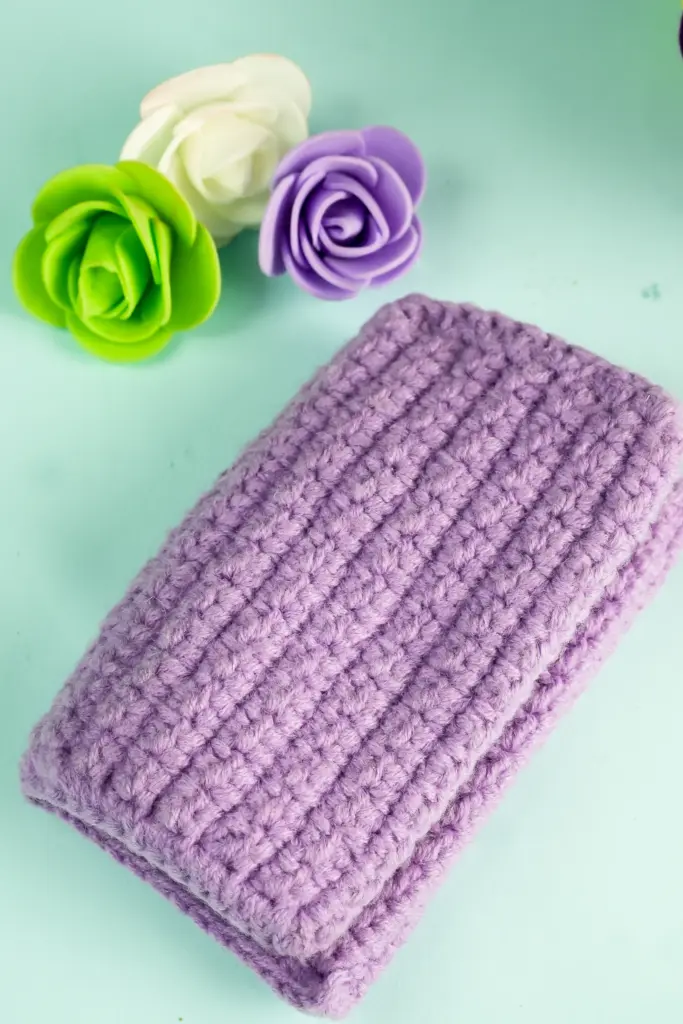
Strengthening the Edges
To make the edges sturdy and polished, a border of simple stitches is worked around the piece. This helps the wallet keep its shape and prevents stretching. Using a smaller hook at this stage makes the edges firm and well-defined.
Adding Texture
For a decorative touch, a raised stitch such as a bobble stitch can be added around the border. This creates small textured details that make the wallet stand out. It adds personality while keeping the wallet practical and strong.
Adding the Closure
A wallet isn’t complete without a proper closure. A small metal clasp, snap button, or similar fastener works perfectly for this project. It keeps the wallet secure while adding a polished look. The closure is usually attached after the main body and edges are finished. This step can be done with small screws or by making a tiny opening for the clasp, depending on the type you choose. A neat closure not only makes the wallet functional but also gives it a professional finish.
Finishing Touches
Once the closure is in place, it’s time to take care of the details. Loose yarn ends should be woven in carefully with a needle so they don’t unravel. Blocking the wallet helps it hold its shape, especially if the stitches look uneven after handling. These finishing steps make the project look cleaner and more durable.
Customizing the Design
One of the best parts of crochet is being able to make each project unique. You can choose different yarn colors, experiment with multicolored stripes, or add decorative buttons and charms. For those who enjoy textures, adding more bobble stitches or other patterns along the border can give the wallet a personal touch. Customization makes your wallet one of a kind and also makes it a thoughtful handmade gift.
Care and Use
A crochet wallet is lightweight and easy to carry. Since it’s made from yarn, it’s best to avoid overstuffing it to maintain its shape. If it gets dirty, a gentle hand wash and air drying will keep it looking fresh. With proper care, this handmade wallet can last a long time and be used every day.
Summary
The mini crochet wallet is an ideal project for beginners because it uses basic stitches and simple techniques while producing a functional and attractive result. With just a bit of yarn, a hook, and some creativity, you can make a wallet that’s both practical and stylish. From starting the base to adding the closure and final details, each step builds confidence and skill in crochet. By trying out different colors and textures, you can create a wallet that reflects your own style.
A small project like this is a great way to practice and enjoy the process of crochet, leaving you with a useful item you’ll be proud to carry.