
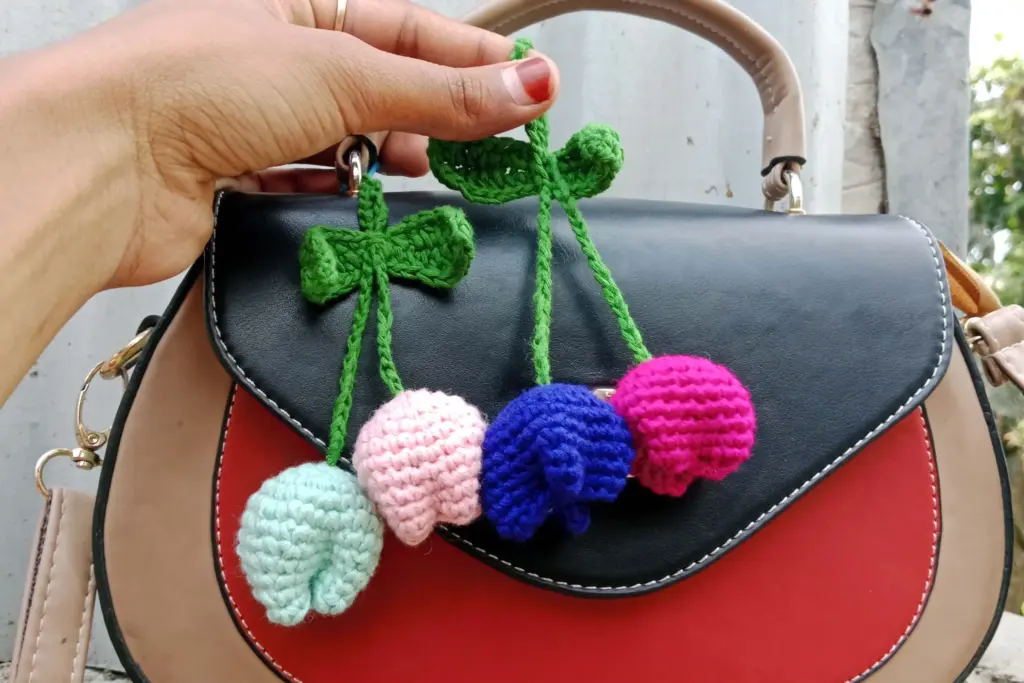
Crocheting is an enjoyable and versatile craft that allows you to create beautiful items for both personal use and gifts. One such lovely project is a Tulip Crochet Keychain. This beginner-friendly guide will walk you through the essential materials, techniques, and steps to create your very own keychain that features a charming tulip design. With a little patience and practice, you can make a colorful and functional accessory that’s perfect for personalizing your bags, keys, or as a thoughtful gift for someone special.
Crocheting keychains not only adds a personal touch to everyday items but also provides a fun way to hone your crochet skills. Whether you are an absolute beginner or someone looking to expand their crafting repertoire, this guide will help you learn how to craft a tulip-inspired keychain with ease.
Materials Needed
To create the Tulip Crochet Keychain, you’ll need to gather a few essential materials. Having everything on hand before you begin will ensure the process runs smoothly.
- Yarn: You’ll need a few different yarns to bring the tulip keychain to life. Choose yarn in the colors you desire for your tulip (such as green for the stem and vibrant colors for the flower itself).
- Crochet Hook: A suitable crochet hook size is essential for this project. Typically, a medium-sized hook, such as a 4mm or 5mm hook, works well with most yarn types.
- Scissors: These will be needed for cutting your yarn when you finish.
- Keychain Ring: This is the hardware you’ll use to attach the crochet piece to your keys, bag, or accessories.
- Darning Needle: Used for weaving in loose ends to give your keychain a clean and polished look.
- Stitch Markers: Optional but helpful to keep track of your work, especially if you’re making multiple rounds or rows.
These materials are simple to find and won’t break the bank. You can use yarn scraps you already have, or buy a small skein in the colors of your choice.
Abbreviations
Understanding common crochet abbreviations will make your work smoother and ensure that you’re following instructions accurately. Here’s a quick guide to some of the abbreviations that may come in handy for your Tulip Crochet Keychain:
- Ch – Chain
- Sc – Single Crochet
- Slst – Slip Stitch
- Inc – Increase
- Dec – Decrease
- R – Round/Row
- BLO – Back Loop Only
- FO – Fasten Off
- TBL – Through Back Loop
Step 1: Start with the Stem
Before jumping into the colorful tulip petals, begin by crocheting the stem. This gives your keychain structure and sets the stage for the flower’s design. The stem is generally made using simple crochet stitches to create a sturdy and neat base for the flower.
Start by creating a foundation chain that will serve as the starting point for your stem. You’ll work into this chain, building up the length of your stem as needed. As you work through the rows, you may need to increase or decrease the number of stitches to ensure a neat, even shape.
Once the stem is completed, it’s time to work on the base of the flower, which will be attached at the top of the stem. Be sure to leave enough yarn at the end of the stem so you can secure it when attaching the flower later on.
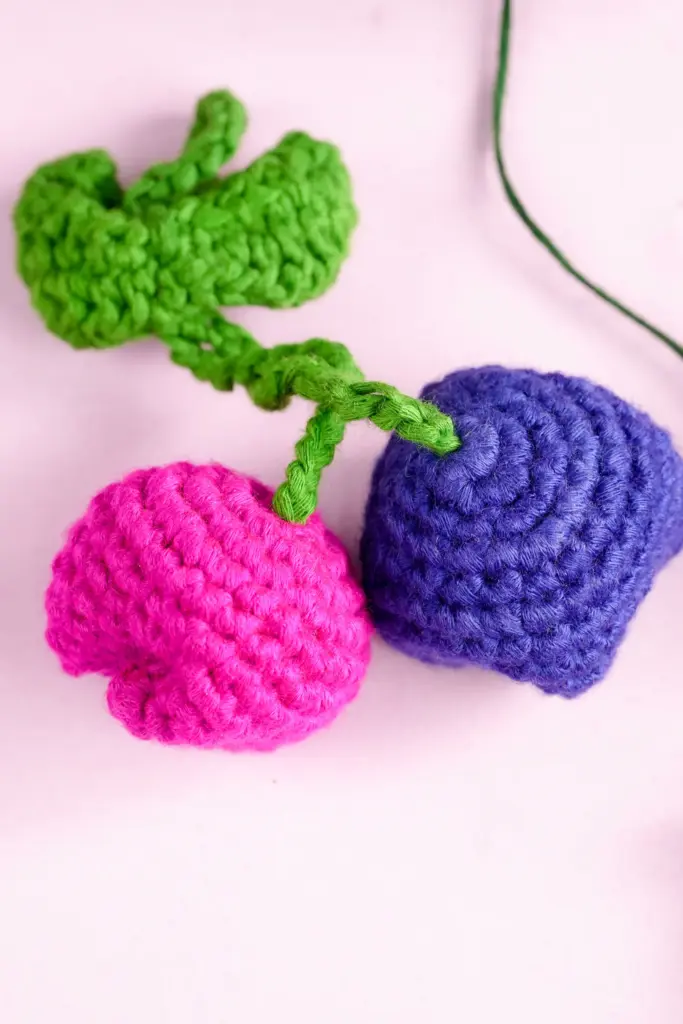
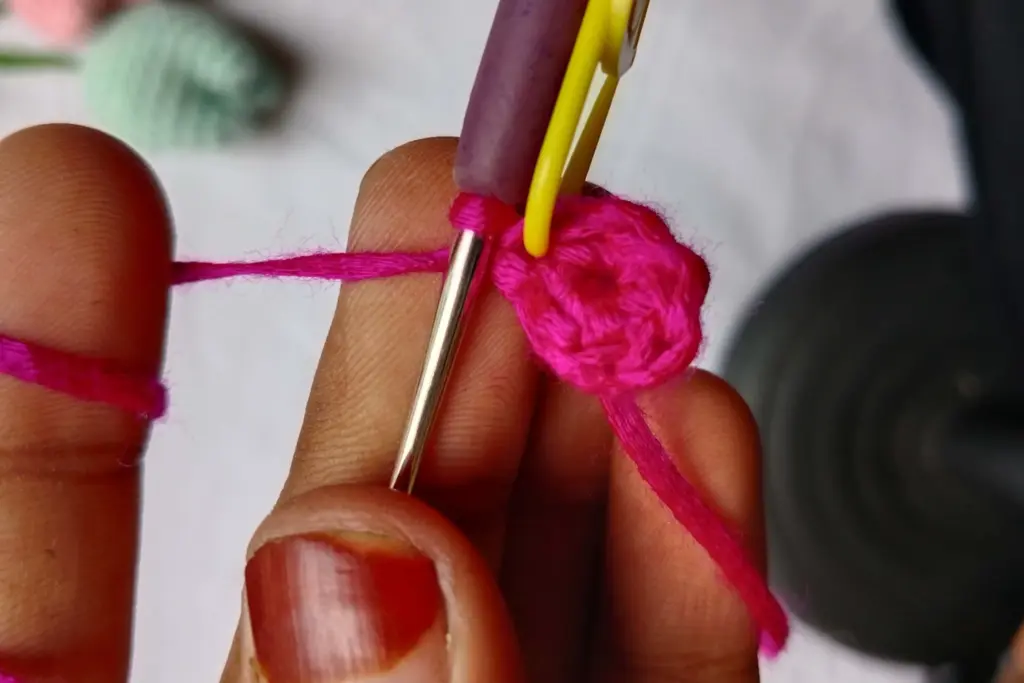
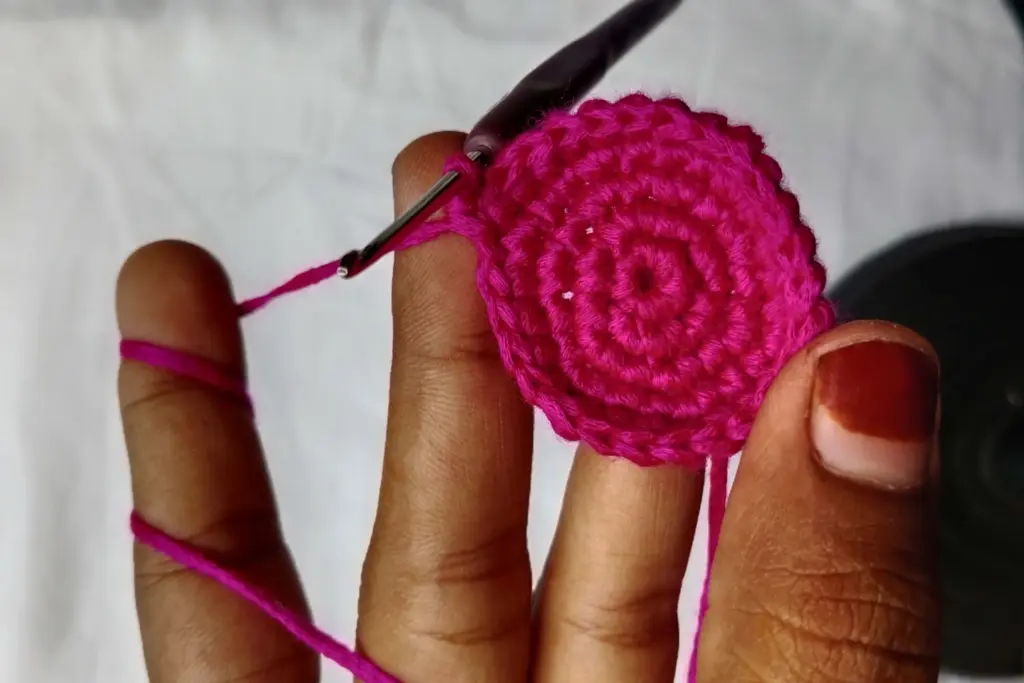
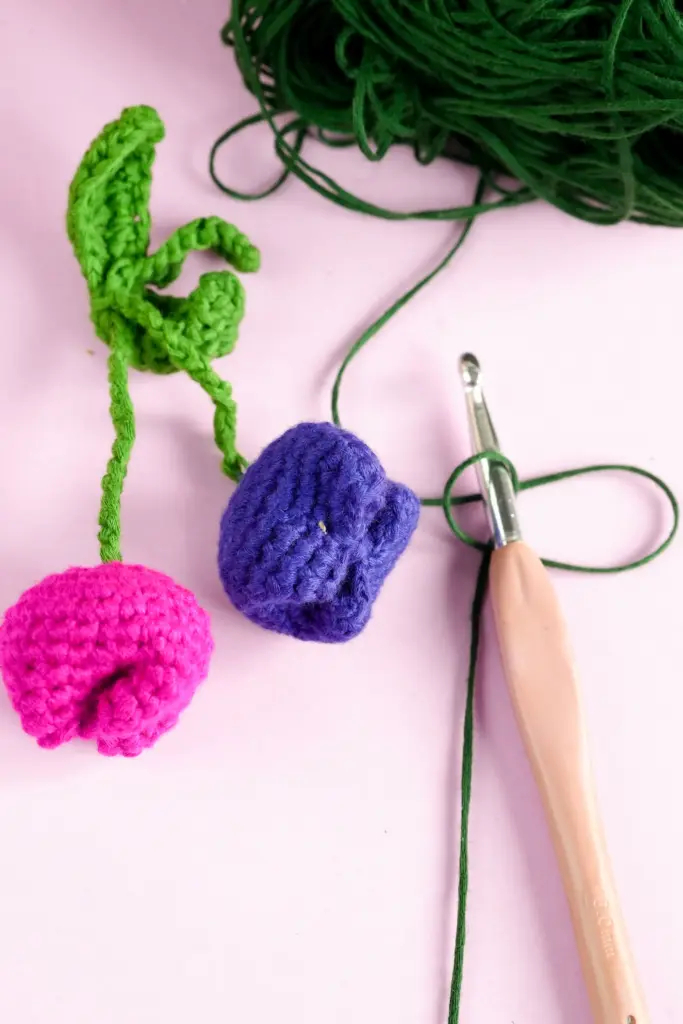
Step 2: Create the Tulip Petals
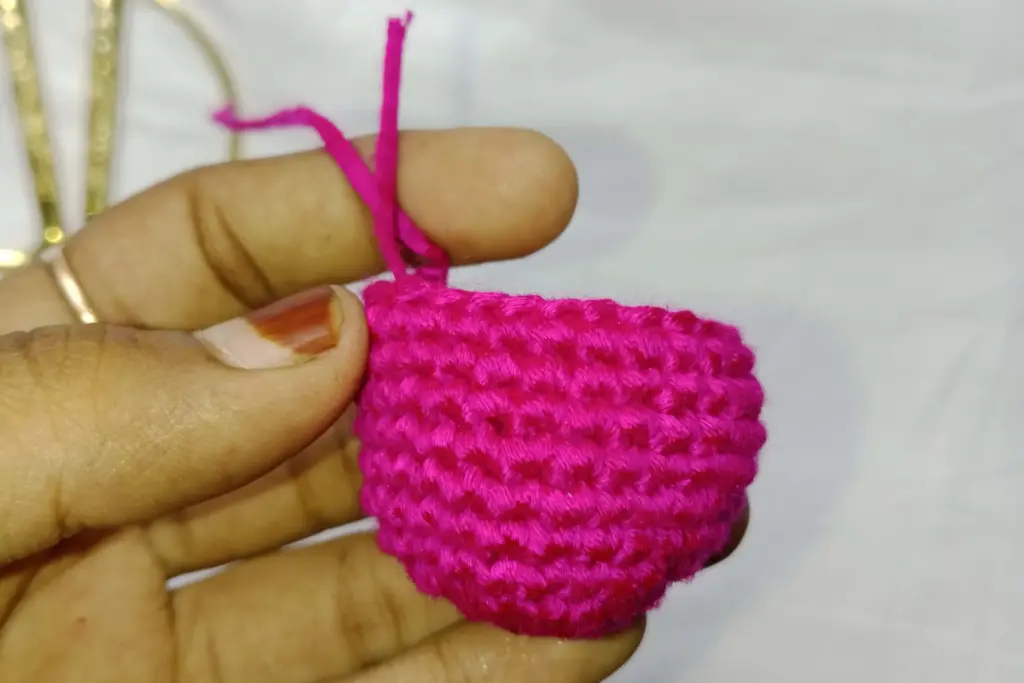
The flower petals are what give the tulip its signature look. These petals are often made with vibrant colors that contrast with the green of the stem. The petals are typically worked in the round, gradually increasing in size to create a rounded shape.
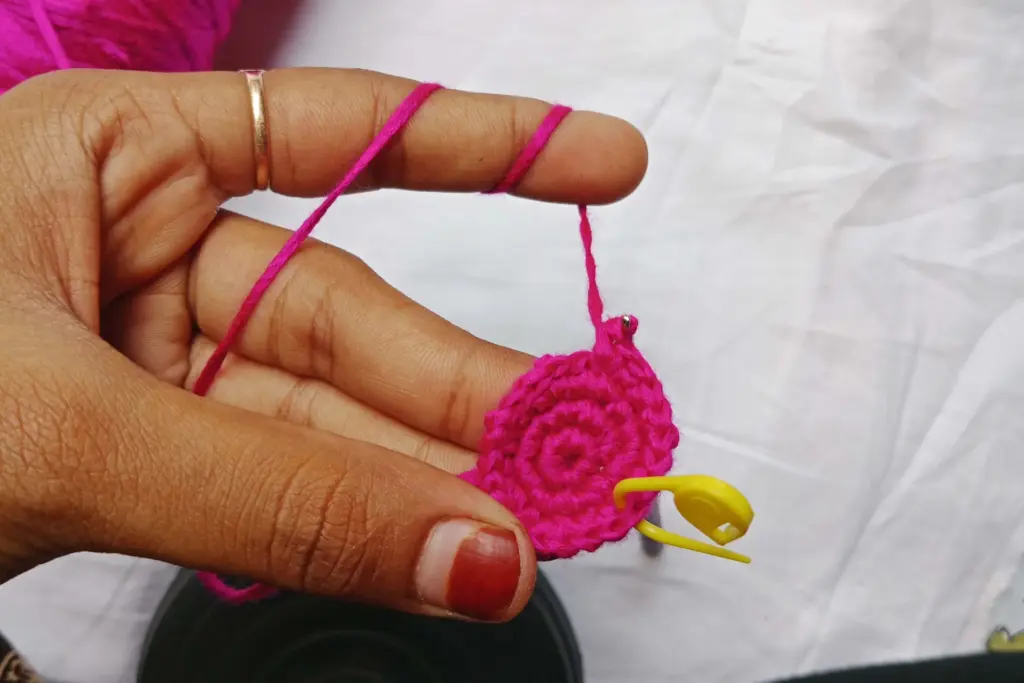
Start by making a small foundation for the first petal. You’ll increase stitches to form the rounded shape, making sure to adjust as necessary. If you’re following a simple pattern, you can crochet each petal separately, working from the base of the petal upwards.
For a balanced look, it’s a good idea to crochet at least three to four petals. Depending on the design, you can make the petals slightly larger or smaller. It’s all about achieving the right proportion between the stem and the flower.
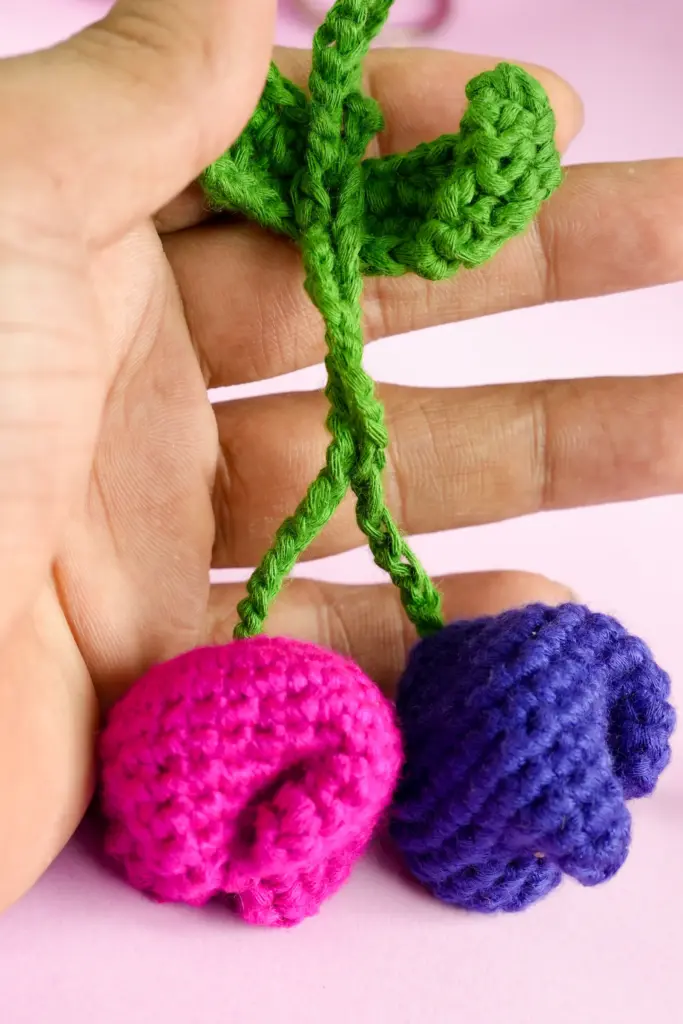
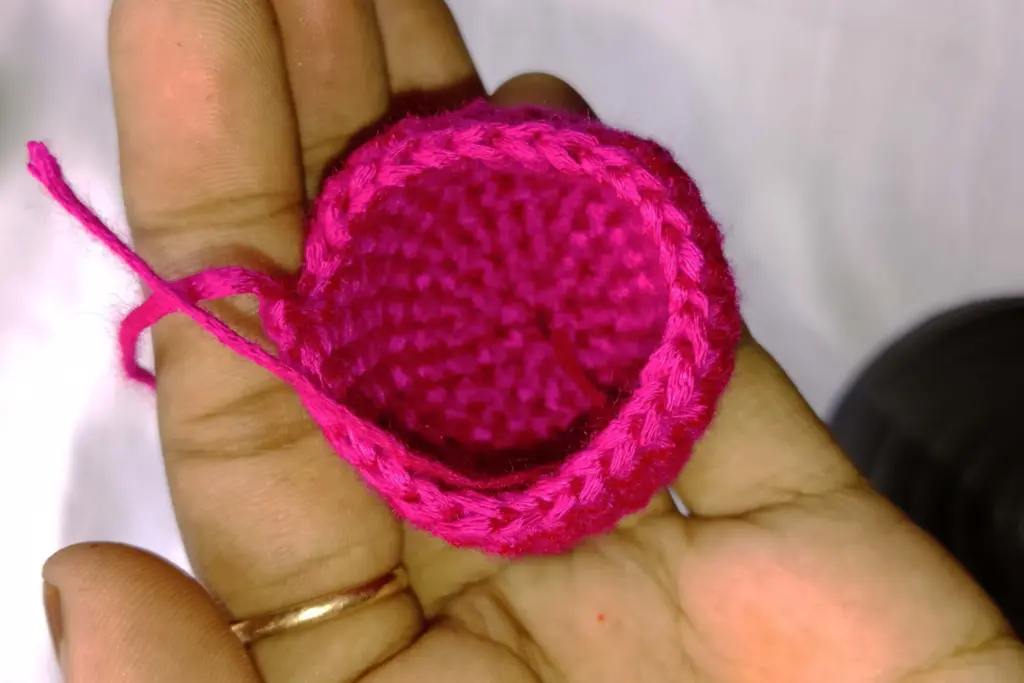
Step 3: Attaching the Petals to the Stem
Now that you’ve crocheted the individual petals, it’s time to attach them to the stem. This step involves carefully positioning the petals around the top of the stem and using a slip stitch or whip stitch to secure them in place.
When attaching the petals, it’s important to keep them spaced evenly around the stem to ensure that the tulip looks symmetrical. You can choose to attach the petals in any order, but many crafters prefer to do this from the center outwards.
Once all the petals are attached, take a moment to adjust them if necessary, making sure they stand up and create a natural, rounded shape. The tulip should now have a beautiful, vibrant appearance.
Step 4: Add the Keychain Ring
With your tulip complete, it’s time to add the keychain hardware. This is a simple process that involves attaching a keychain ring or clasp to the top of your crochet stem.
To do this, you can either crochet a small loop at the top of your stem or use a darning needle to attach a pre-made keychain ring. Secure it tightly to ensure that the keychain is durable and won’t easily come apart.
Step 5: Finishing Touches
After attaching the keychain ring, it’s time to clean up any loose ends. Use a darning needle to weave in any remaining yarn ends, making sure to tuck them inside the crochet work to avoid them from fraying. This step gives your keychain a polished and professional look.
Additionally, if you’ve made any adjustments to the petals or stem, now is the time to finalize their shape and ensure everything is in place. Once you’re satisfied with the finished product, you can proudly attach your new tulip crochet keychain to your keys, bag, or anything else you like.
Step 6: Advanced Tips for Customization
Now that you’ve completed the basic tulip crochet keychain, there are a few ways to customize and personalize it. You can experiment with different crochet techniques, yarn types, and even add embellishments to make your keychain unique.
Experiment with Yarn Types: While a basic yarn works fine, you can try different textures and fibers. Wool, cotton, or even sparkly thread can add different feels to your keychain. A soft cotton yarn will give the keychain a smooth, durable finish, while wool can make it fluffier and warmer. You can even experiment with gradient yarns to create a fading color effect in the petals.
Play with Petal Shapes: The tulip petals don’t need to be uniform. You can make them asymmetrical or try different petal shapes like rounded, pointed, or even elongated for a more unique look. Experimenting with the number of petals is another way to make your keychain different. Some tulips have three petals, while others have five, six, or more.
Add Decorative Elements: For an added touch, you could attach beads, small charms, or buttons to the center of the flower, making it even more eye-catching. You could also stitch a small leaf onto the stem to give the keychain a fuller, more natural look.
Step 7: Creating a Matching Set
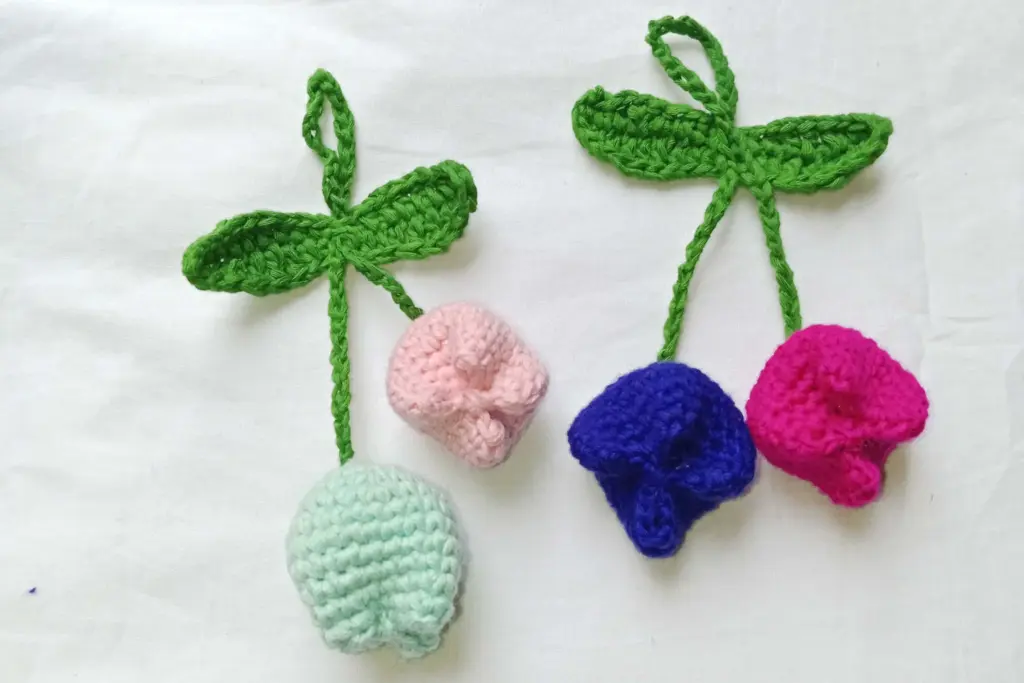
Why stop at just one keychain? If you love how your tulip crochet keychain turned out, you can create an entire set of matching accessories! Here are a few ideas for expanding your collection:
- Tulip Crochet Earrings: The same technique can be used to make smaller versions of the tulip, which can be turned into cute earrings. Attach a small hook to the top of the petals and turn your tulip into a delicate accessory for your ears.
- Tulip Crochet Brooch: A tulip crochet brooch is a great way to personalize clothing or bags. Simply add a pin backing to the center of the flower, and you have a one-of-a-kind brooch that can be pinned to jackets, scarves, or hats.
- Tulip Crochet Coasters: You can use the same basic technique for larger projects like crochet coasters. By simply increasing the size of your petals and stem, you can create adorable tulip coasters that match your keychain.
Step 8: Troubleshooting Common Issues
As with any crochet project, there can be challenges along the way. Here are a few common issues and tips for solving them:
- Crochet Tension Issues: If your keychain is coming out too loose or tight, the most likely cause is inconsistent tension. Try to keep your tension even throughout the project. If you notice that your stitches are uneven, slow down and pay attention to how tight or loose you’re pulling the yarn.
- Uneven Petals: If your petals aren’t coming out even, consider adjusting your technique. Make sure you’re using the same number of stitches for each petal, and count your stitches carefully. You can also try pinning your petals in place to see if they align more symmetrically before securing them permanently.
- Loose Ends: Loose yarn ends can often become a problem when finishing a project. Make sure to securely weave in all ends using a darning needle and be sure not to pull them too tightly. If you’re using different yarns, consider a knotting technique to prevent unraveling.
Final Thoughts
Crocheting a tulip keychain is a rewarding and fun project, especially for beginners. By following the steps and tips outlined above, you can create a beautiful, custom accessory that shows off your crochet skills. Plus, it’s a great way to practice basic crochet stitches and techniques, all while making something practical and stylish.
As you gain more experience with crocheting, don’t be afraid to experiment with different patterns, colors, and techniques. Crocheting is all about creativity and personal expression, so feel free to add your own flair to the tulip keychain or any other crochet projects you take on in the future.
Now that you’ve learned how to make a tulip crochet keychain, why not try making a few more for friends or family? Or perhaps experiment with different flowers, adding beads or embroidery for added charm. The possibilities are endless, and the more you crochet, the more ideas you’ll have for future projects!
Happy crocheting, and enjoy the process of making your very own tulip crochet keychain!